IKEA experiments #1: HydroHALLBAR
Last winter, as with any previous winter, I got early blues from the approaching cold season. Everything is dead, nothing grows, and generally, I hate those months from November to February. I shouldn’t complain too much because recent human advancements have made our European winters increasingly milder. This doesn't change the fact that tomatoes still won't grow during this time.
During the winter season of 2022, I successfully experimented with my flood & drain hydroponic system, having a steady supply of fresh basil, albeit laced with some aphids I brought home with pepper I thought would survive. It did not. Although I like basil very much, it wasn’t quite the challenge I was hoping for, and I eventually had to remove it because it was taking up precious space I needed for other plants in the spring. This was the main reason I started thinking about a different system that could fit in my smallish apartment, be self-contained, and be stationary so it could double as storage for itself and provide at least some additional features.
system setup and challenges
As with anything in my life, my first thought was, 'How can I solve this by using only KALLAX?' I quickly scrapped the idea because the paper and wood composite does not cope well with potential water leaks. But while strolling through an IKEA aisle and shopping for my miniature flood & drain system from KUGGIS, I noticed the very small HALLBAR container, usually used as a recycling bin. The stack of HALLBARs sparked an idea. I could stack two of them on top of each other, fill the top with clay balls, and somehow stick a tube through the bottom with a pump submerged in the water in the bottom container. This type of hydroponic system is usually called a 'Dutch Bucket,' but I am not 100% sure I can call it that.

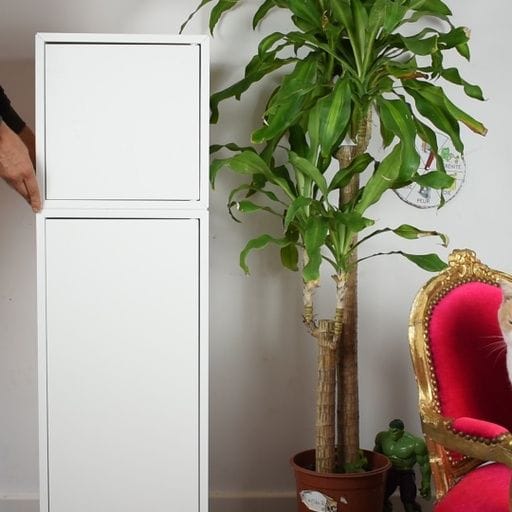
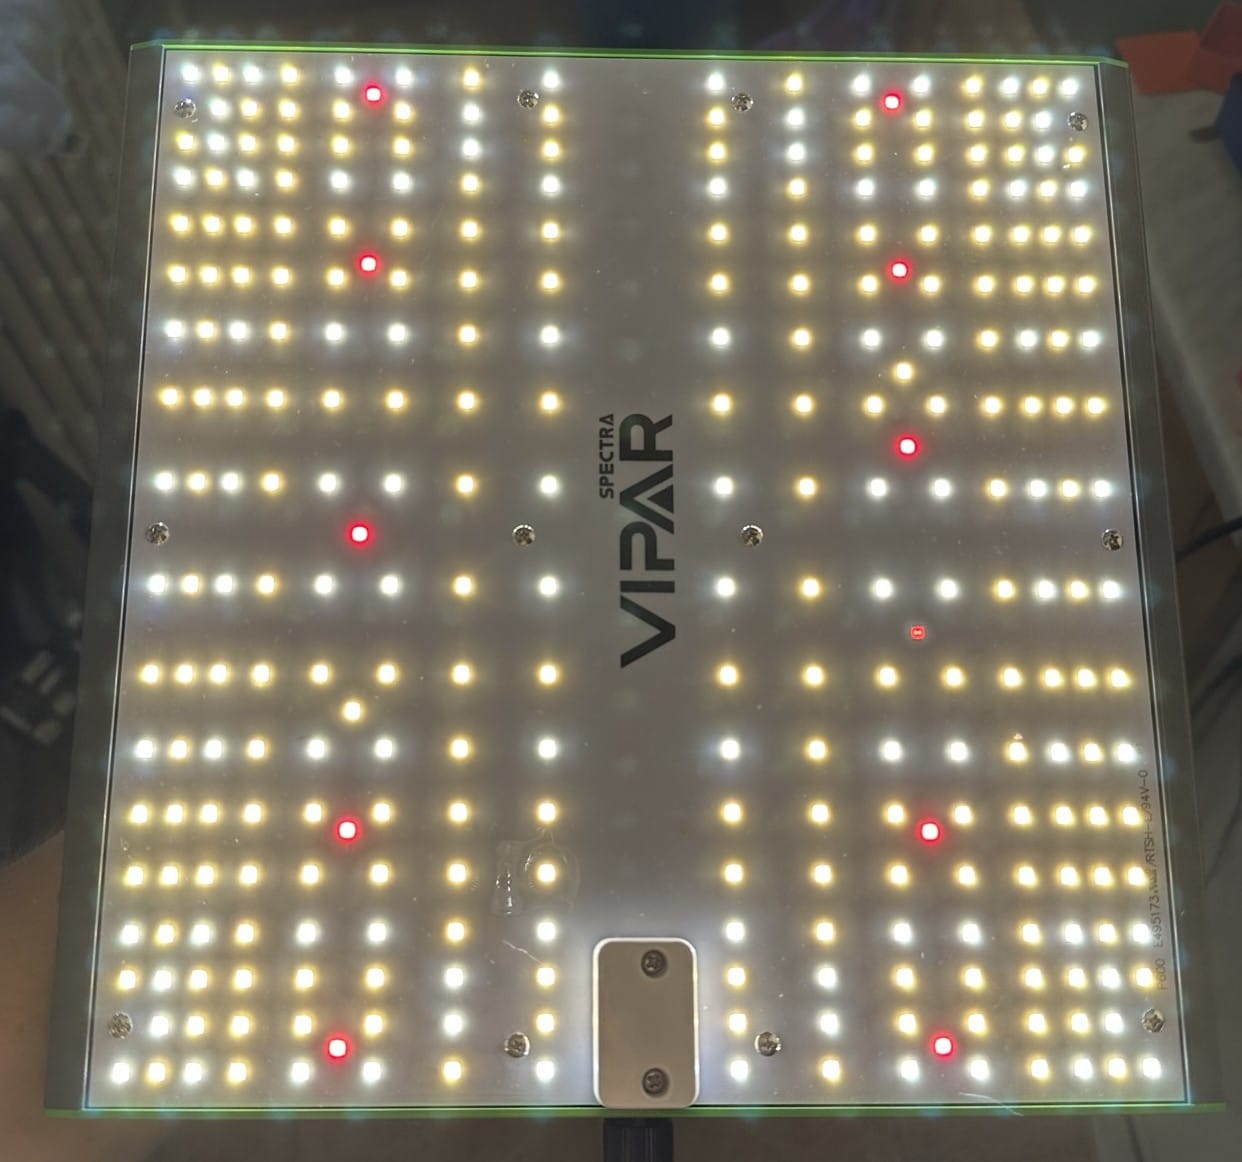
Great, I have growing containers. Now just to fit them somewhere. I had a few ideas, but the options were narrowed down to just two: EKET and LIXHULT. Multiple people have already used EKET on the internet as a grow box; it’s built from glued wood chip composite and is very modular, providing the vertical space for a larger plant. On the other side, I’ve never seen a grow box from LIXHULT, which is built from sheet metal, and the inner dimensions fit nicely with a grow light I had been eyeing for some time but never had a good reason to buy it. So, I totally got the LIXHULT, which later turned out to be 'slightly' inconvenient, but let’s talk about that later.

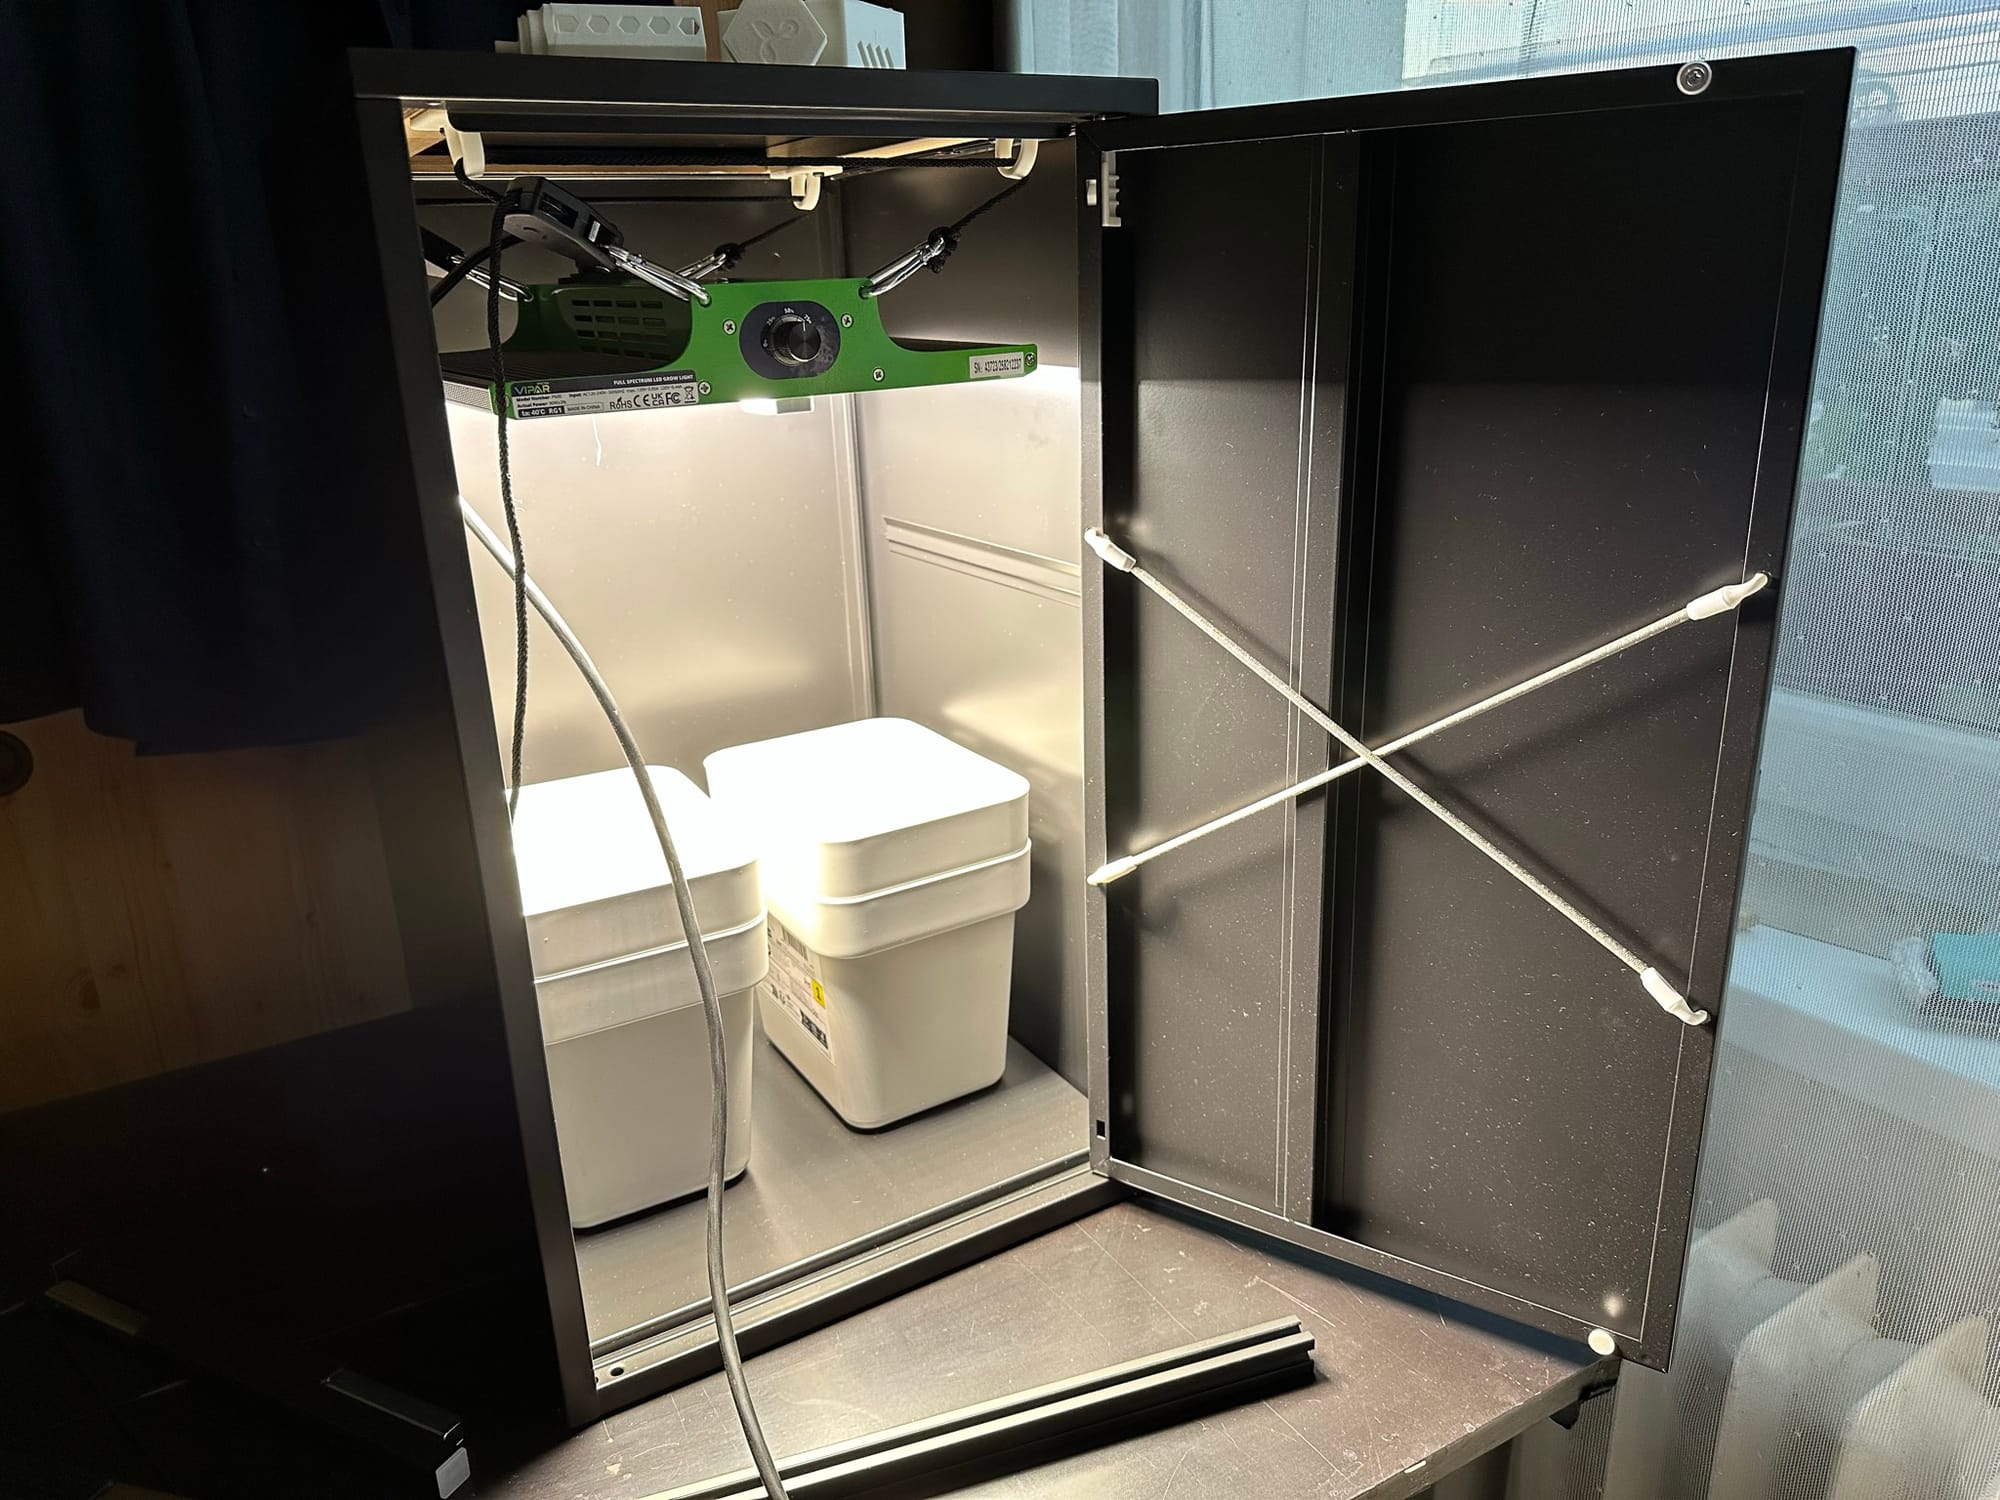
I quickly figured out the amount of space for the water was very small and stacking two containers leaves space for only about 300 mL of nutrients, which is not enough. I need at least 1 L of nutrients for some sustainability. Simply raising the upper container to increase the volume doesn’t cut it either, as it hits the major disadvantage of choosing the LIXHULT—it's not very tall. I installed the light as high as possible in the cabinet, but even then I was left with about 15-20 cm of headspace between the light and the HALLBAR. And I would need to heavily modify the upper container for the tube and water outlet. This calls for a custom solution, one that will include all the necessary changes and geometry.
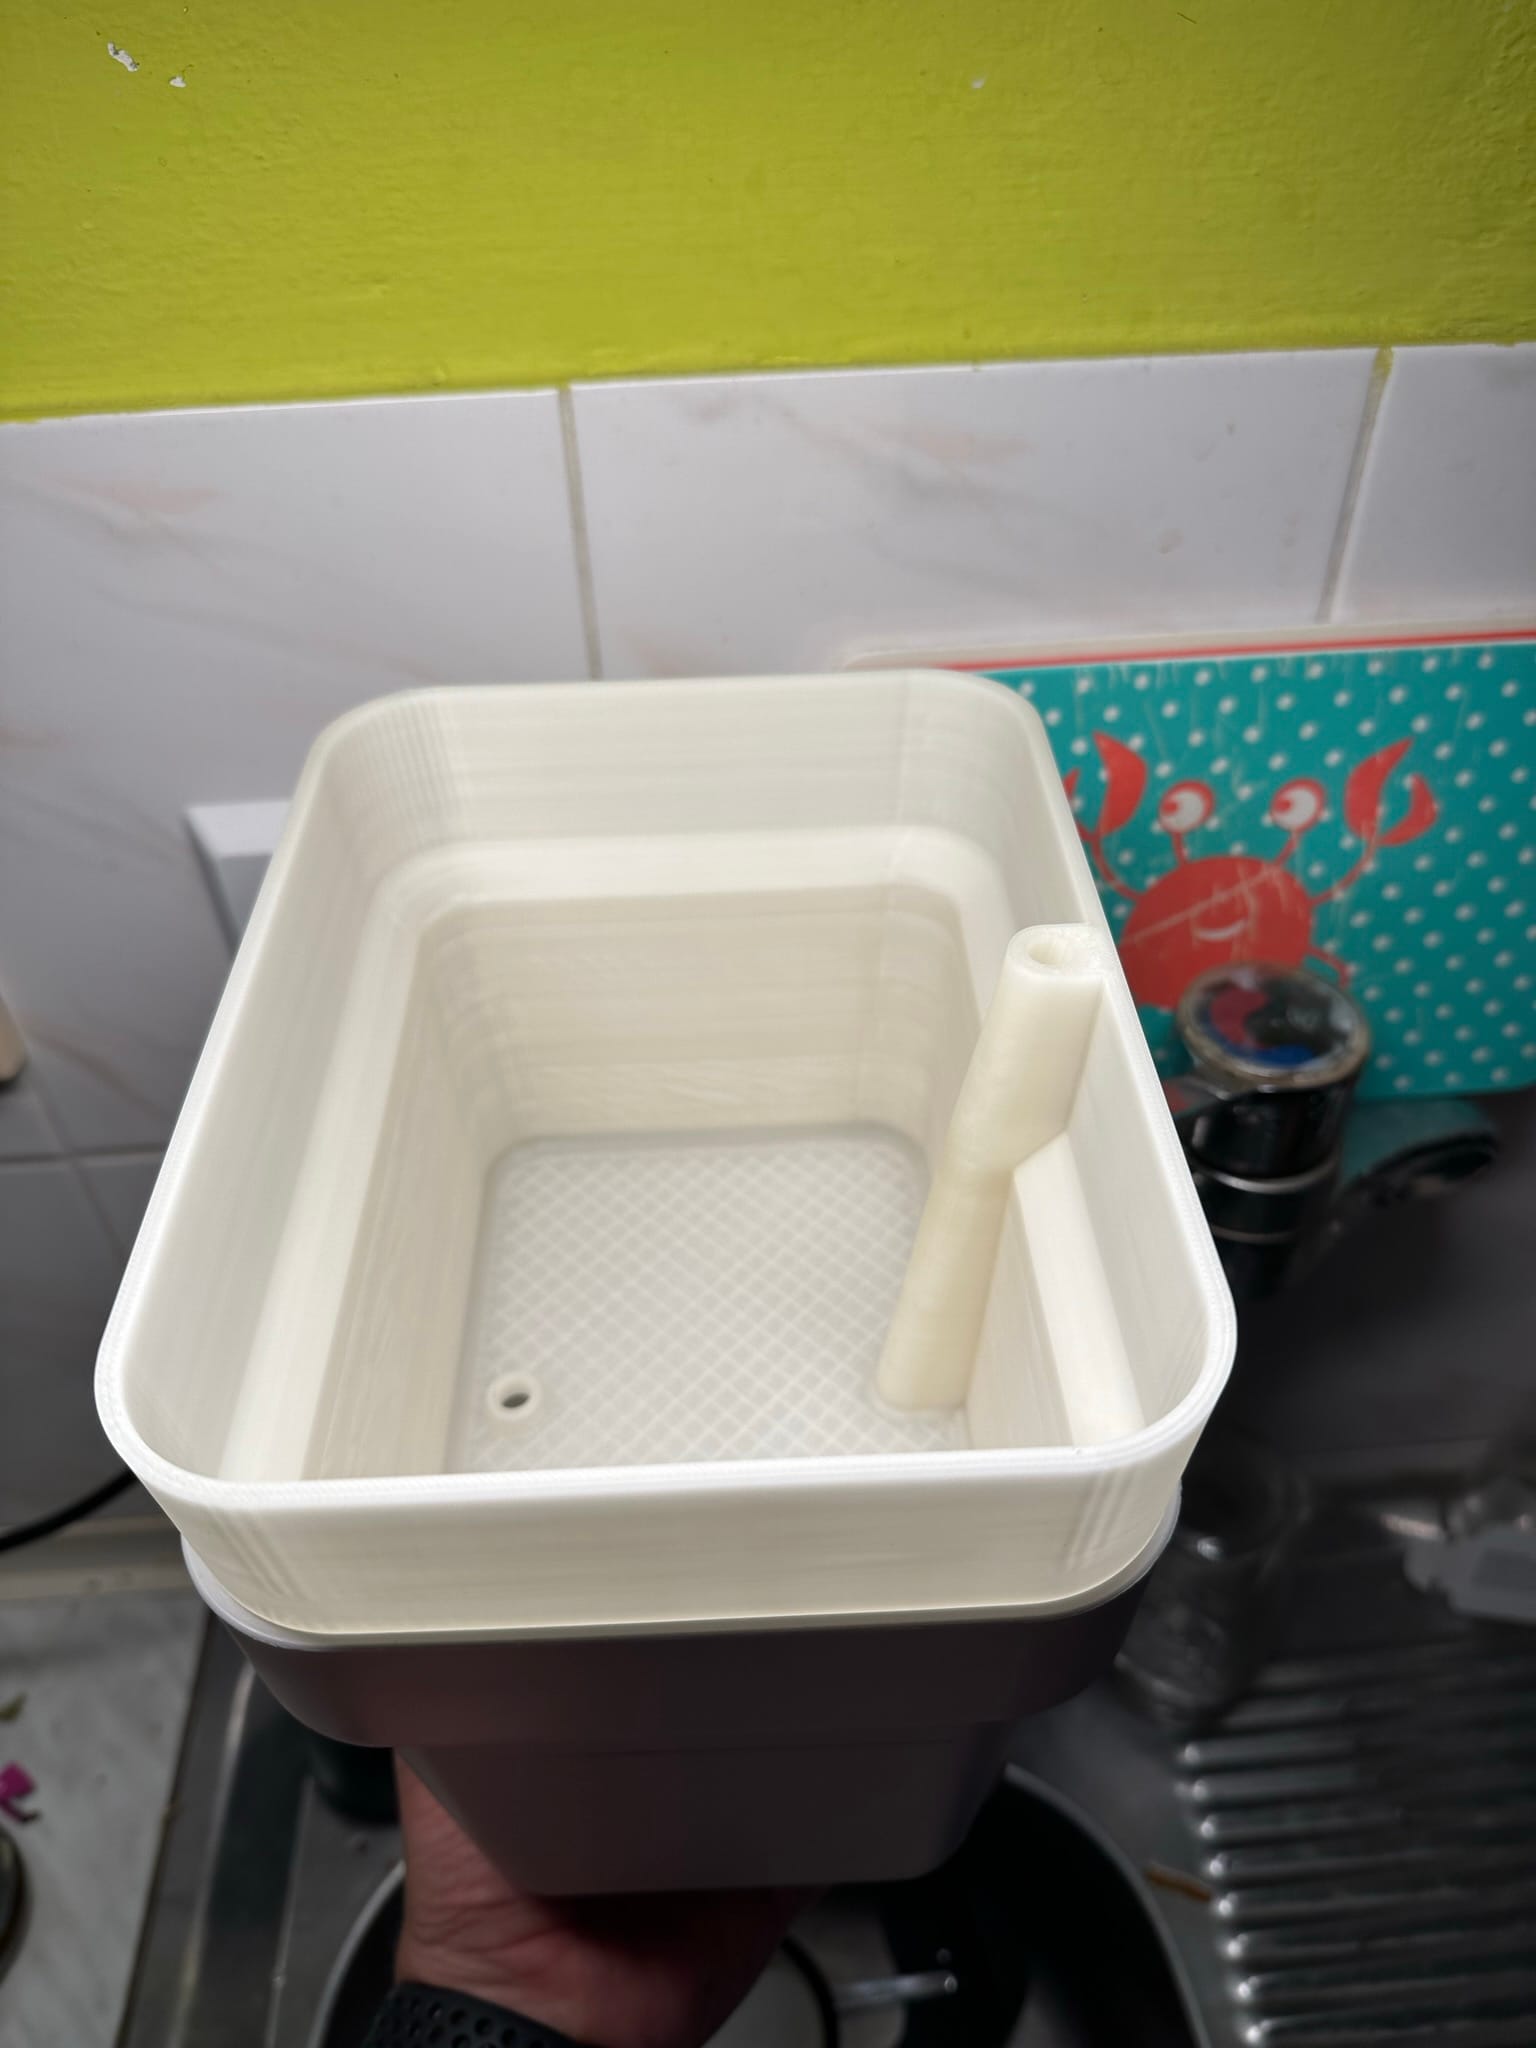
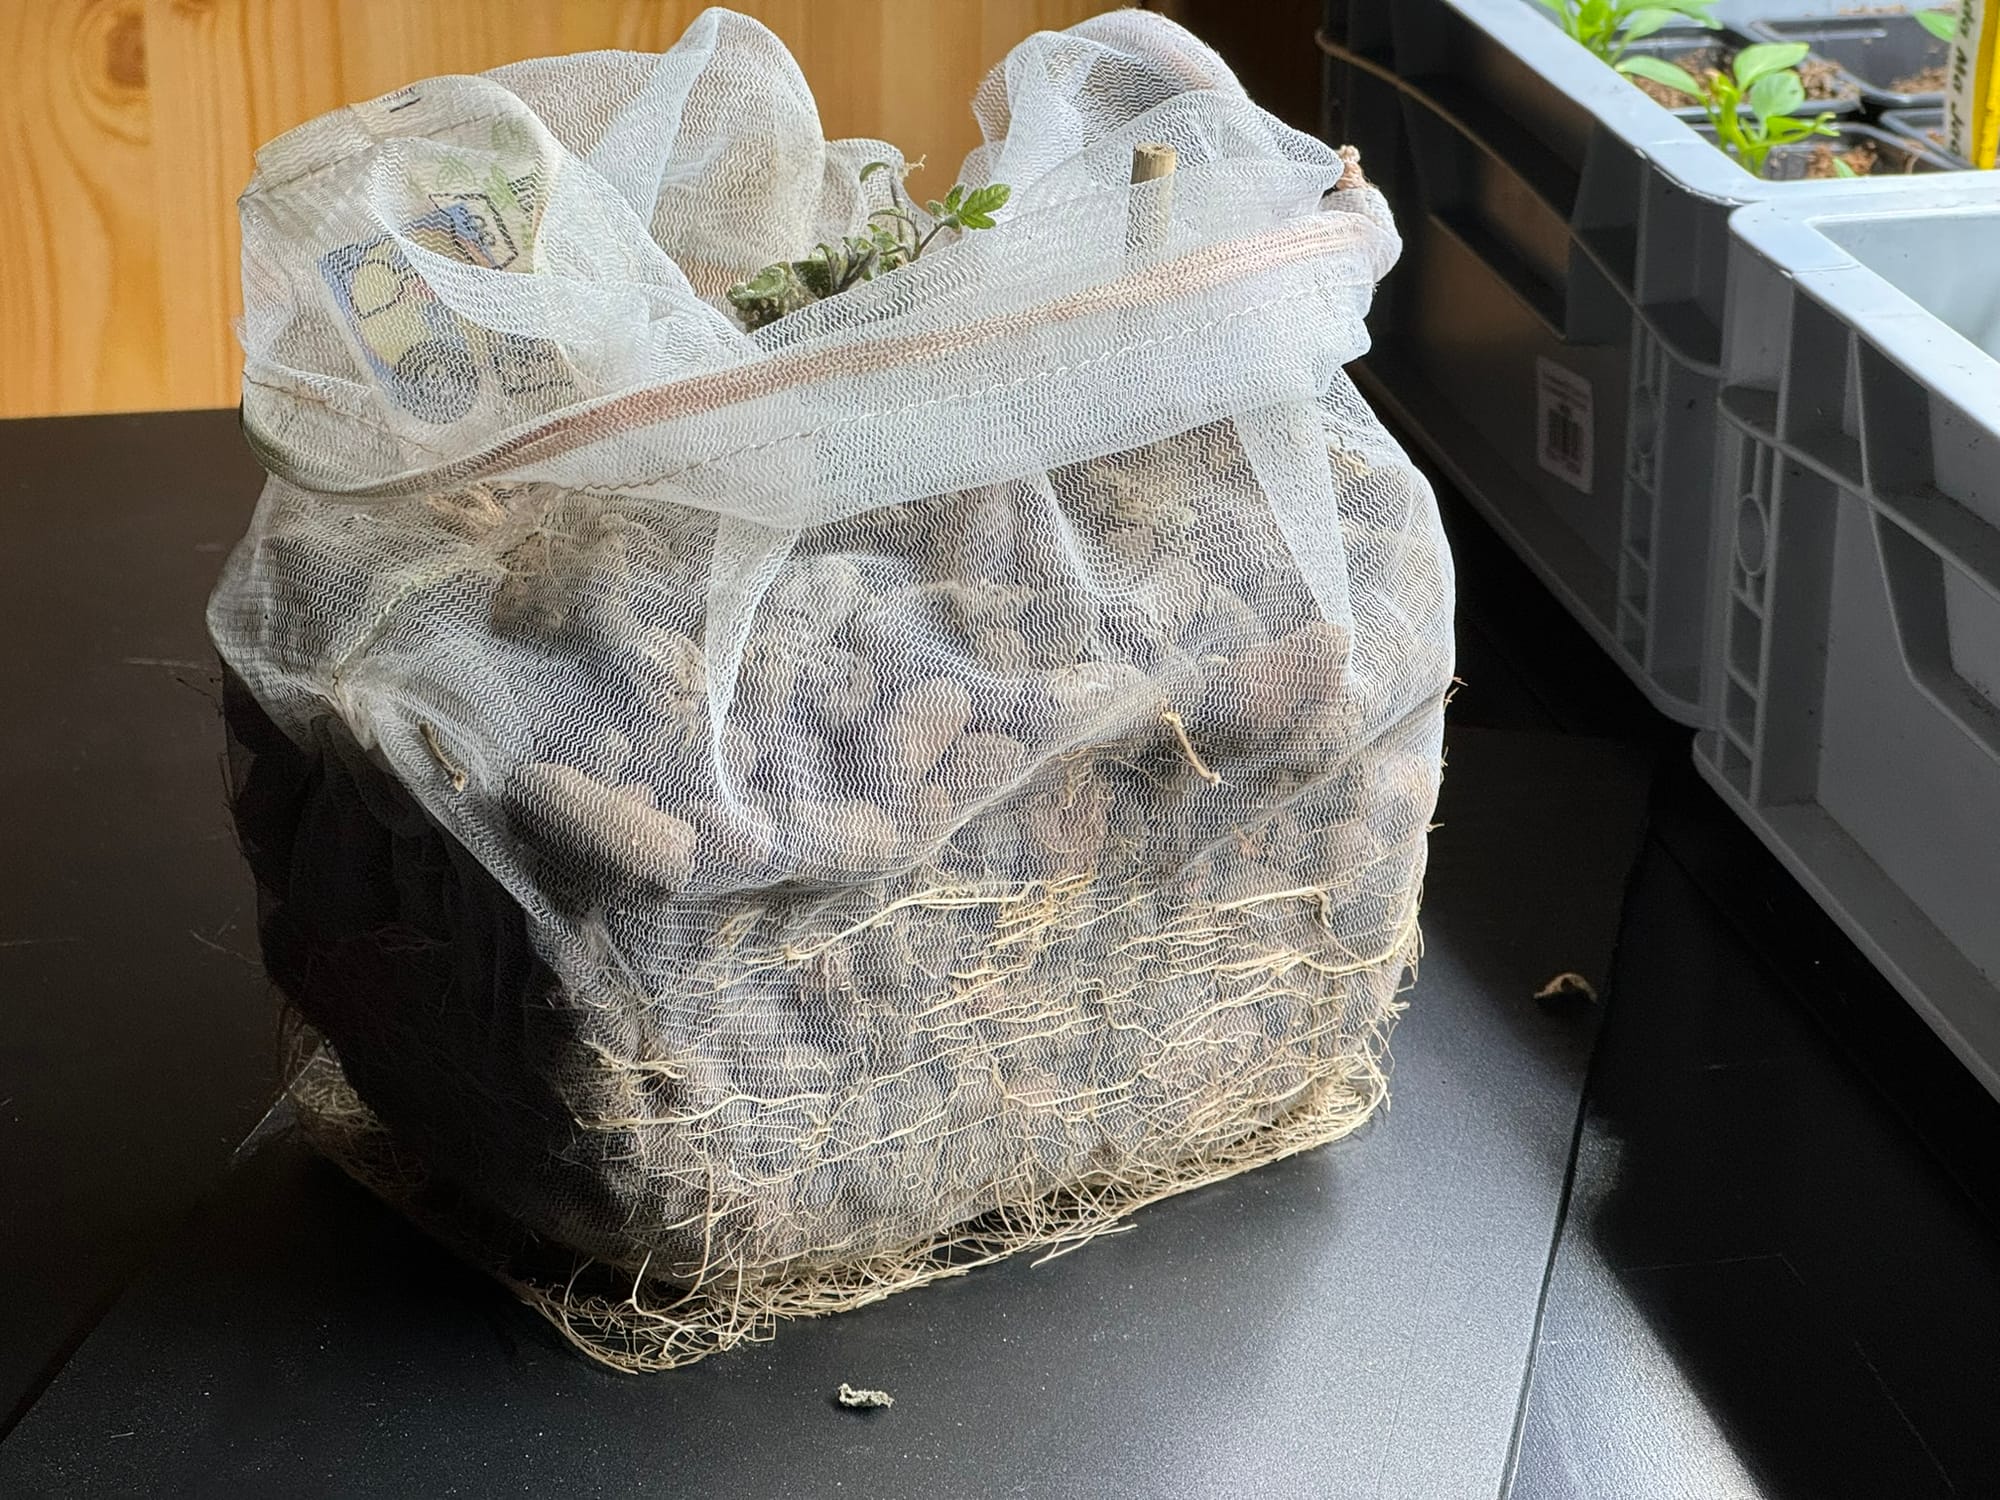
The outlet is raised a little for some water retention to prevent complete drying out. Another improvement I successfully adopted from the internet was to use a reusable fruit bag from a grocery store to hold the grow media. This way, I don’t have to worry about small pebbles making their way to the reservoir and clogging the pump, and it makes the final maintenance much easier, as I can remove the plant with the media together. This design does not decrease the vertical growing area but increases the reservoir volume to a luxurious 1.2 L of nutrients!
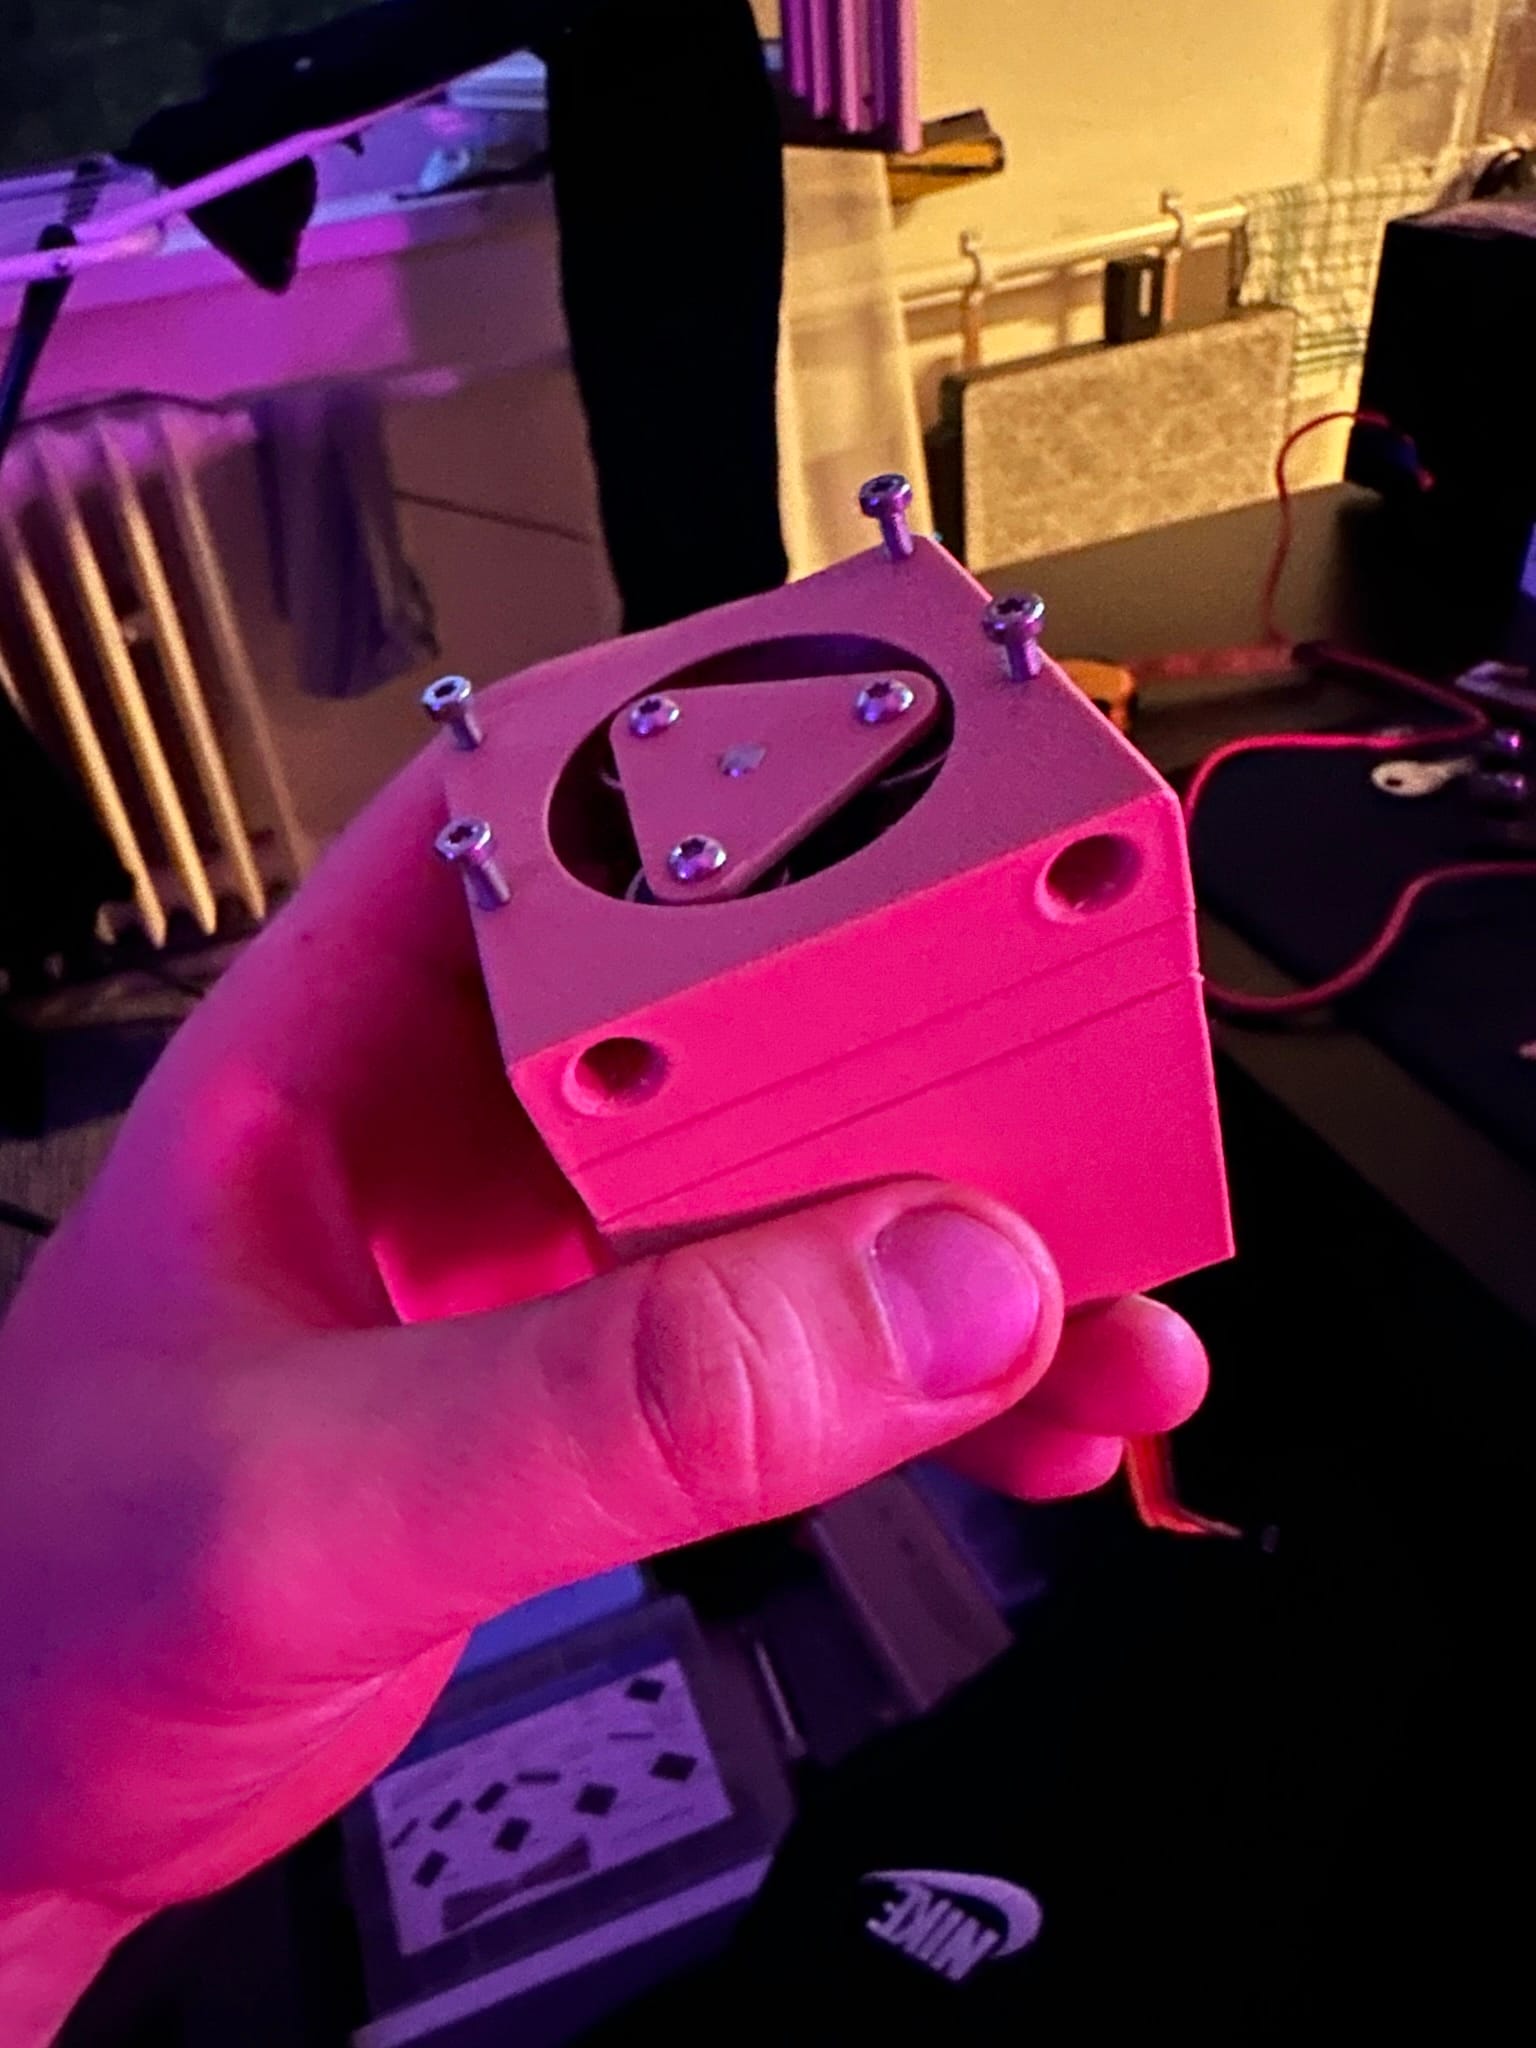
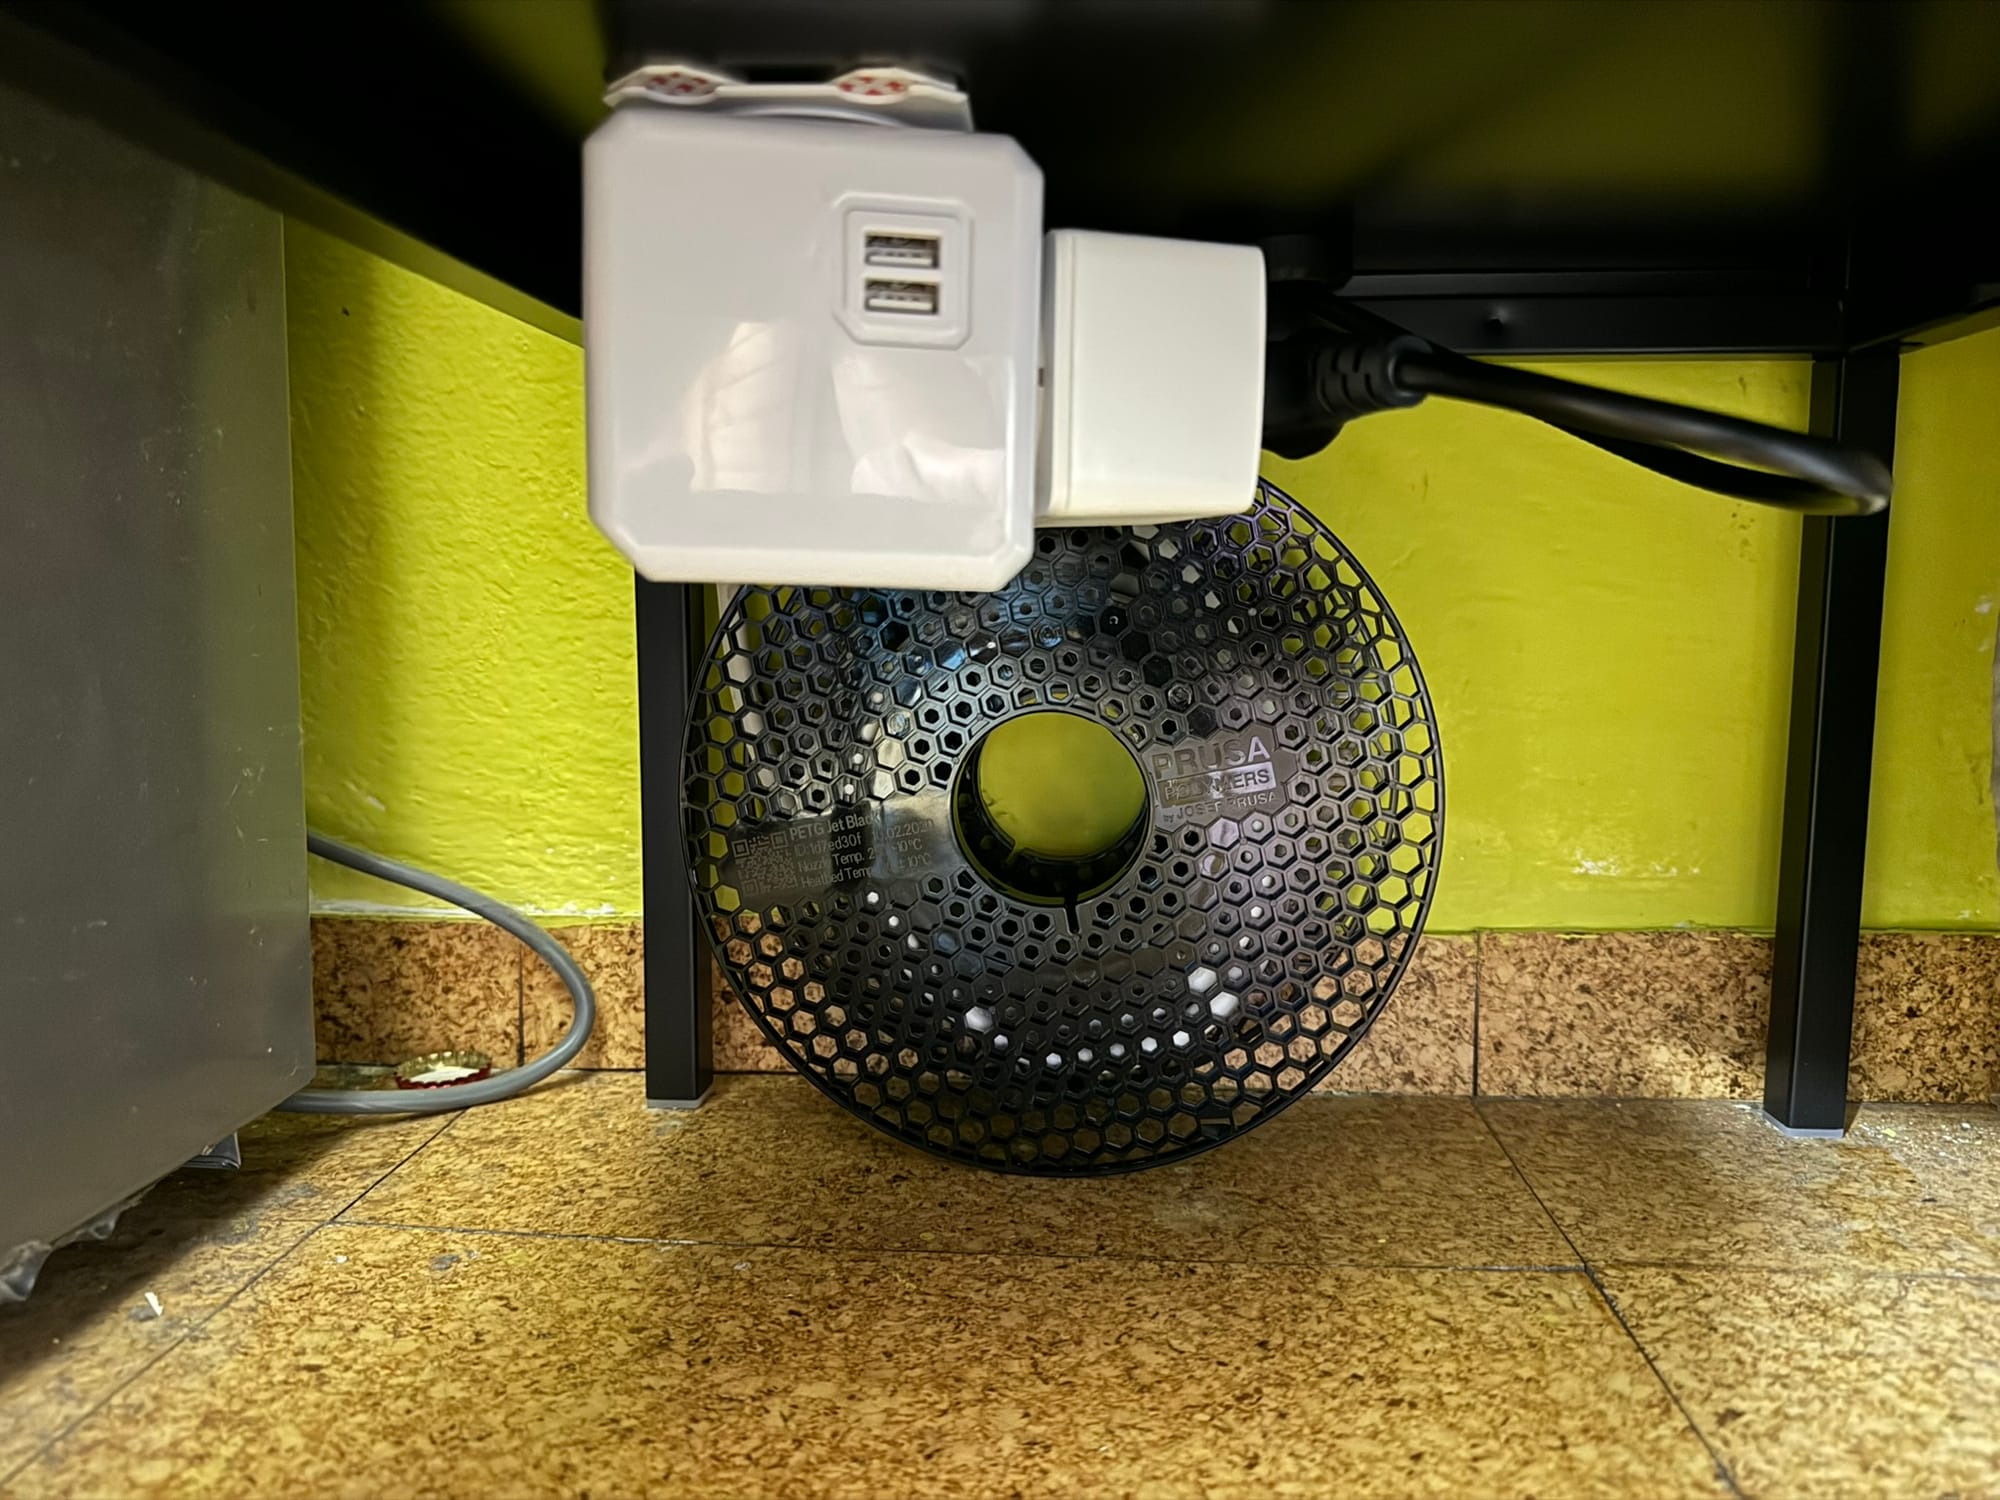
Now let’s move this nutrient somehow. My first idea was to use a peristaltic pump, which I could 3D print as well. I wouldn’t have to submerge the whole pump, just the tube, and I could control the flow rate since I use a stepper motor. But very quickly, after some tests, I abandoned this idea. Not only is the pump heavy, but it is also very power-hungry and loud. Choosing a silent TMC2209 driver helps a little, but not enough. And in the end, do I really need the flow control? I don’t think so. A cheap DC submersible pump will do. I just have to connect it through a MOSFET to have some control over it. And as a very cool side effect of this change, the whole water system can be powered by just 5V! The only thing I need 12V for is the Noctua Redux fan, which will be pushing fresh air into the cabinet.


This is the DC pump I chose in the end
Ventilation is one of many things I don’t know much about, and I'm not sure whether pushing air inside is better than pulling it out. However, having built a few PCs, I thought pushing air in would create positive pressure and eliminate ventilation blind spots. It's worth noting that this approach works in theory when multiple fans push a large amount of air. However, the ultra-low and slow single 12” Noctua Redux is probably too weak to create any significant pressure, so the main benefit I’ve observed was reduced dust collection inside.


This fan can reach as low as 7dB(A)
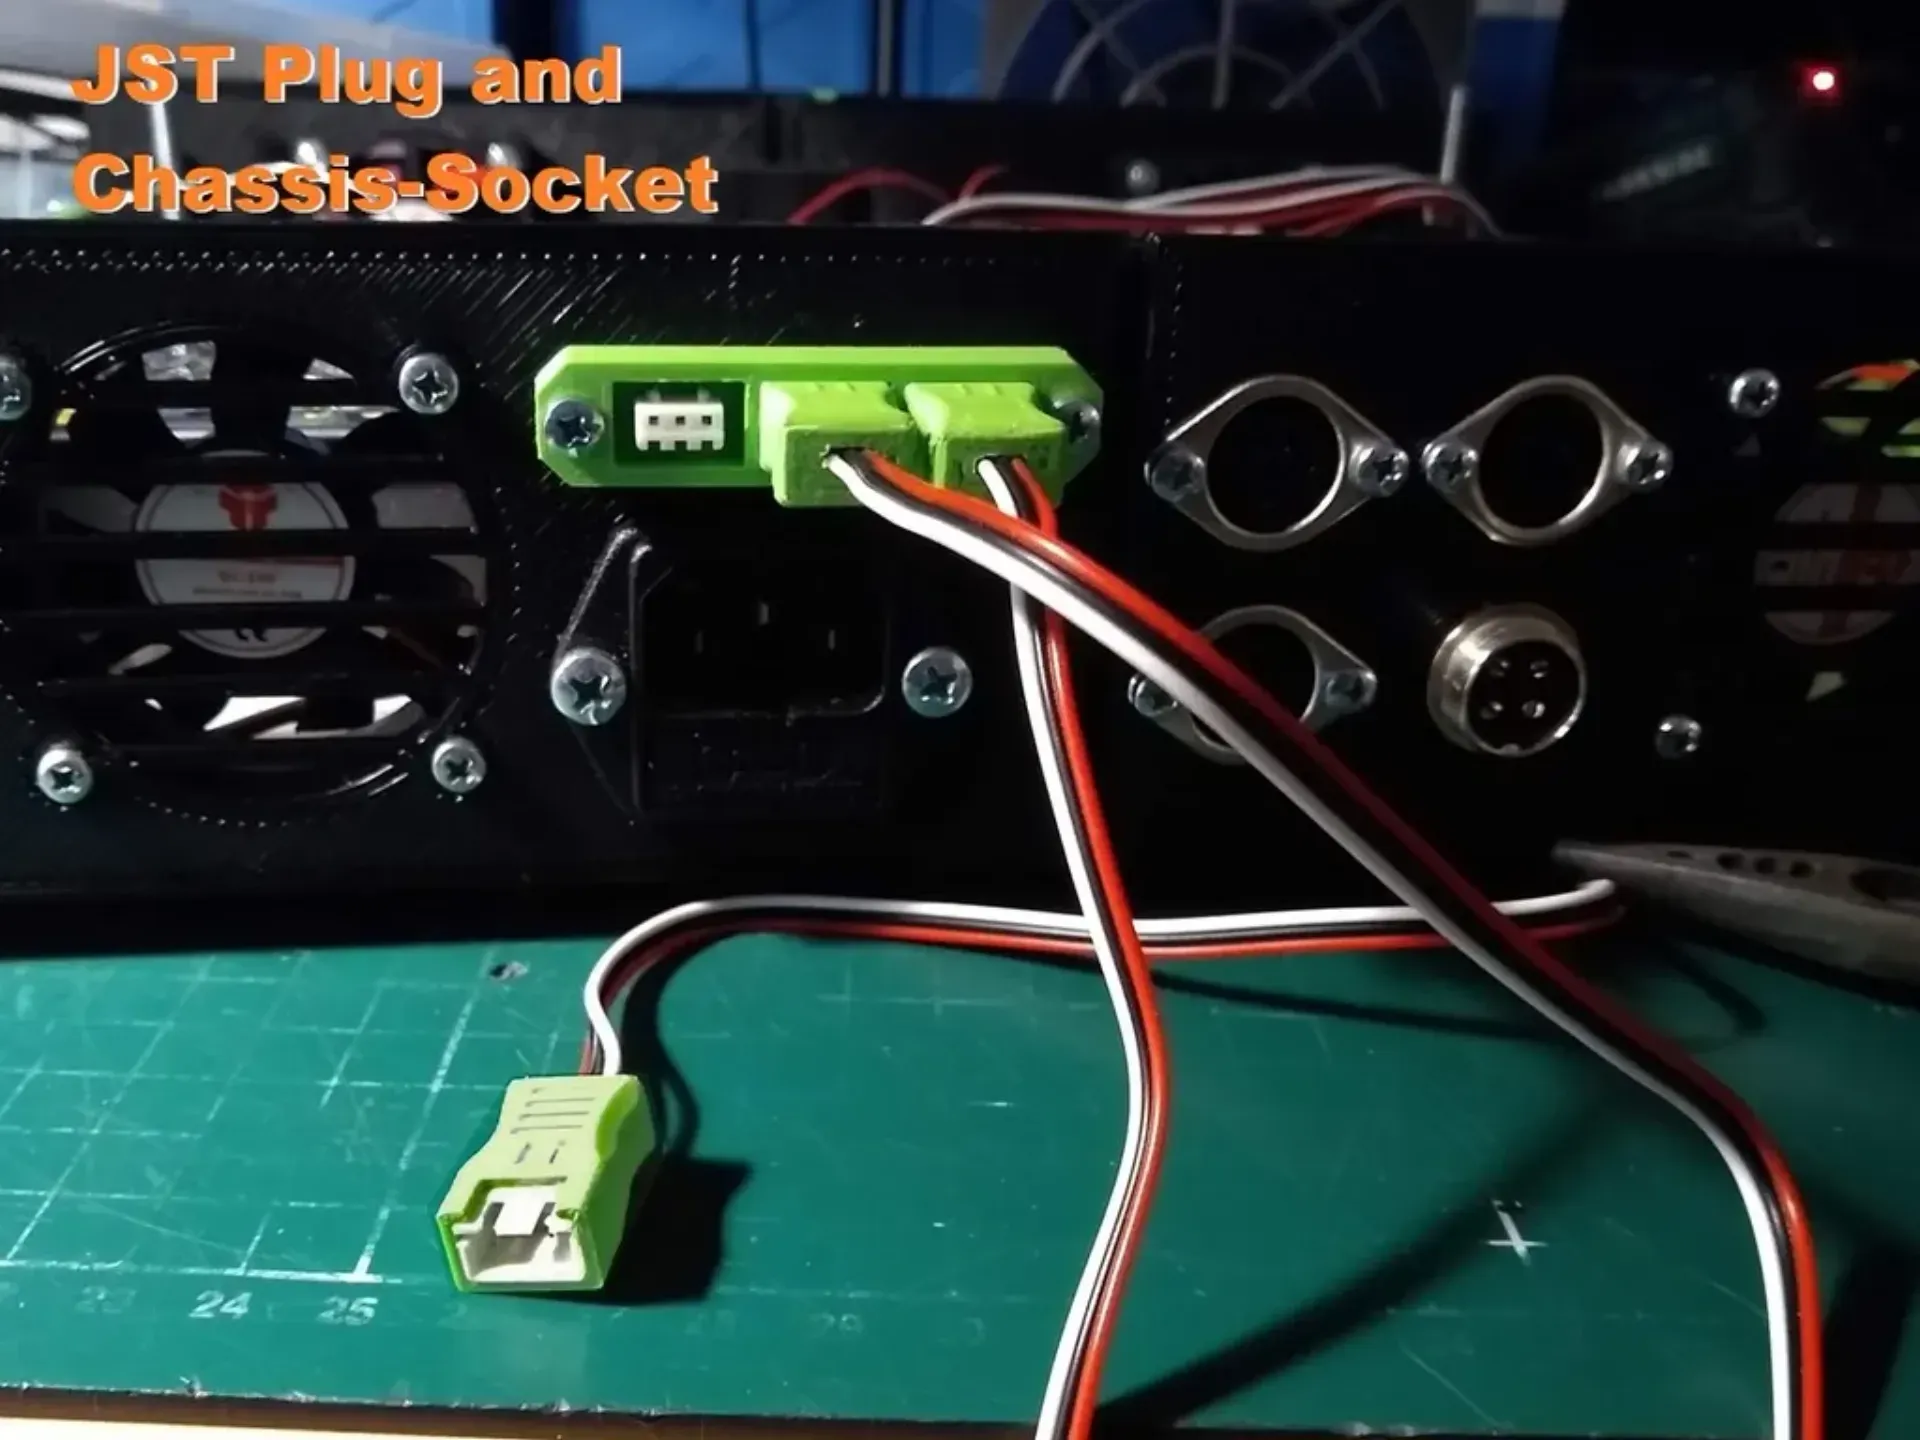
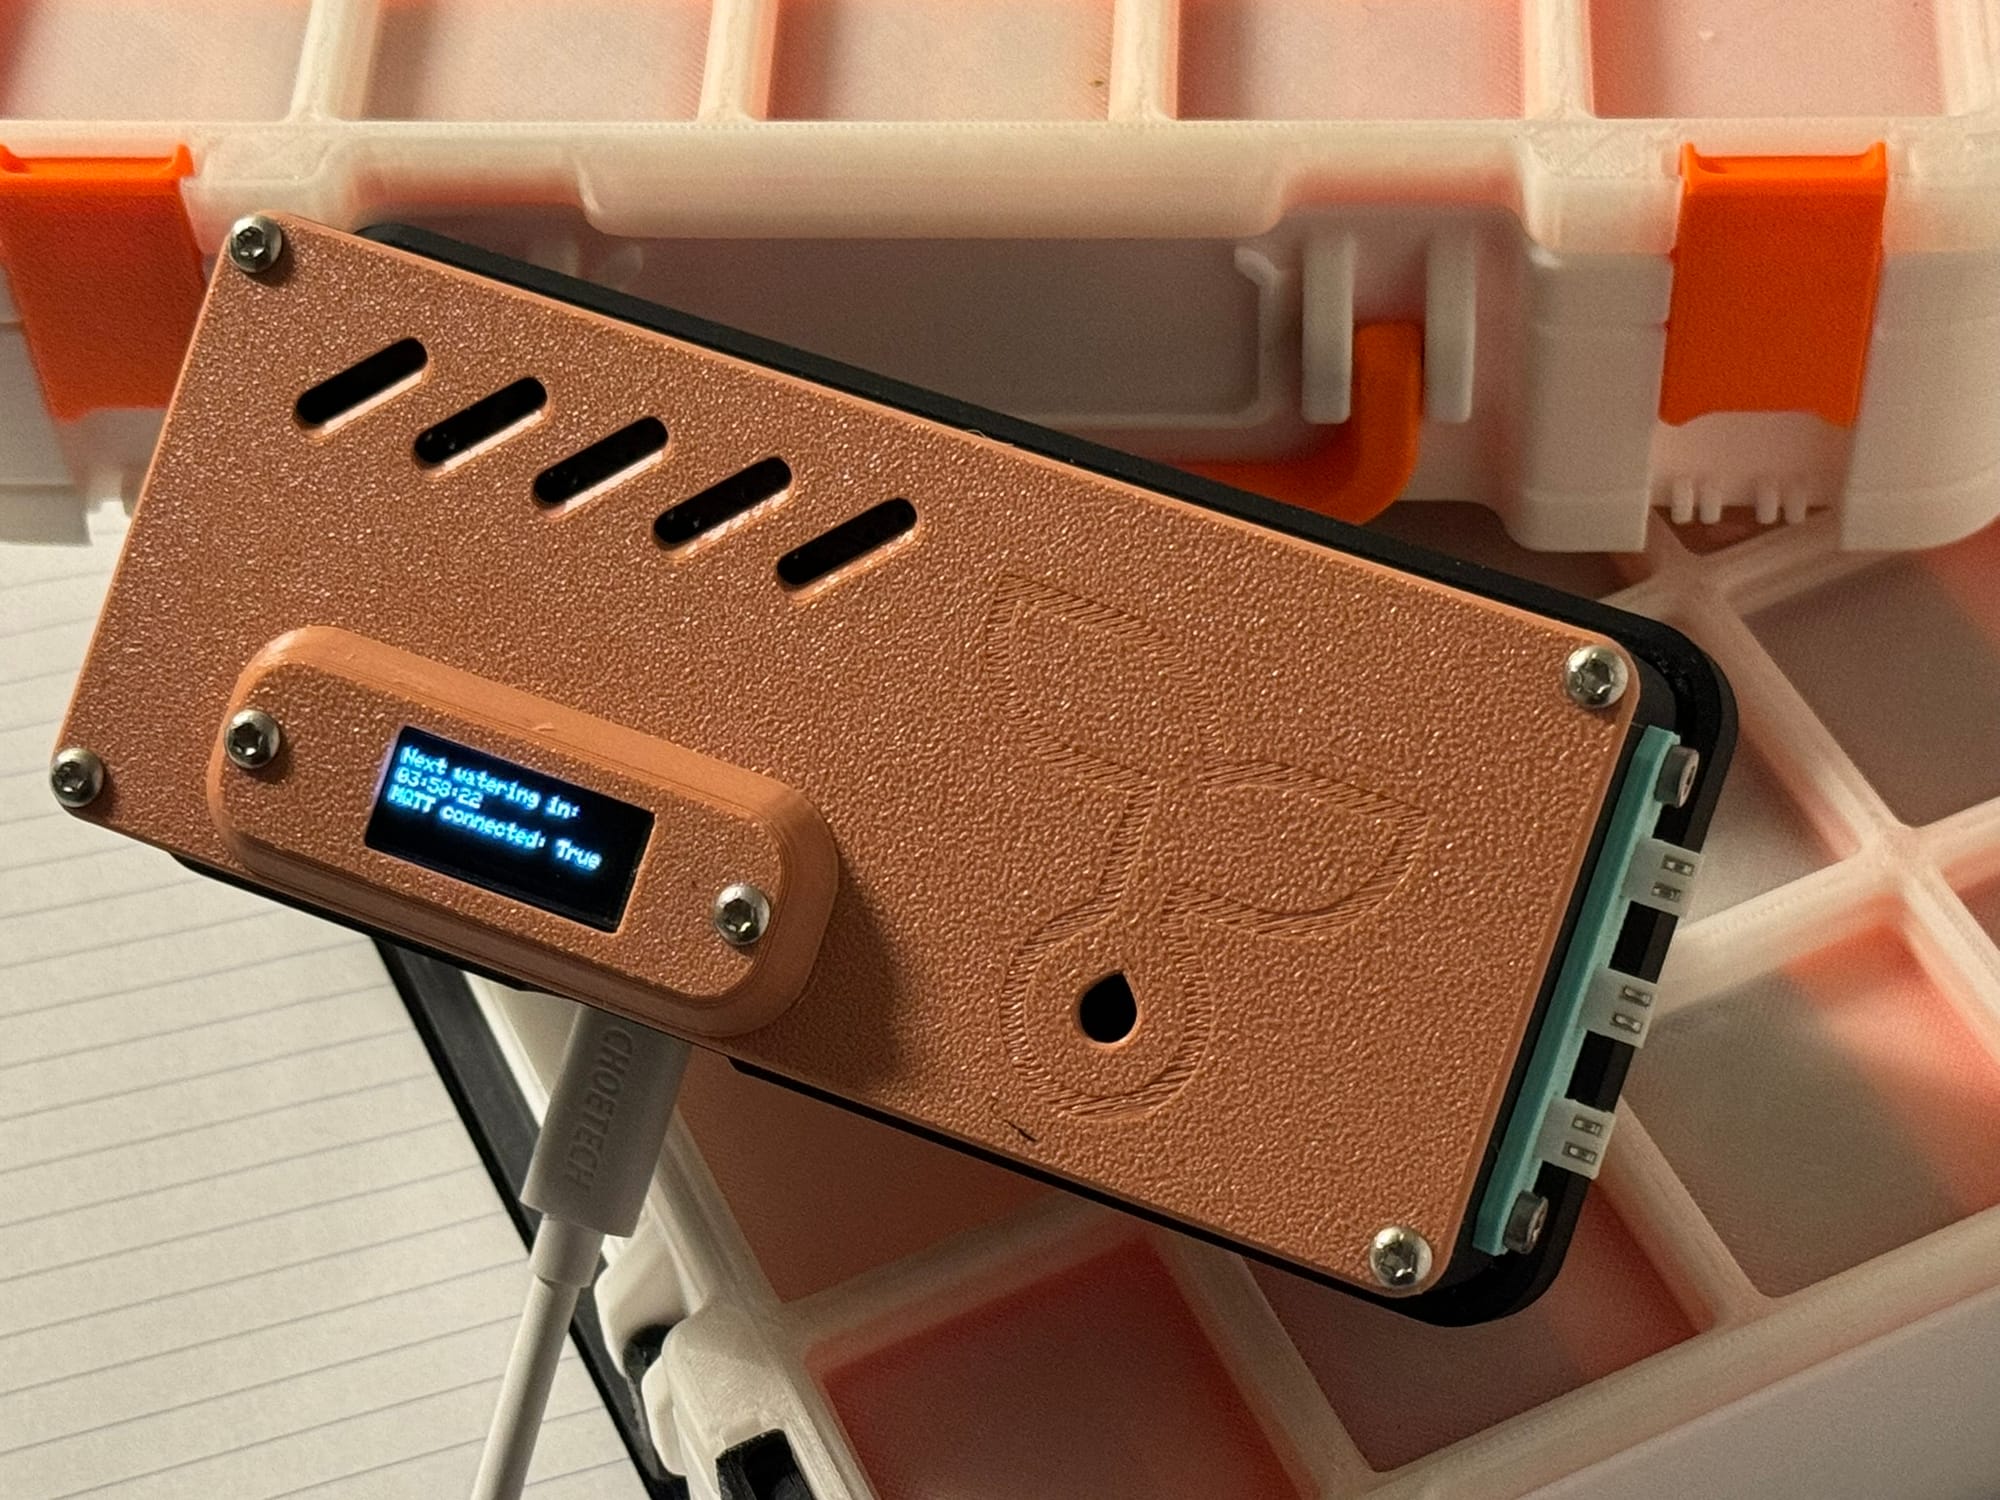
The watering is controlled by a Raspberry Pi Pico W connected to pumps through a single MOSFET controlling both pumps, the ventilation is not controlled at all, and it’s on all the time. The Pico is then accompanied by a small informative OLED display that shows the next watering phase and whether it succeeded in connecting to the MQTT broker. The MQTT is used to publish the current status, and liveness of the system, and to configure the period and interval of each watering cycle, which is then stored for offline use in case of a networking issue or power outage, a feature I had to implement after learning the hard way why it’s a good idea. The whole thing is then neatly tucked into a 3D-printed case with magnets. The peripherals are connected through JST-XH connectors, which are not really suitable for this, but I’ve found a great 3D-printed model that turns these male and female connectors into panel-mounted sockets.
The light is controlled by a smart outlet. I was thinking for a while about utilizing a solid-state relay and using the Pico to switch the light on and off, but that would mean fiddling with mains power. I would need to properly ground the cabinet, and since my apartment is fitted with a TN-C network with PEN wiring only I would have to add a residual-current circuit breaker to the cabinet manually. And that’s a lot of work I am too lazy to do, so a smart outlet it is.
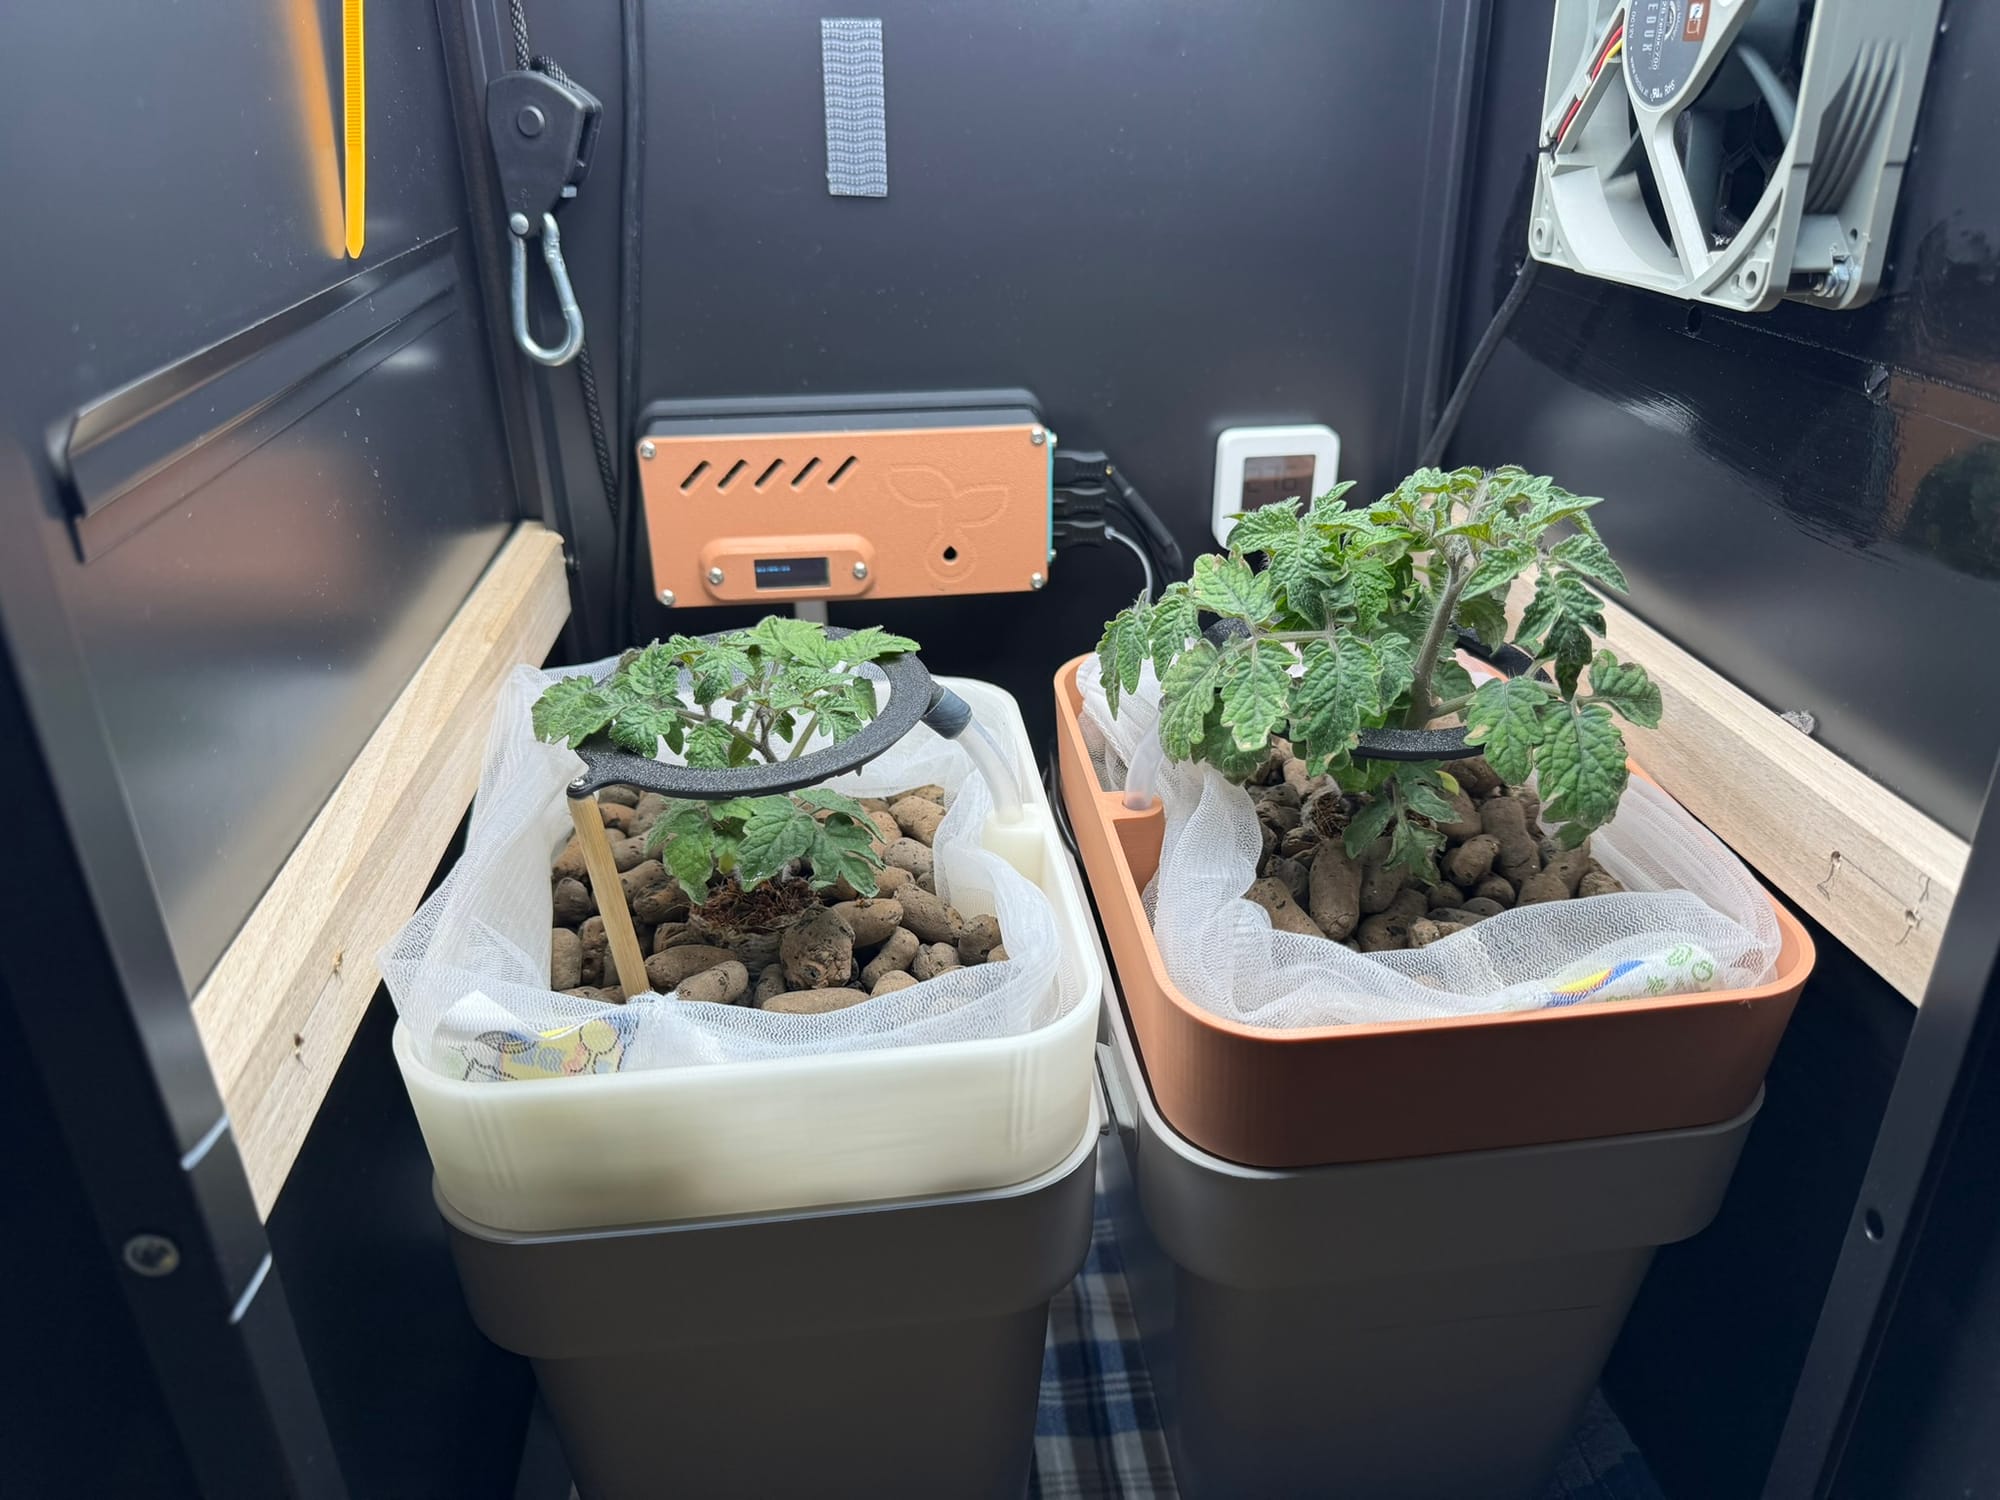
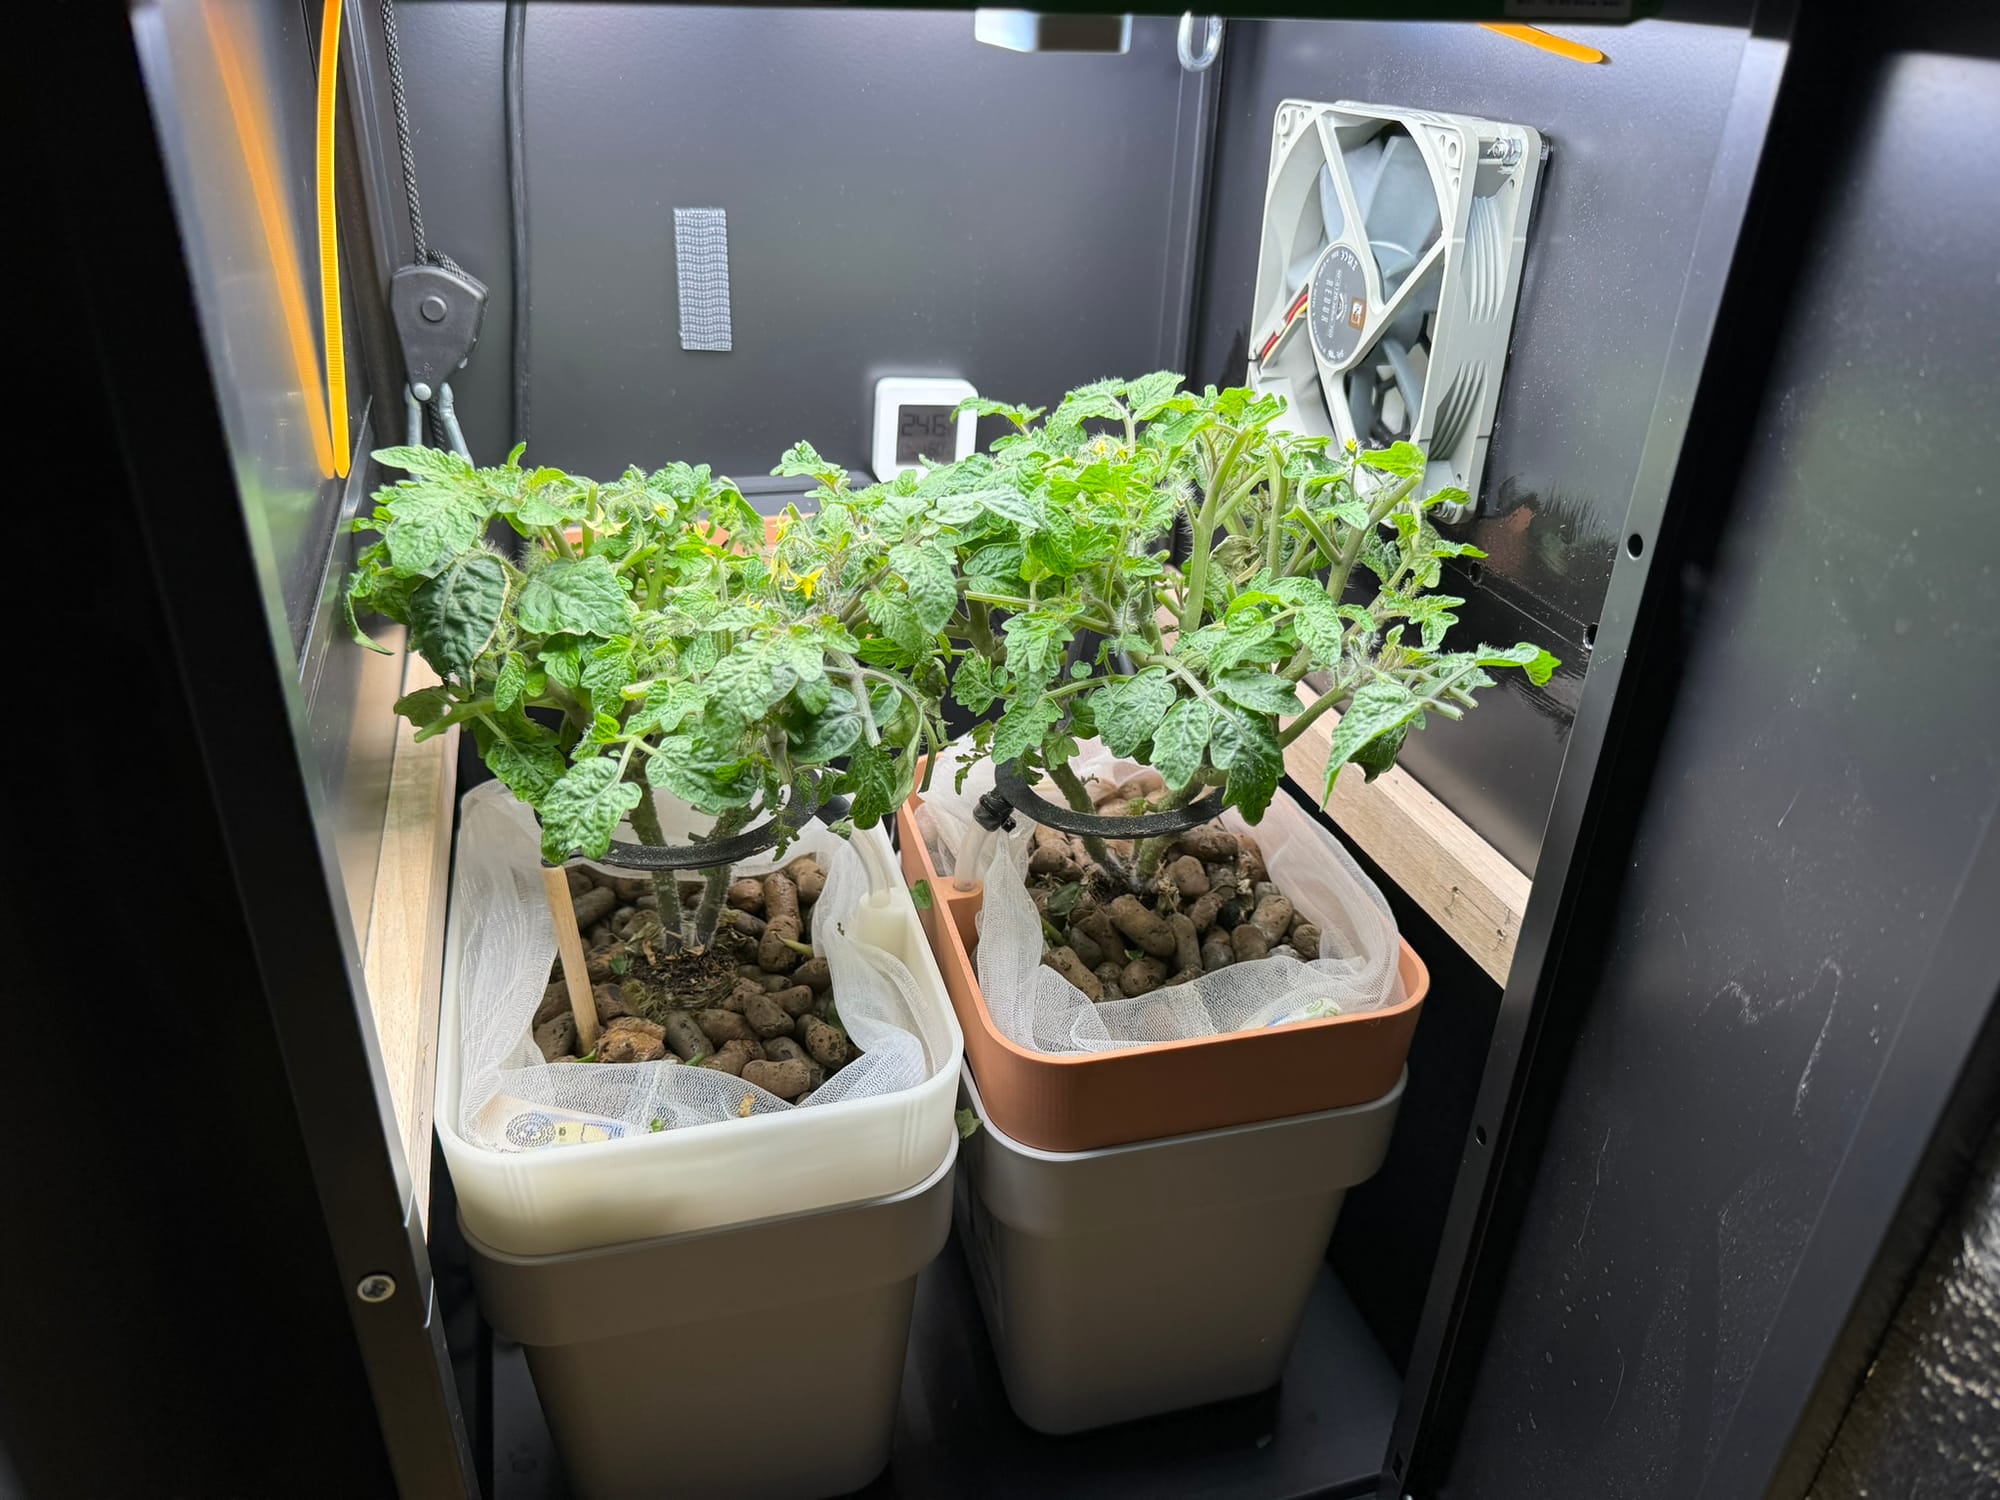
Ready for plants!
plant growth and future enhancements
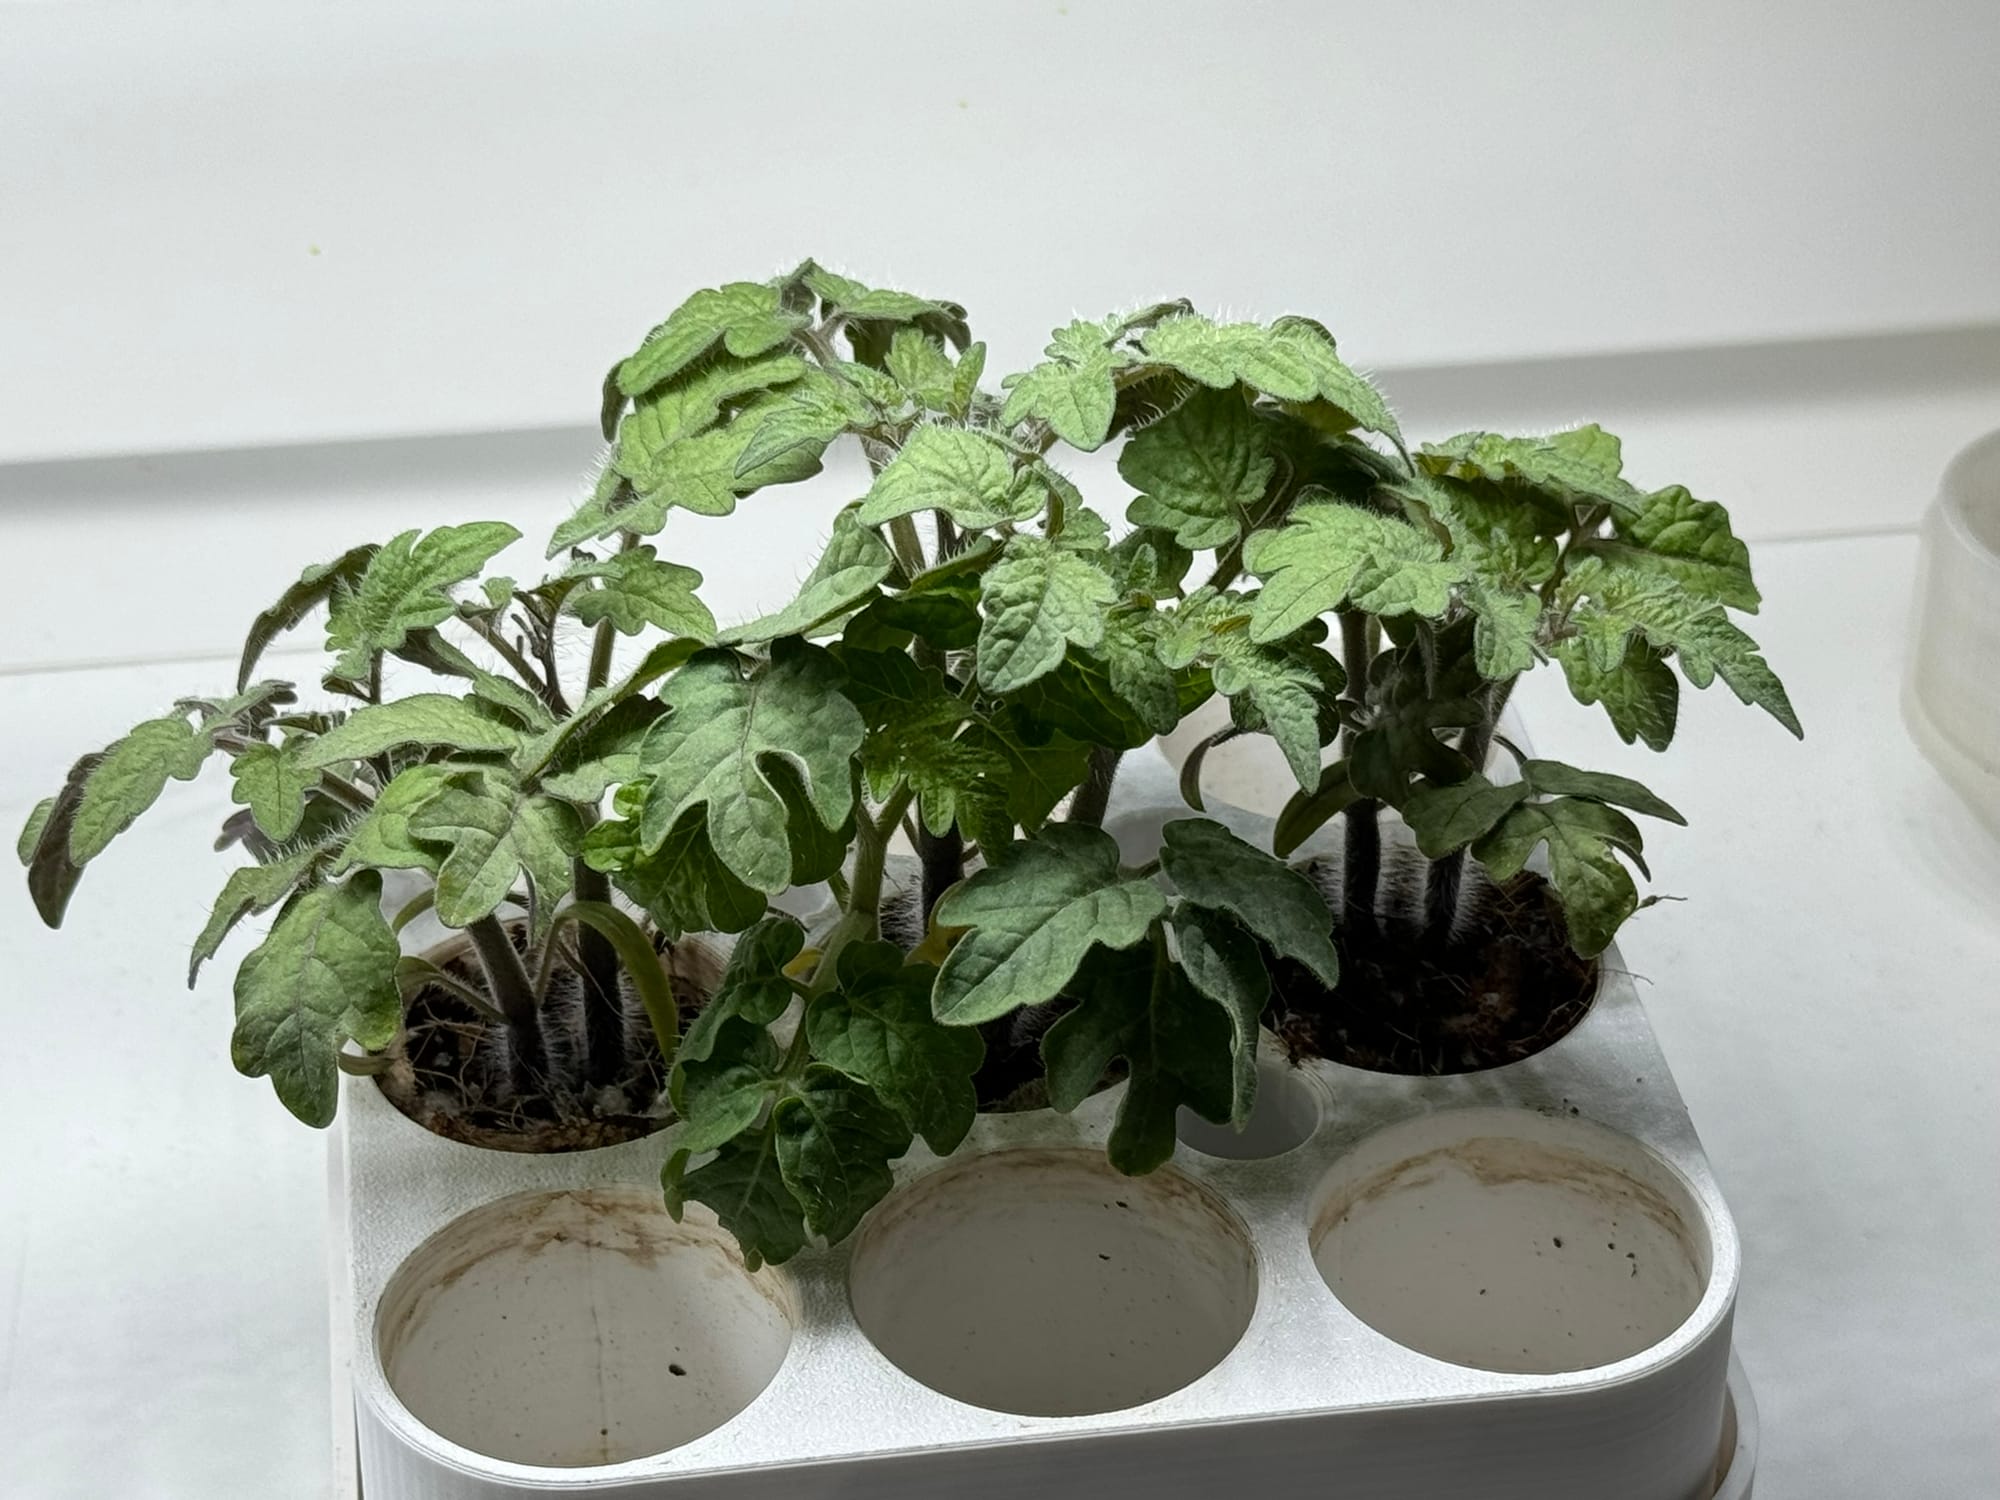
My initial plan was to grow strawberries in the system because of their low headspace requirements; however, the store-bought strawberries did not survive transplantation into hydroponics. They died. So, I had to figure out a plant that could grow in the system within the available space. Options were narrowed down to Micro-Tom tomatoes and Zimbabwe Birdseye chilies. I have virtually zero experience with growing peppers hydroponically though I do have some experience growing tomatoes and coincidentally had some freshly sprouted seeds I was testing for germination.
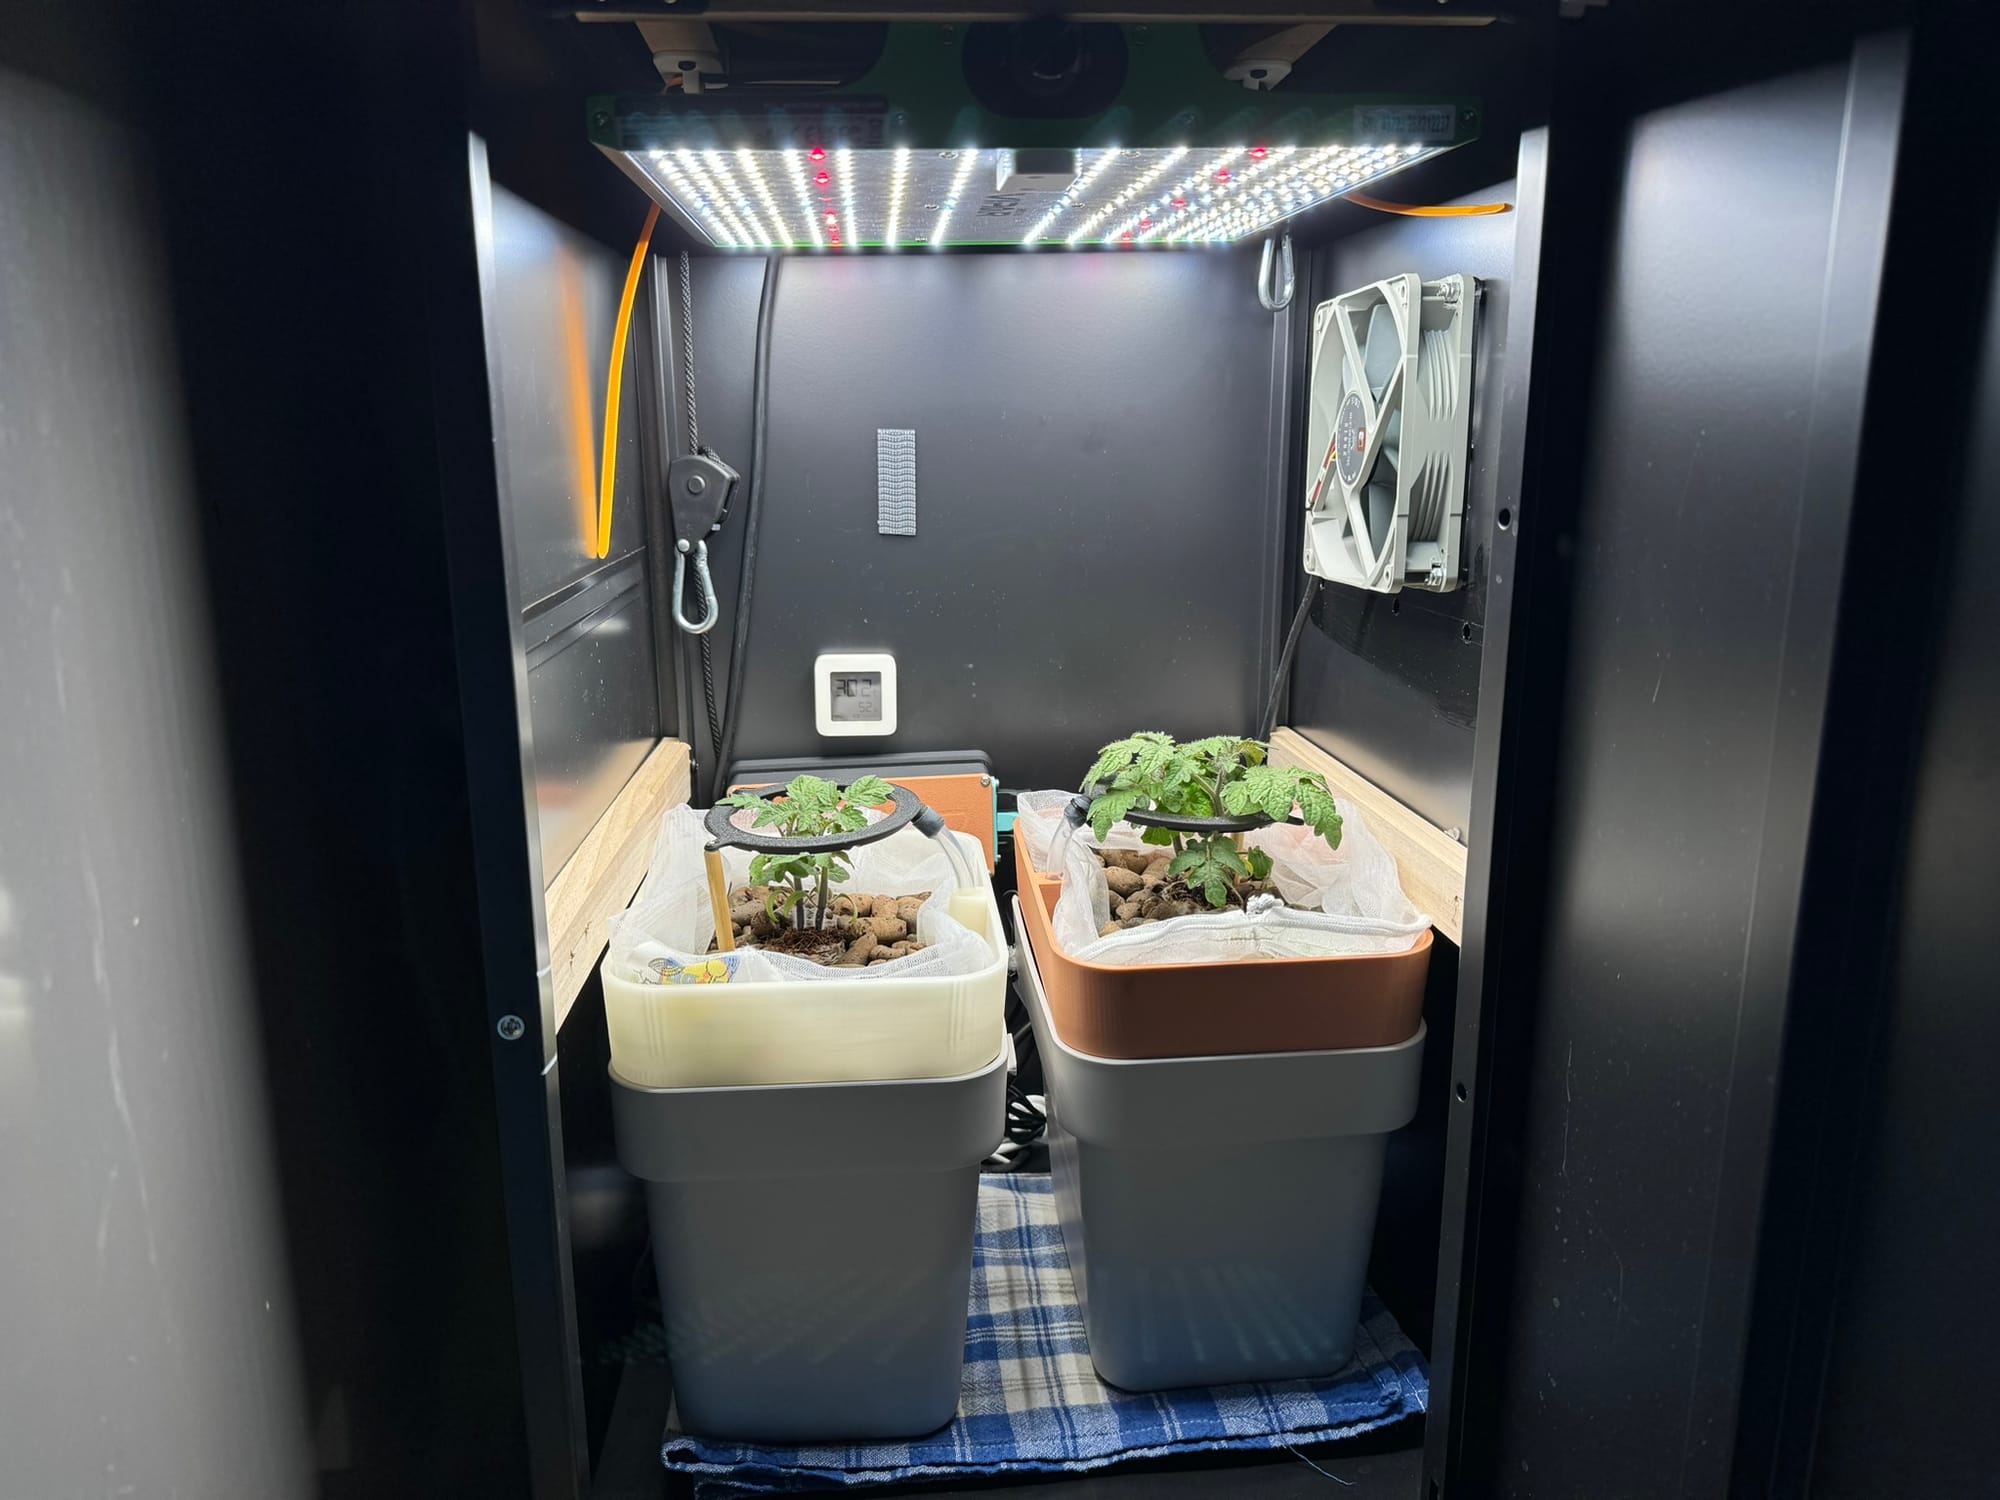
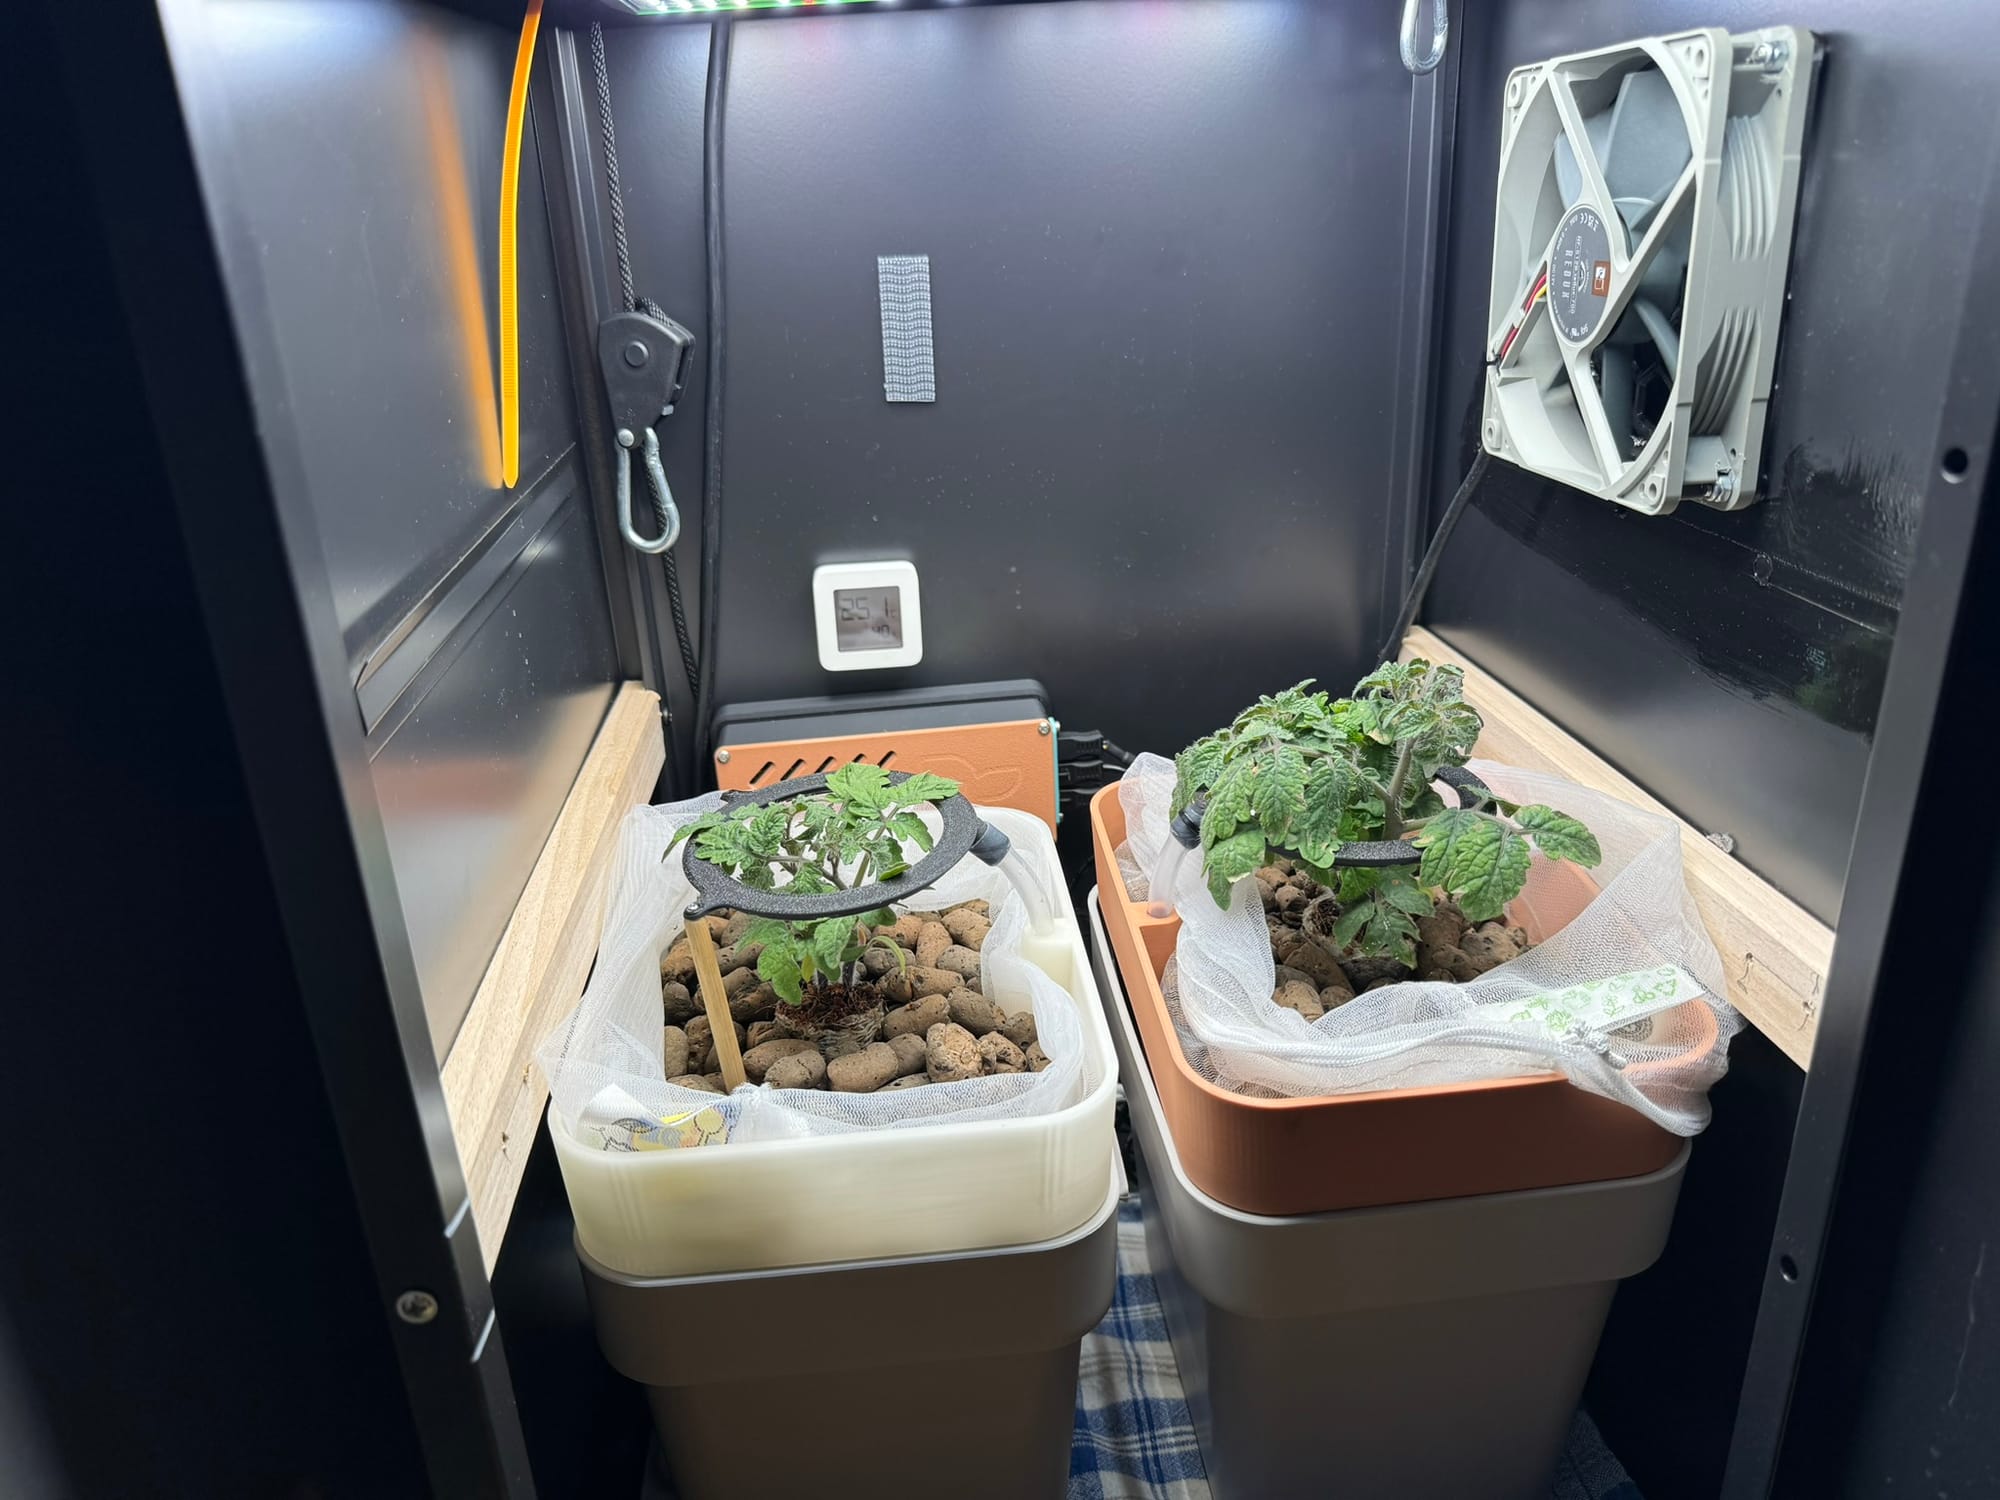
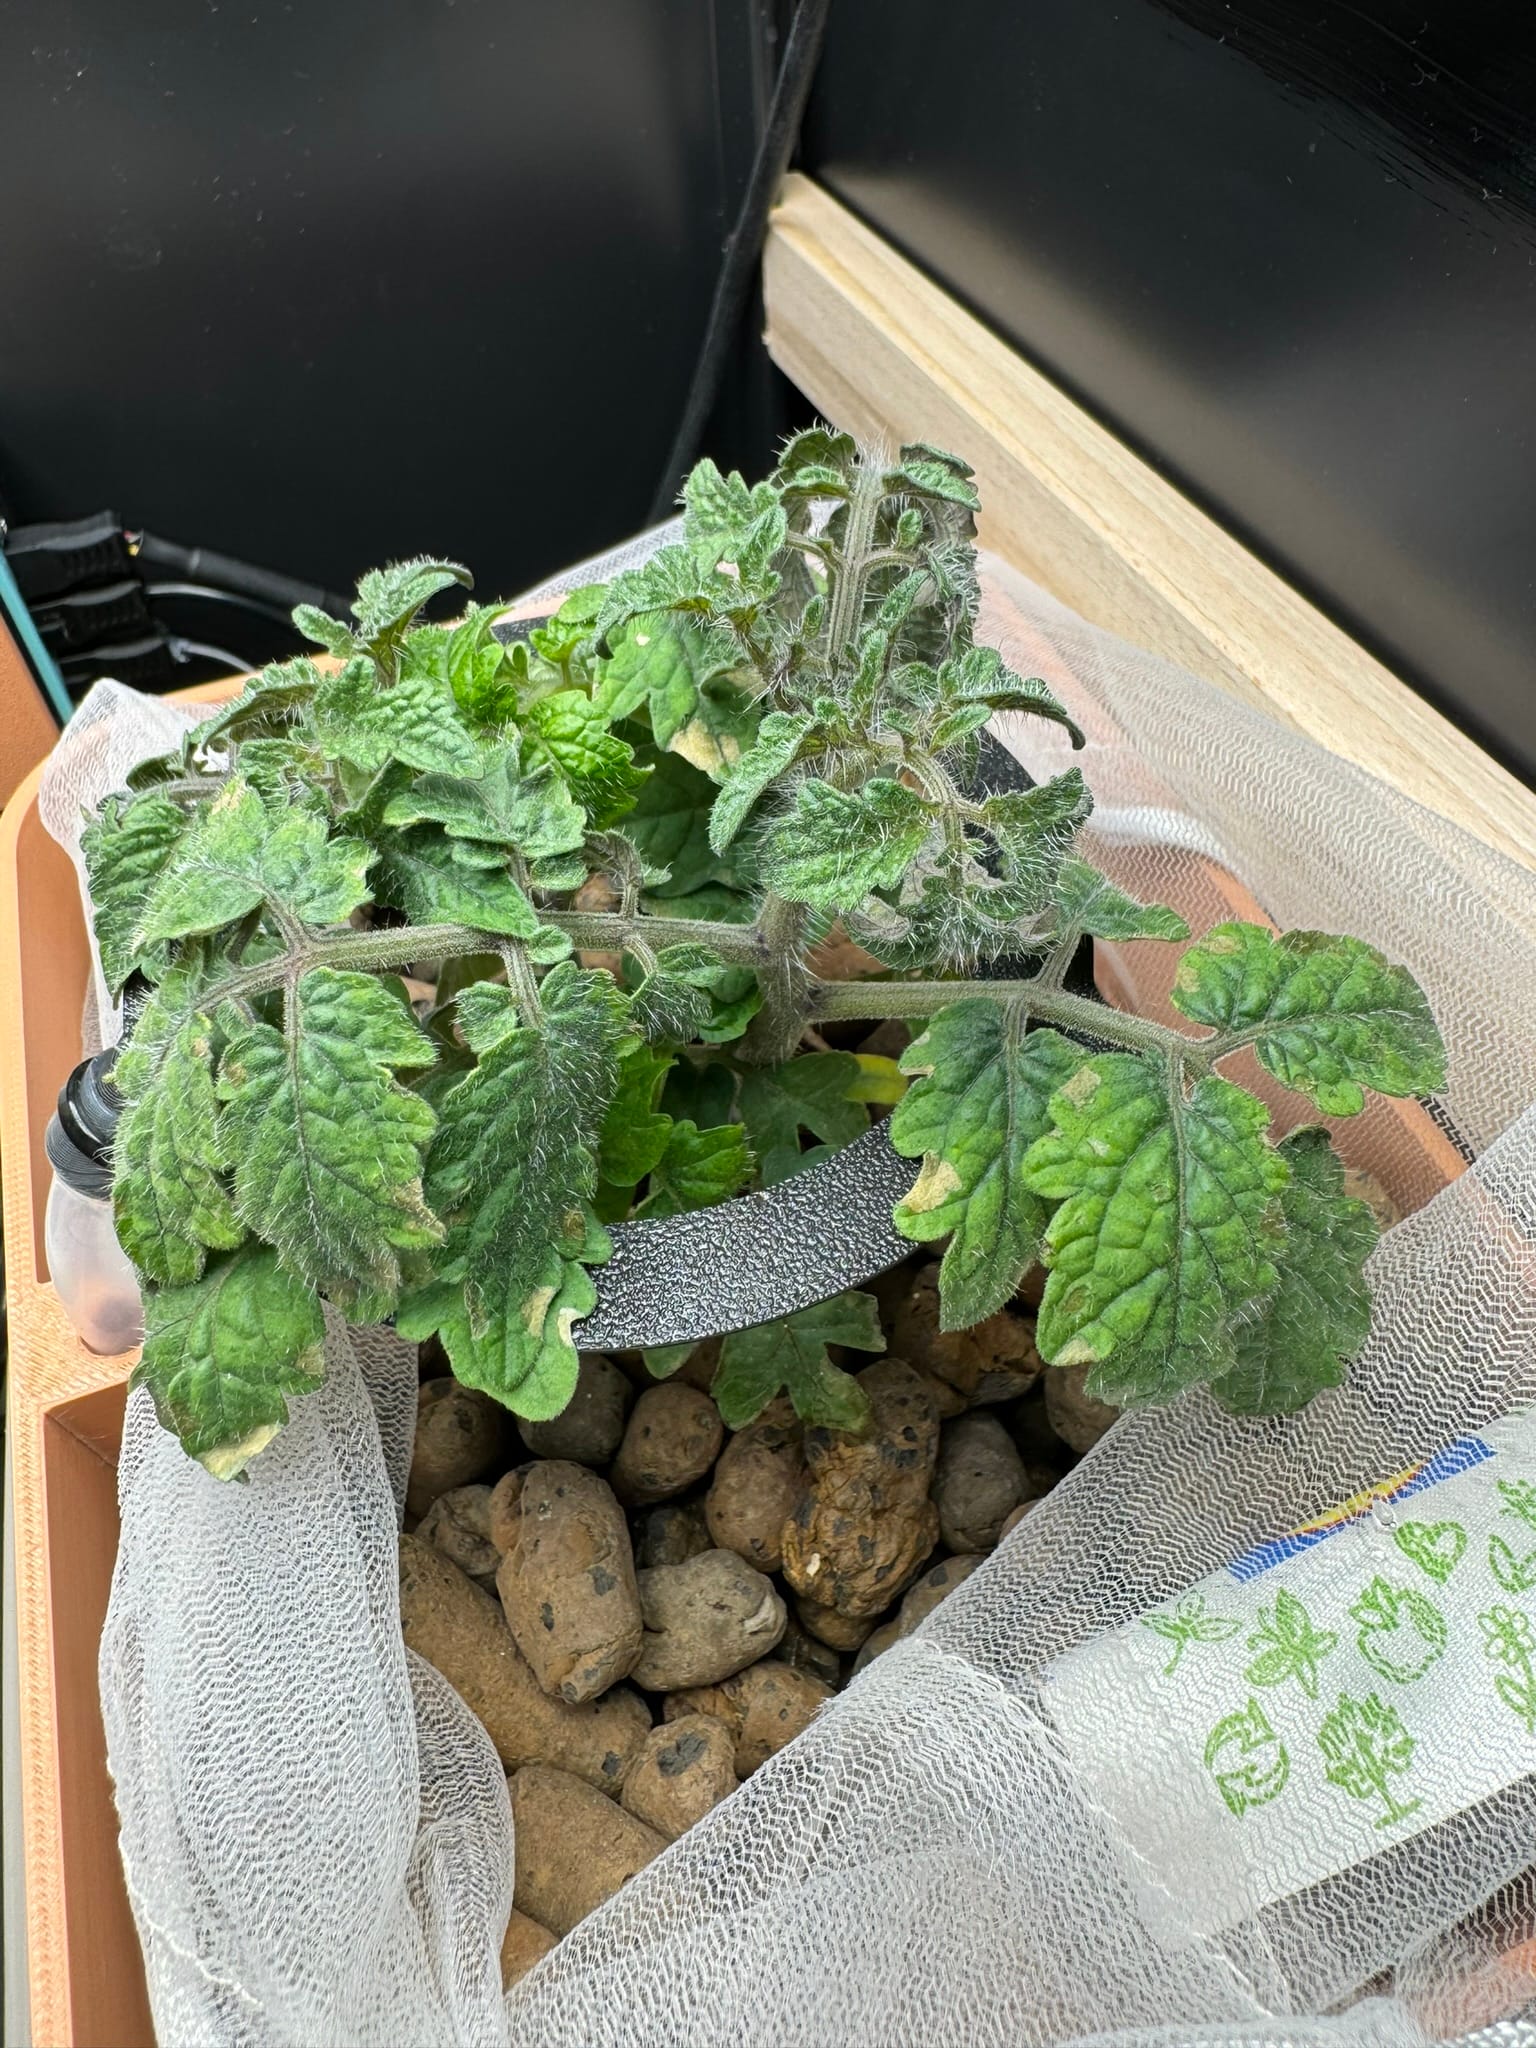
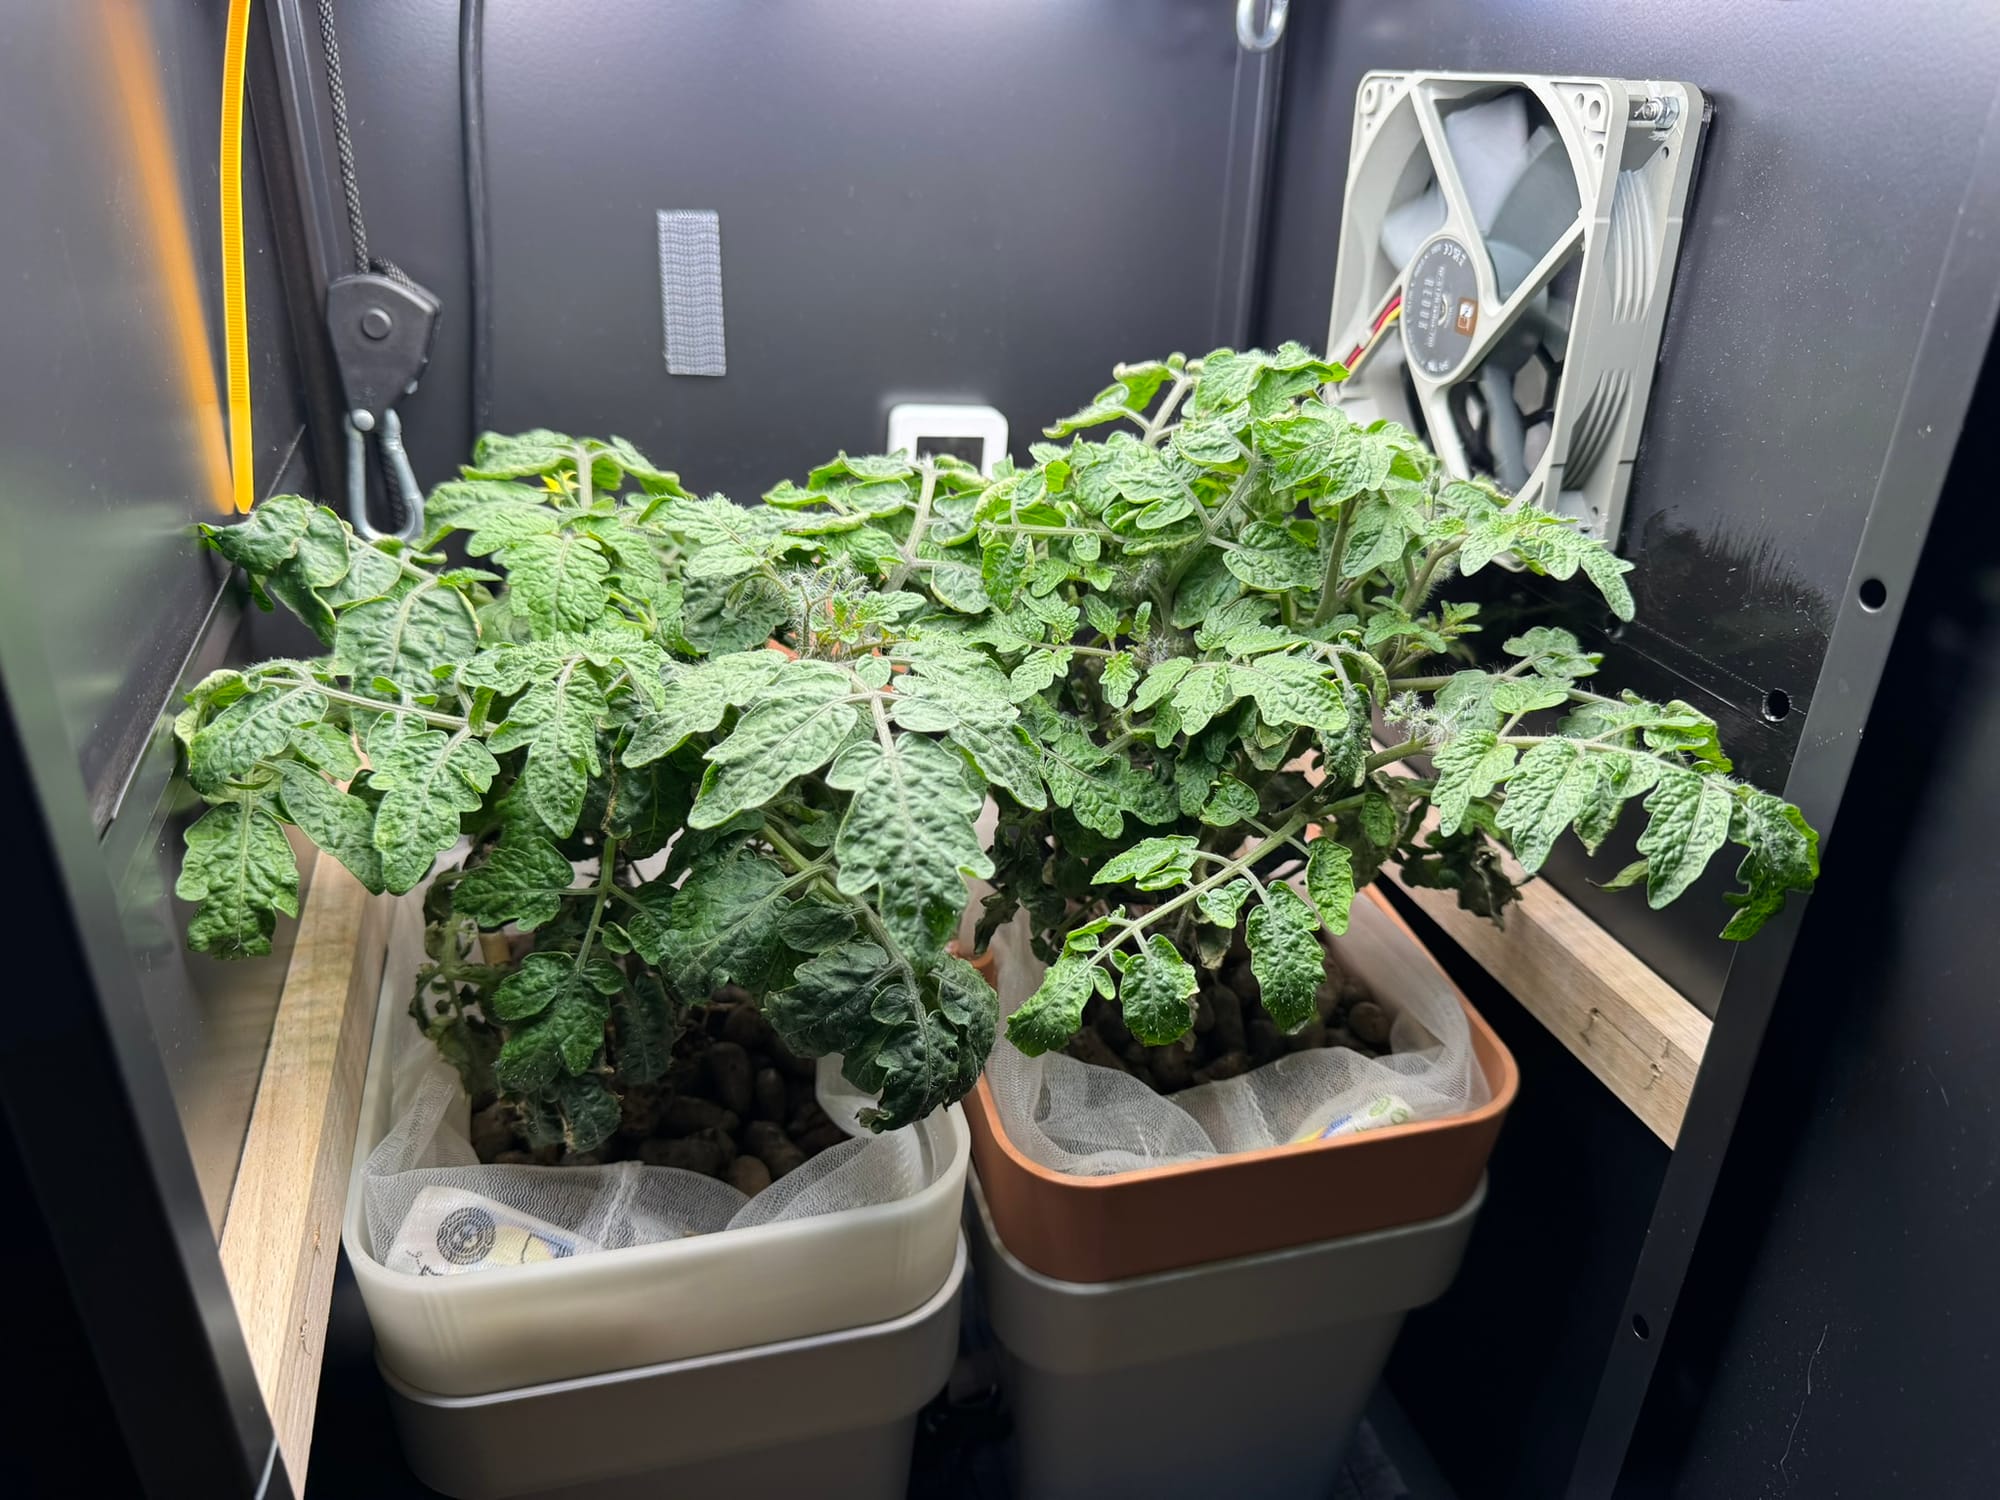
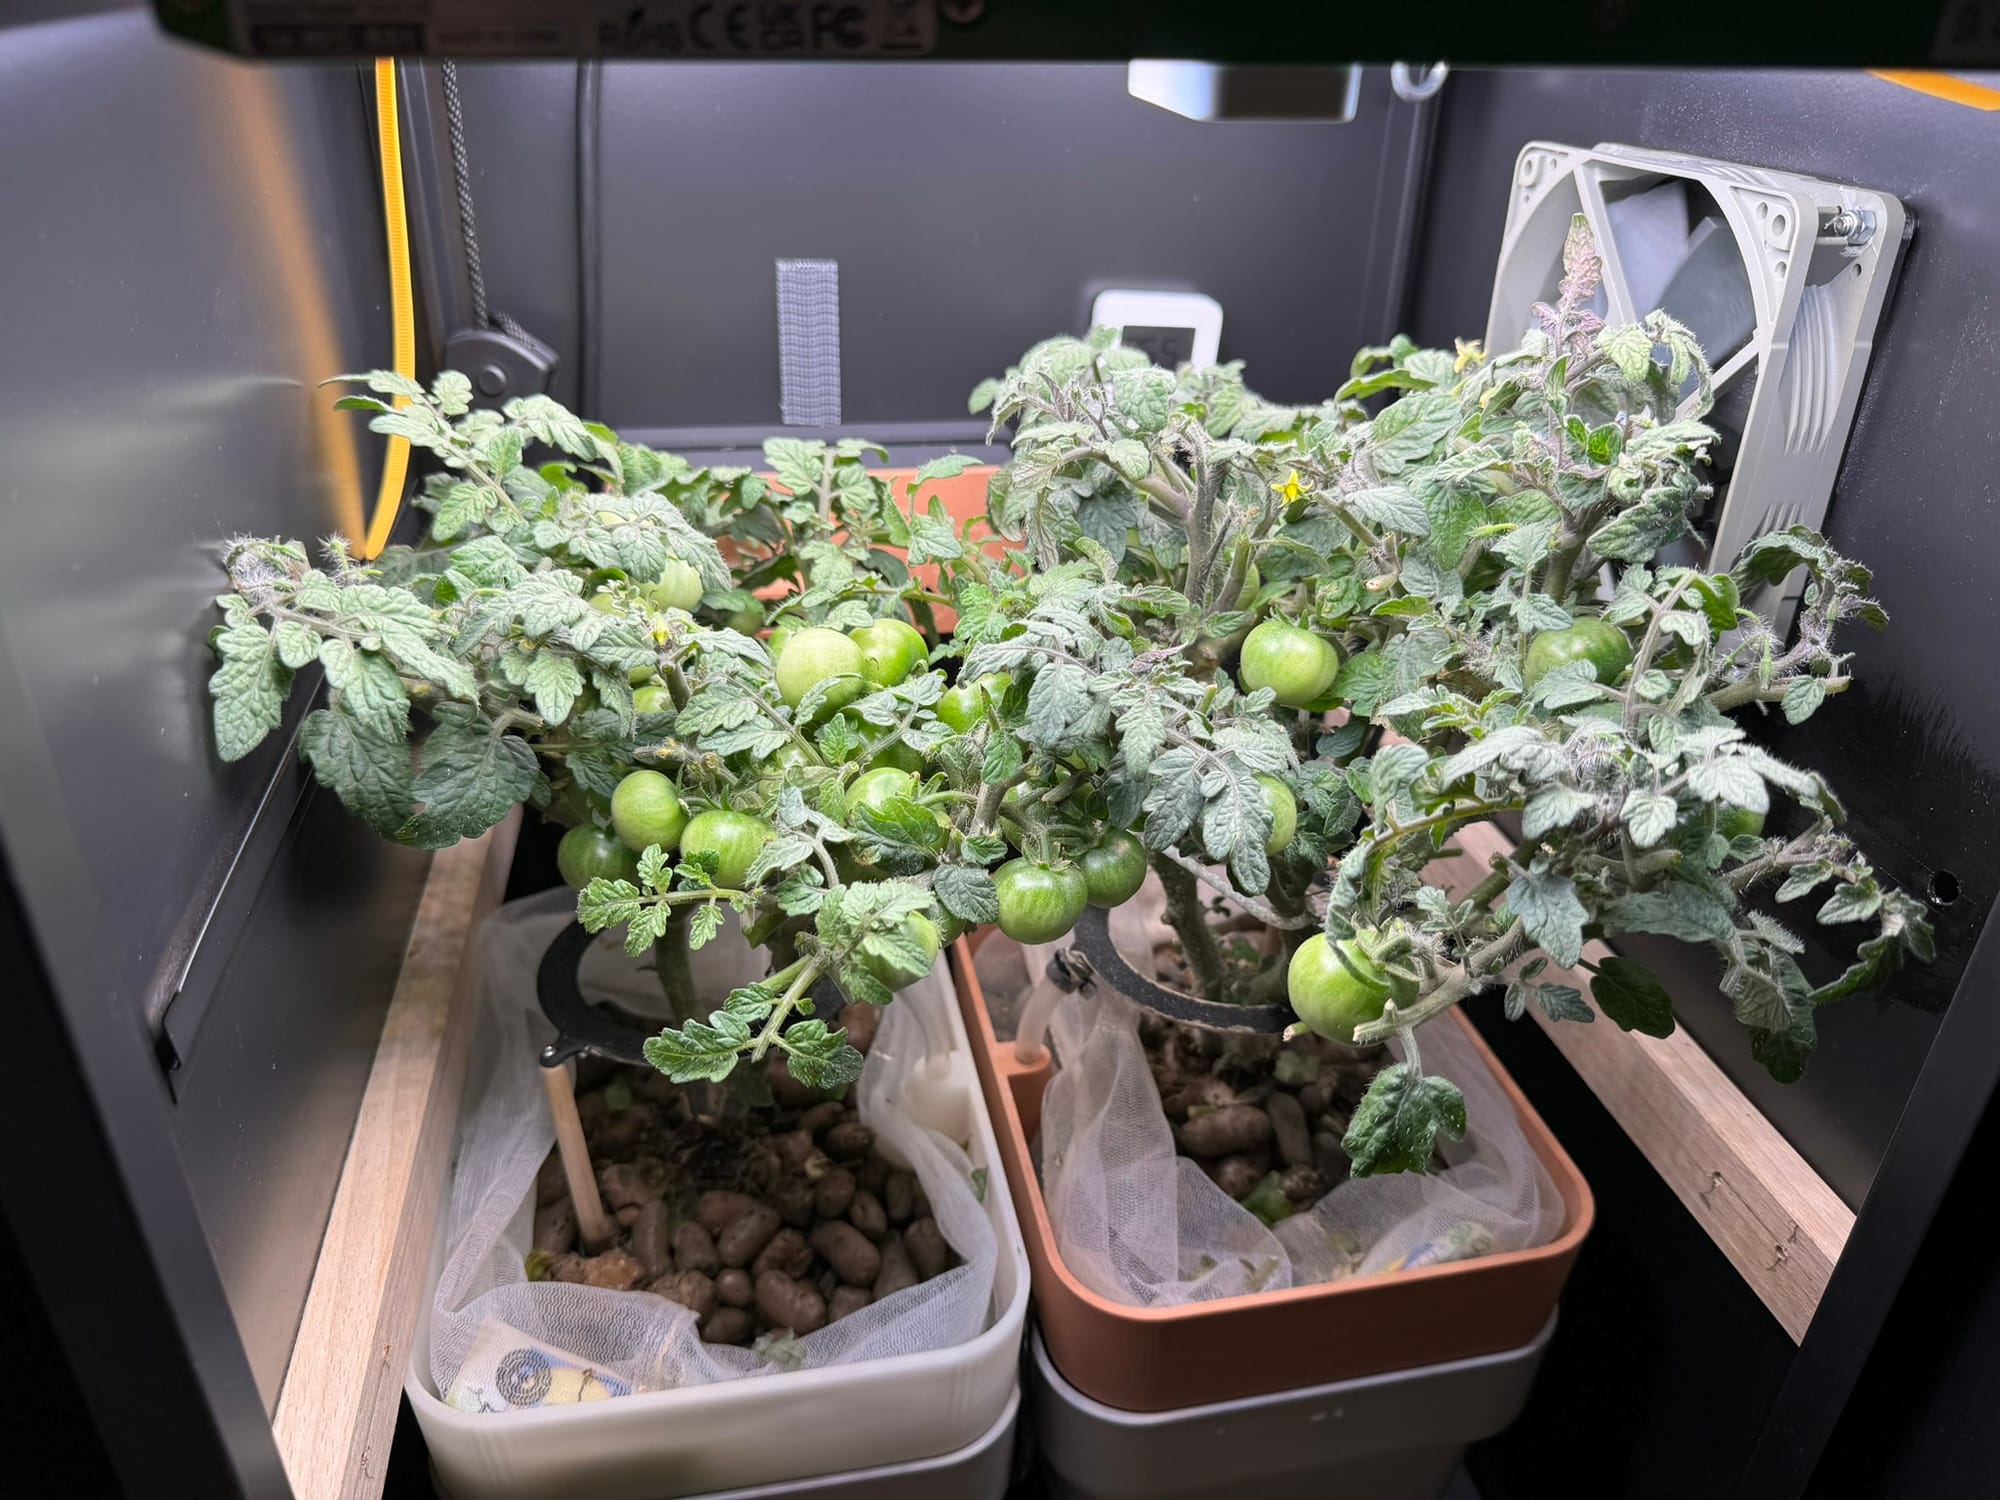
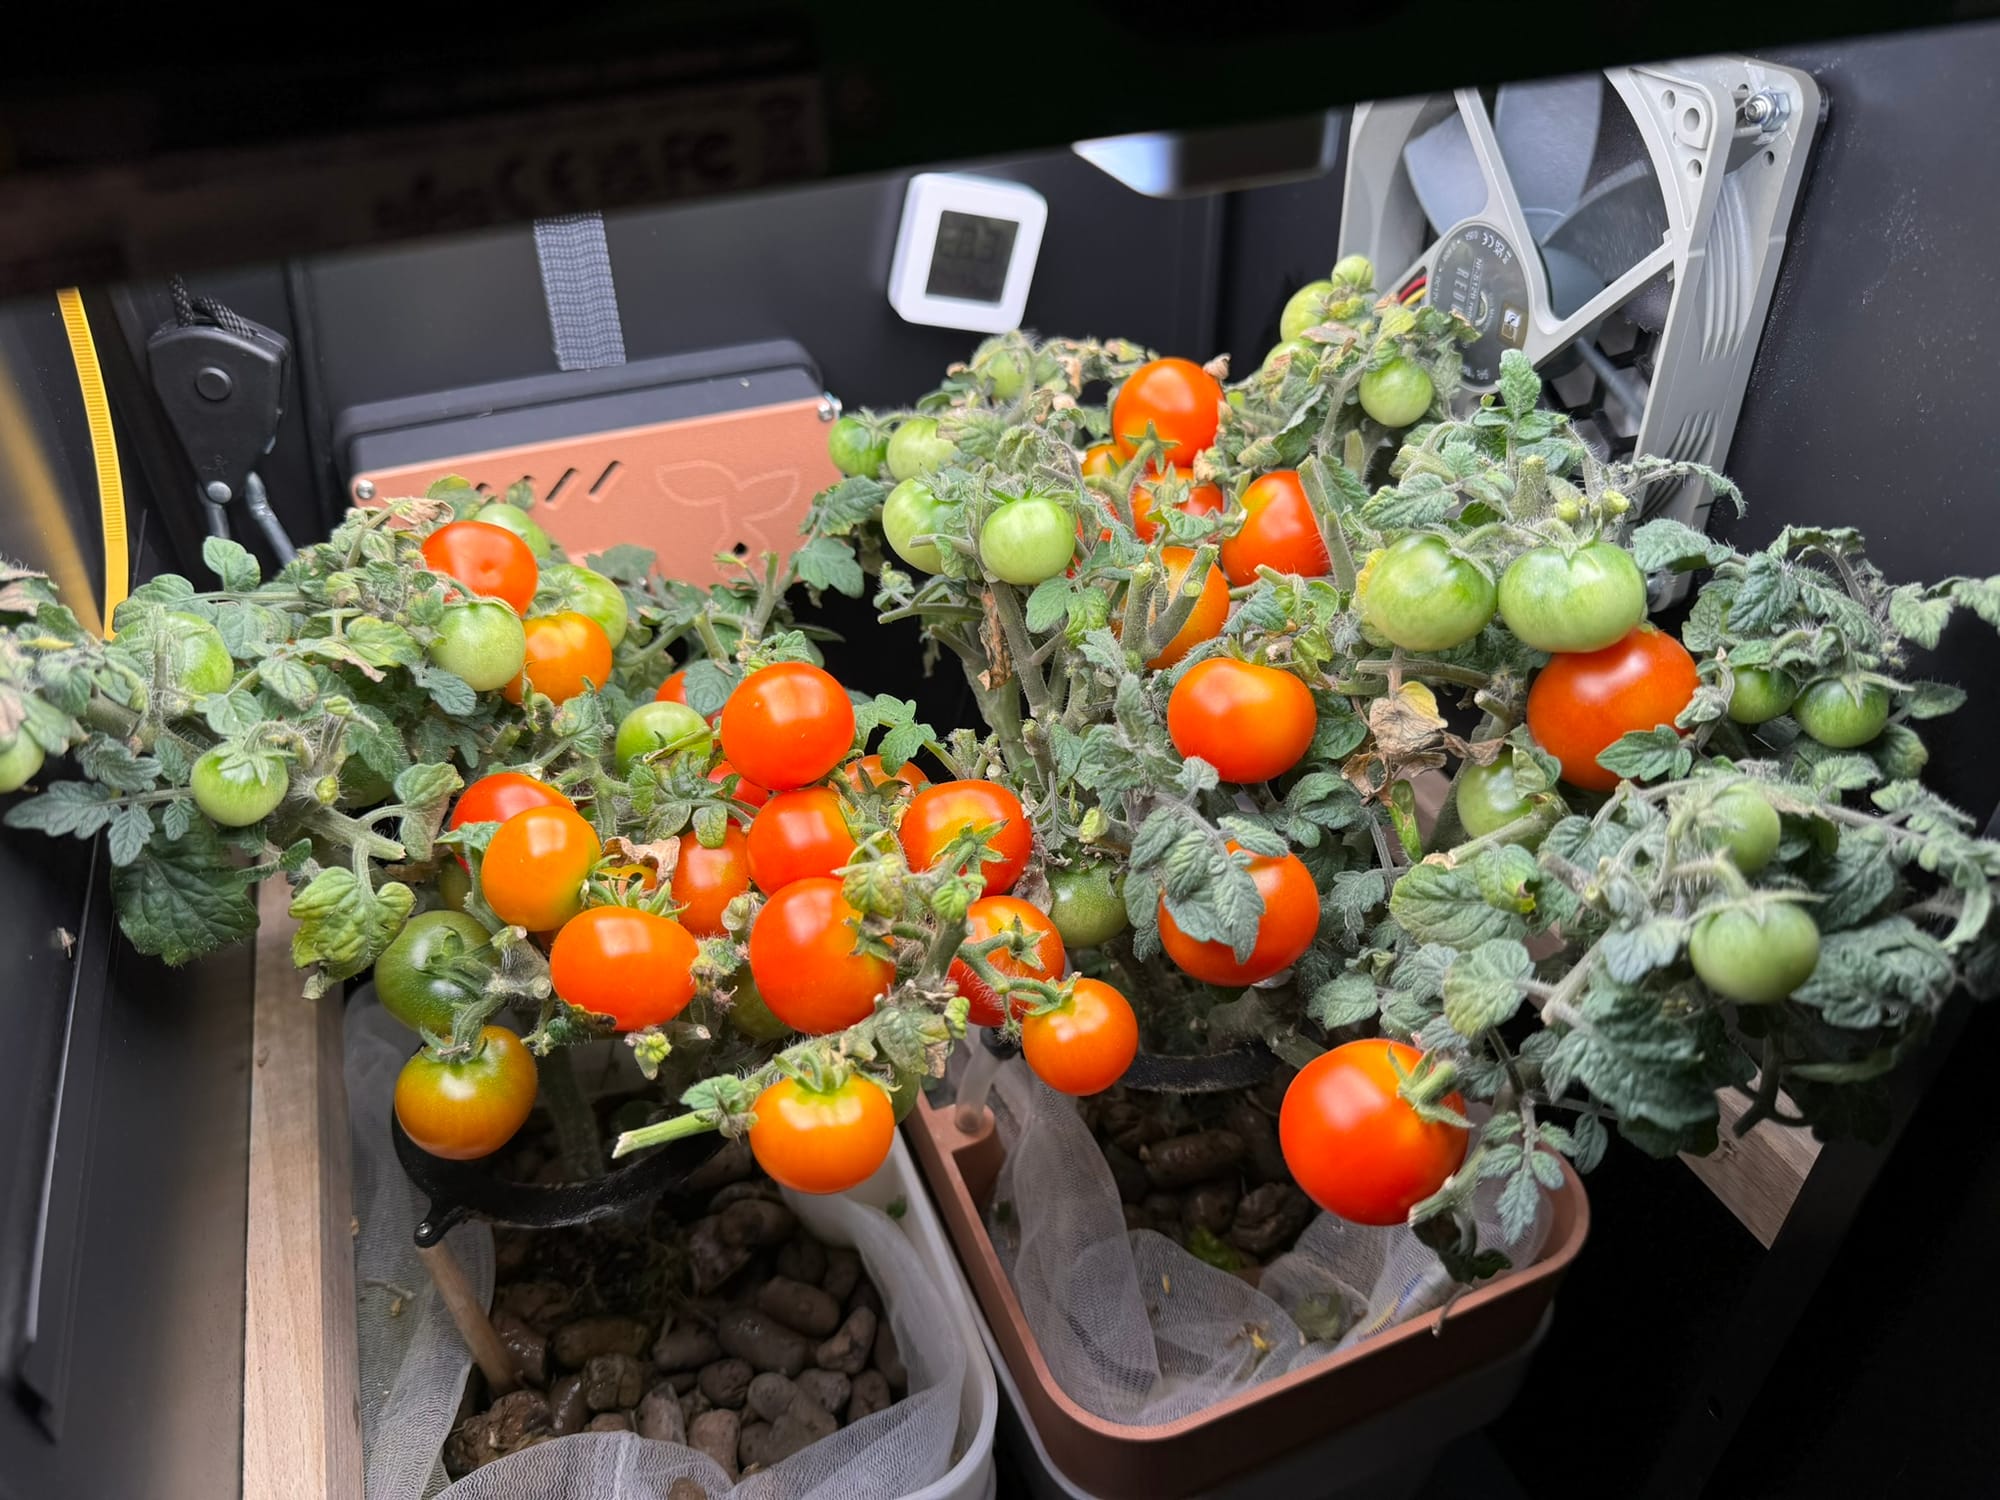
Small issues with light intensity are evident during the vegetative phase.

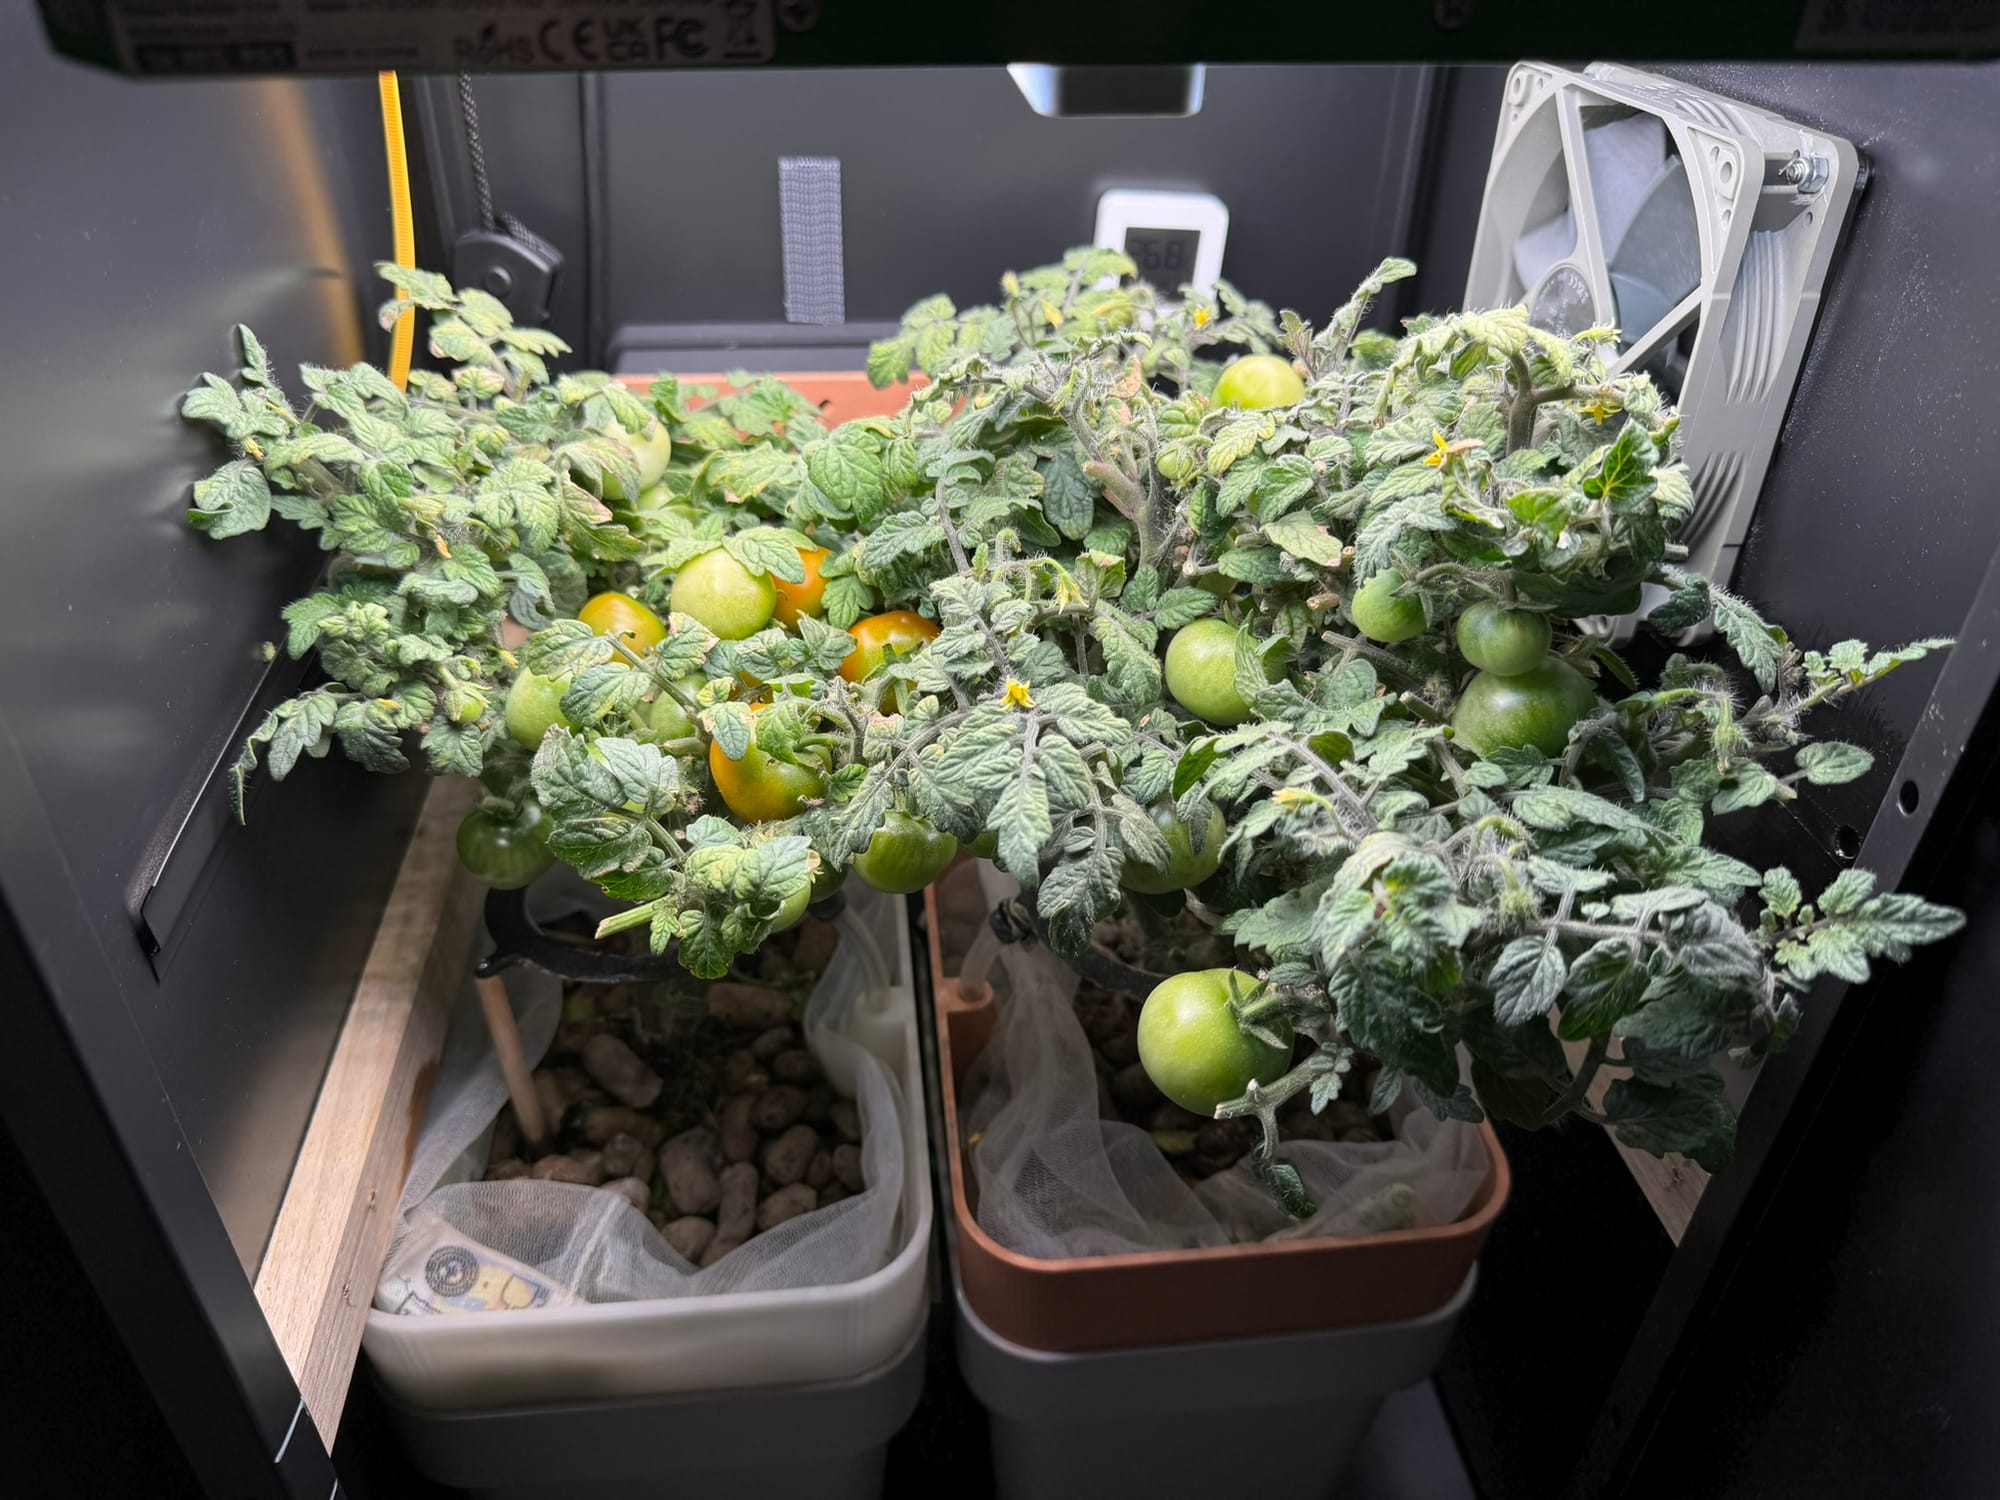
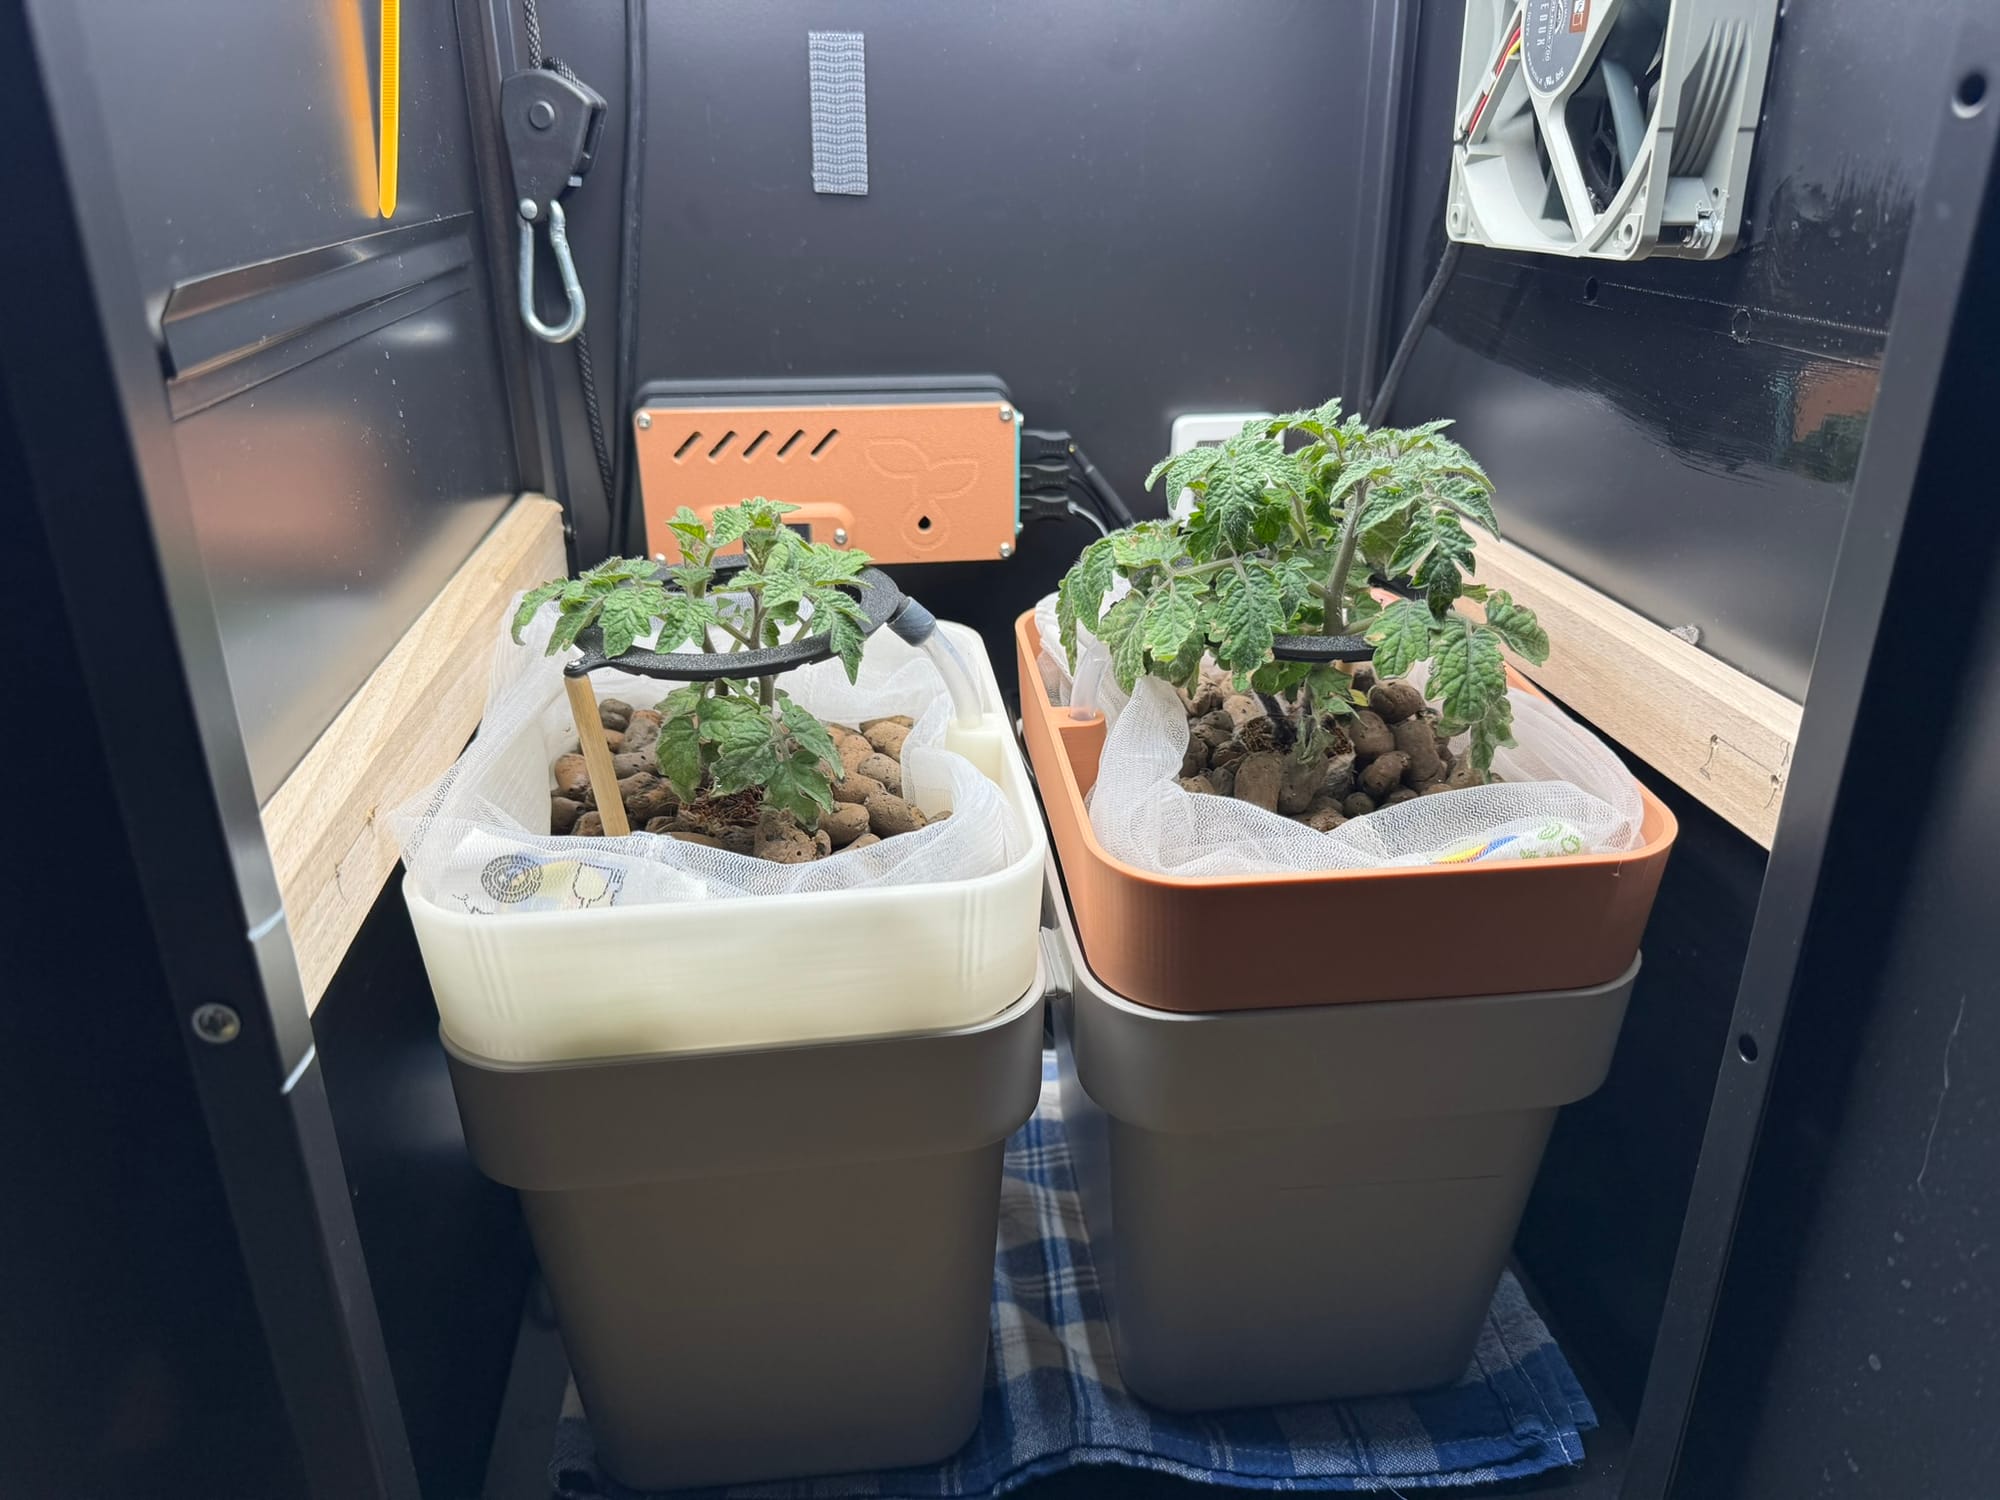
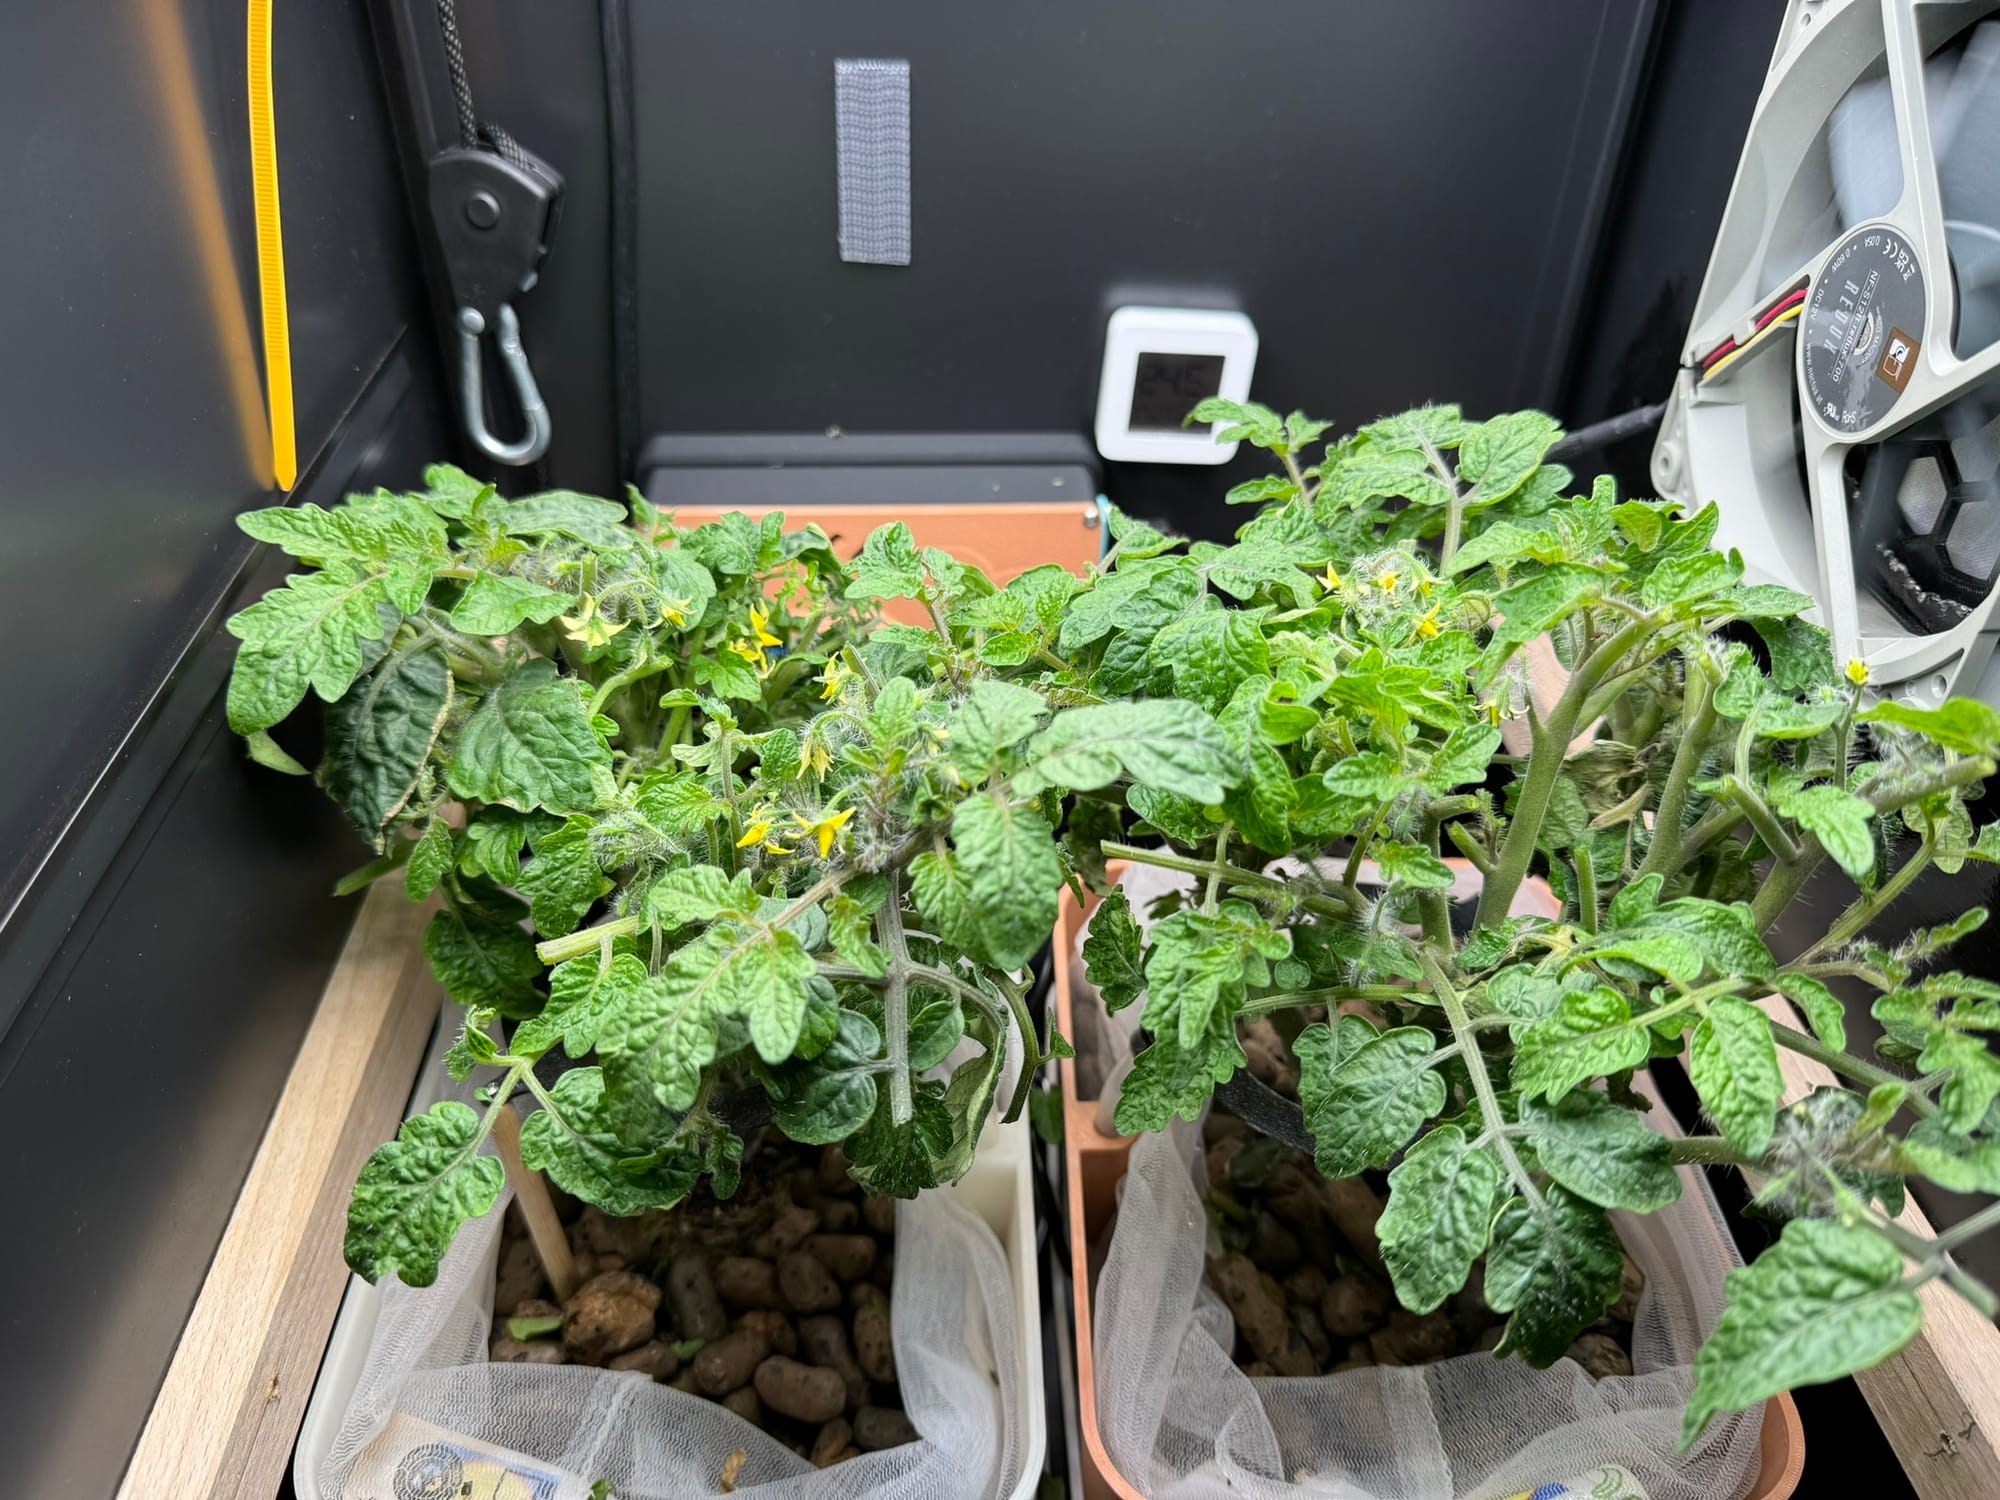
Approximately two months into the experiment.
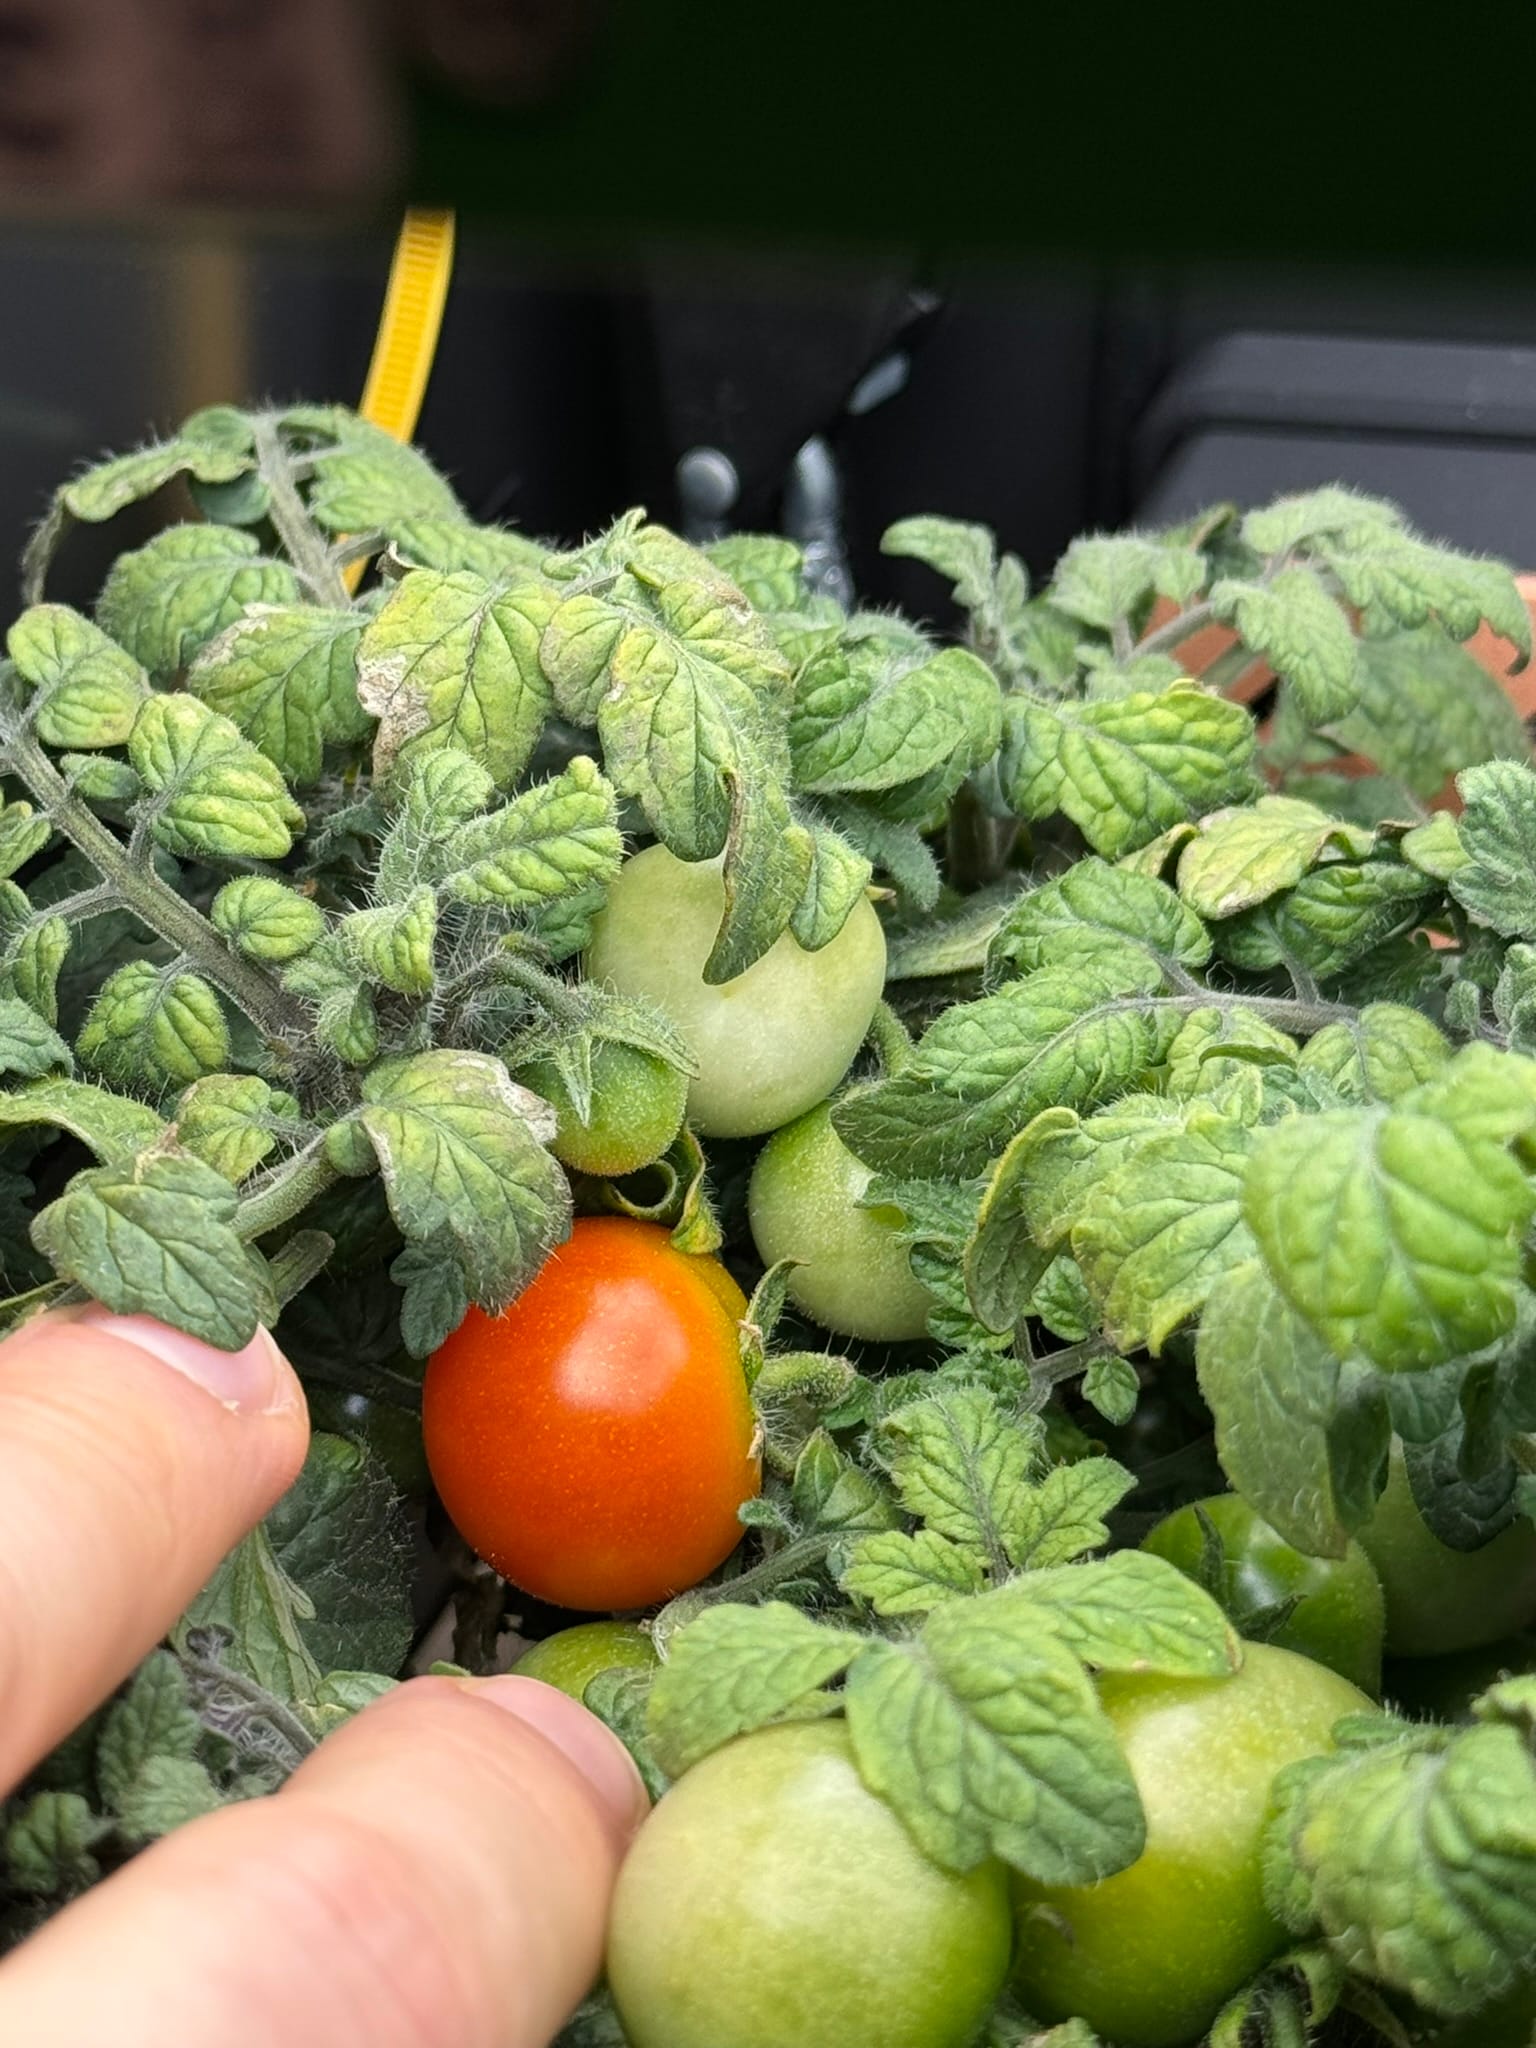
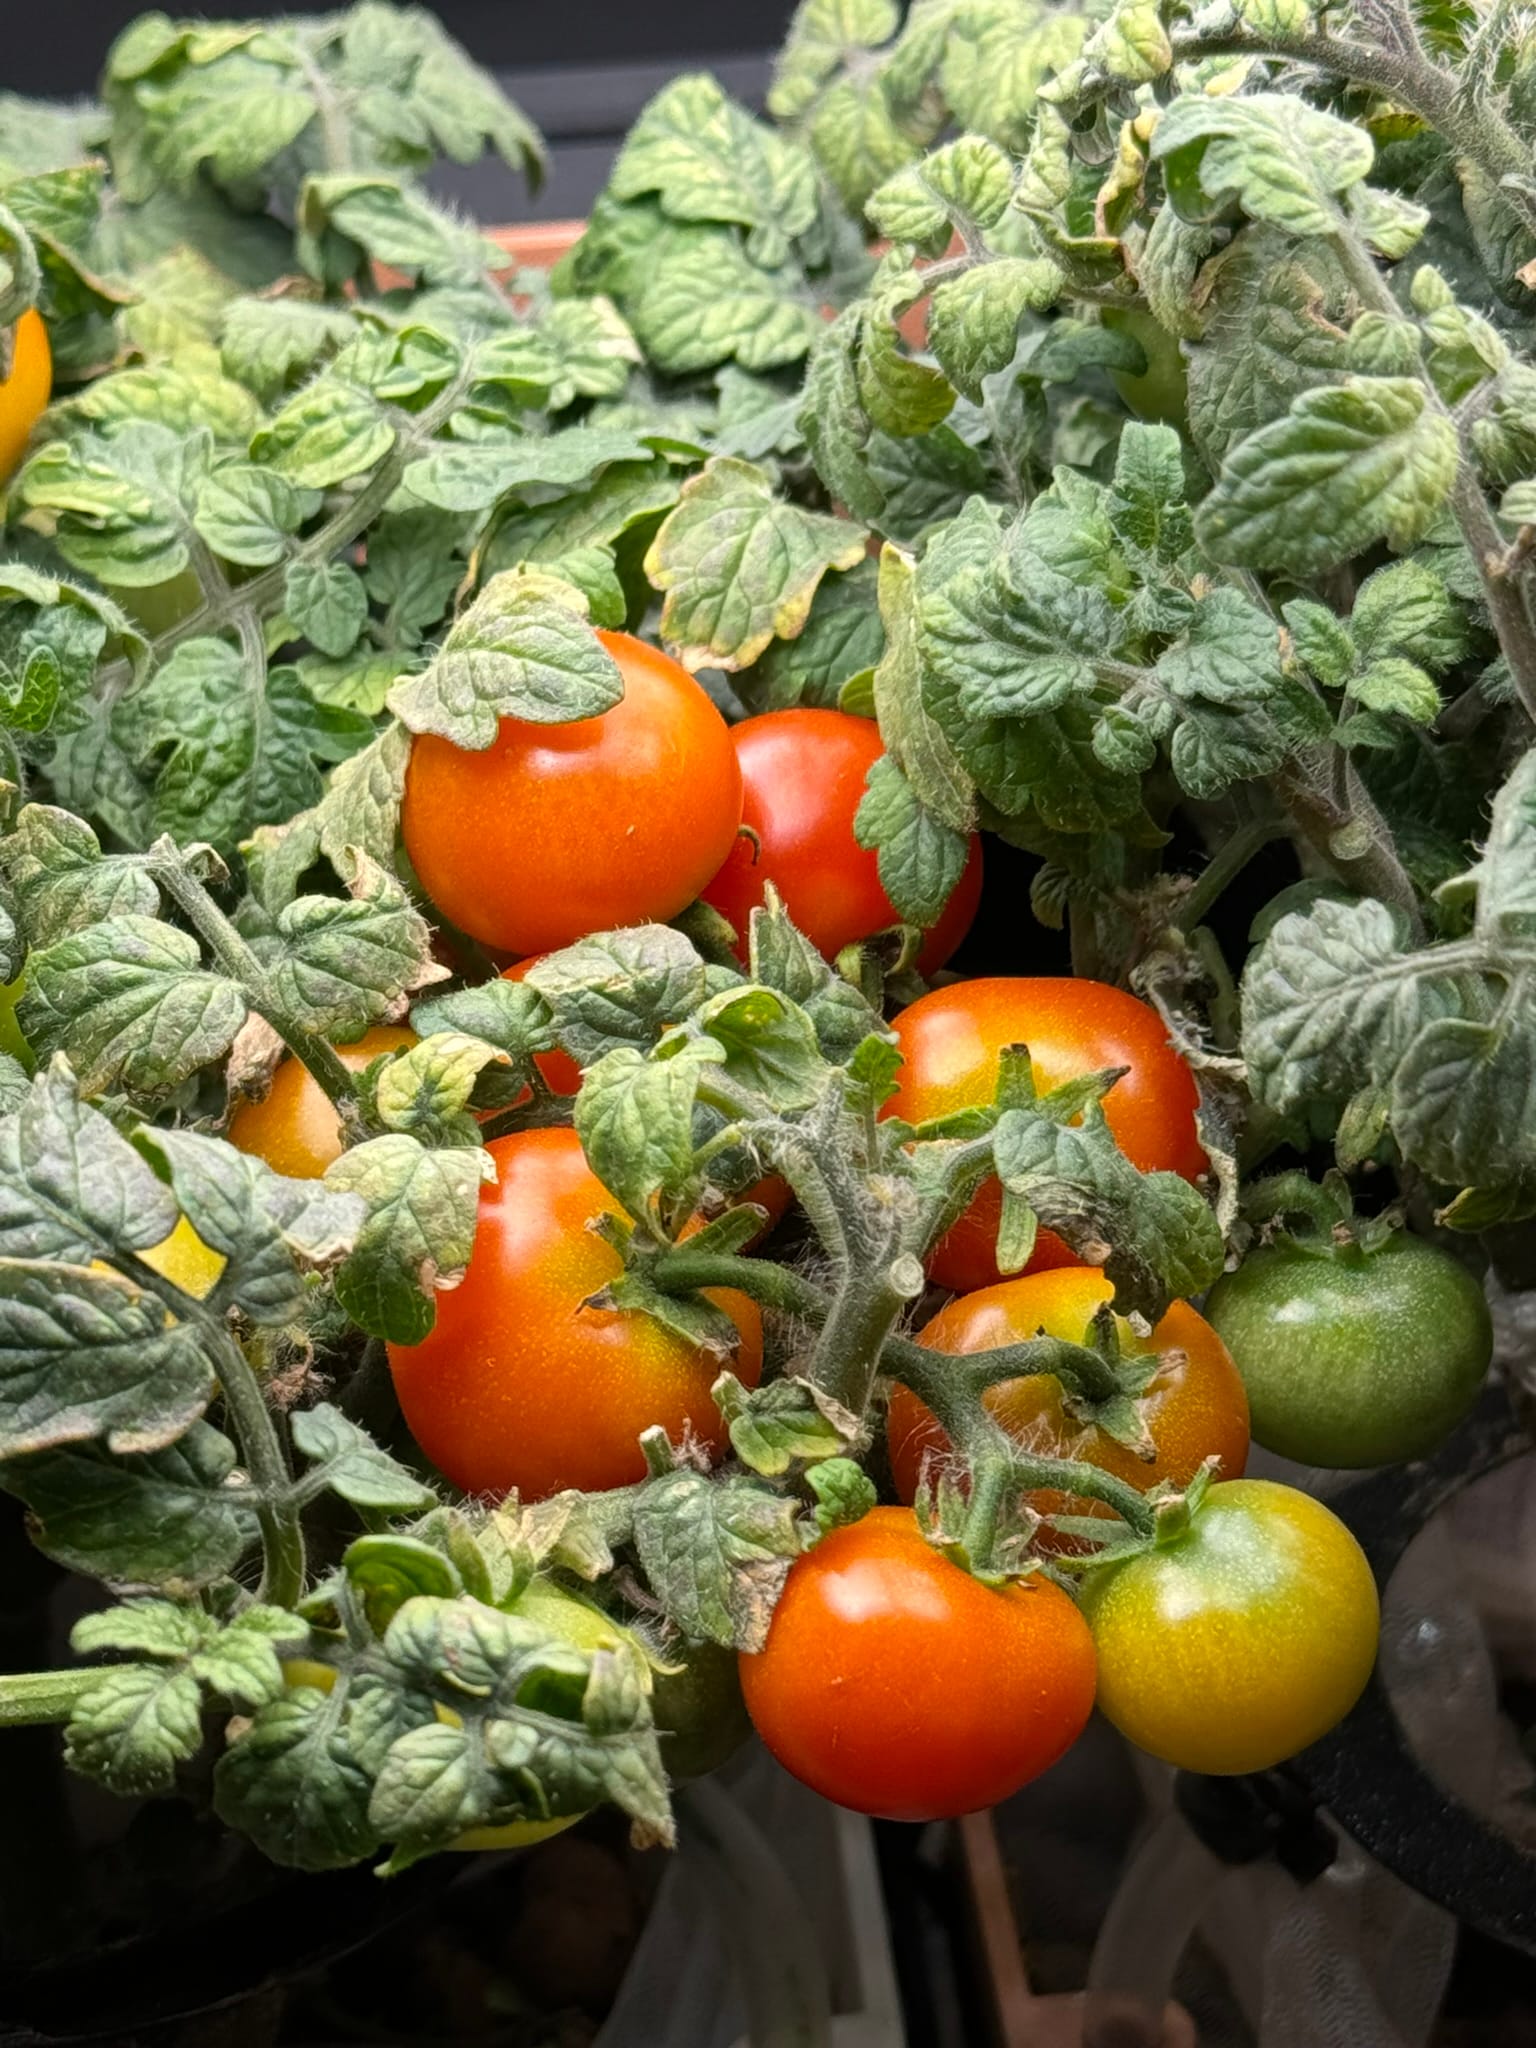
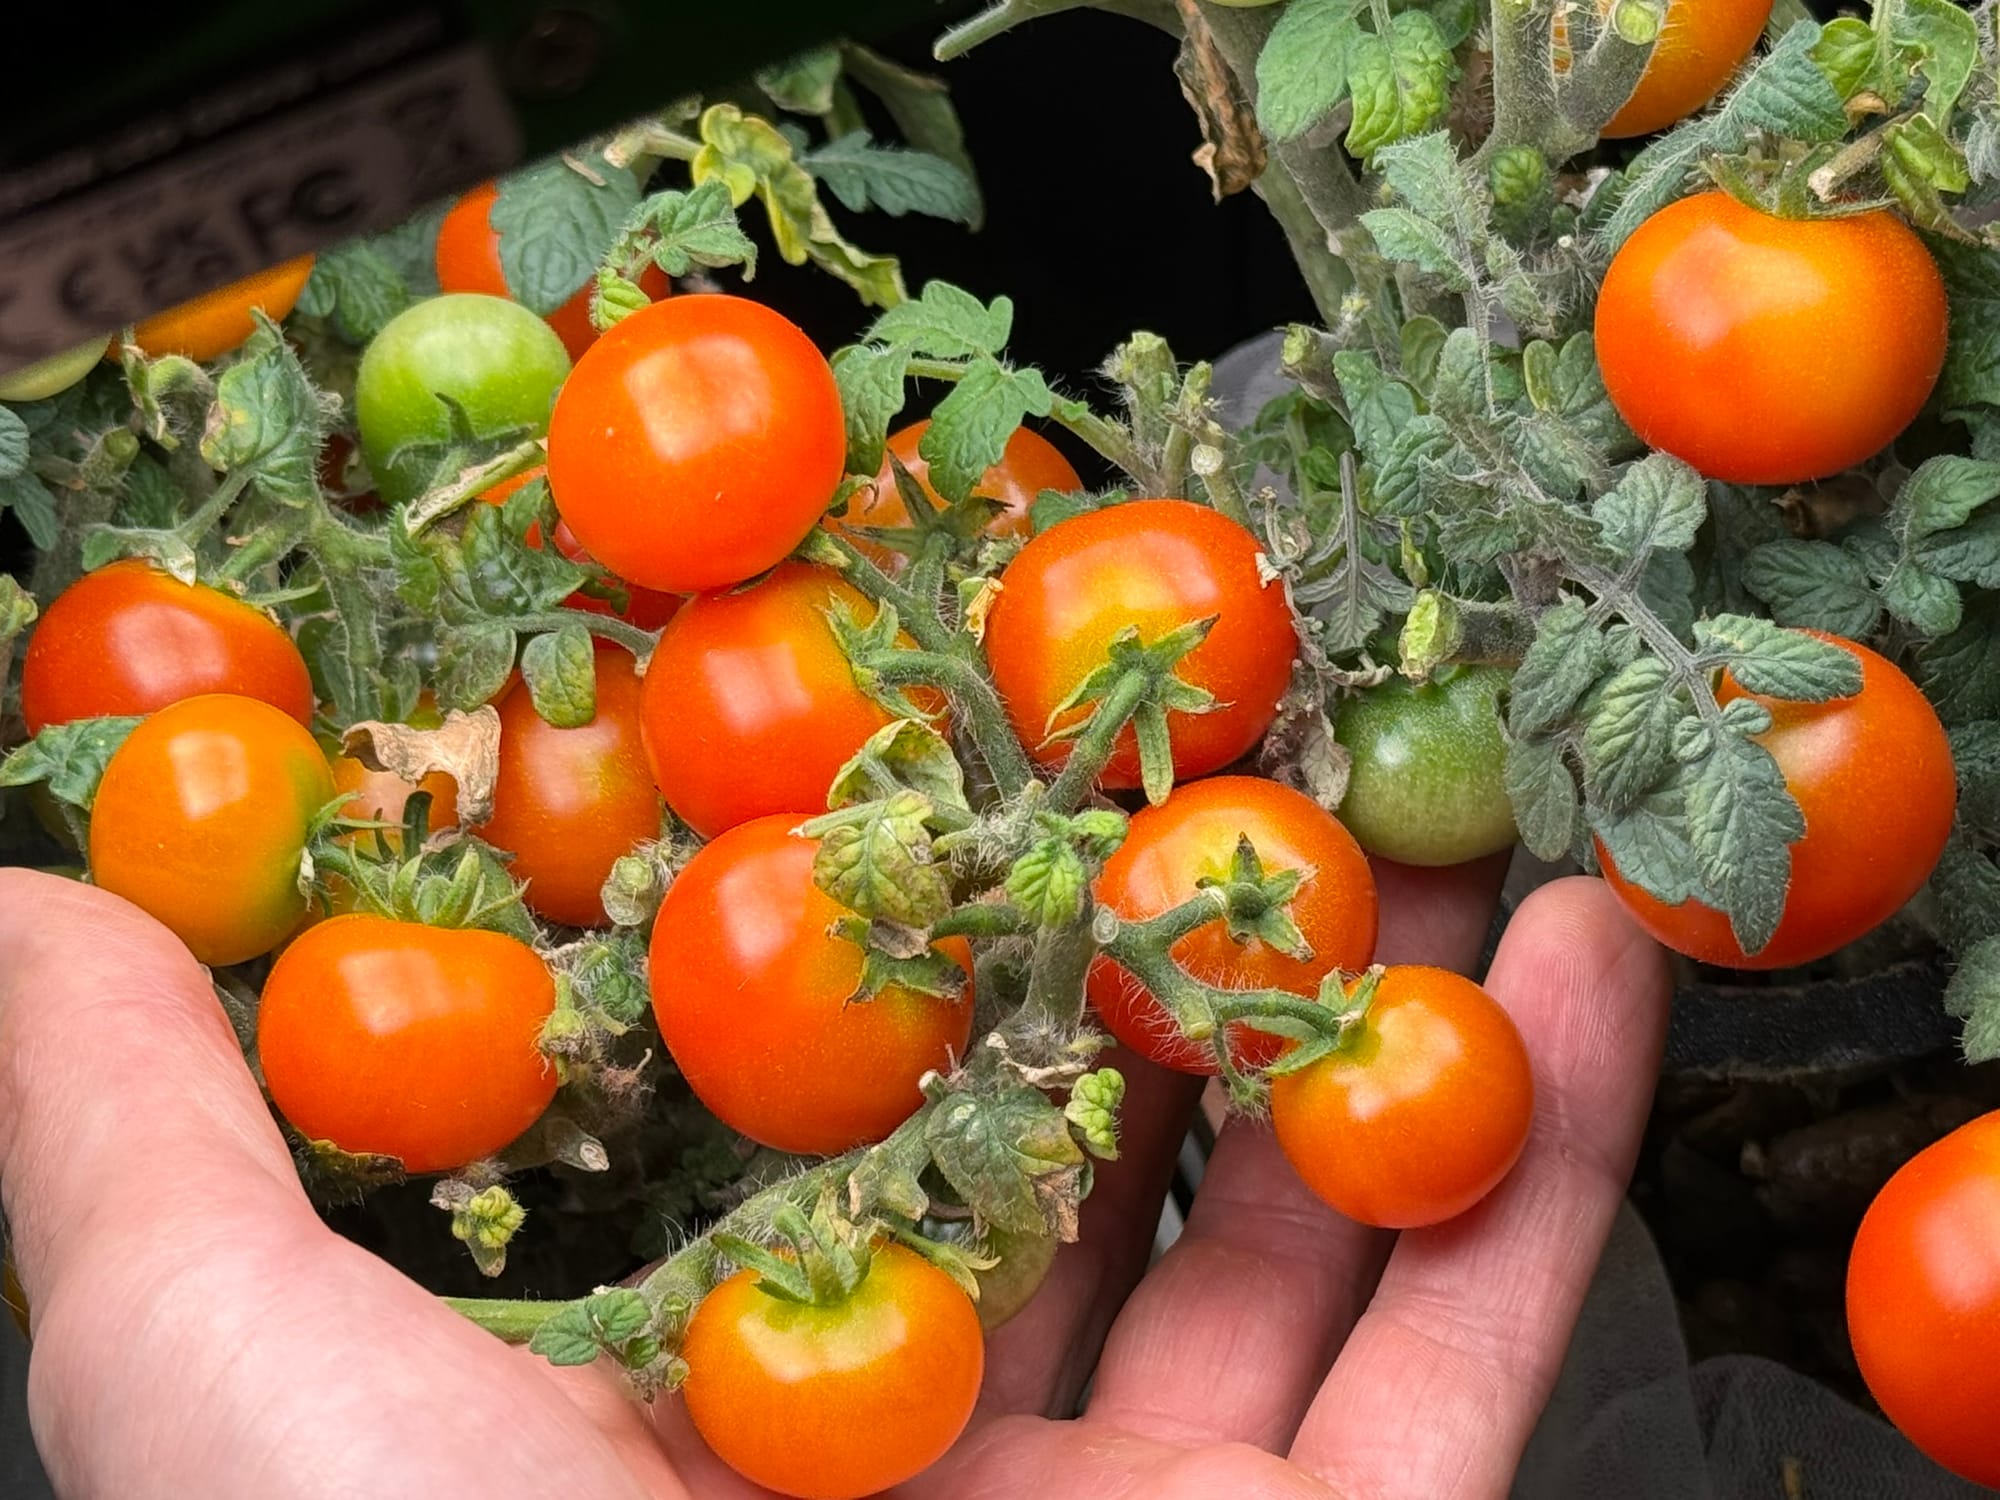
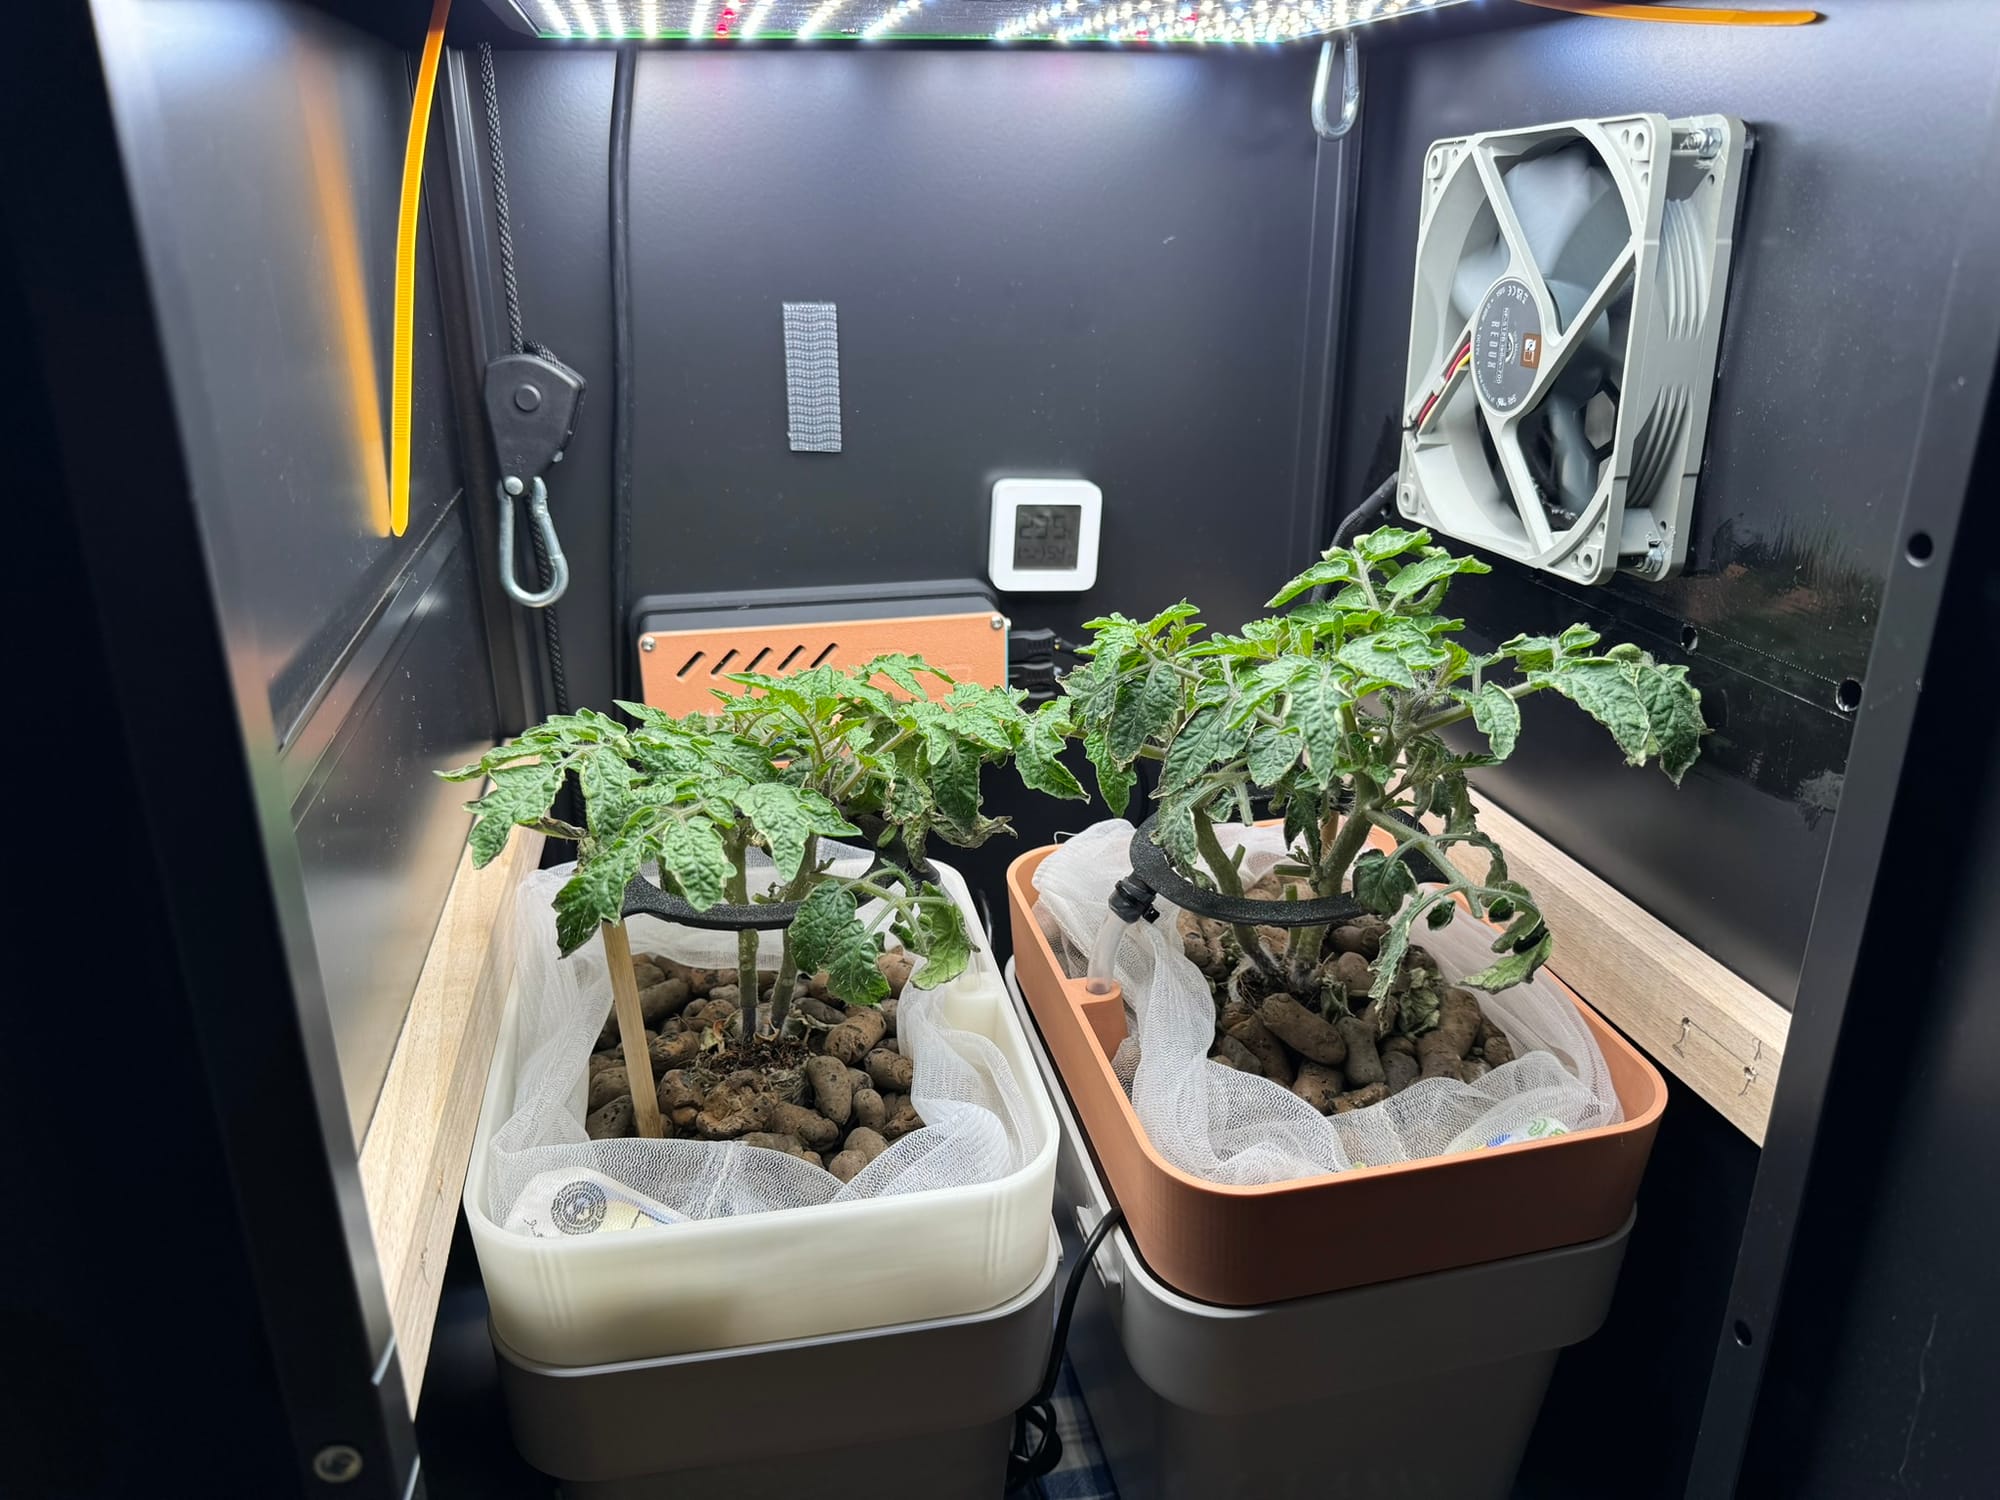
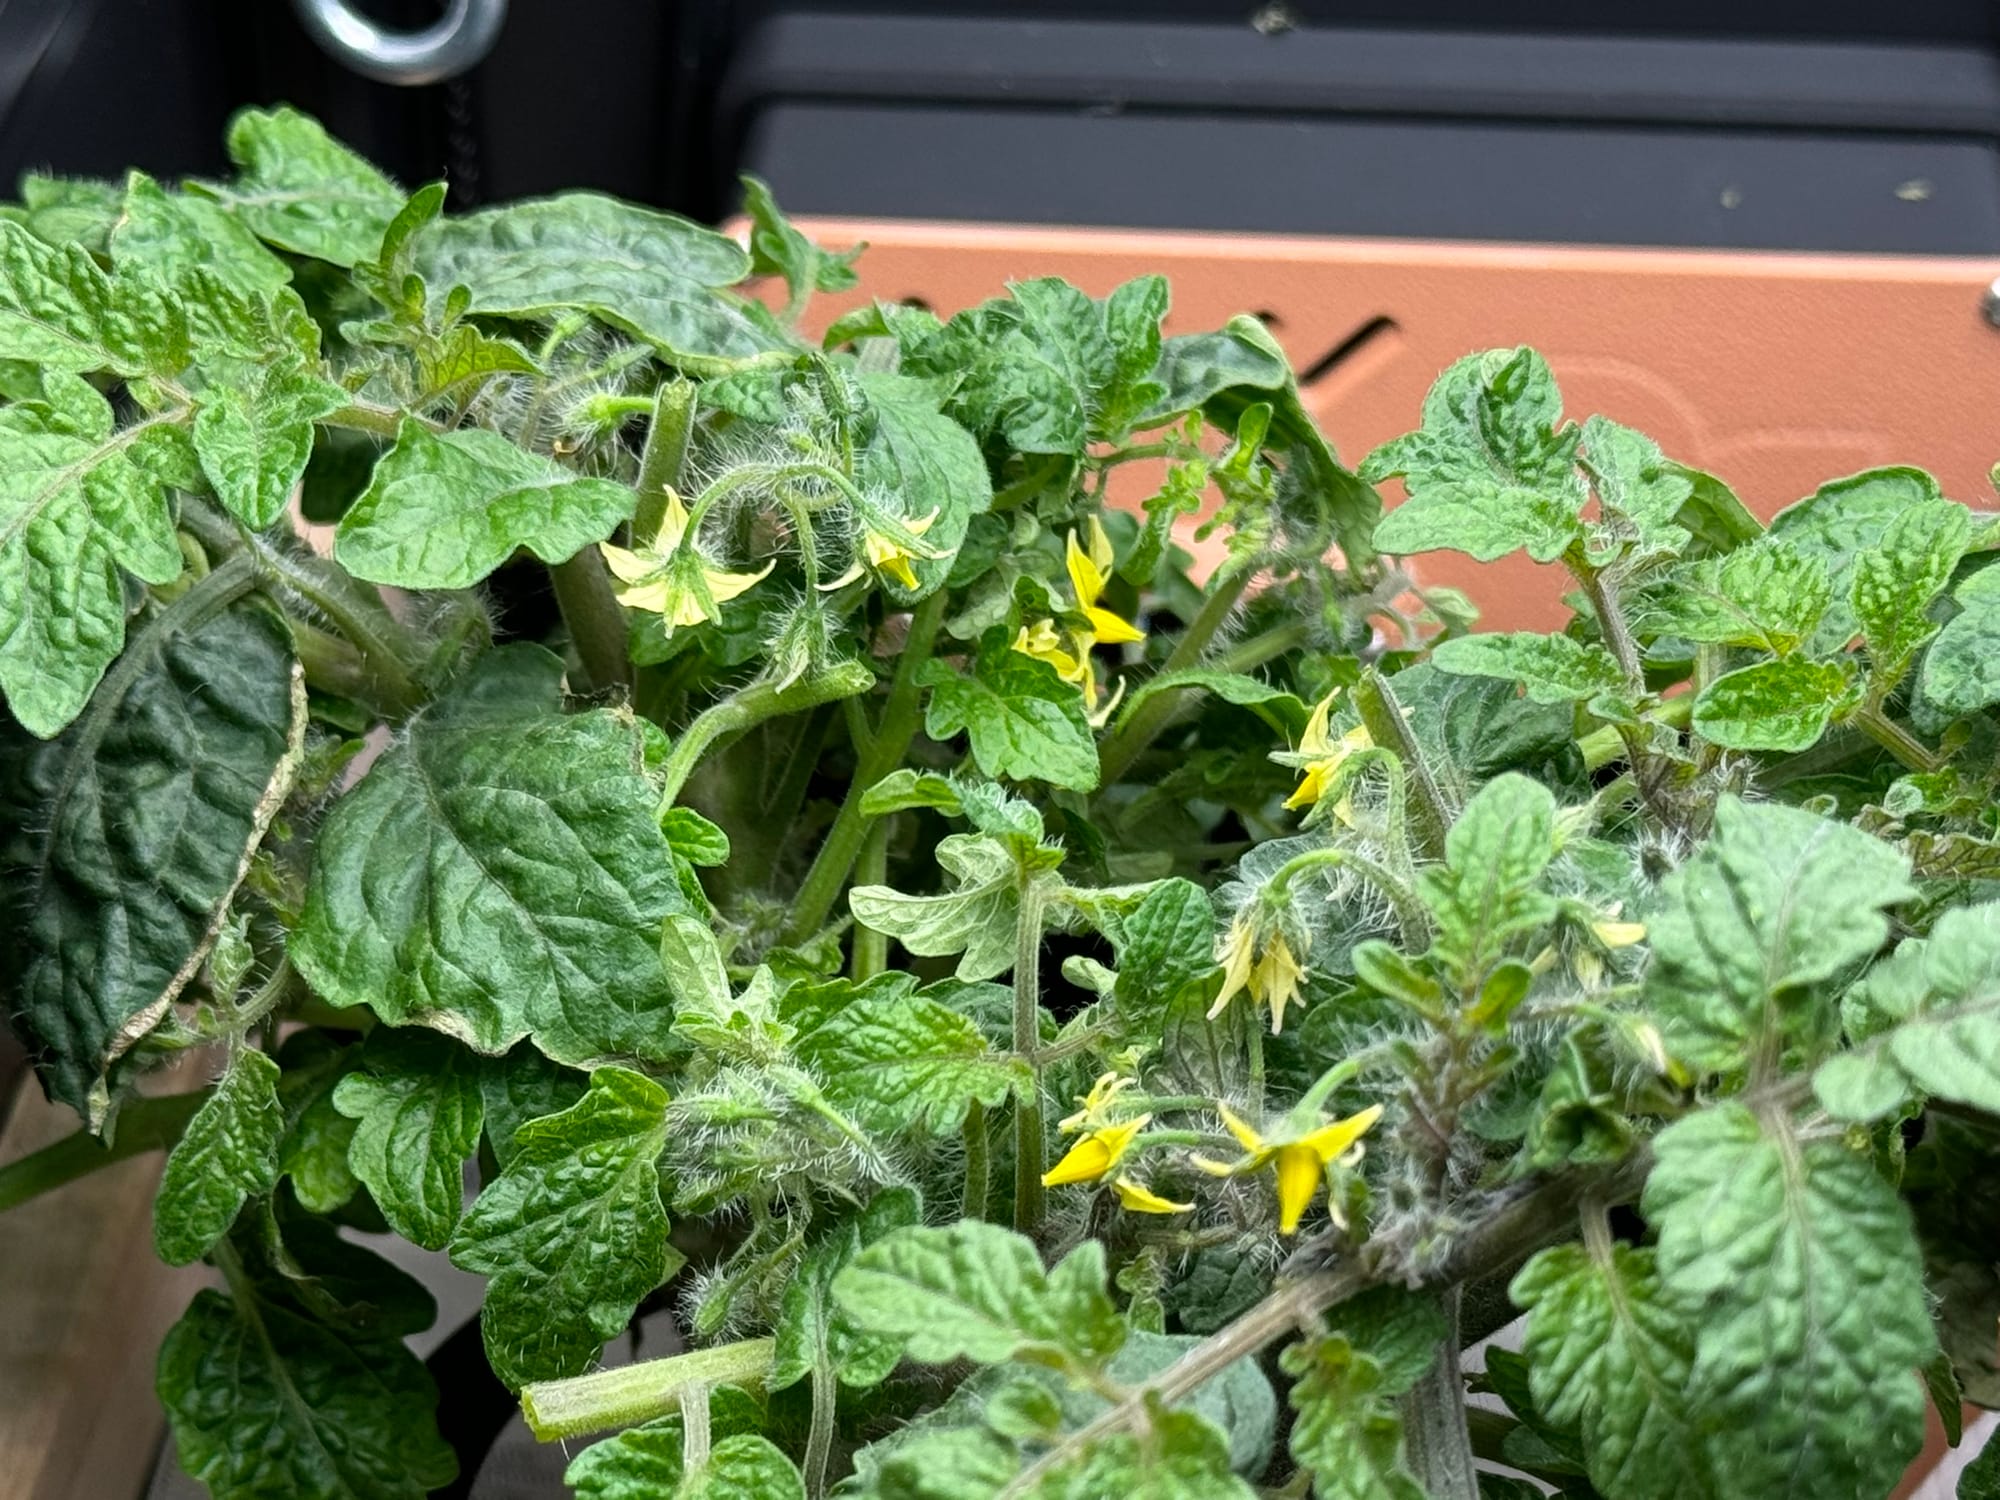
Oh boi here we go. Harvest time!
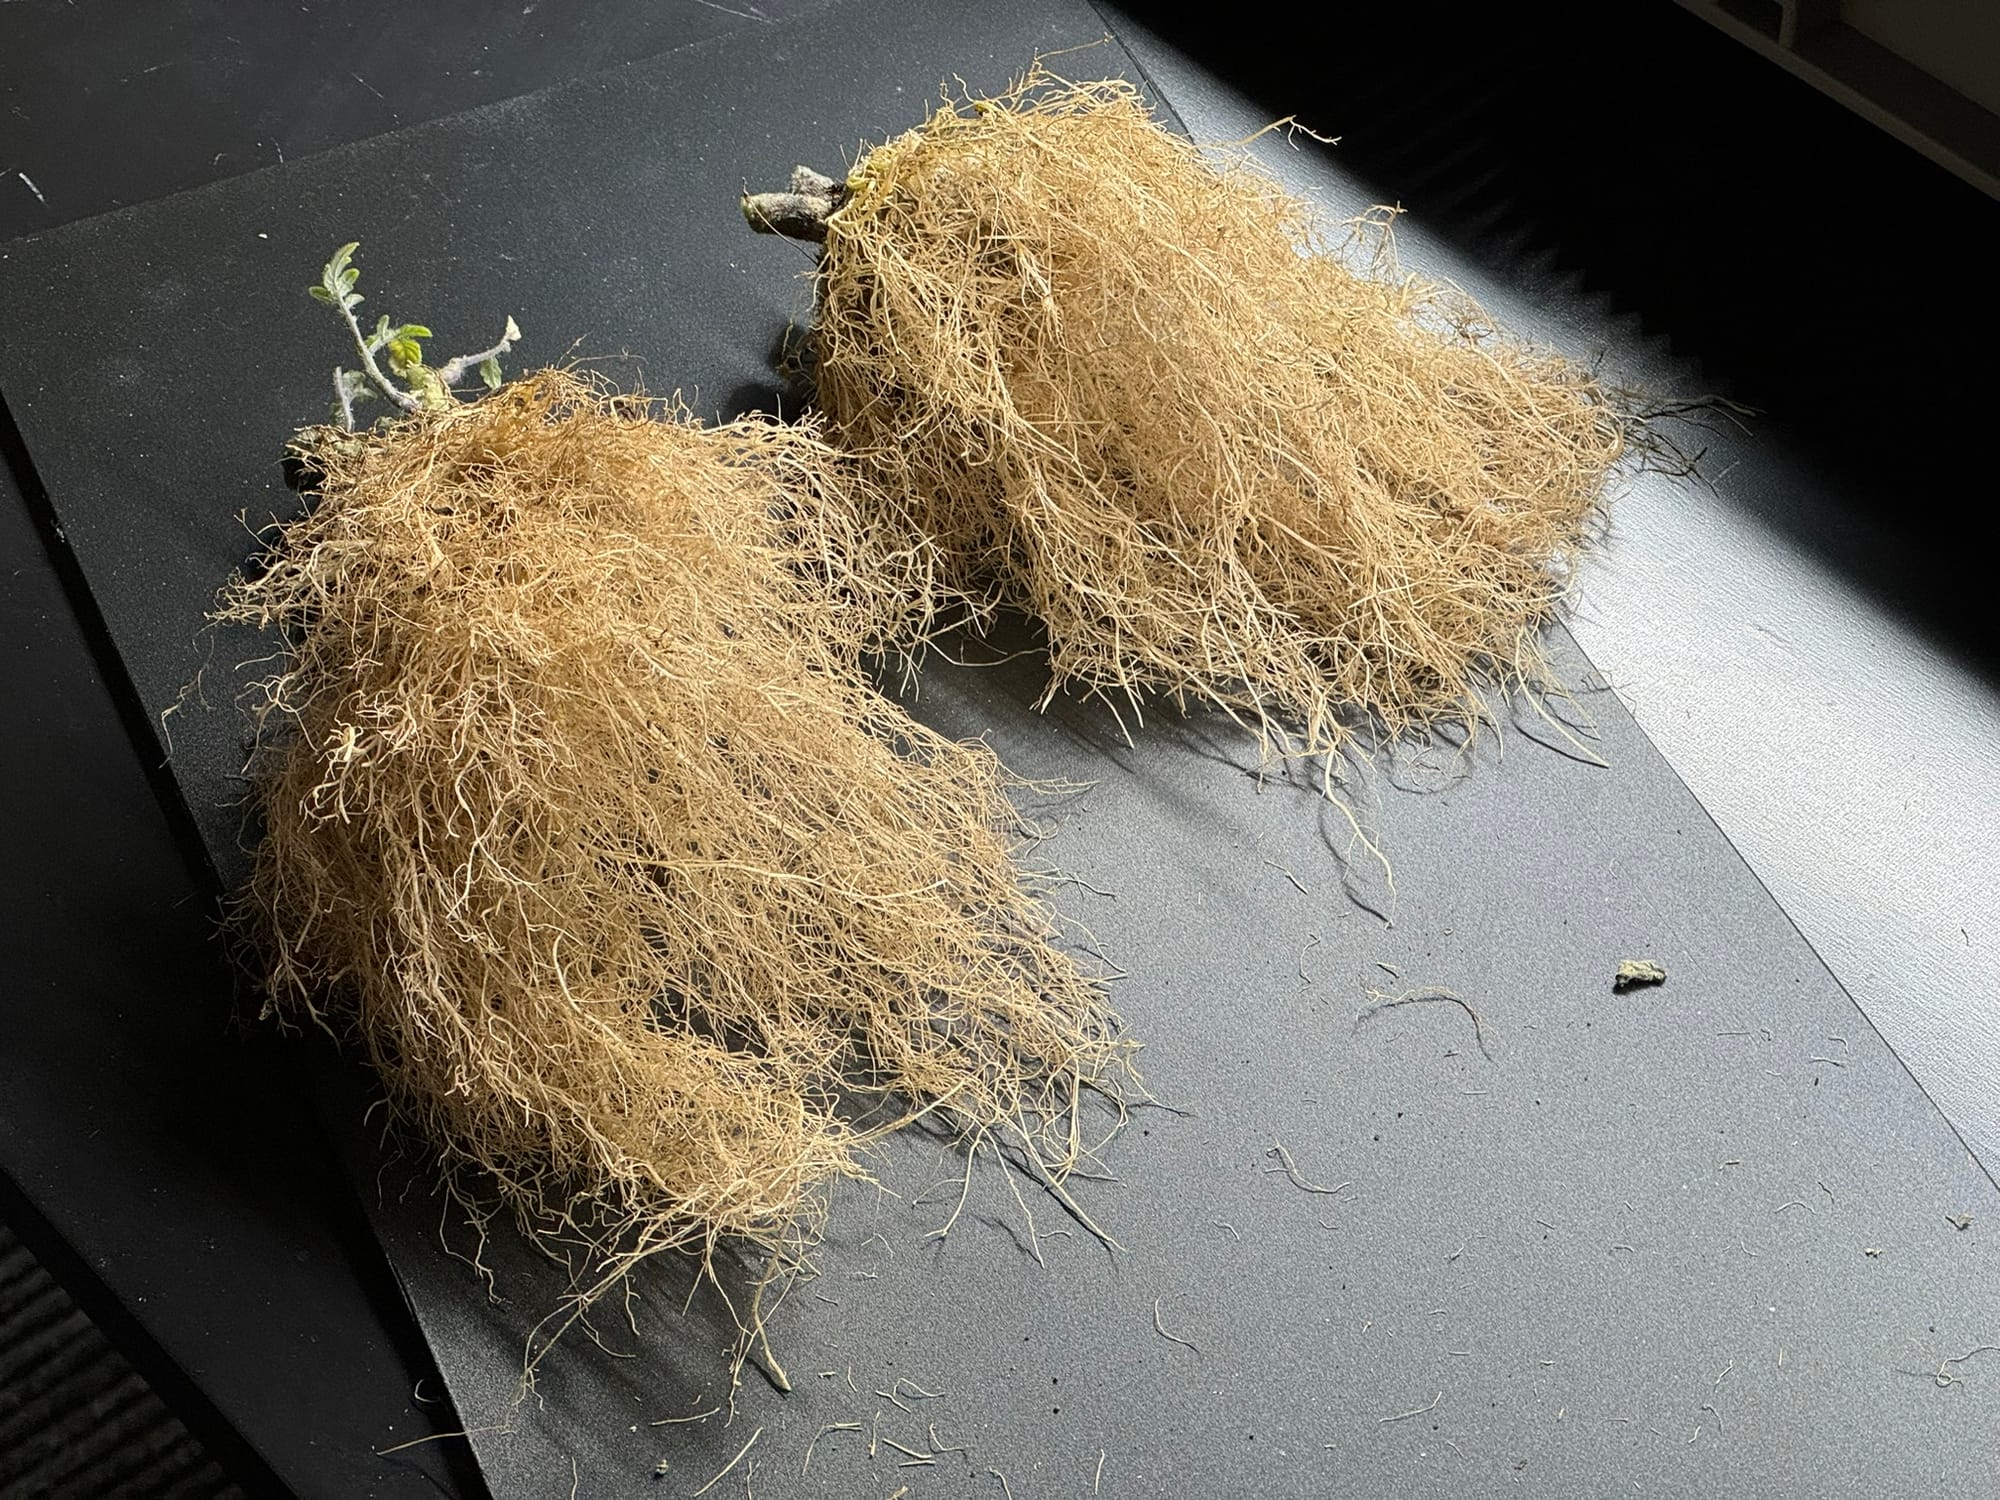
The root mass is quite an eye candy.
From this initial experiment, I am quite happy with the system. The requirements were somewhat accomplished, and I was able to harvest quite a lot of fresh tomatoes in the middle of winter. They were not the best tomatoes I've ever eaten, but considering the alternative is store-bought tomatoes that have zero taste at this time of year, I can't complain too much. I believe the taste can be improved with further experiments with nutrients and light management.
As for improvements, I should have implemented PWM control for the fan. I would like to experiment with CO2 levels and use some generators, but the always-on fan would push all the CO2 out.
The grow light has a manual intensity control, which I would like to upgrade to an electronic one to be able to simulate a daylight cycle. It would be nice to include some complementary lighting from the side and simulate the movement of the sun.
Often one of the containers would run out of water without any notice. This is currently the most important upgrade to do, but I can’t figure out a solution that wouldn’t suck in some way. I can’t use a capacitive moisture probe because the medium does not provide enough contact area for the probe to work correctly. I don’t want to use the alternative probe with metal prongs because those would corrode easily in salt-saturated water. For the same reason, I don’t want to use a rain sensor or water level sensor that works basically the same. Ideally, I want to use some sort of optical flow detection that will provide feedback only when the pump is active. I’ve seen water level sensors built around ultrasonic sensors, but I am afraid the commonly available sensors would not last in the humidity.
I will be releasing all 3D models in the future on my Printables profile once I address all the issues mentioned above. In the meantime, you can check my other models.
Member discussion