IKEA experiments #2: HydroBROR
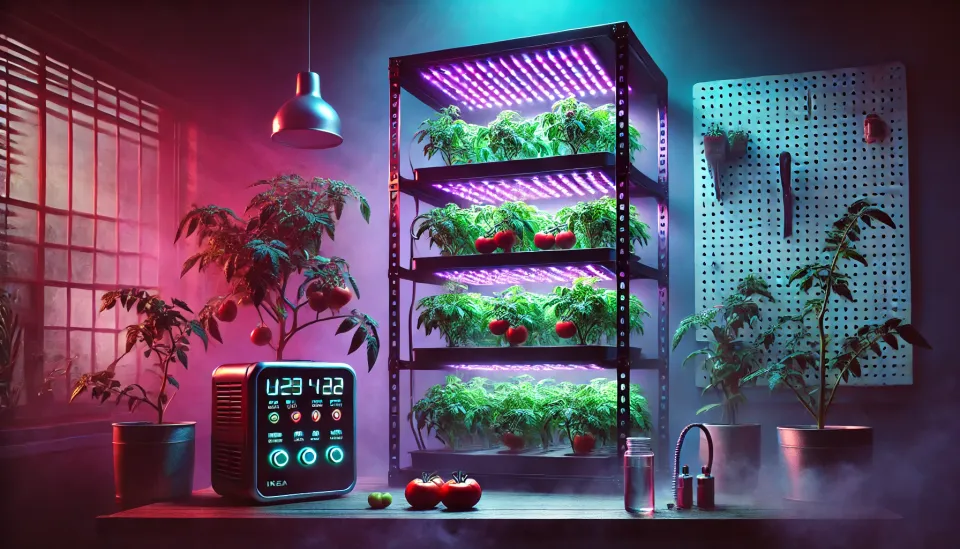
After the successful experiment with HydroLIXHULT, I’ve upgraded and expanded the idea. In one of my early posts, I played with the idea of turning my foldable dining table into a grow cabinet. My initial thought was to equip it with a full-spectrum grow light and some fans and call it a day. However, I quickly abandoned this solution because the available plant headroom would be less than 20 cm. Even with Micro-Tom tomatoes, that wasn’t going to cut it.
So, I went shopping!
the IKEA
I was already familiar with various cabinets and shelving units. The LIXHULT was great—you can even assemble multiple units to form one larger, very rigid structure. This modularity is excellent for growing plants with different environmental needs, as each unit can have its own lighting and ventilation system. However, the drawbacks for me were the price and size. I still live in a tiny flat, so I must carefully consider footprint versus functionality.
I need something smaller but taller, with added value. While checking the shelving units, I stumbled upon the BROR series.
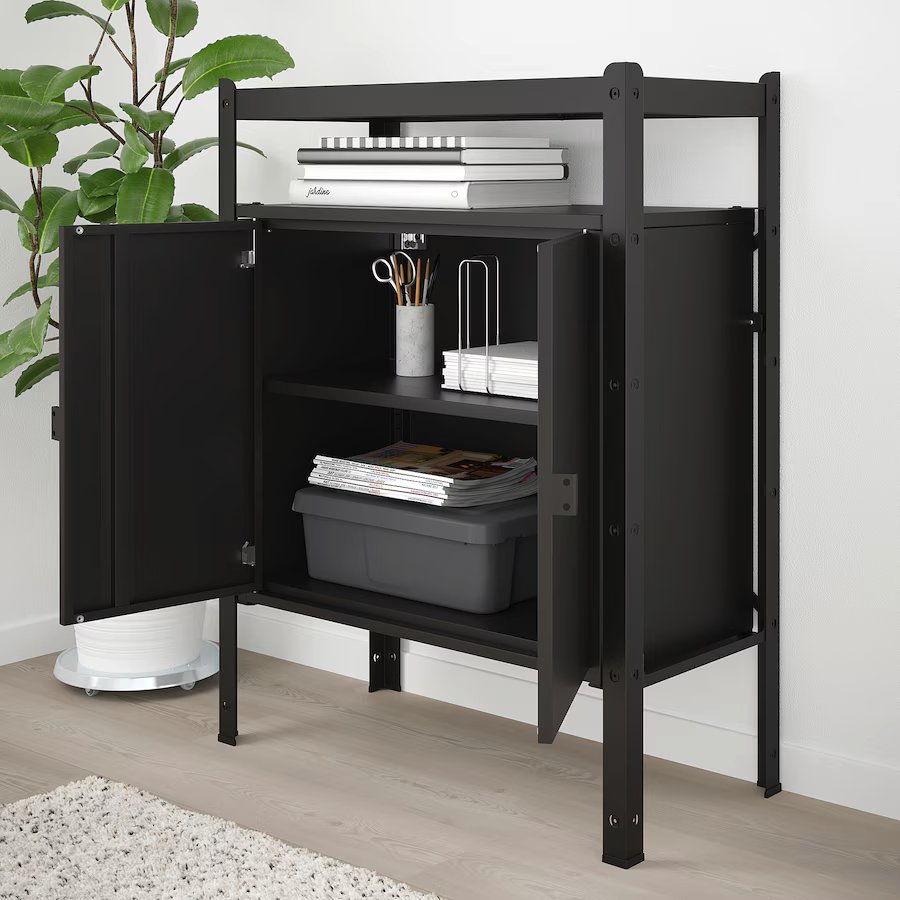
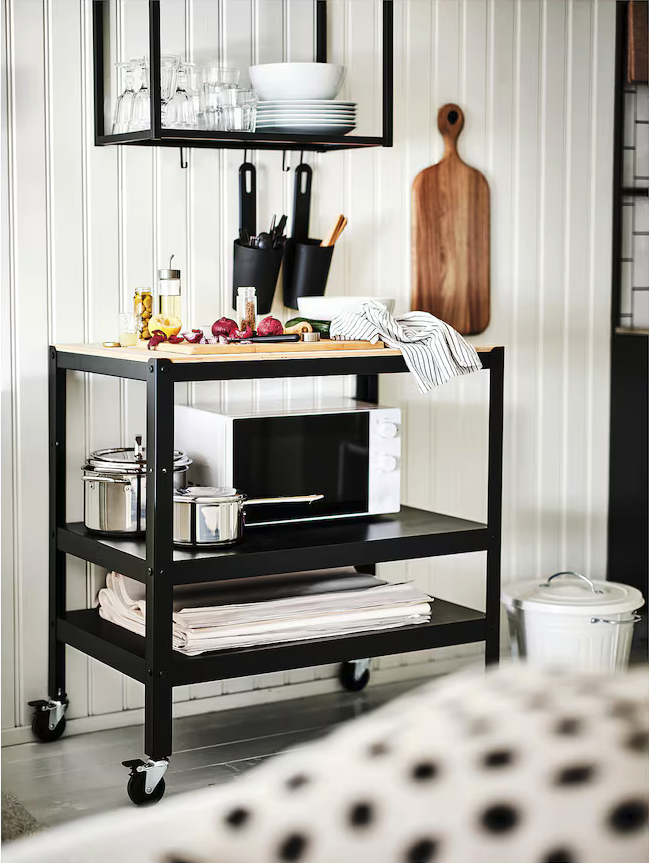
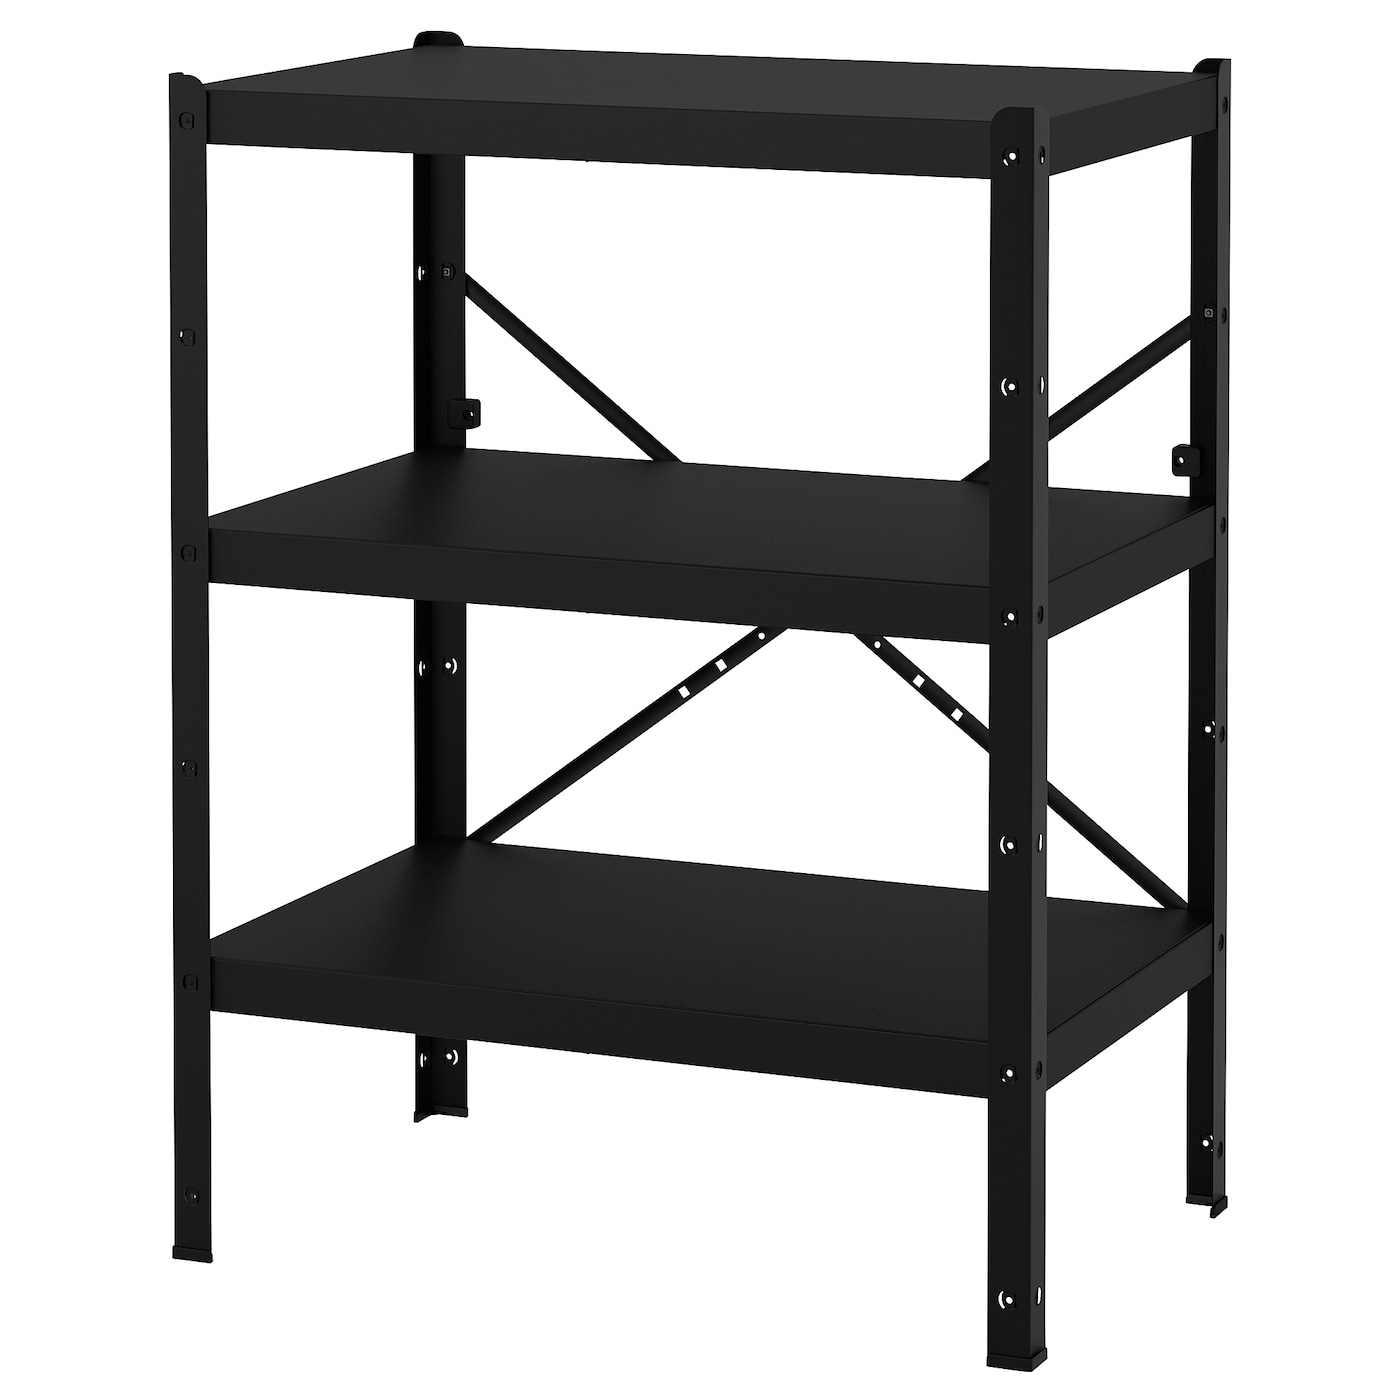
The BROR is a series of configurable shelving units, including a cabinet module—unfortunately, it is too small for my needs. The BROR trolley seems like a good compromise regarding the footprint-to-value ratio, and it has wheels but is a little short. Ultimately, I settled on the three-story unit because it could be reconfigured into a large growing space, a smaller storage area, and a tabletop that could serve its original purpose. I plan to use it in spring to hold all the plants before their inevitable move to my garden. This unit doesn’t have caster wheels, but I can add them with a few grams of filament.
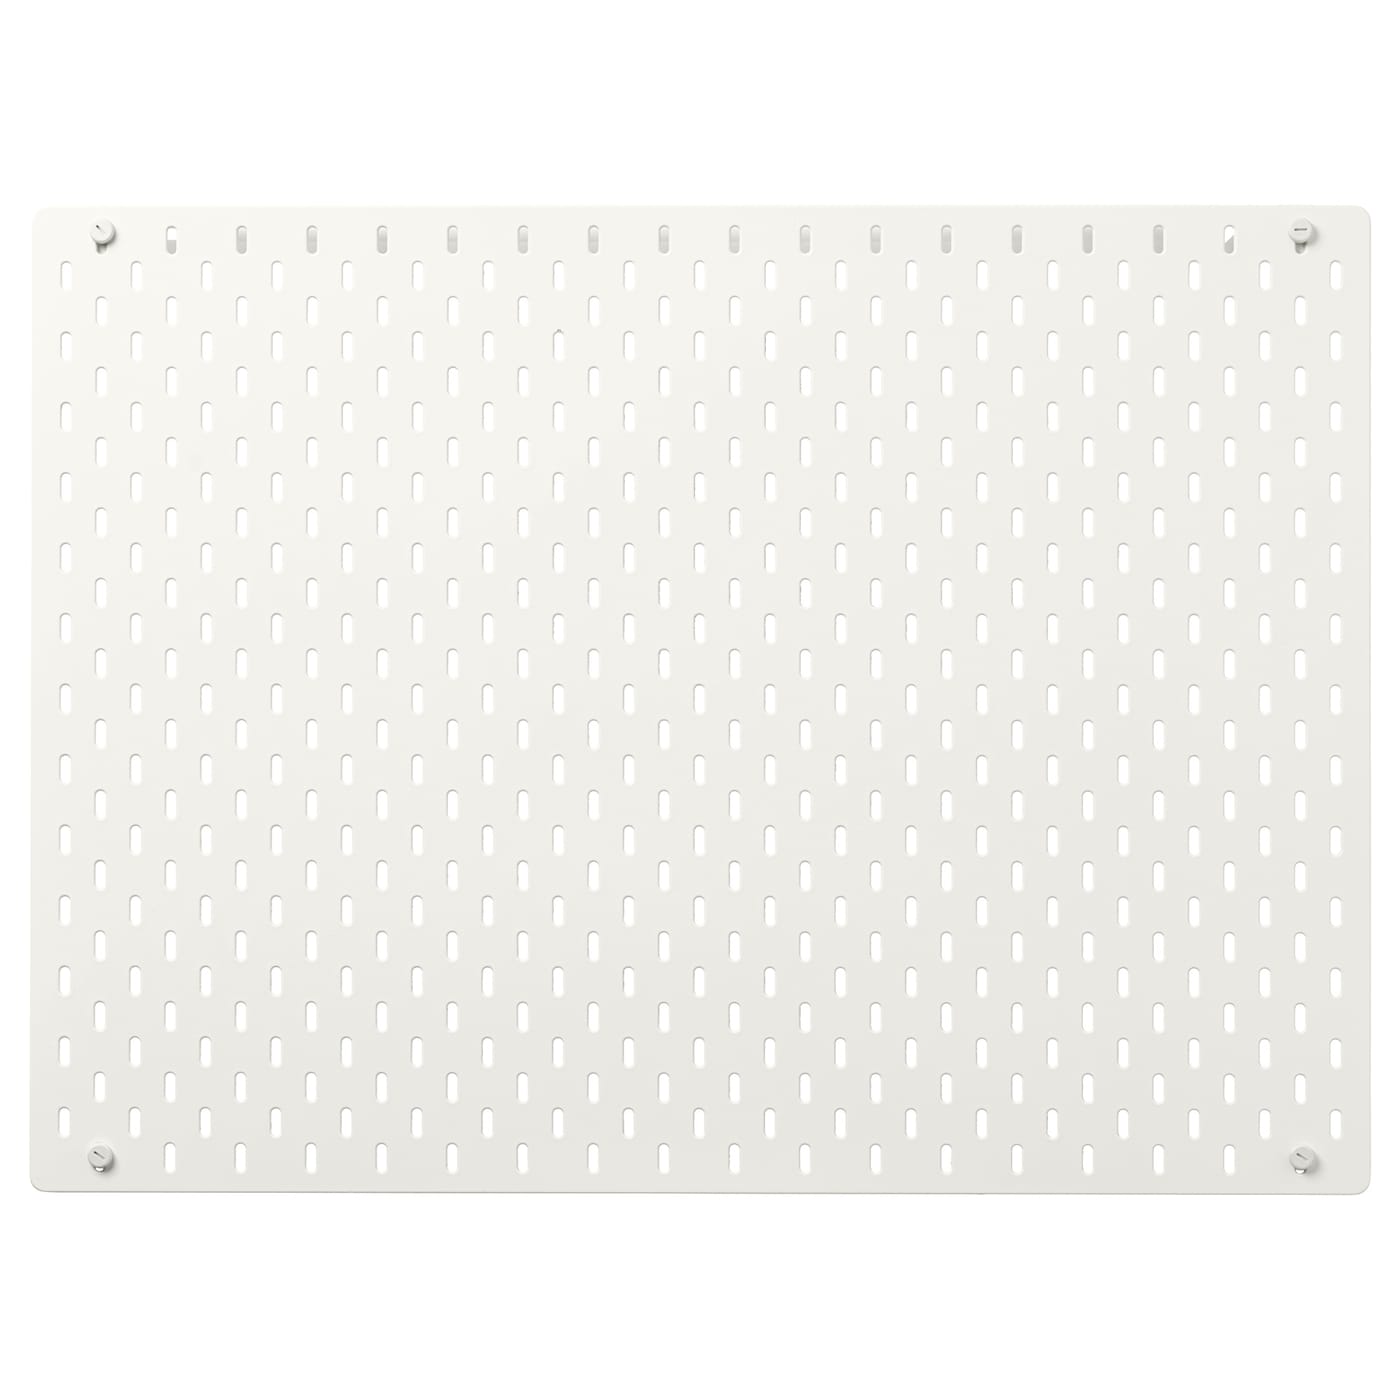
While shopping for HALLBAR bins, I spotted the SKÅDIS pegboard and got an idea. The large SKÅDIS is almost the same width as the BROR, meaning I could easily mount various accessories inside the cabinet. The only obstacle was the center bracket of the shelf, which had to be cut out.
the encapsulation
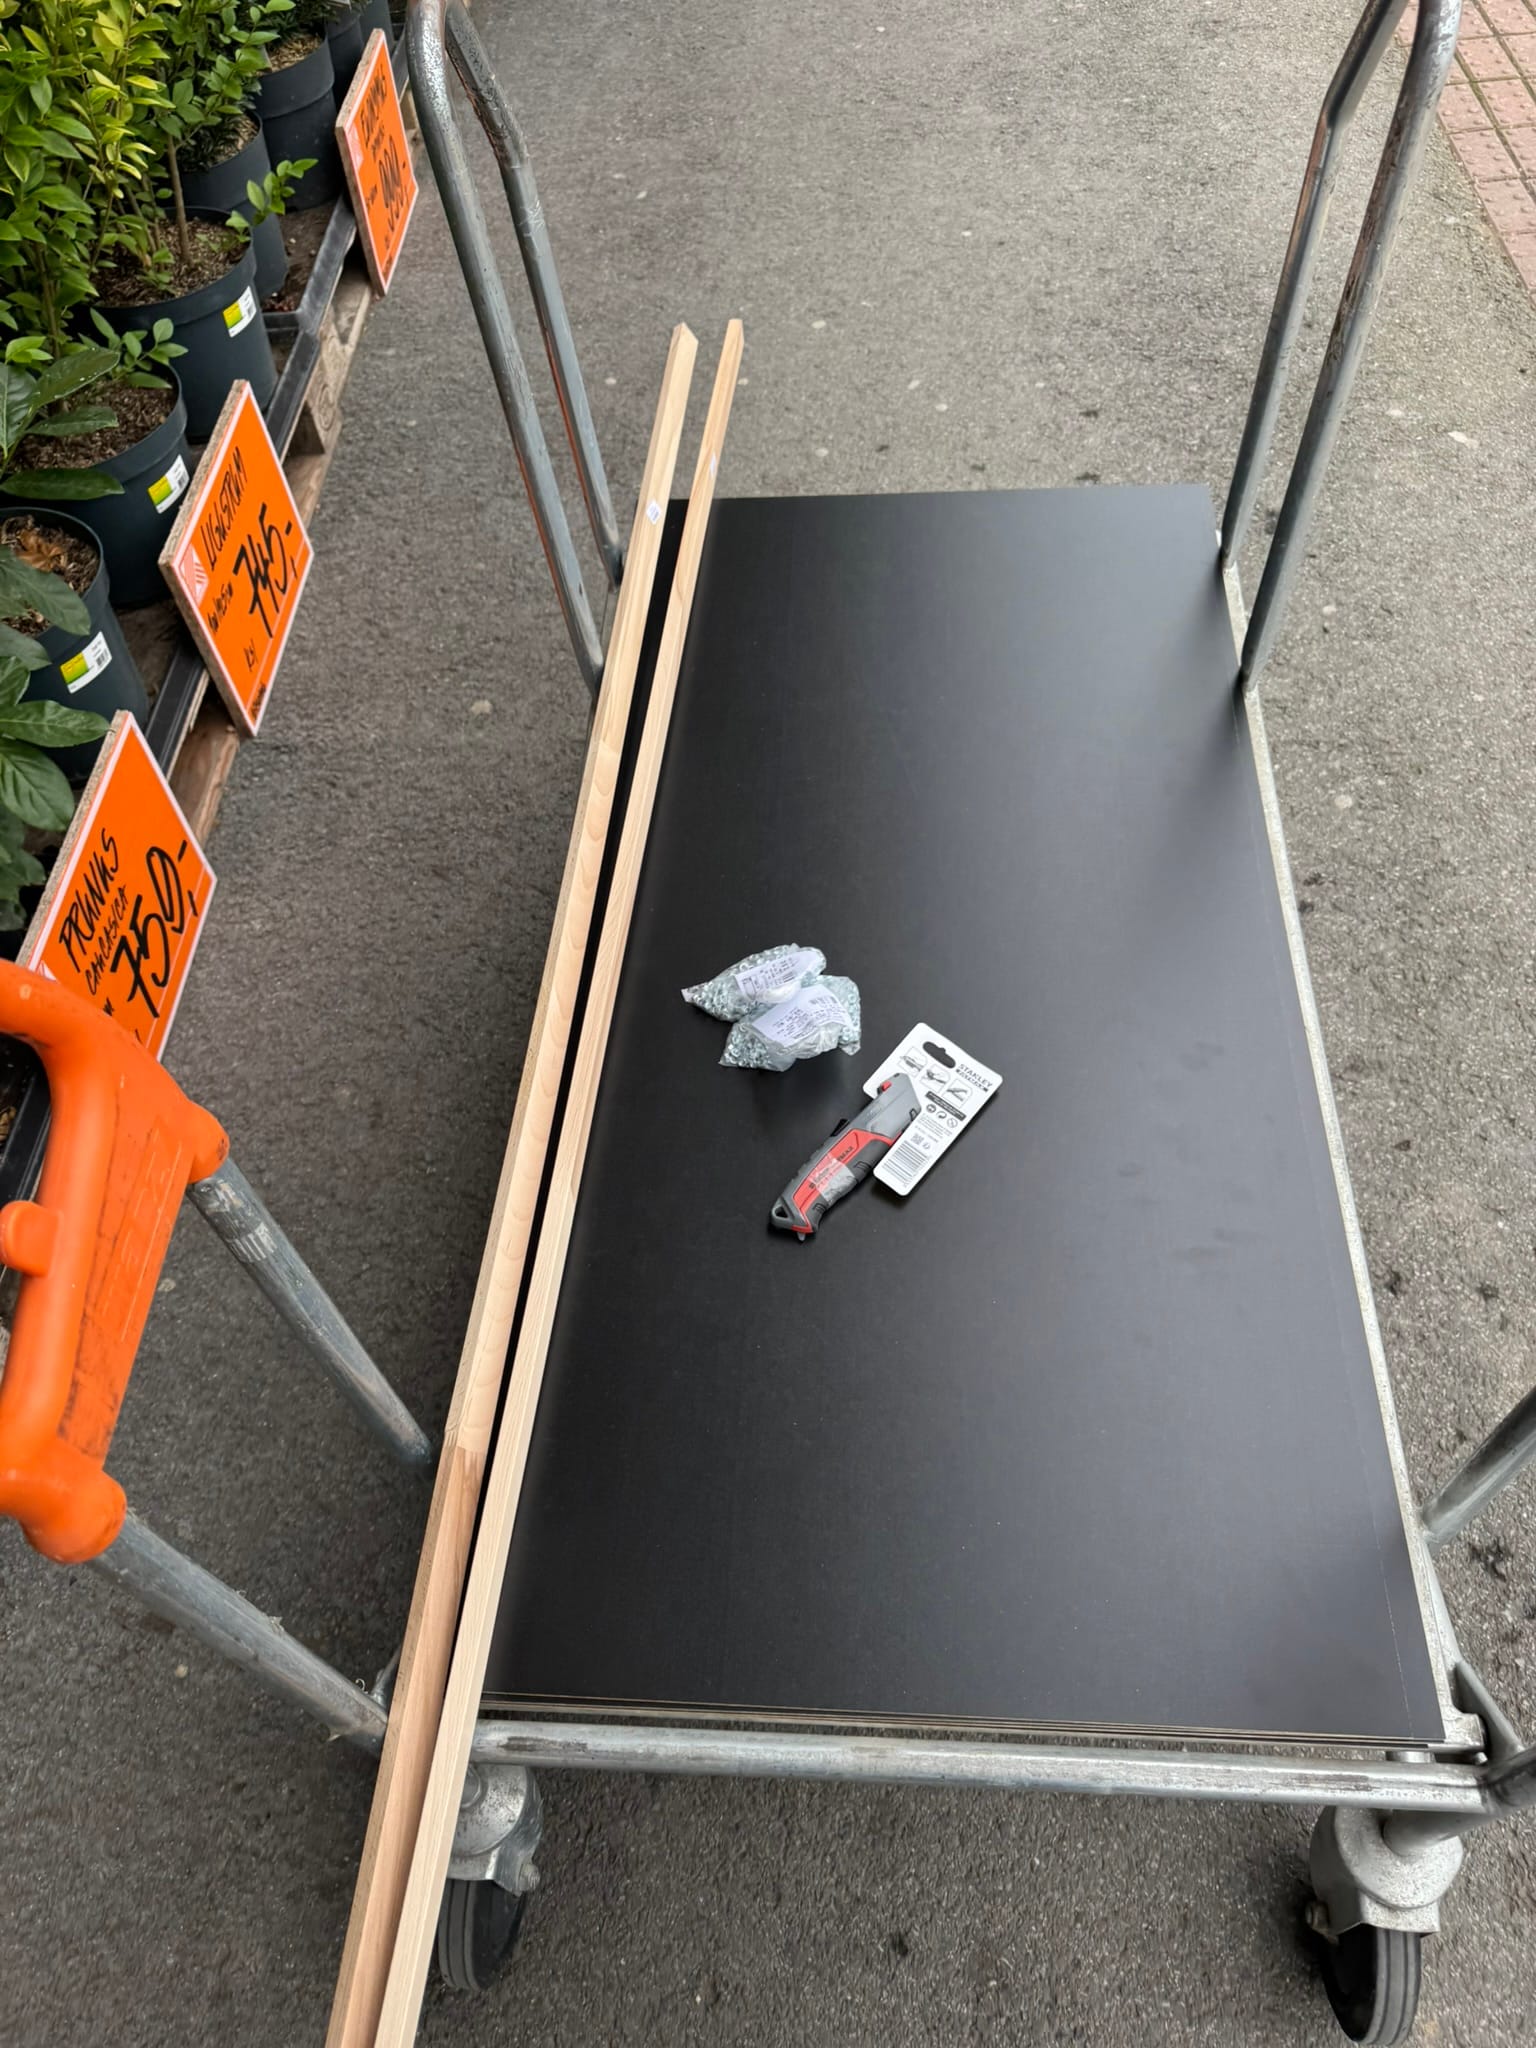
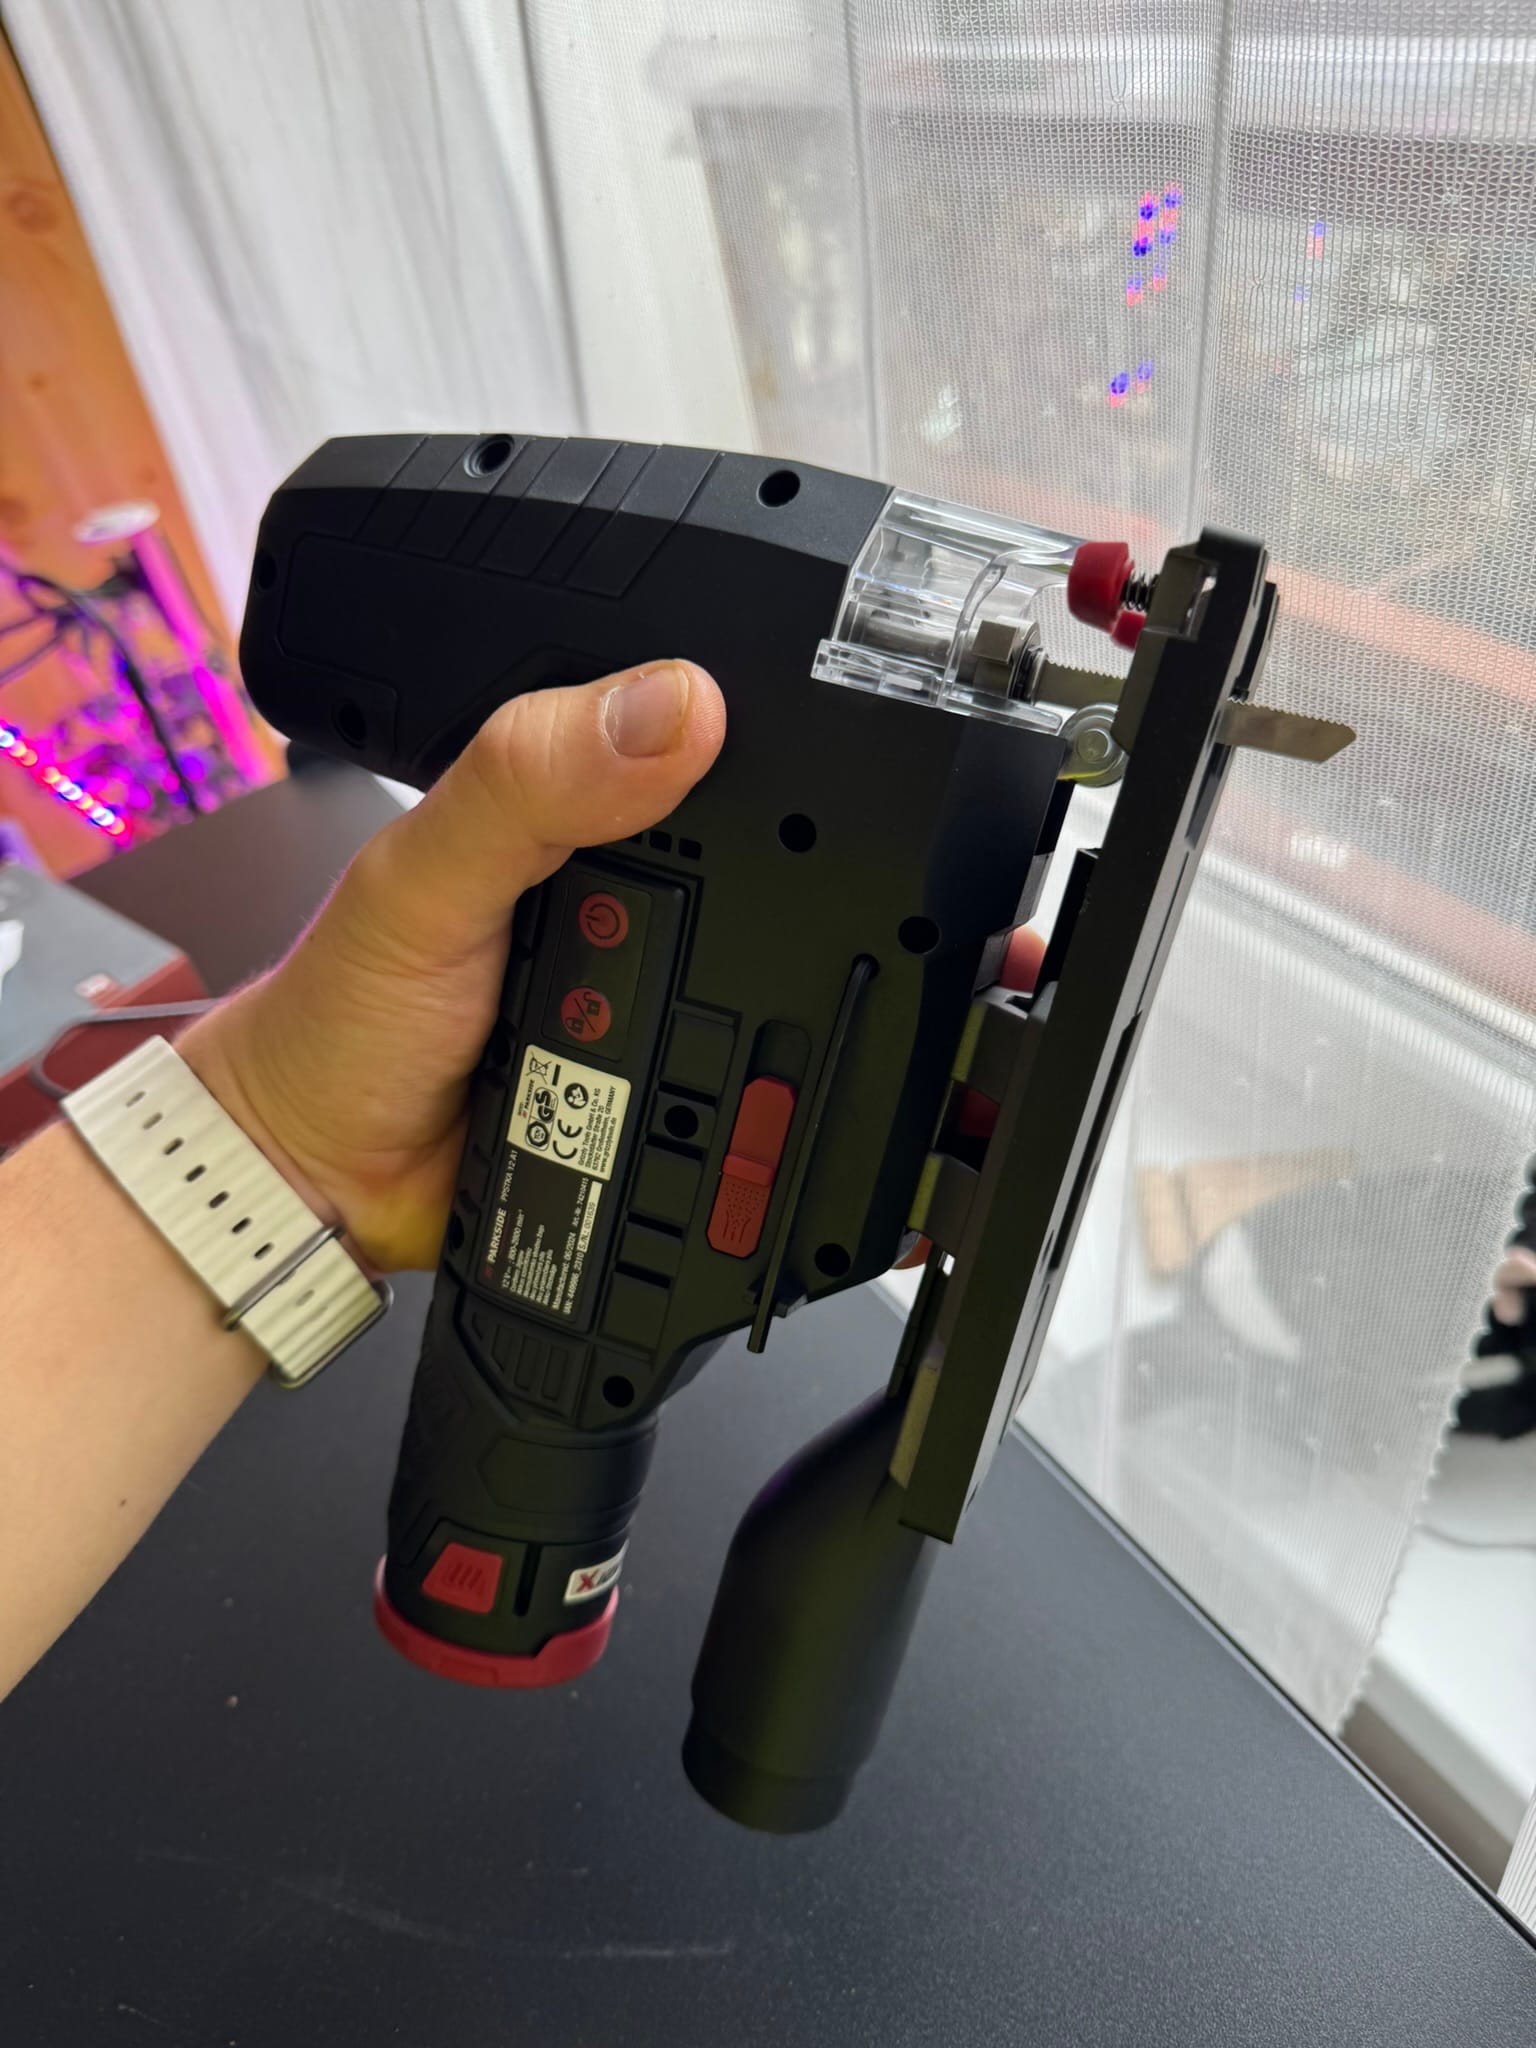
I wasn’t sure what material to use for the walls. I knew about hard polystyrene boards but found them too expensive. I could have used polycarbonate boards (AND I SHOULD HAVE!), but then I discovered decently priced HDF wooden boards with a black matte finish on one side. Compared to the other materials, the price was excellent! Plus, it was a good excuse to buy a new battery-powered jigsaw.
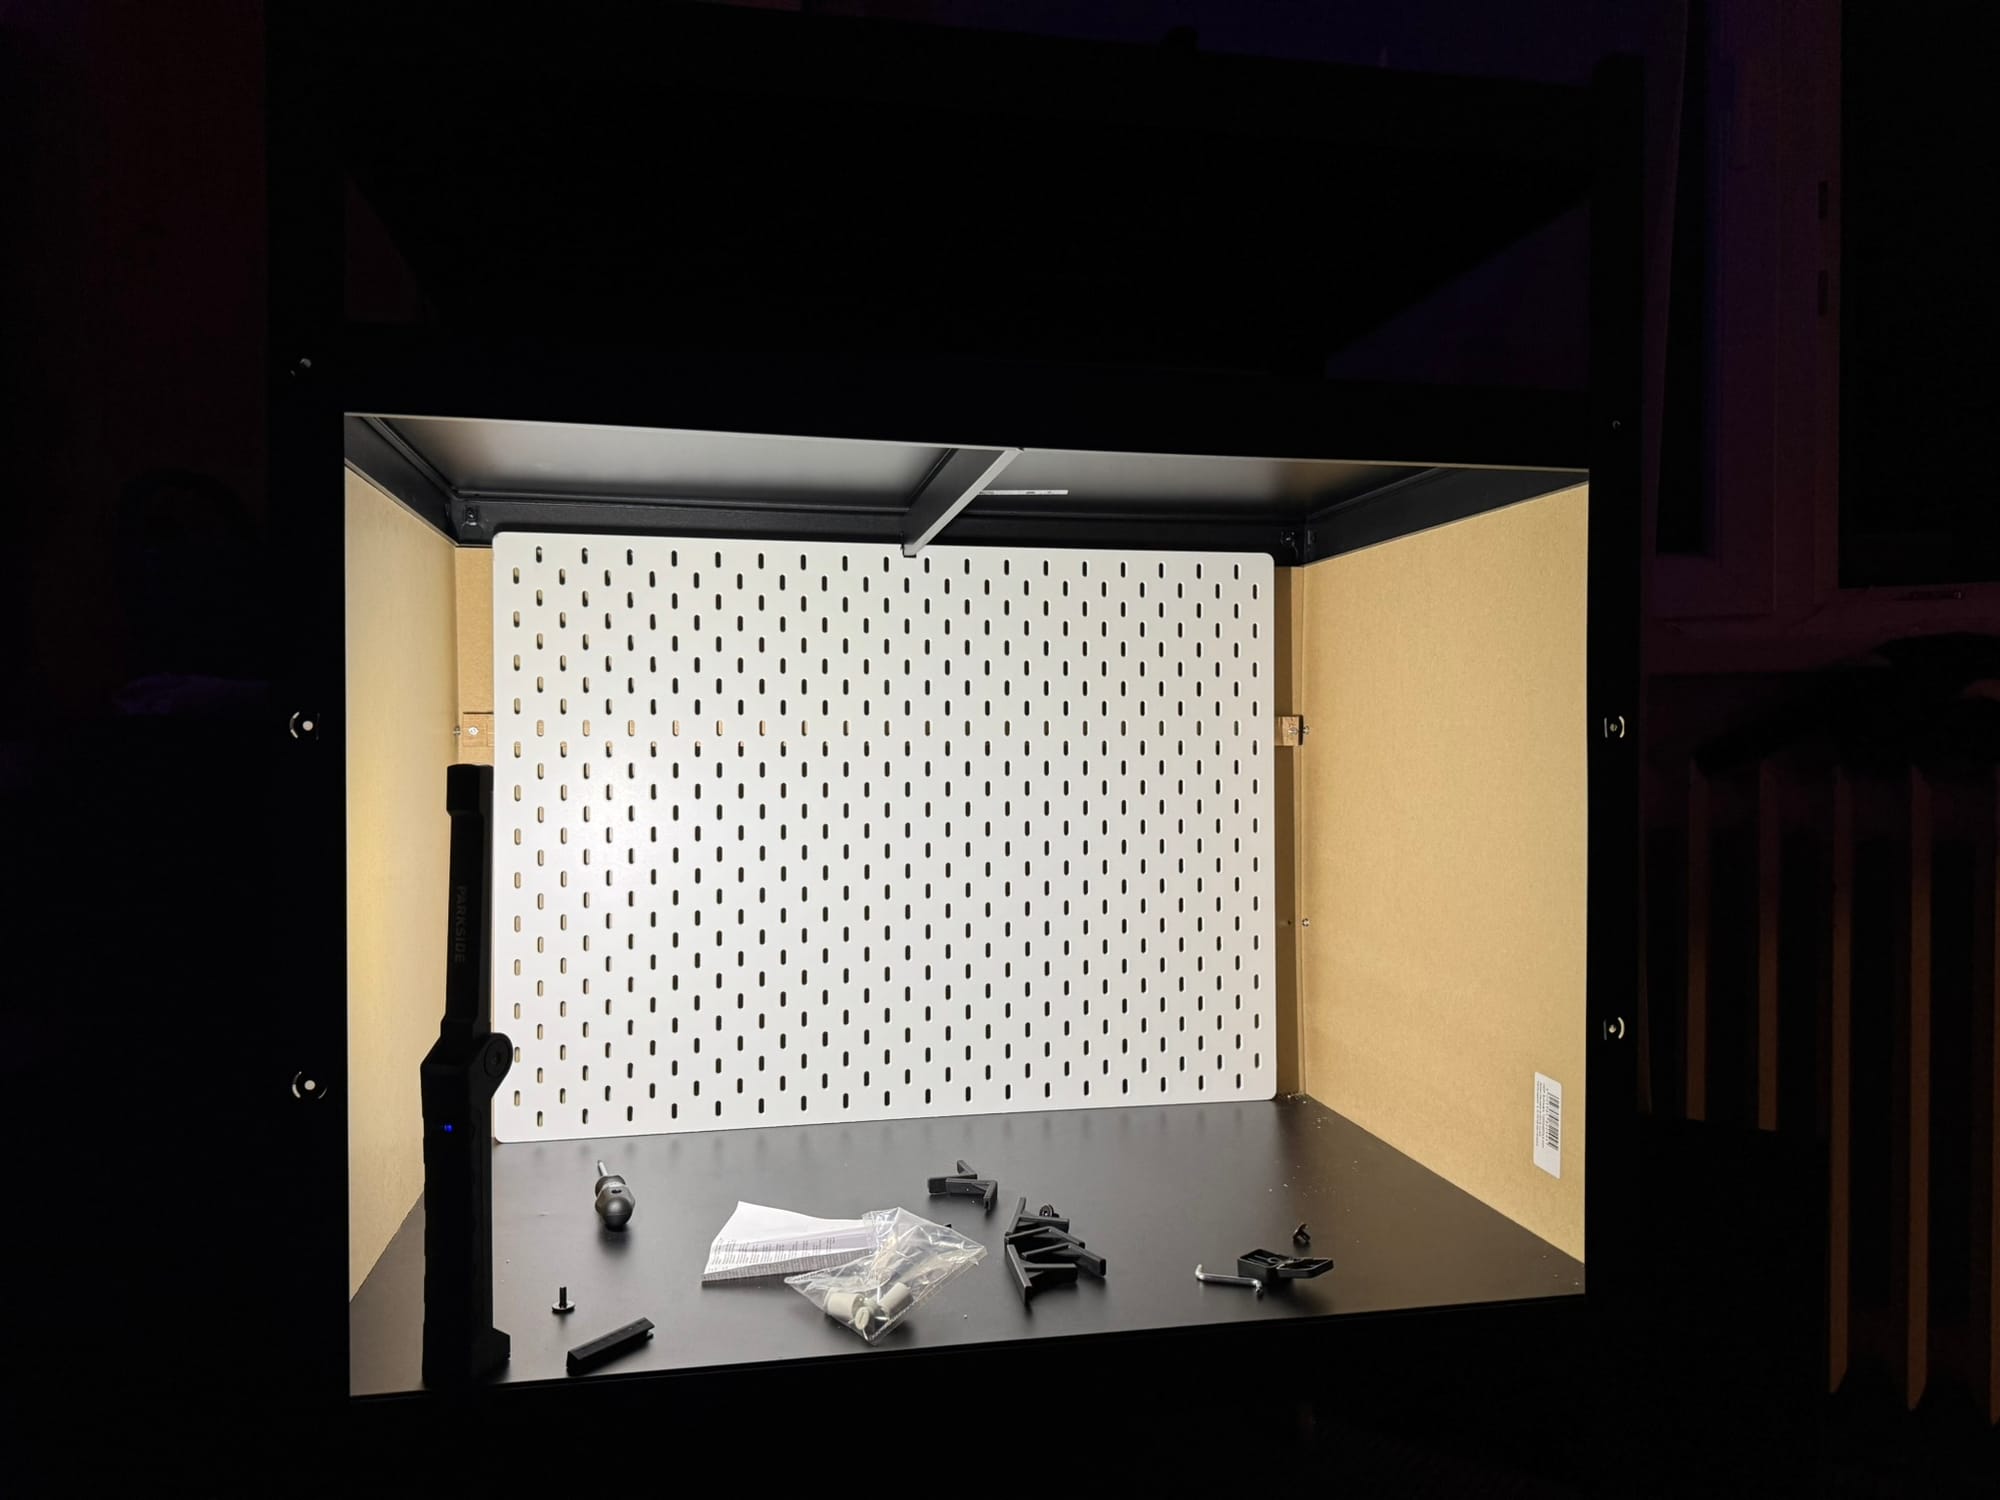
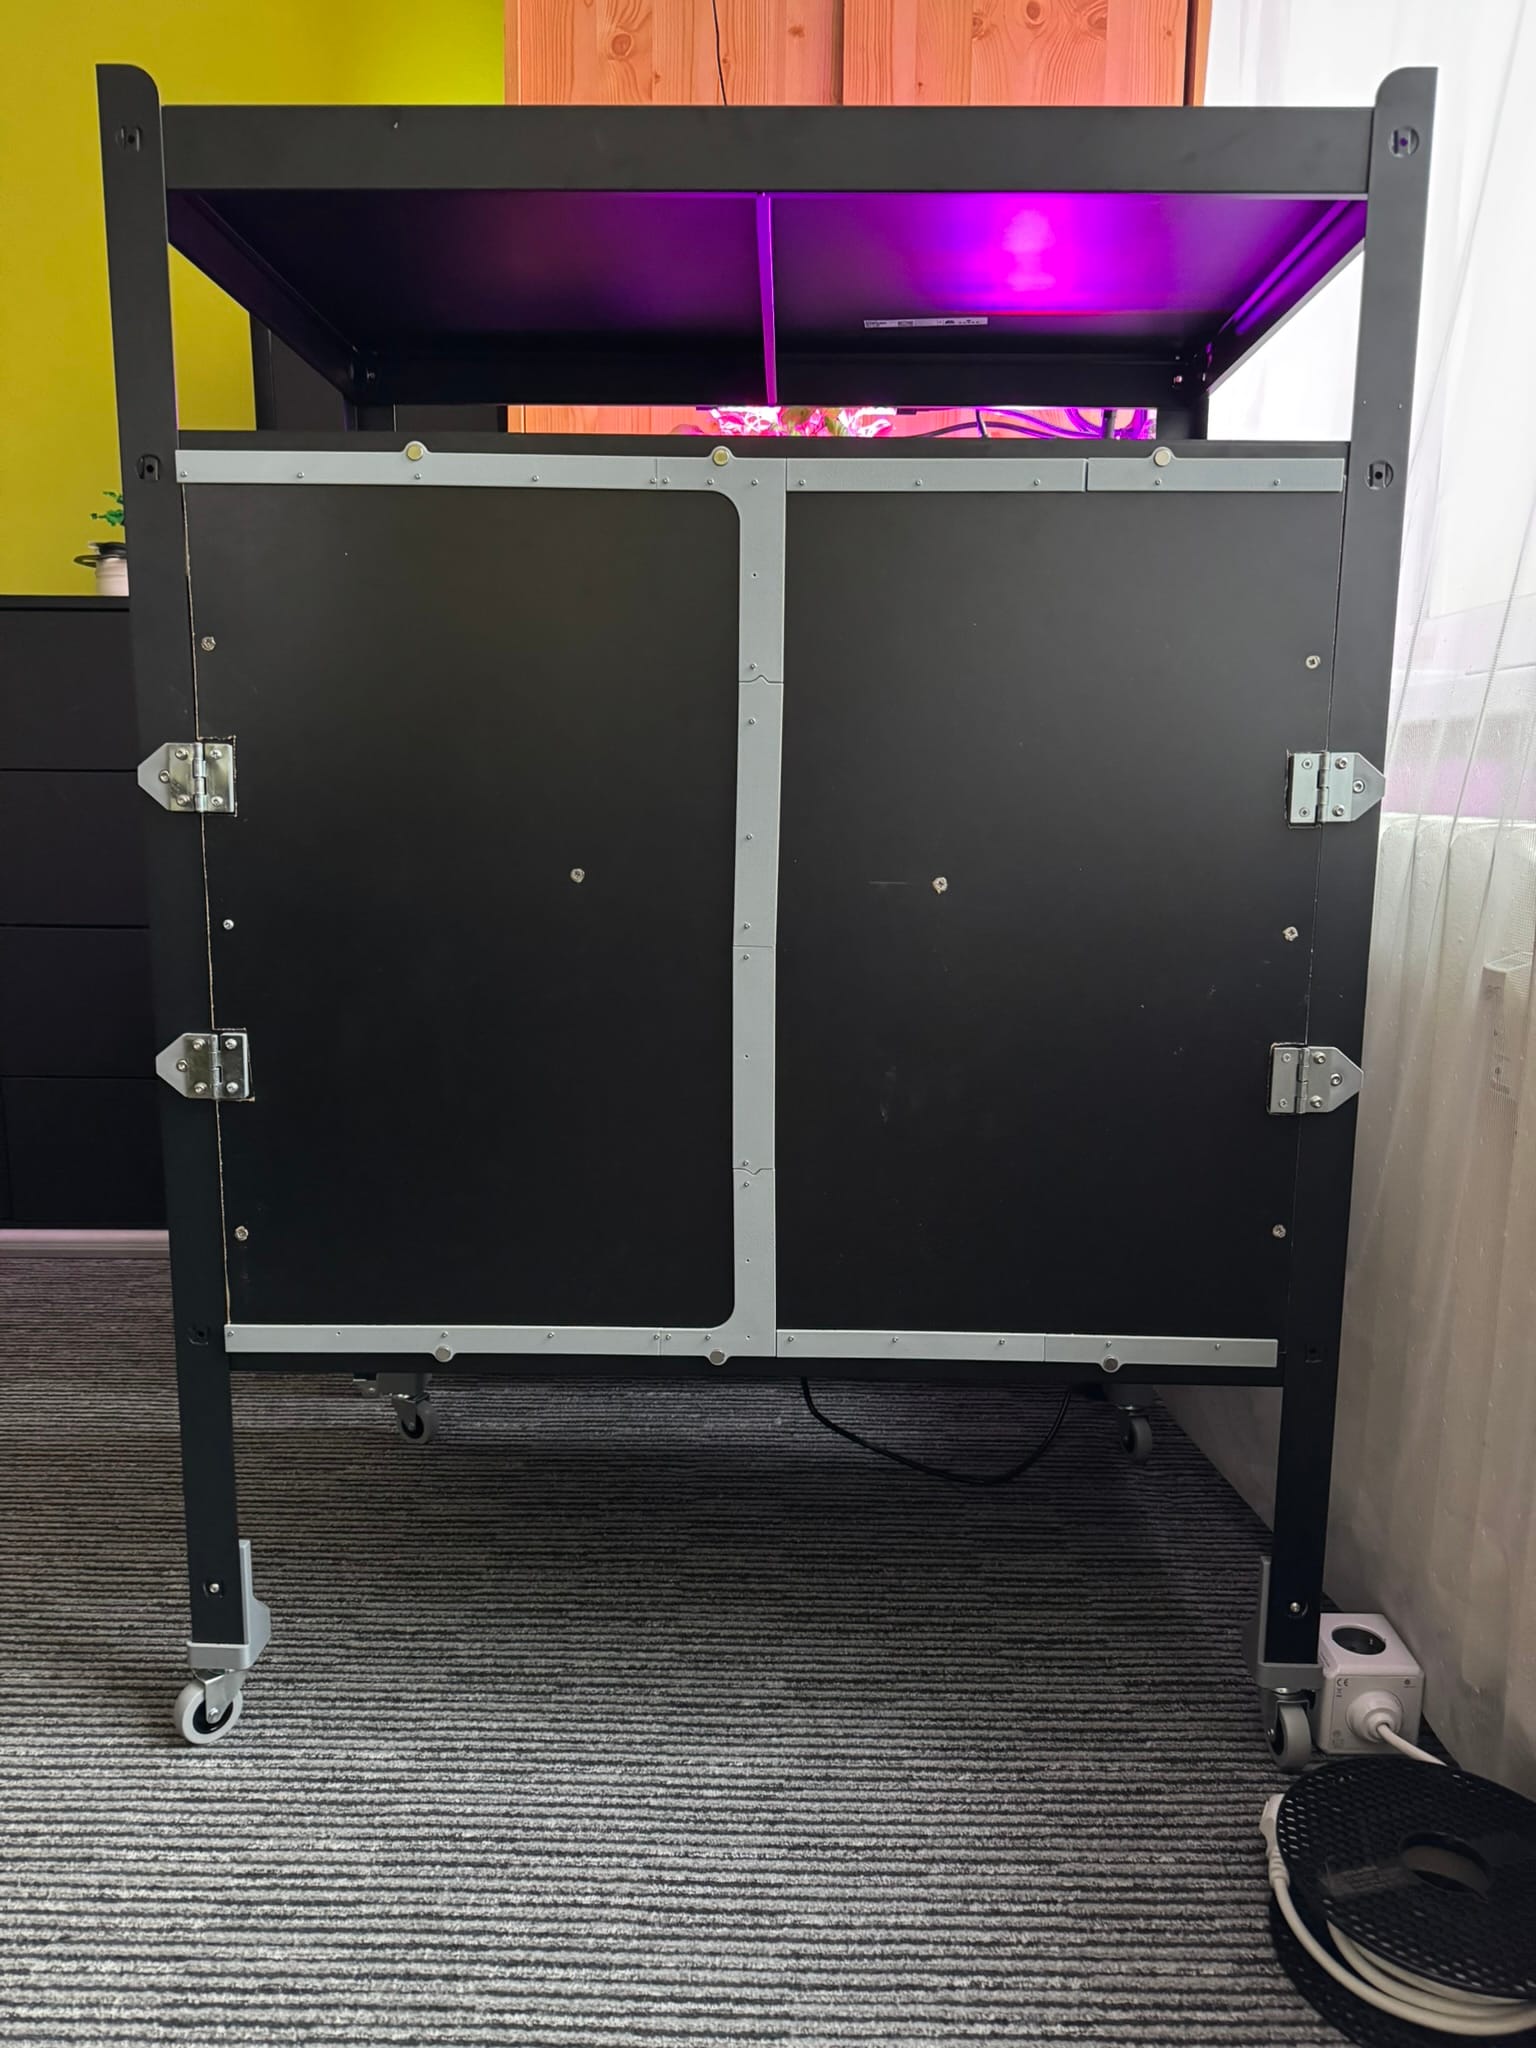
At the time, I still had my old table at home and decided to repurpose as many parts as possible since I would throw it away. It was solid hardwood in black, which was perfect for building a frame for the doors. I tried to keep my measurements somewhat precise (SPOILER: That backfired), as the cabinet would live in my living room and needed to be sealed with minimal light leakage.
My biggest concern was the doors because I couldn’t think of a way to prevent light leaks around the hinges. Thankfully, the internet saved me again—the solution was surprisingly simple: make the door overlap with the inside wall. I 3D-printed a border to make it look a little neater.
the EVAC
As mentioned before, I decided to use the same system as with my HydroLIXHULT, but with improvements based on previous flaws I had noticed.
The bucket design needed refinement. Instead of a hole for the tube, I made a groove, which allowed me to remove the bucket without removing the pump. The pump cable could also be routed through the groove.
I removed the watering halo and kept just a bent tube. The halo encouraged algae growth, where a simple tube minimized the wet surface area. Although water distribution was less even, it still worked well.
I added an inspection, a top-up hole, and a larger, reinforced outlet hole. In the old design, the outlet would often get clogged with clay balls or roots—this should now be resolved.
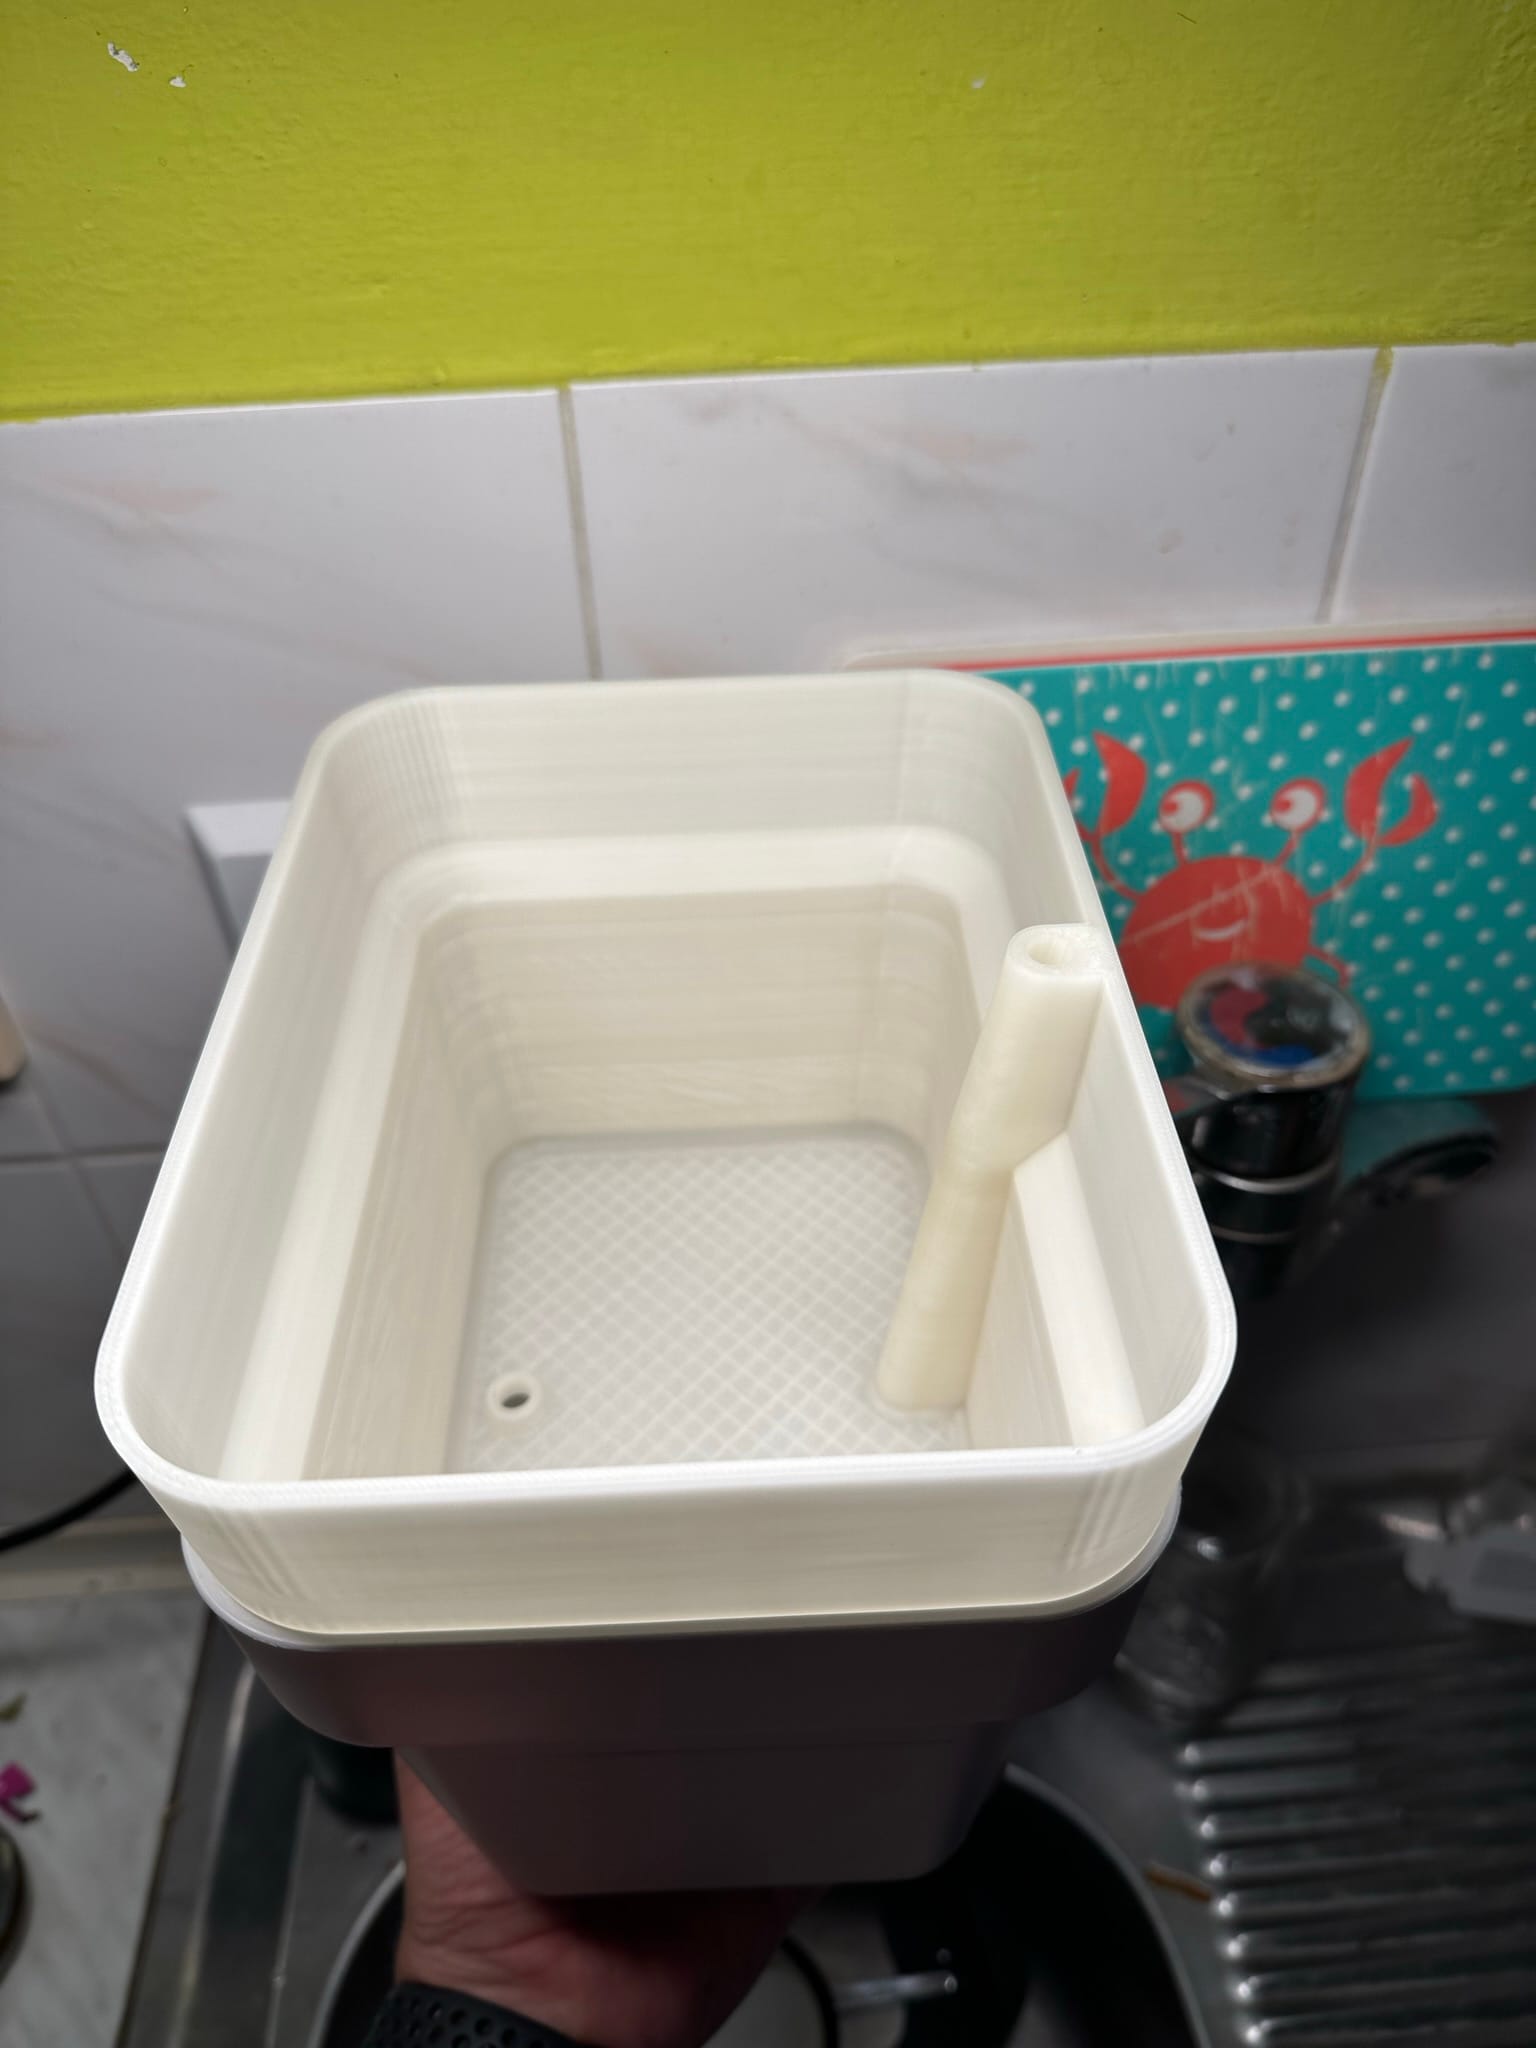
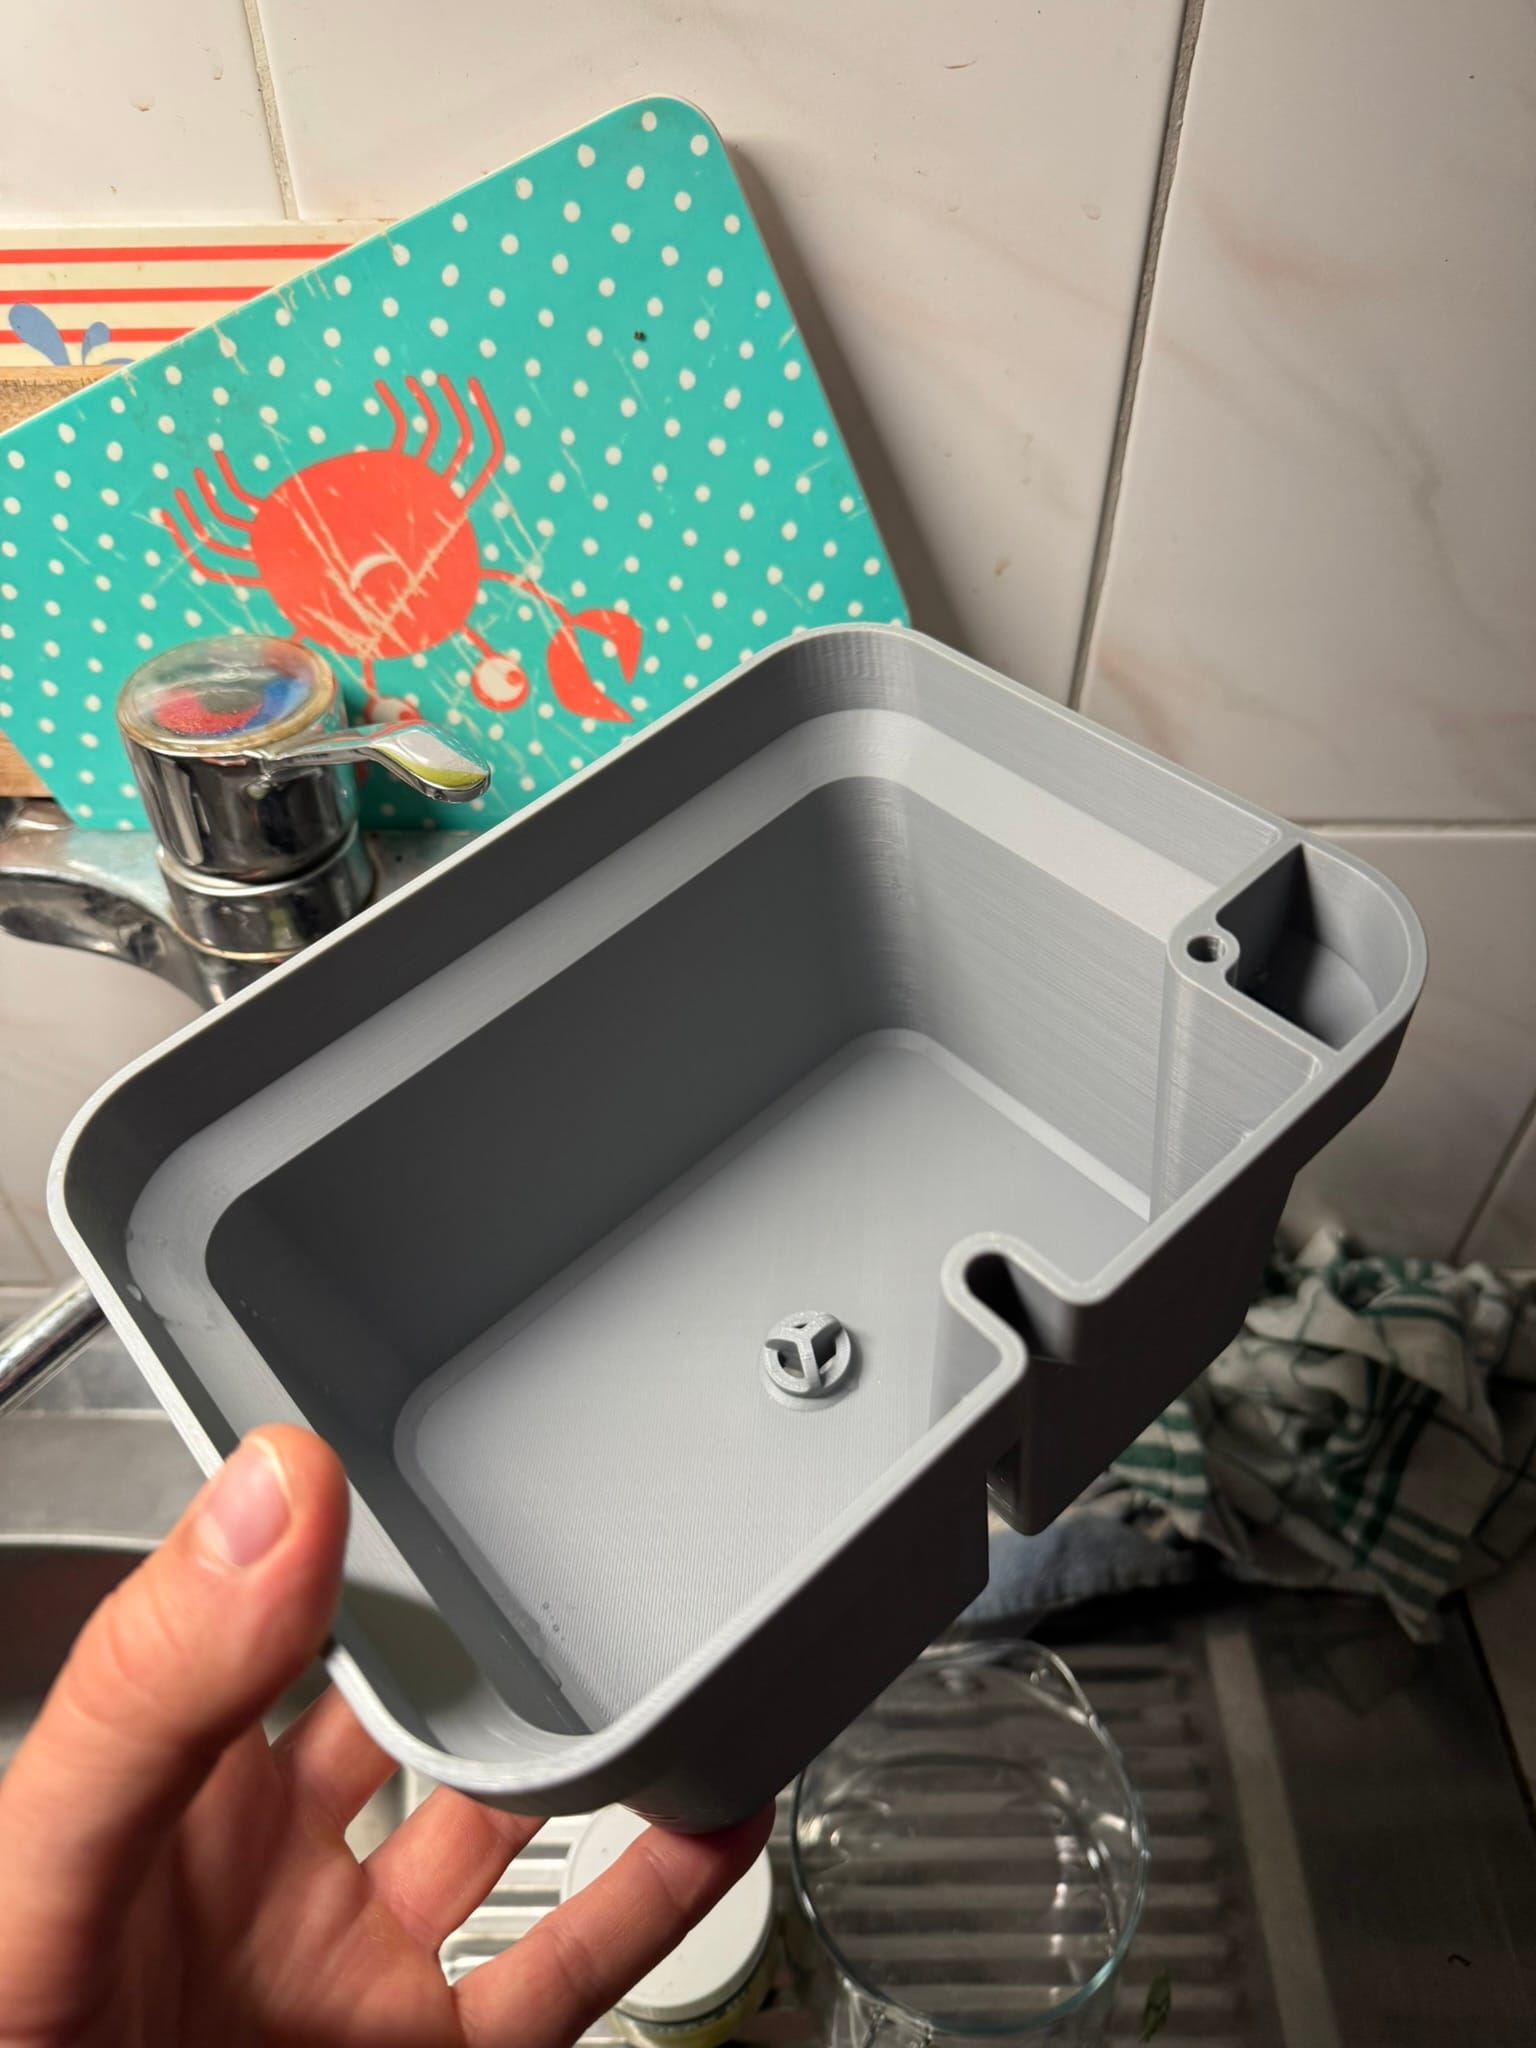
Out with the old, in with the new.
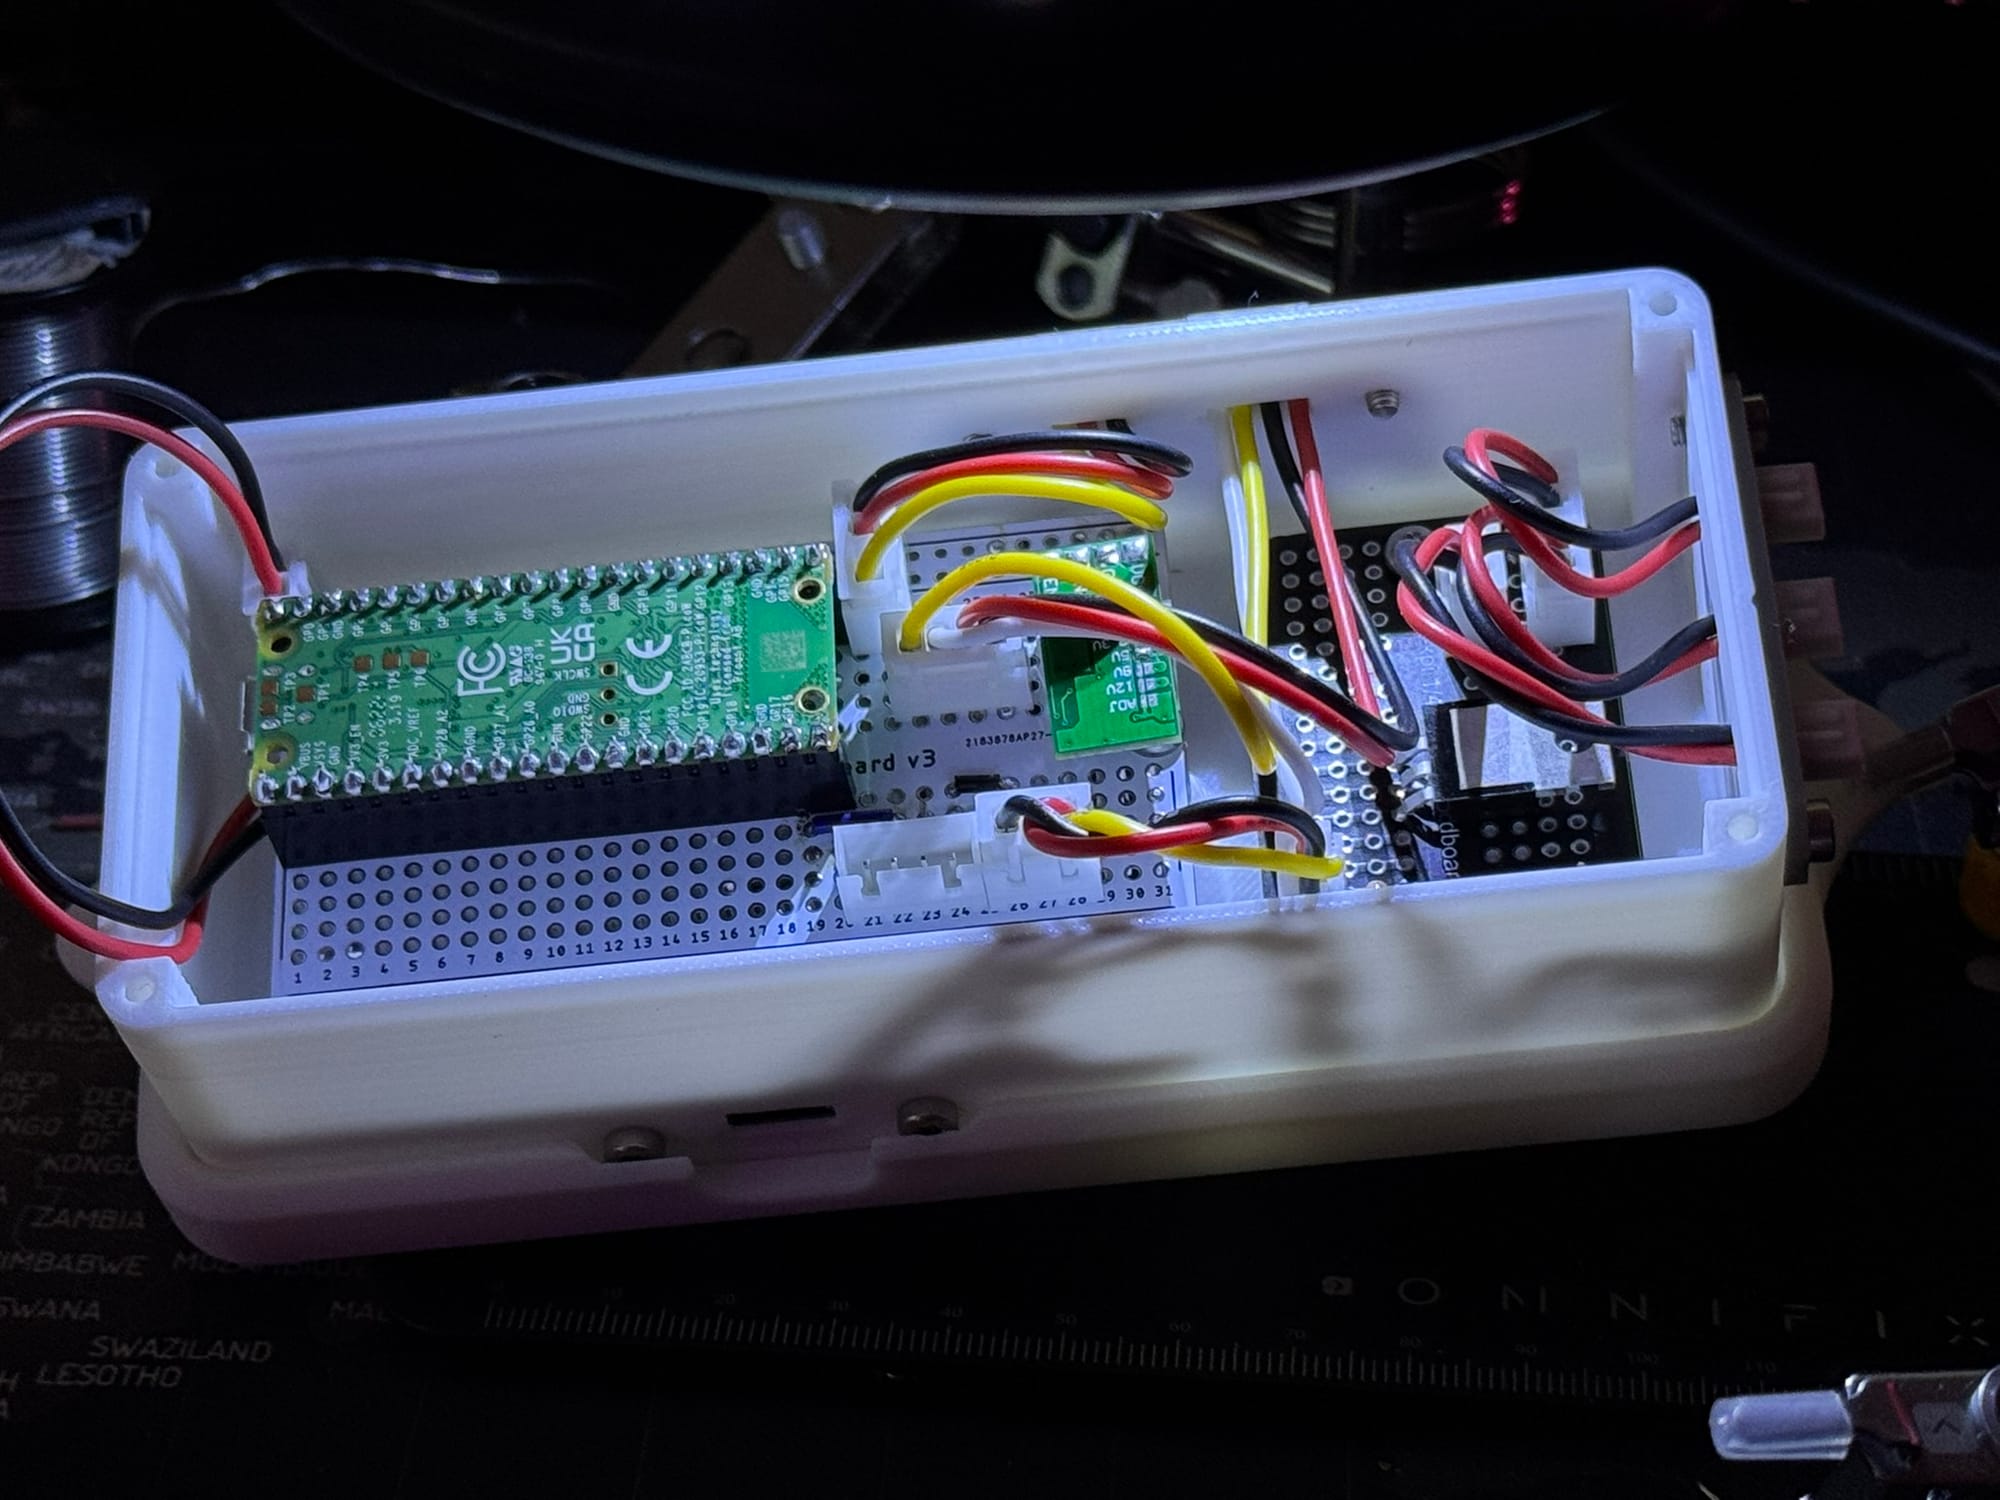
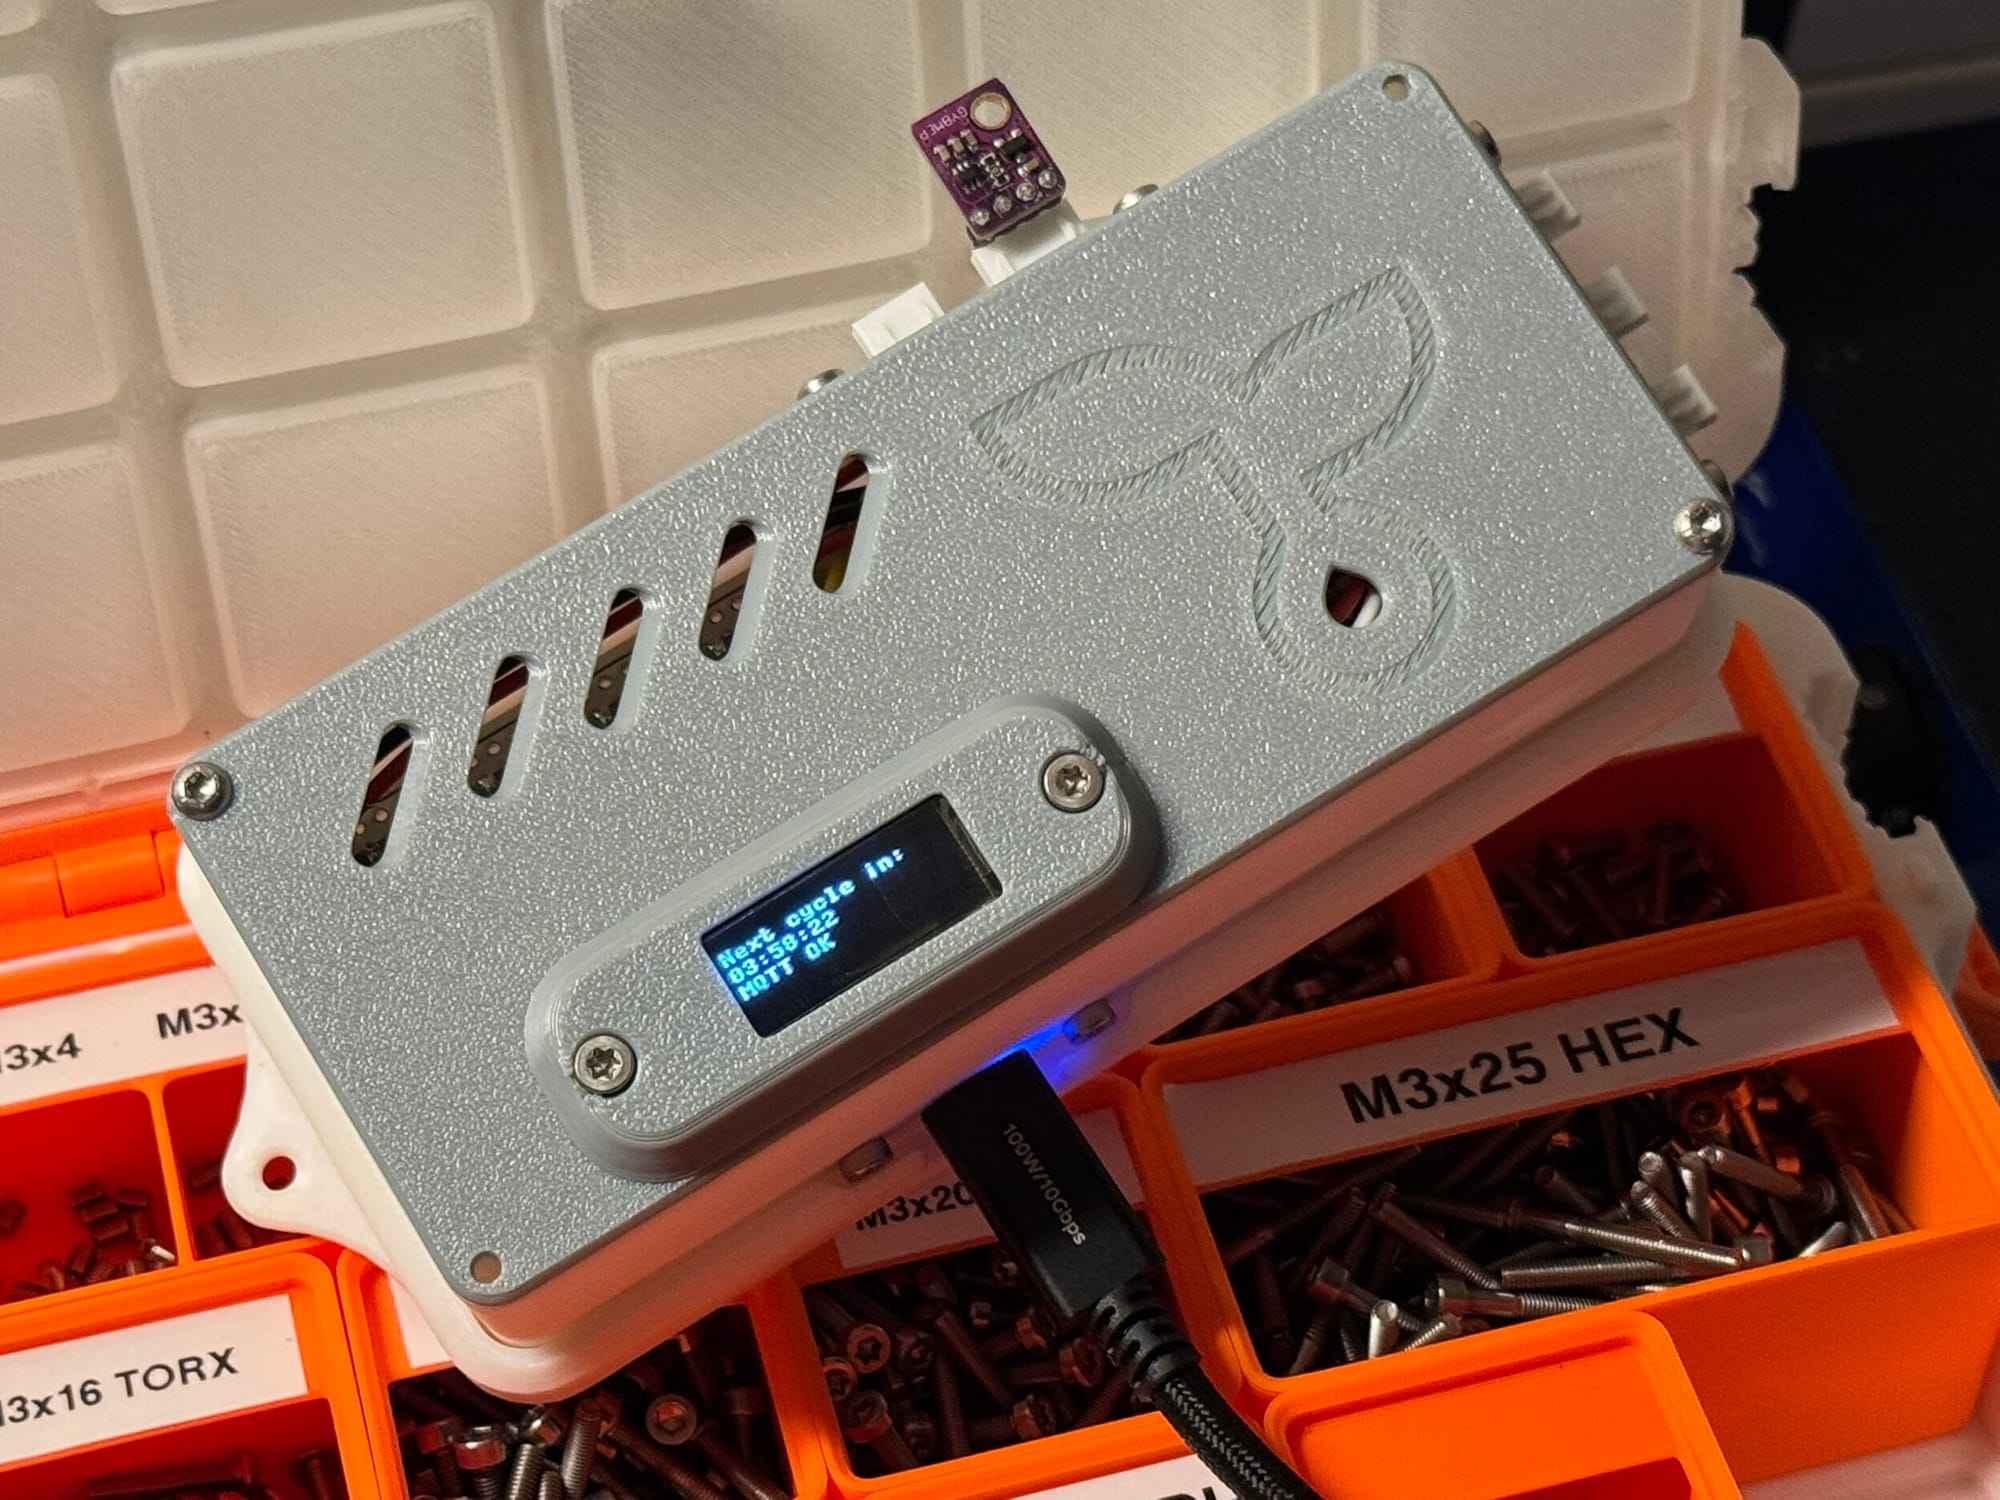
Since I had more real estate for my plants, I had to modify the water and air controller. It’s similar to the LIXHULT version. However, I added a dedicated I2C port to connect peripherals like the BMP280 environmental sensor and a fan port with PWM output.
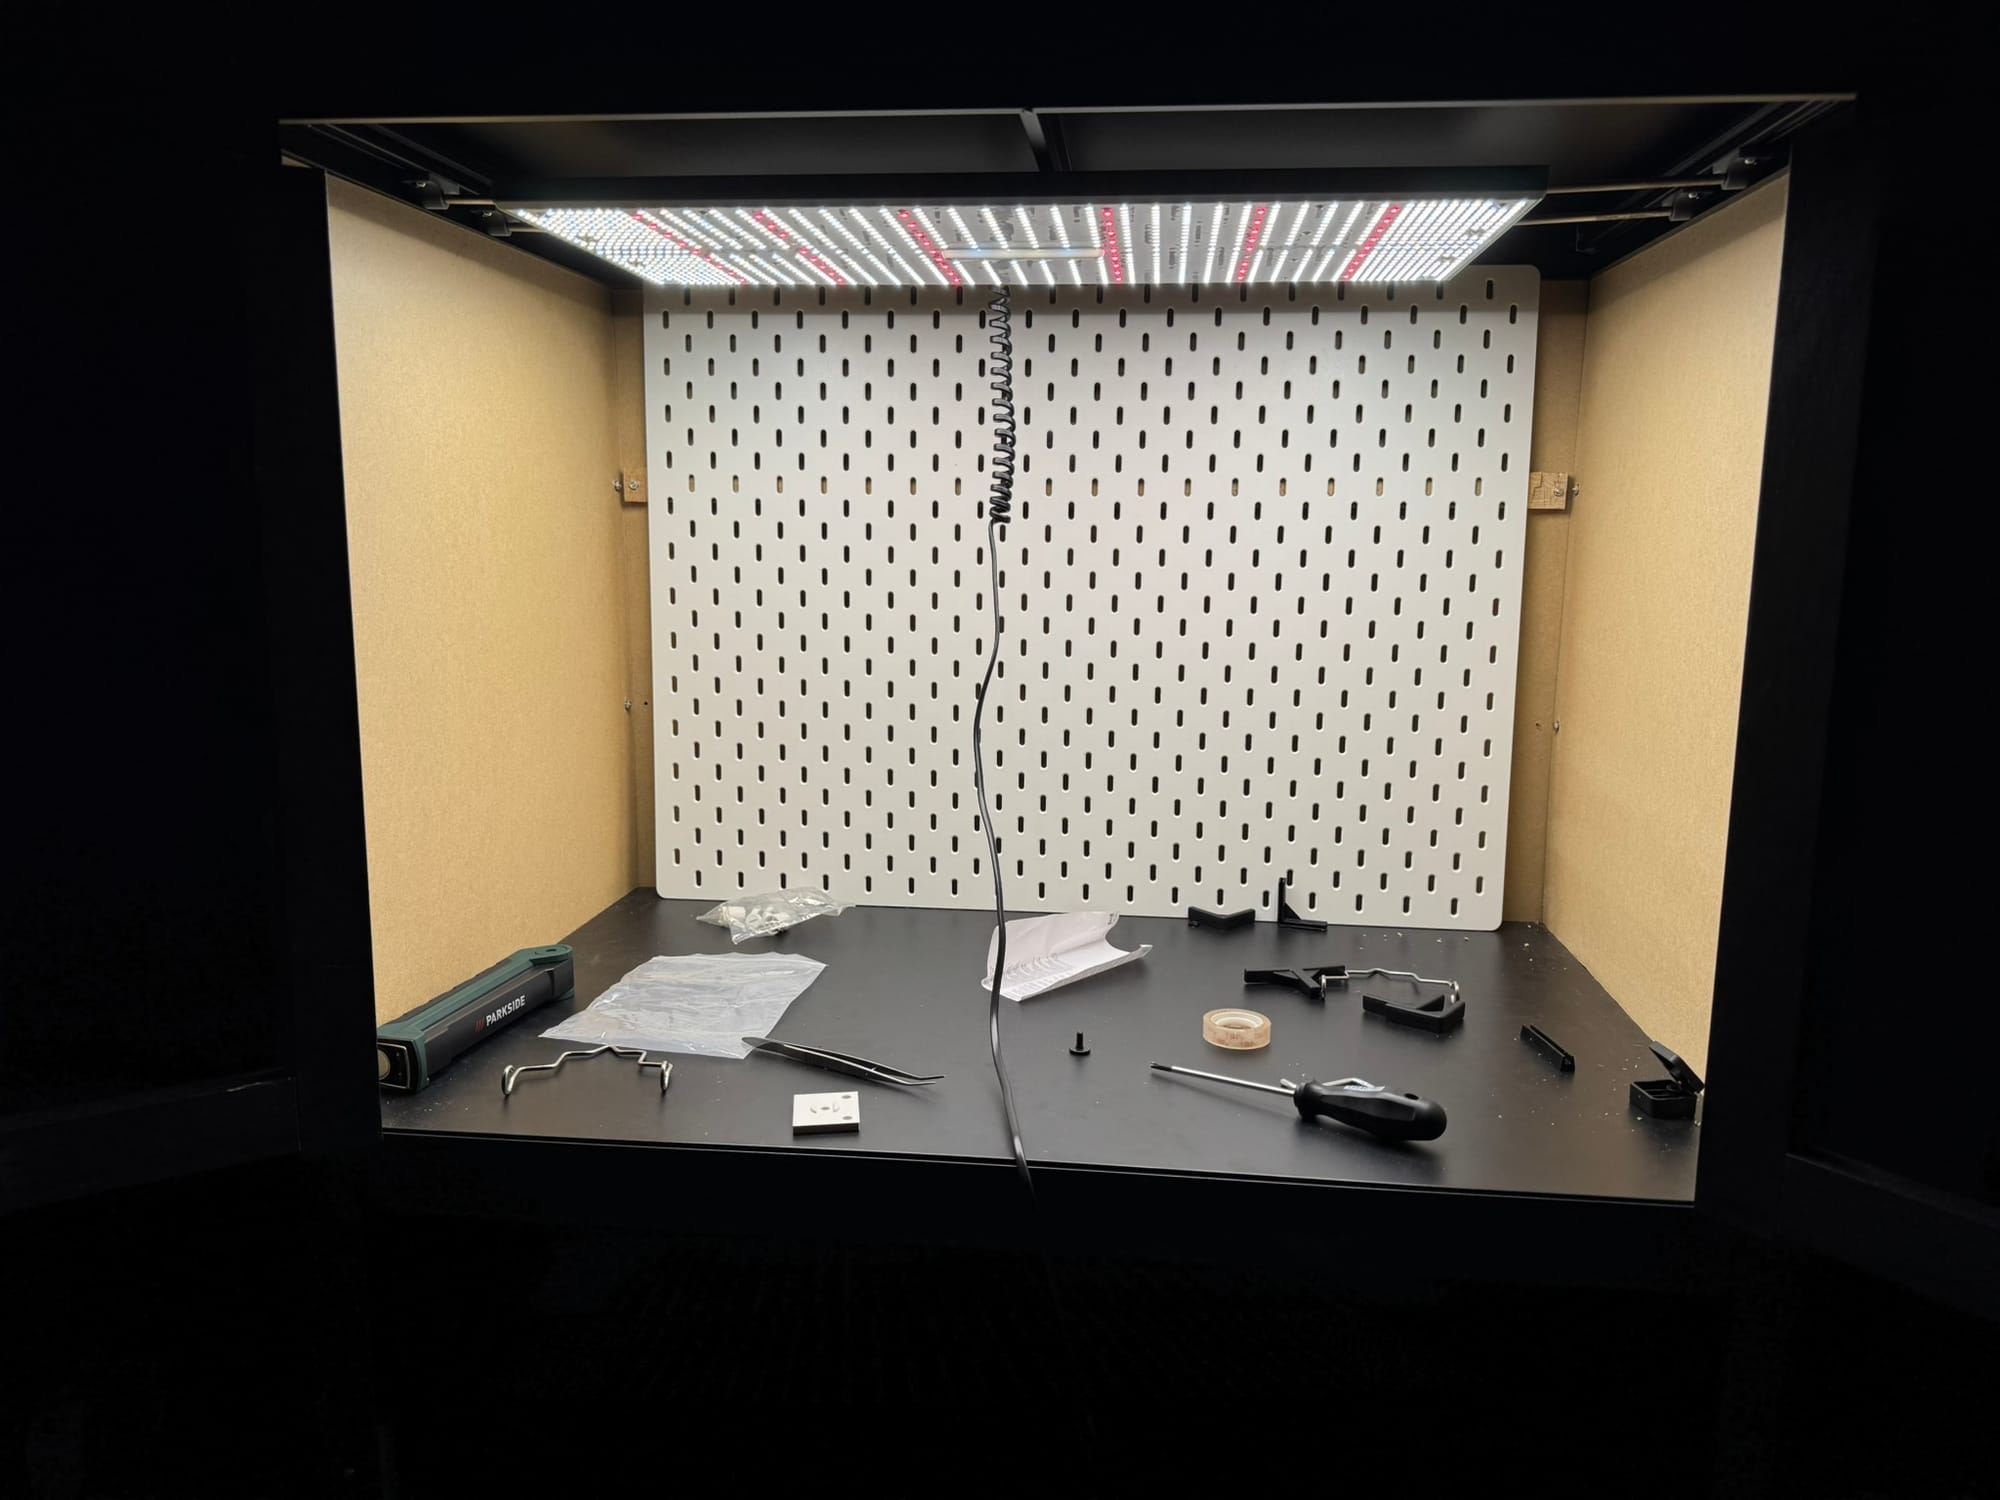
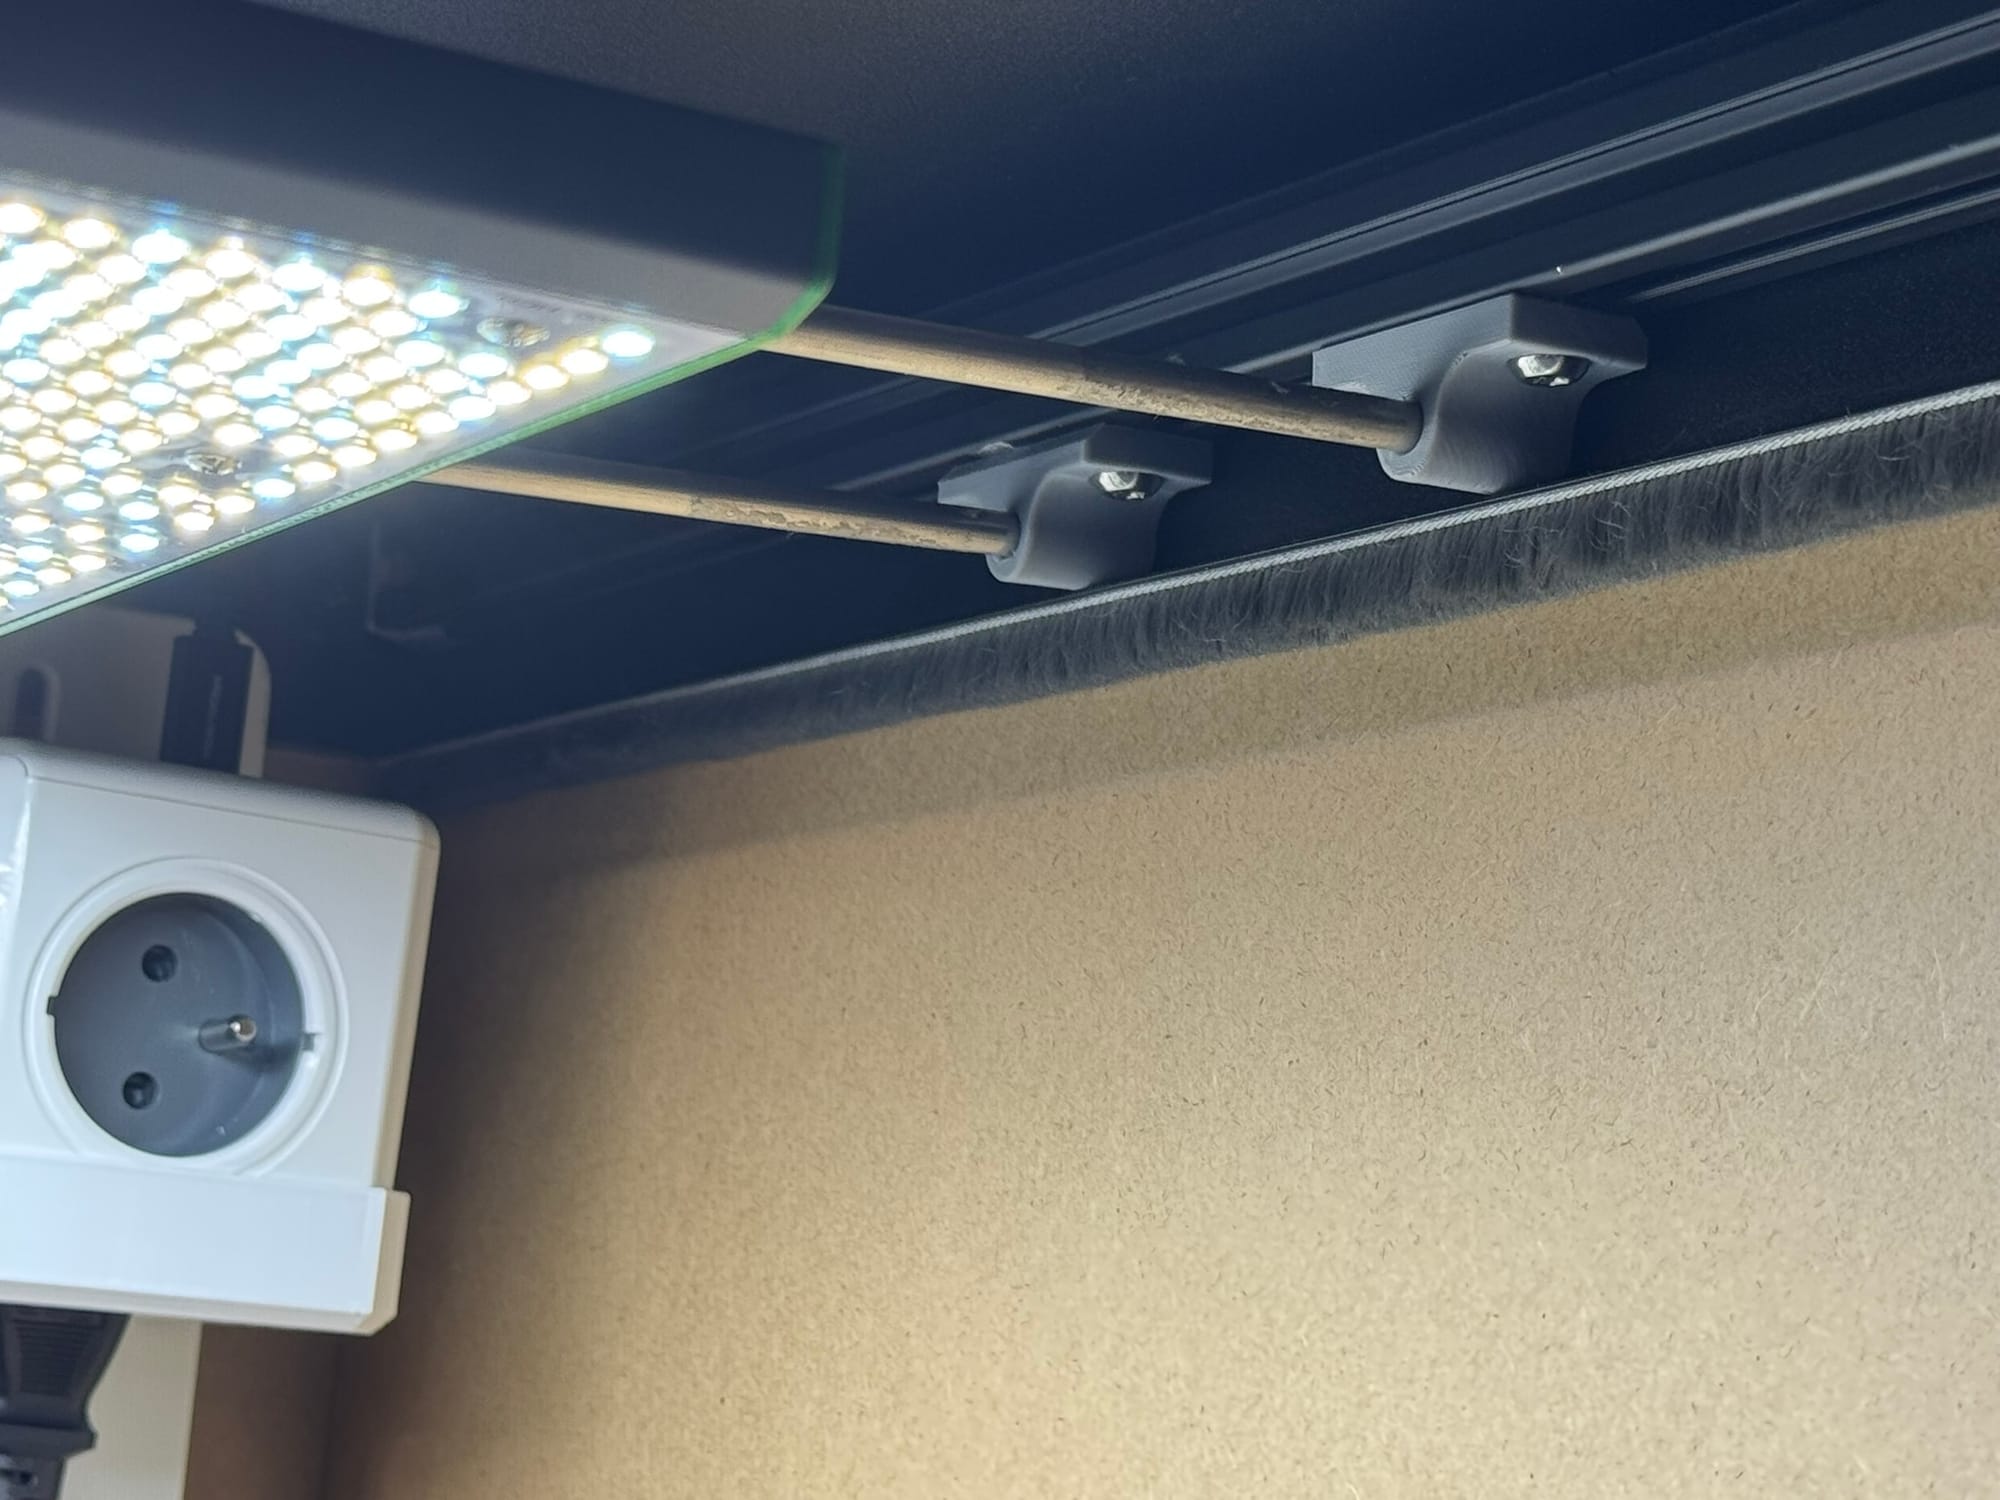
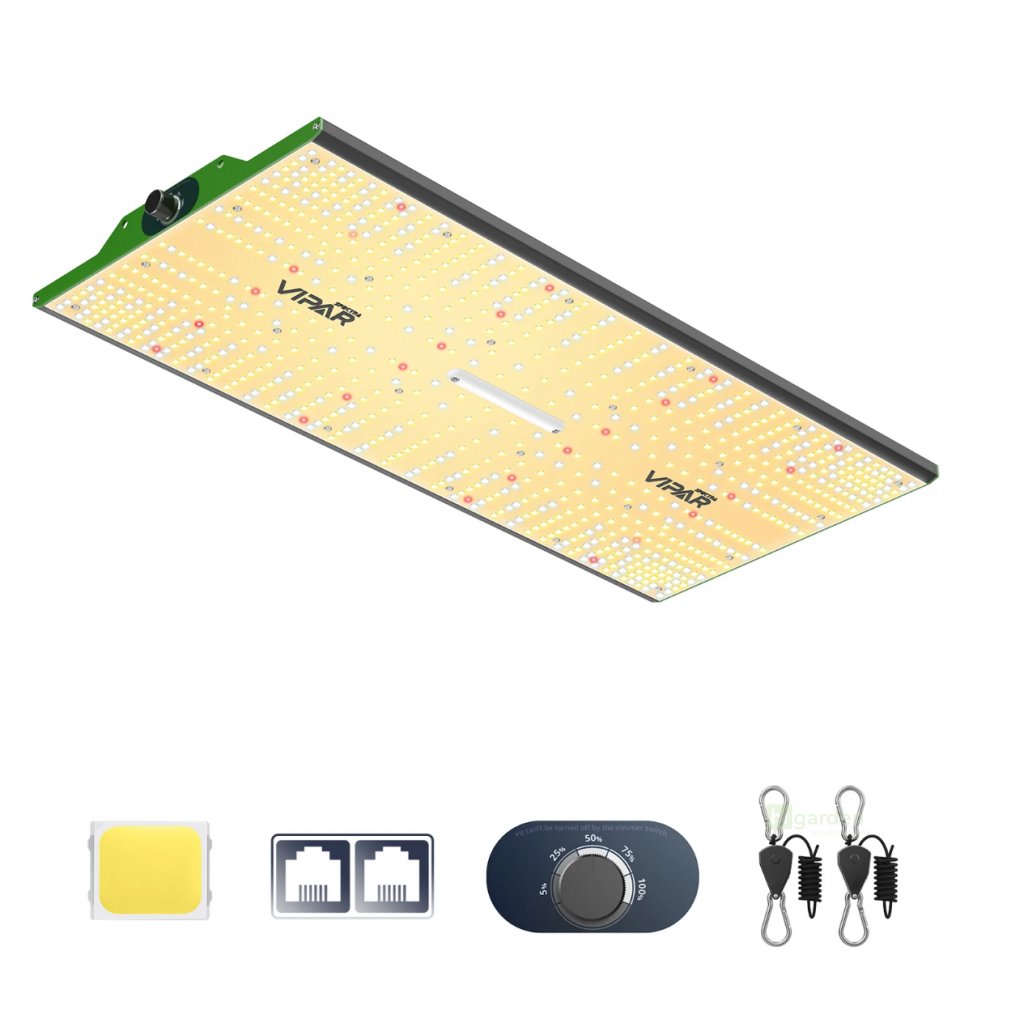
I used a ViparSpectra P600 full-spectrum grow light in the LIXHULT setup for lighting. I liked its compact form factor, but for the BROR, I decided to go with its bigger brother—the ViparSpectra PRO P2000. This light is even handier because its LED power supply can be detached, making it very low-profile. I used 6mm rods and a 3D-printed bracket to mount the light onto a 2020 extrusion fixed to the shelving unit. The power supply and manual controller fit nicely on the SKÅDIS board. A few 3D-printed parts for unnecessary cable management, and we had lights!
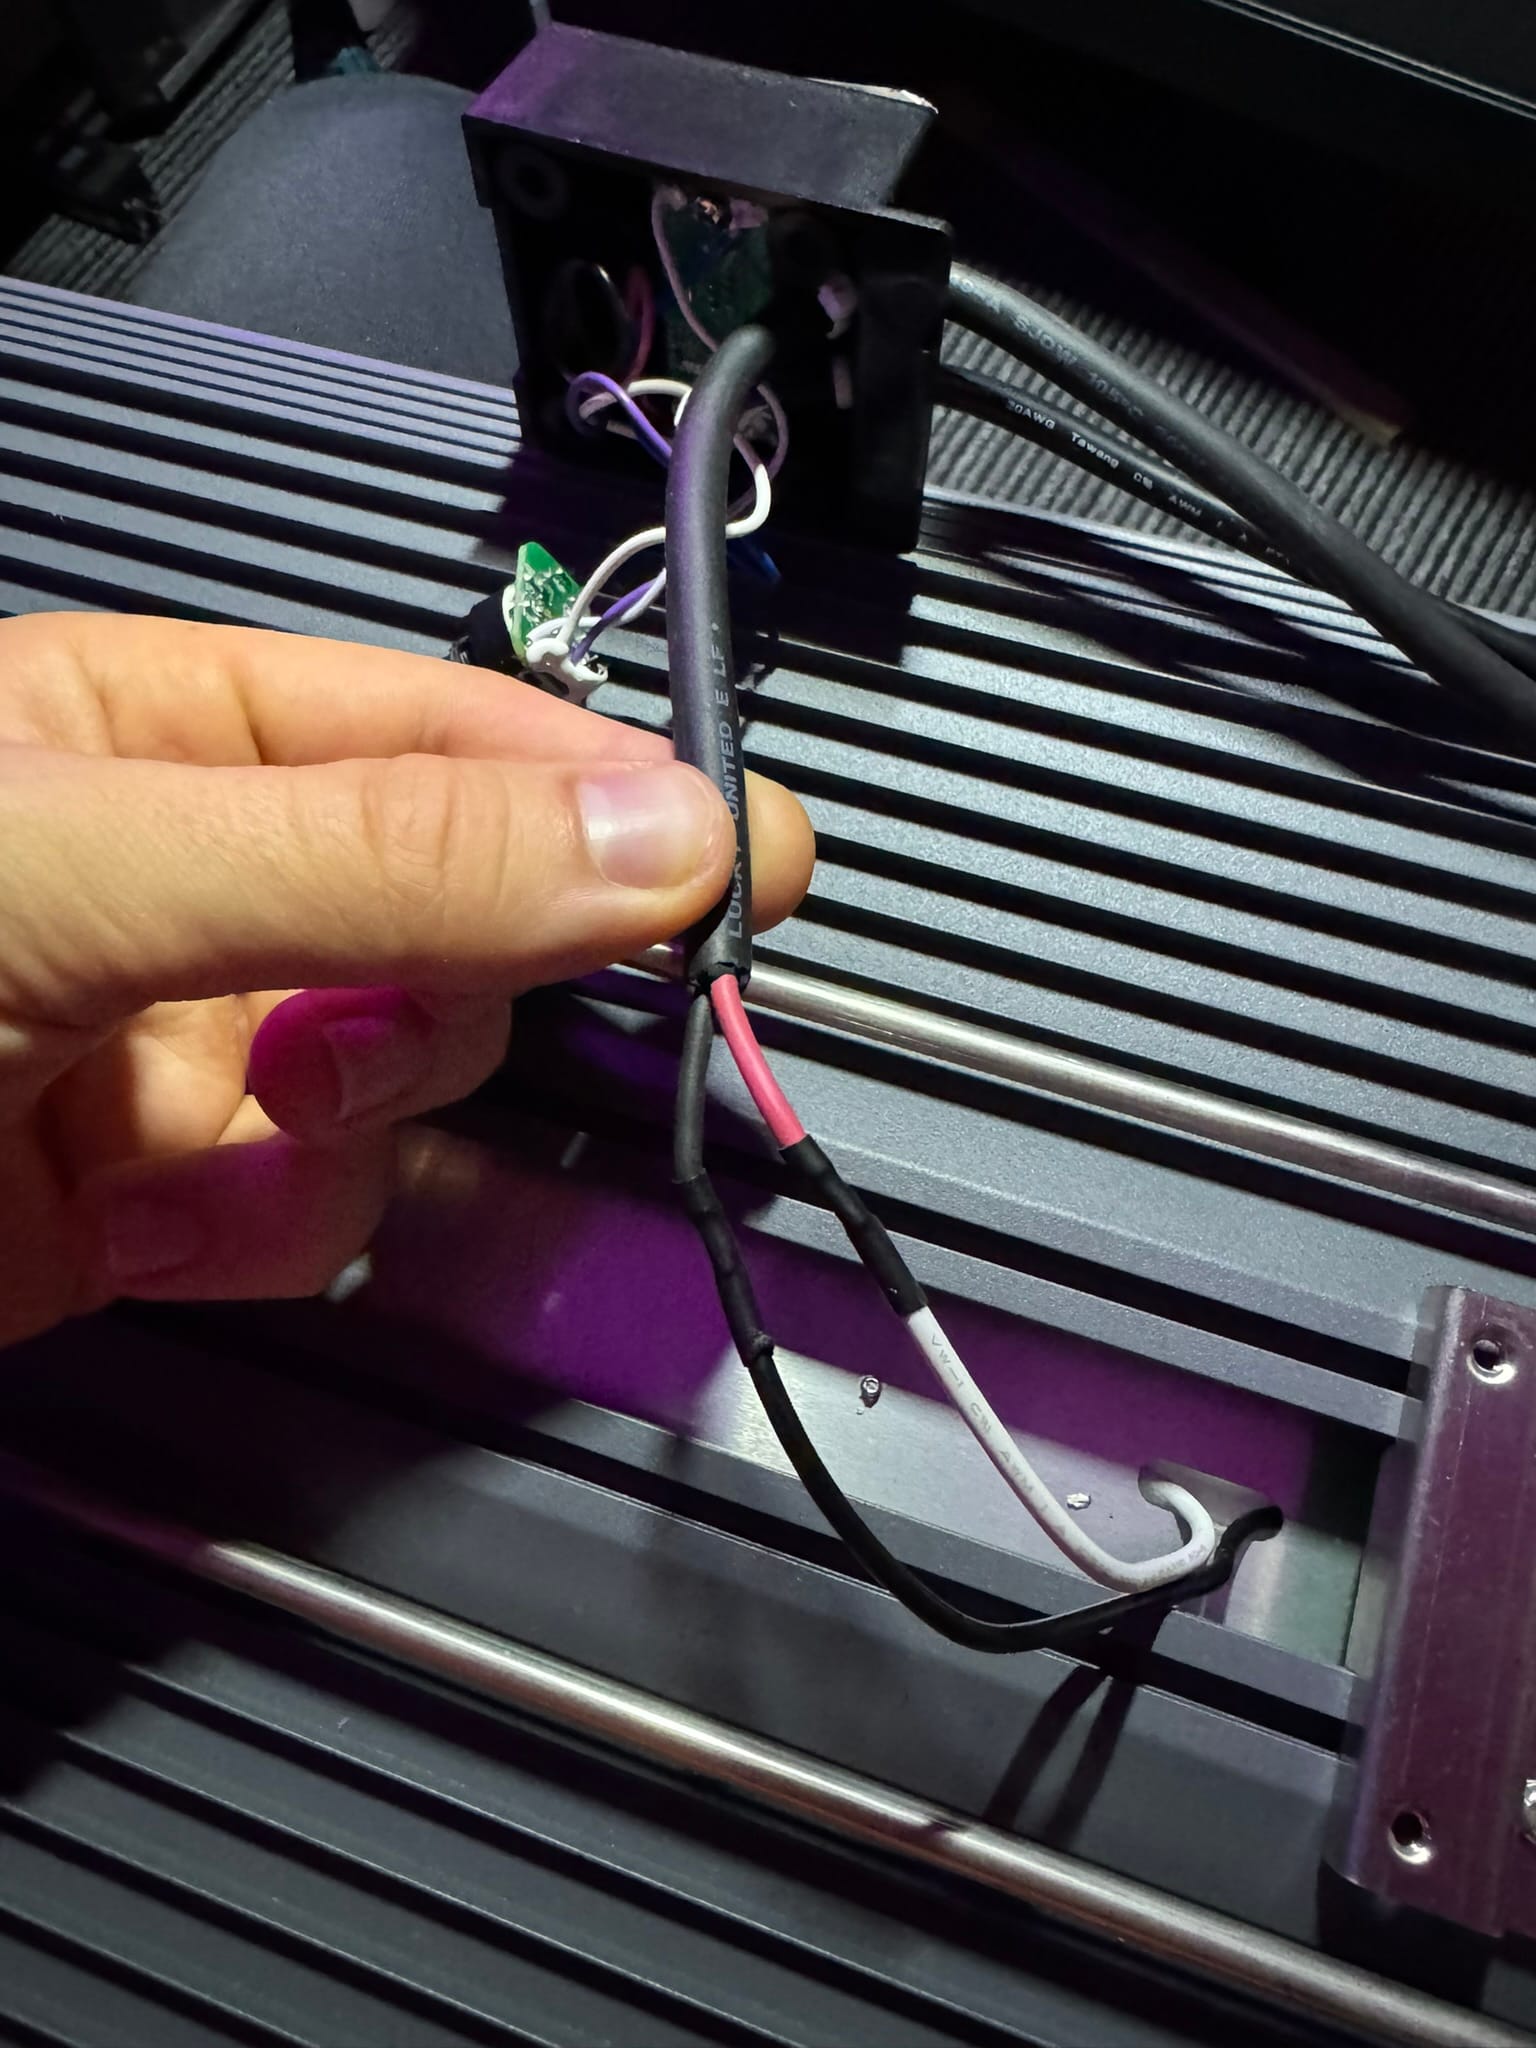
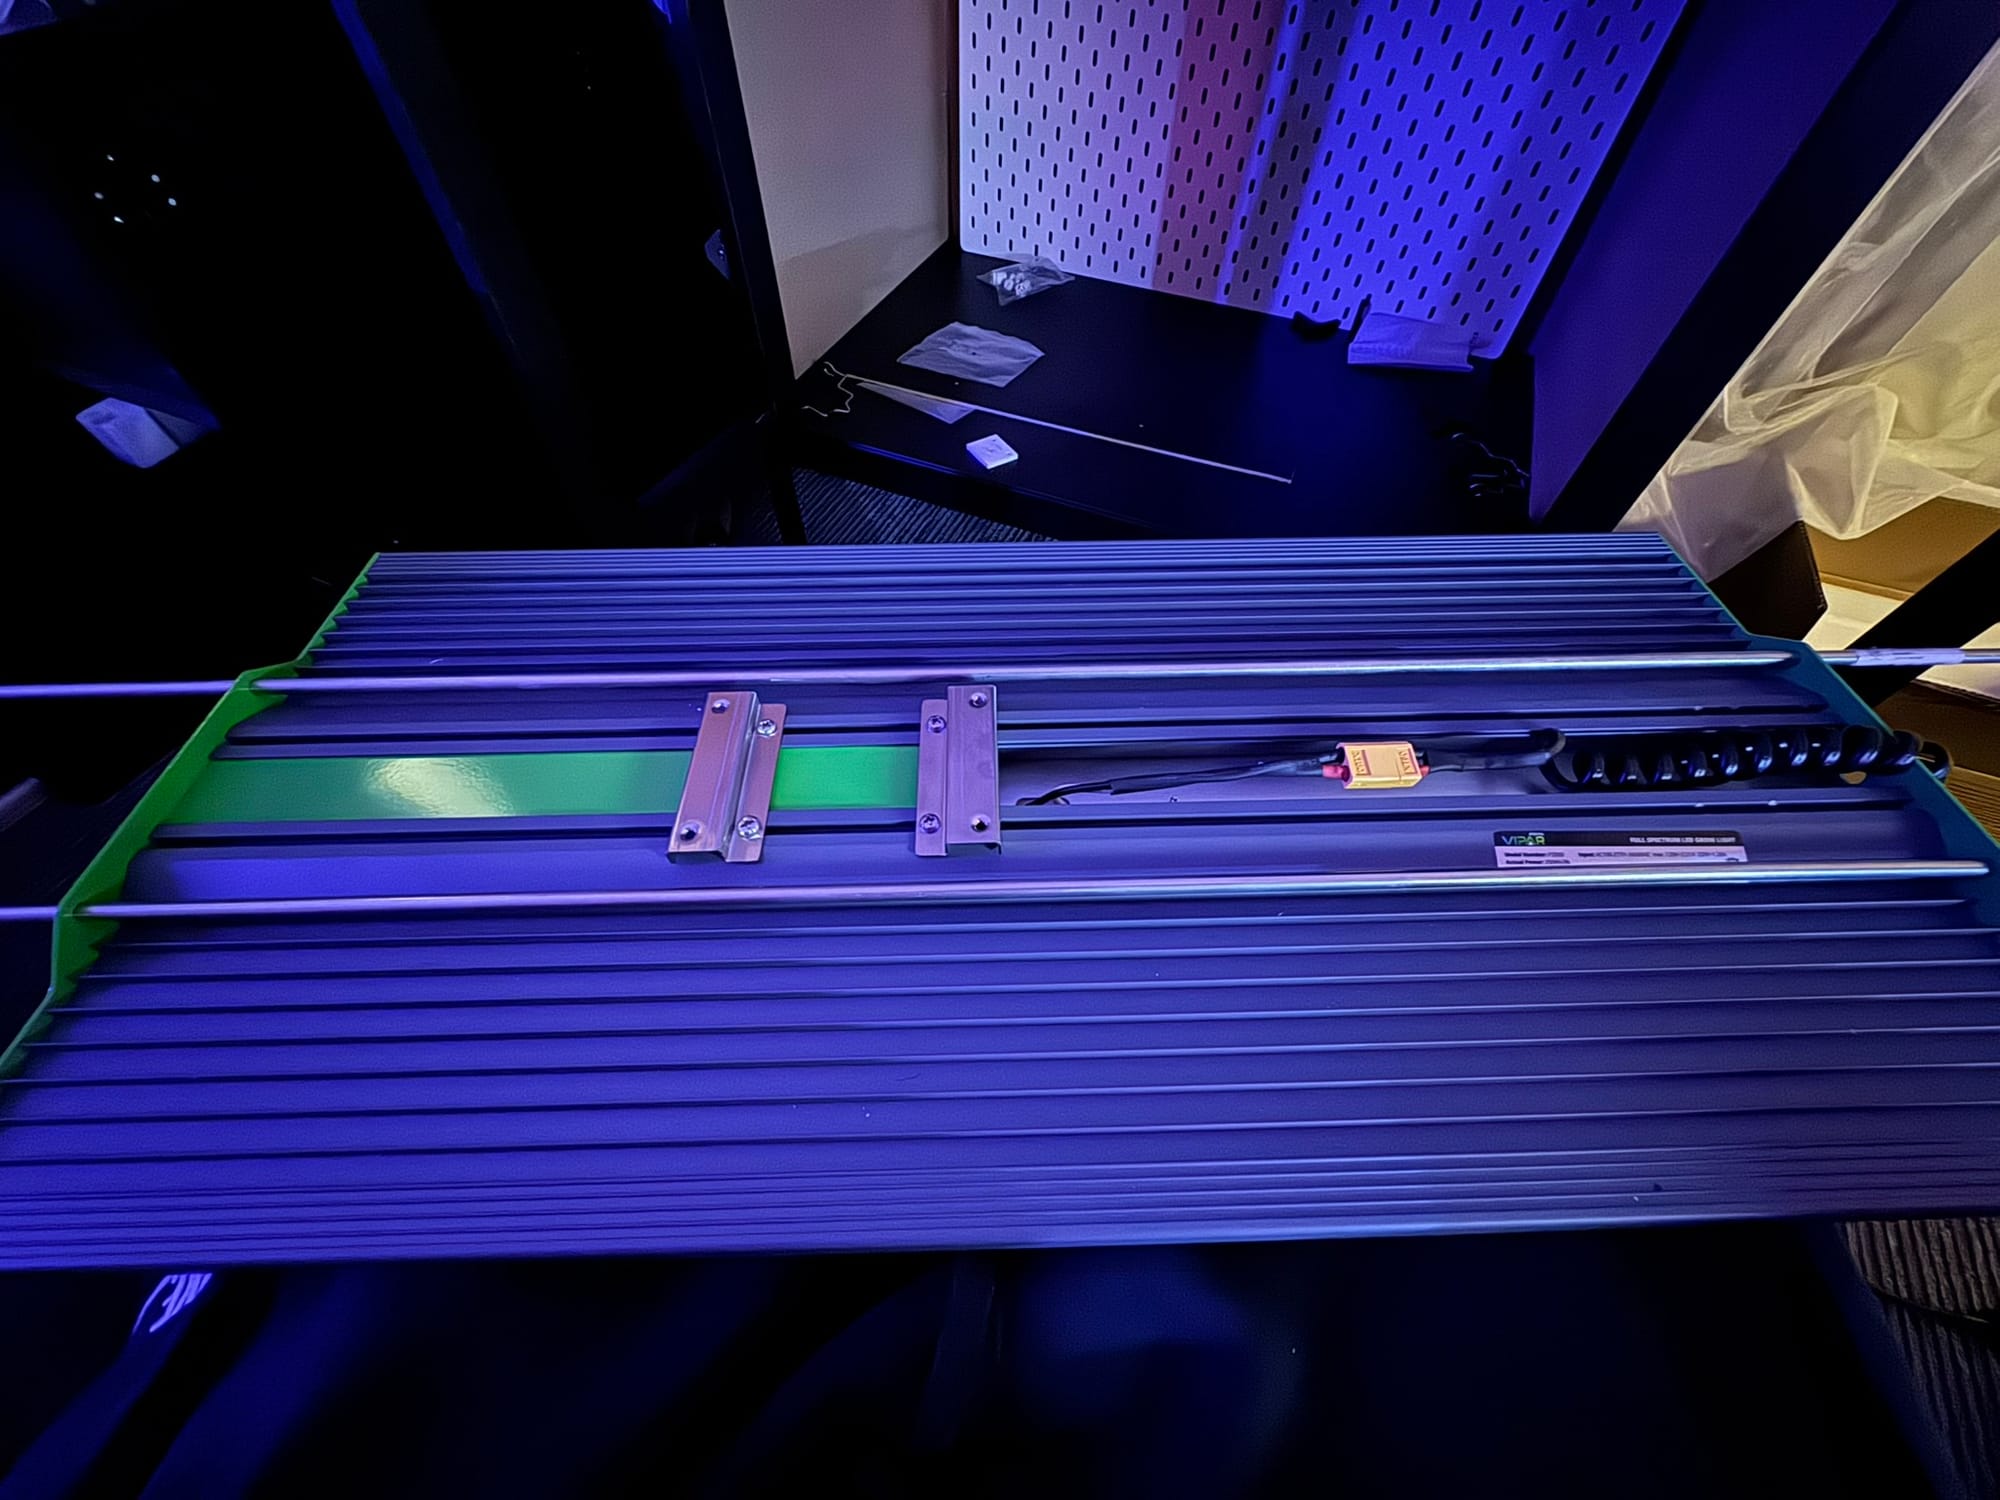
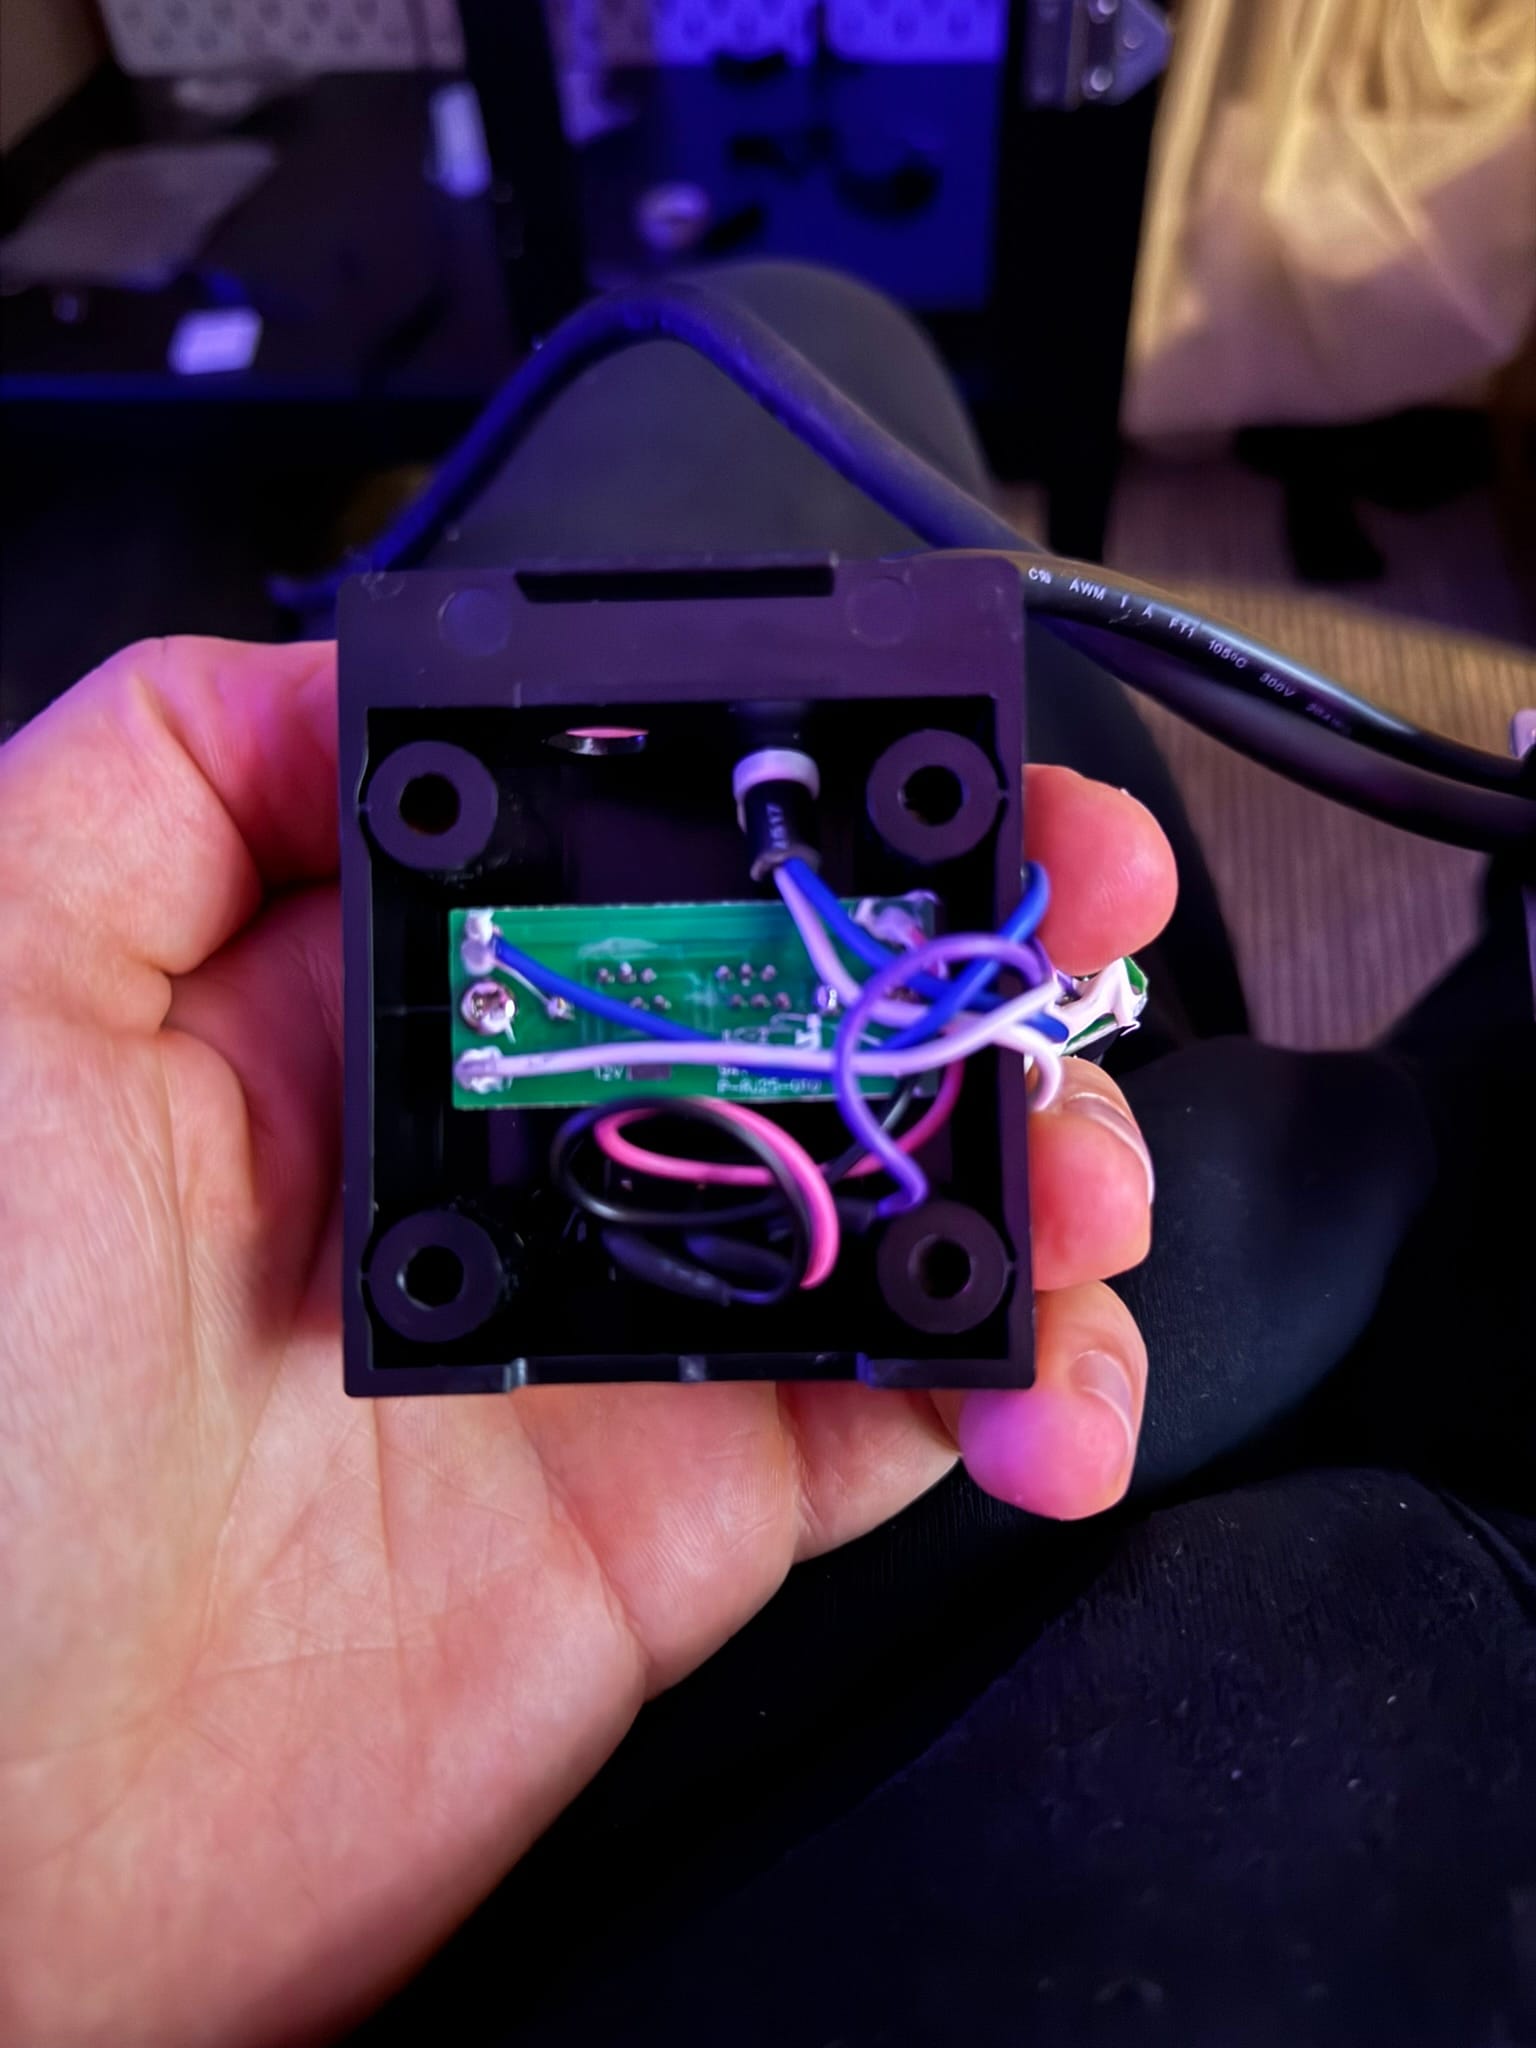
The original connection is replaced with XT60 connector to detach the power supply. The controller is actually connected to the power supply only.
Just one last thing was missing: the fan. The Noctua REDUX was an easy choice—it had proven itself as a solid ventilation solution in the LIXHULT, and I had no reason to question its abilities here.

the growth
Now, onto the actual performance!
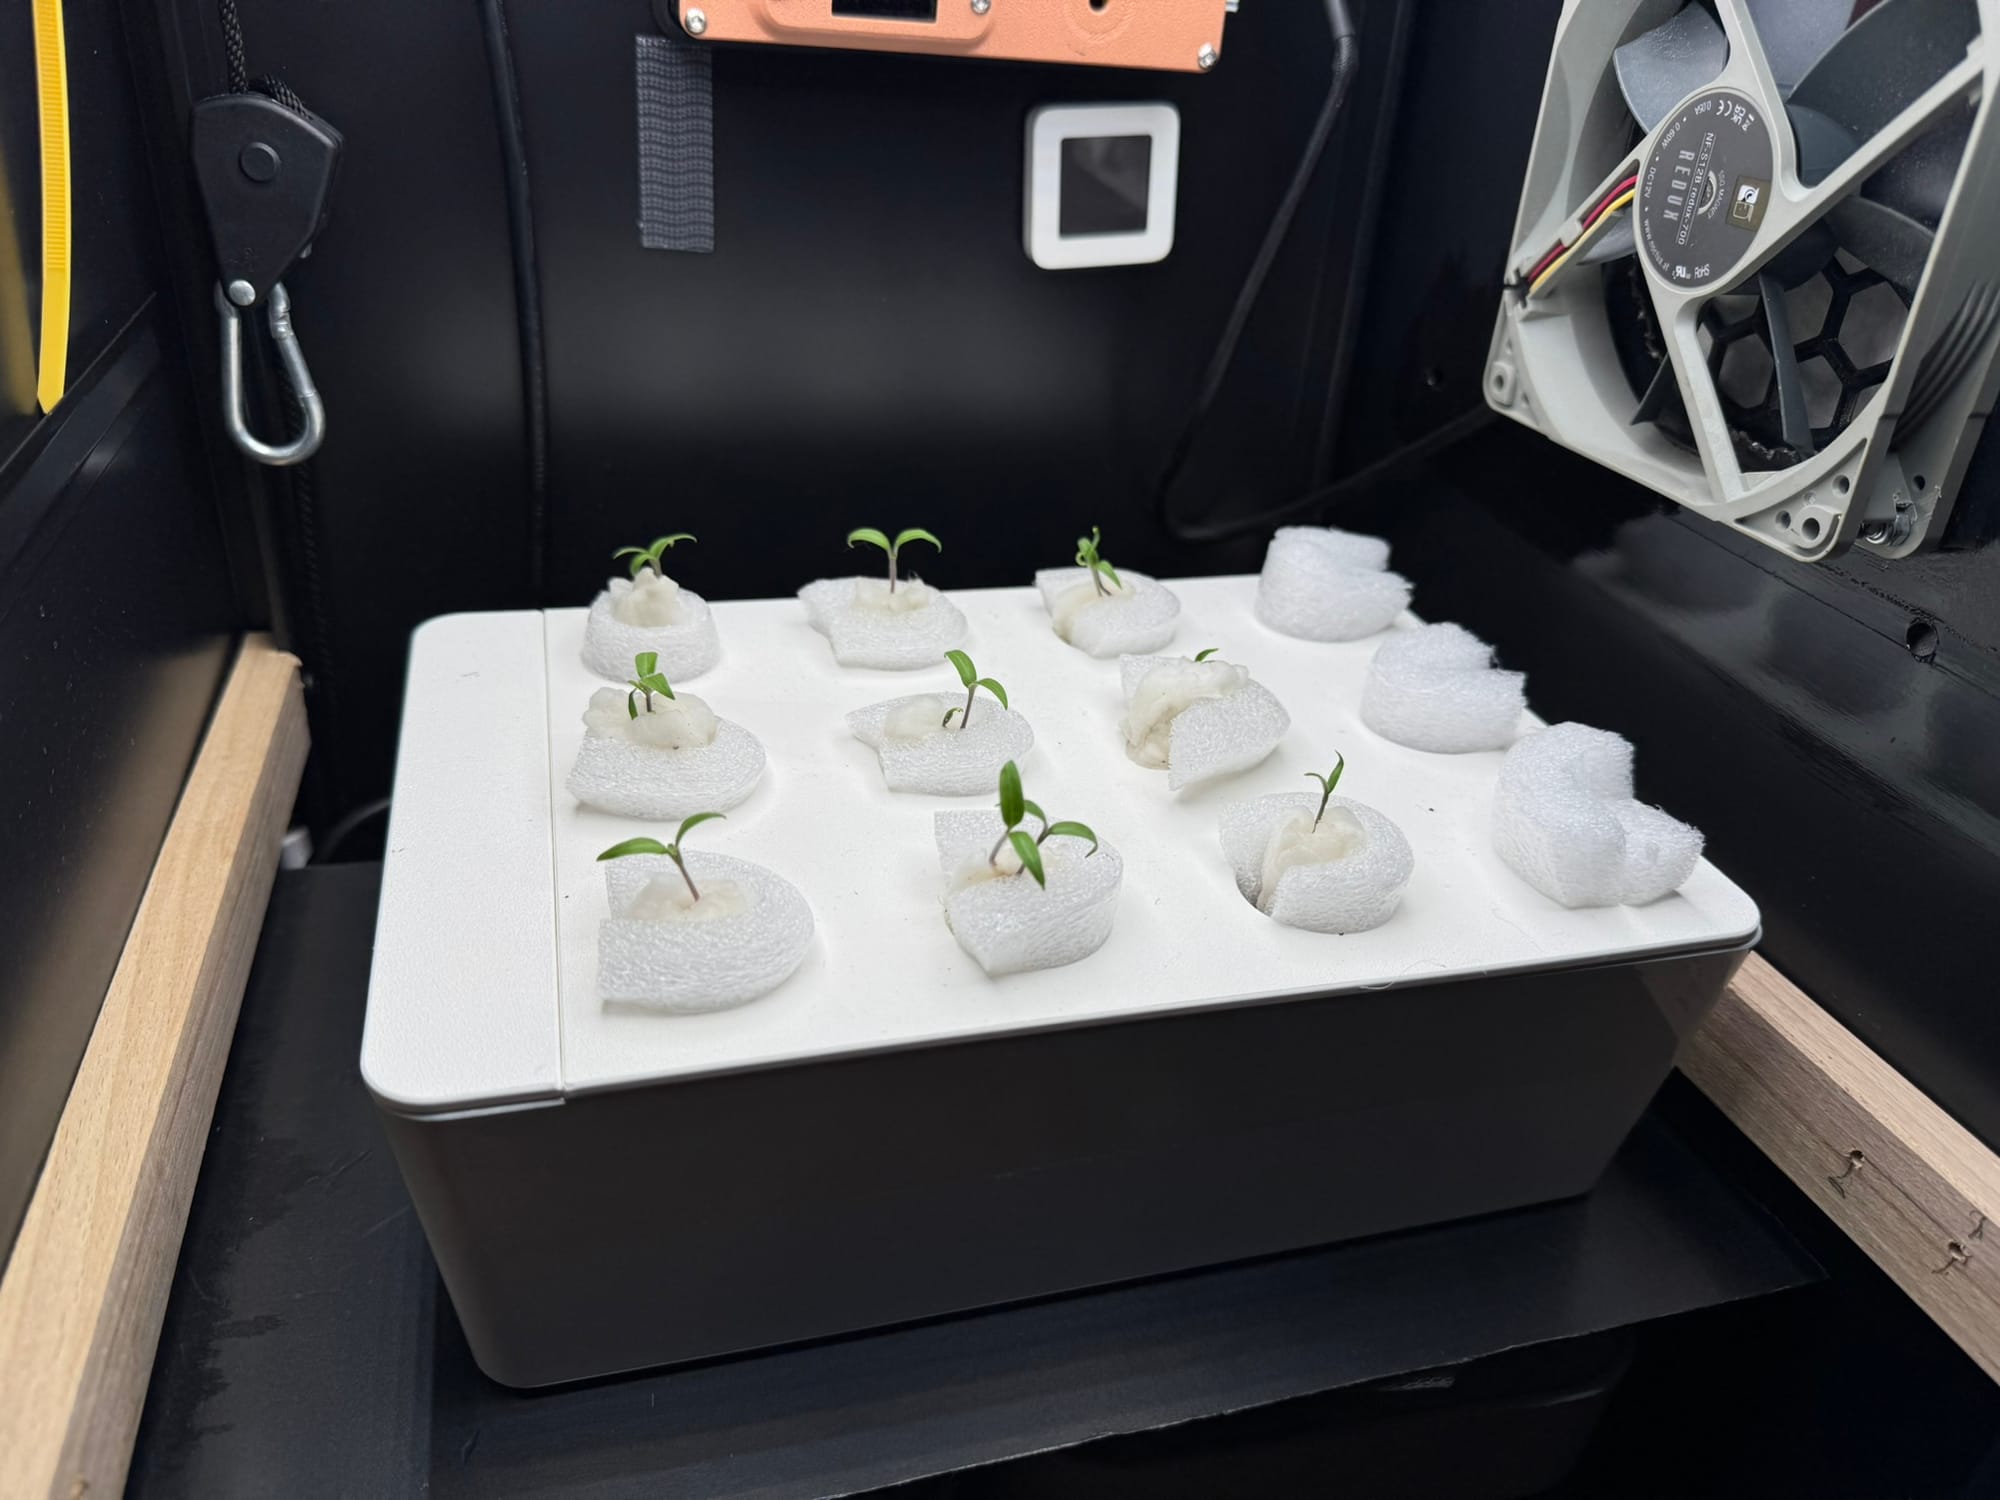
I chose the Micro-Tom variety of tomatoes since I had saved some seeds from the HydroLIXHULT experiment. These seeds had already adapted well to hydroponics, and I was confident they would thrive in the yummy water.

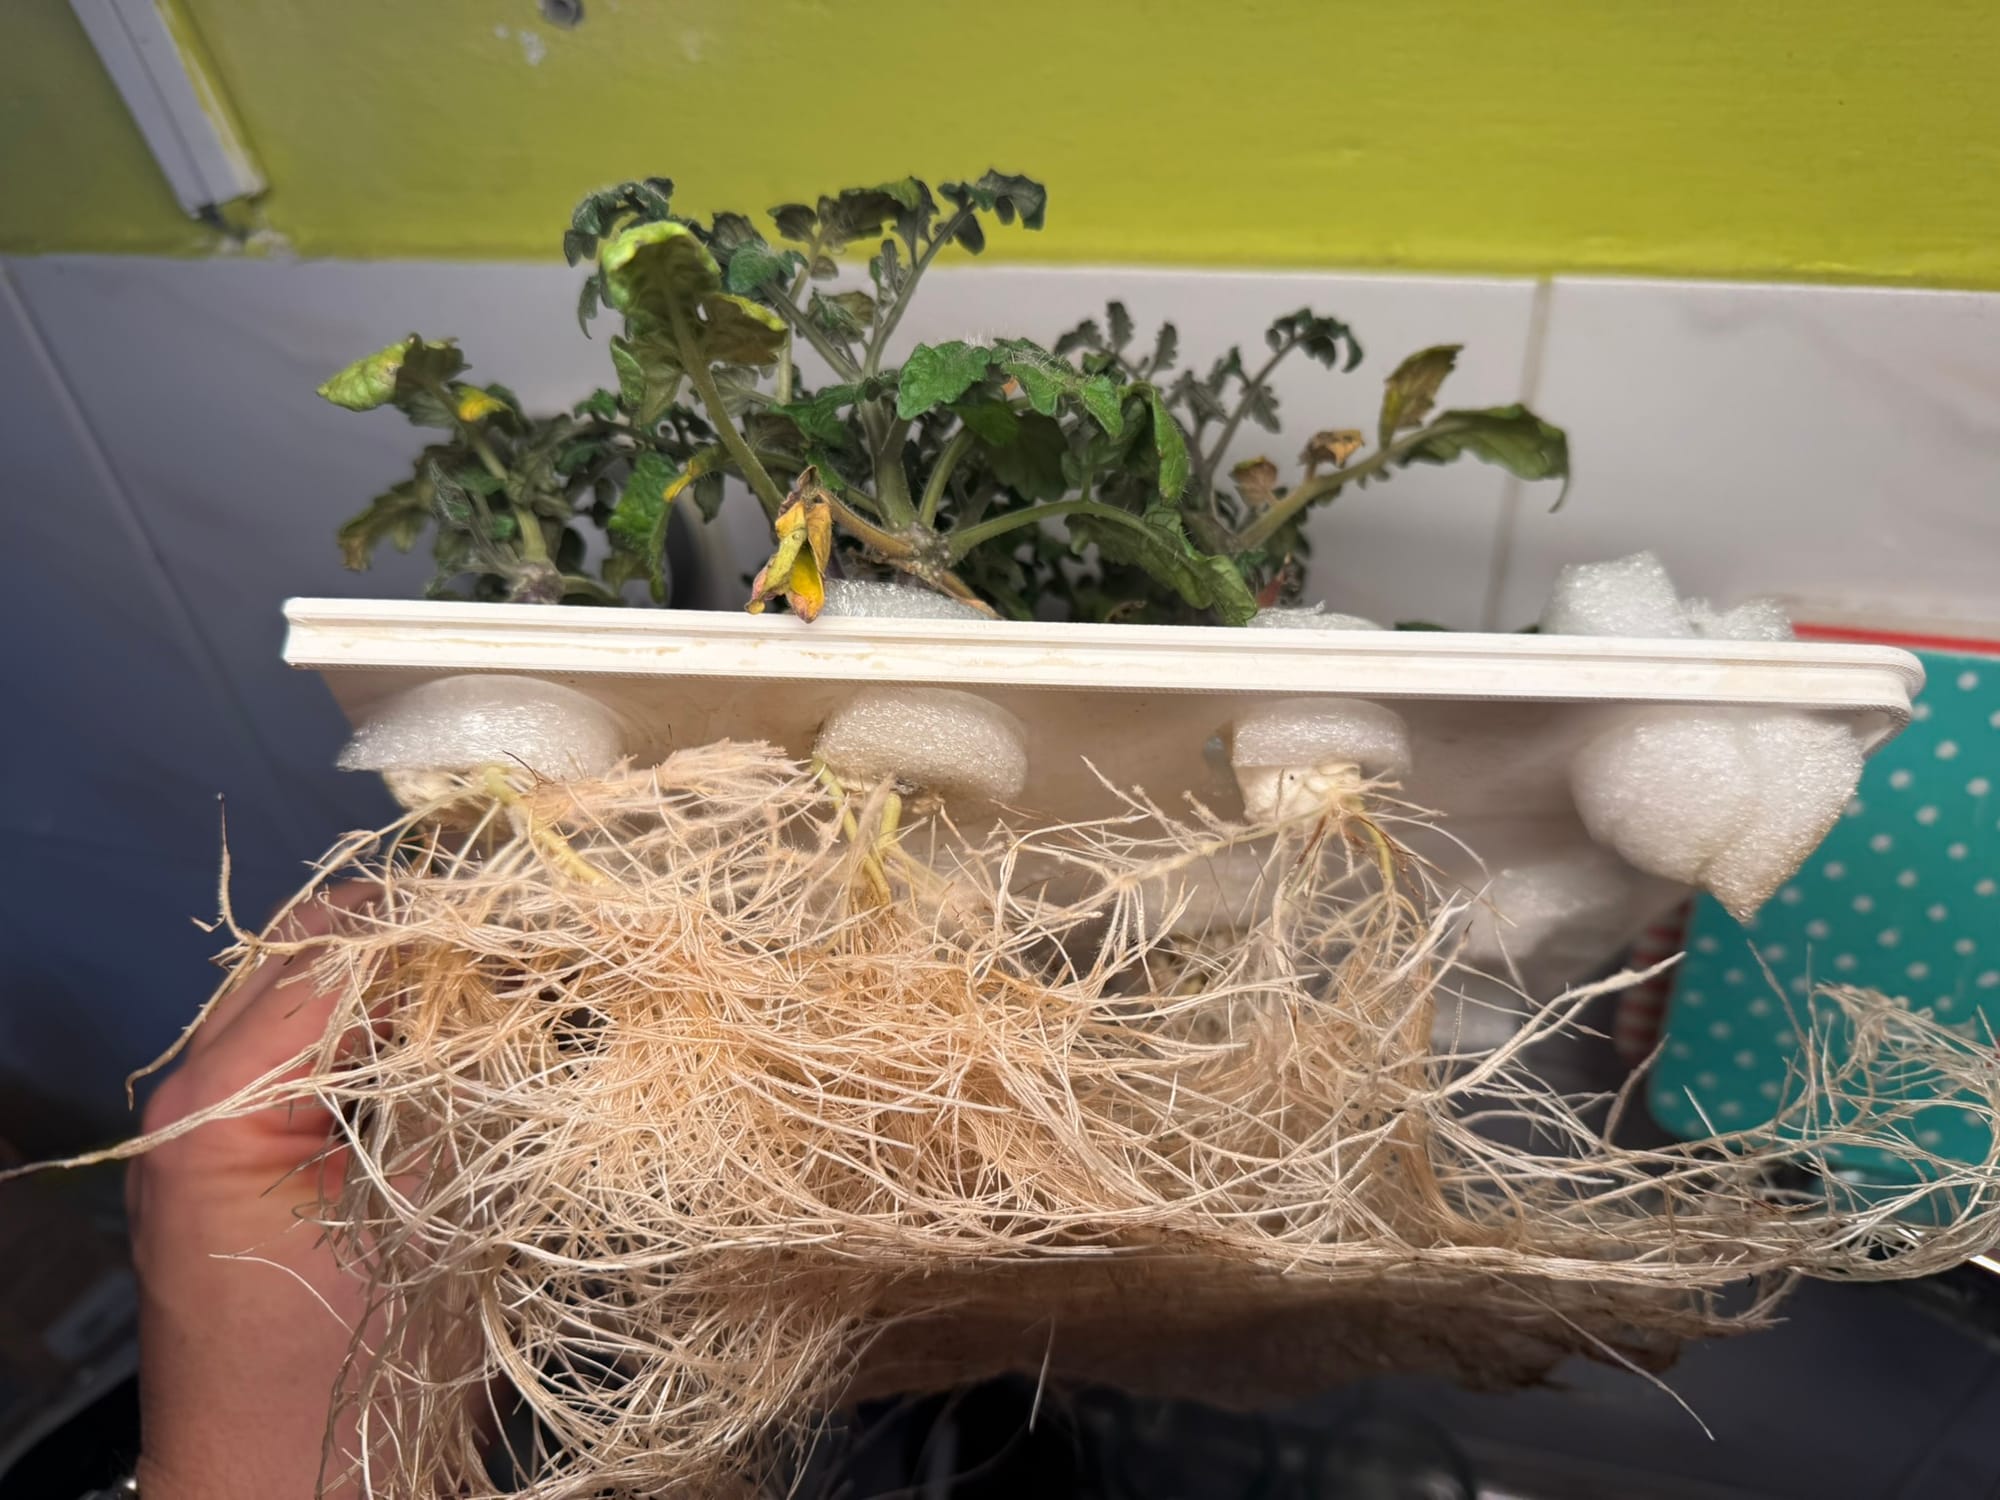
I don't know. Do you think the roots are established?
Each bucket housed two plants, and I used a simple KUGGIS propagator to establish the roots. I ran the HydroLIXHULT simultaneously with the HydroBROR, using the same tri-part nutrients. The controller firmware was updated, but the hardware remained the same to keep both controllers software-compatible.
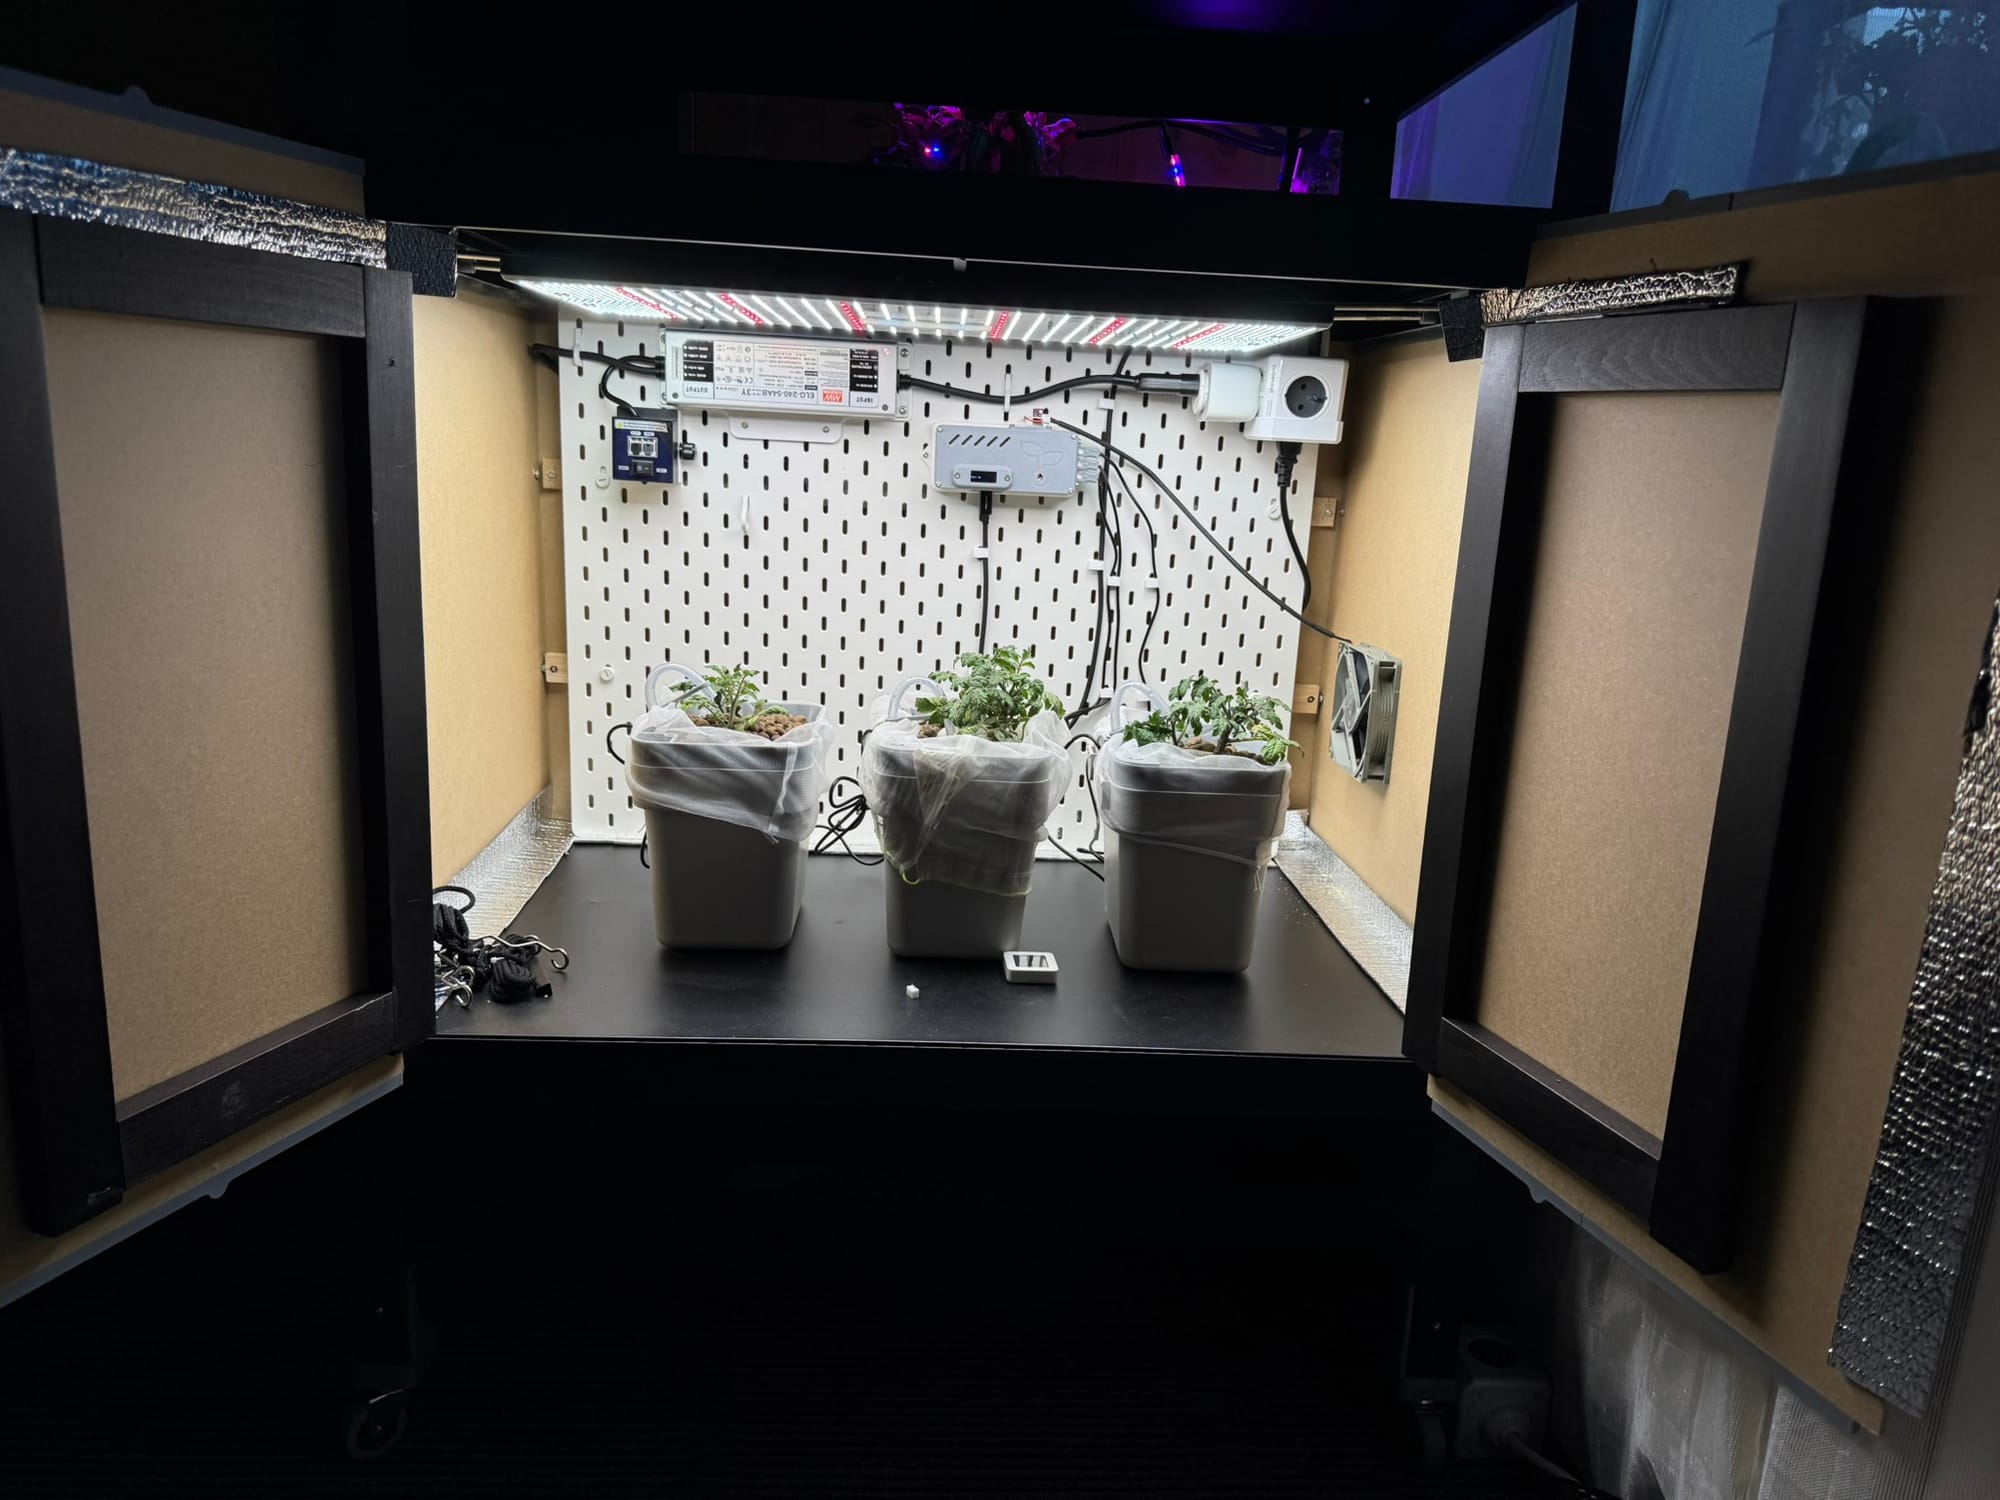
The plants were set, ready, and growing!
the unexpected emergence
Two weeks in, I noticed the first issue. The rightmost bucket showed signs of leaf curl and heat stress—the same problem I had encountered in the LIXHULT at the start. The humidity was still low at this stage, but what concerned me was that only one bucket was affected. I swapped the affected bucket with the middle one, and immediate improvement confirmed my suspicion; there is probably a dead spot in the airflow. I installed a passive humidifier to increase humidity and called it a day.
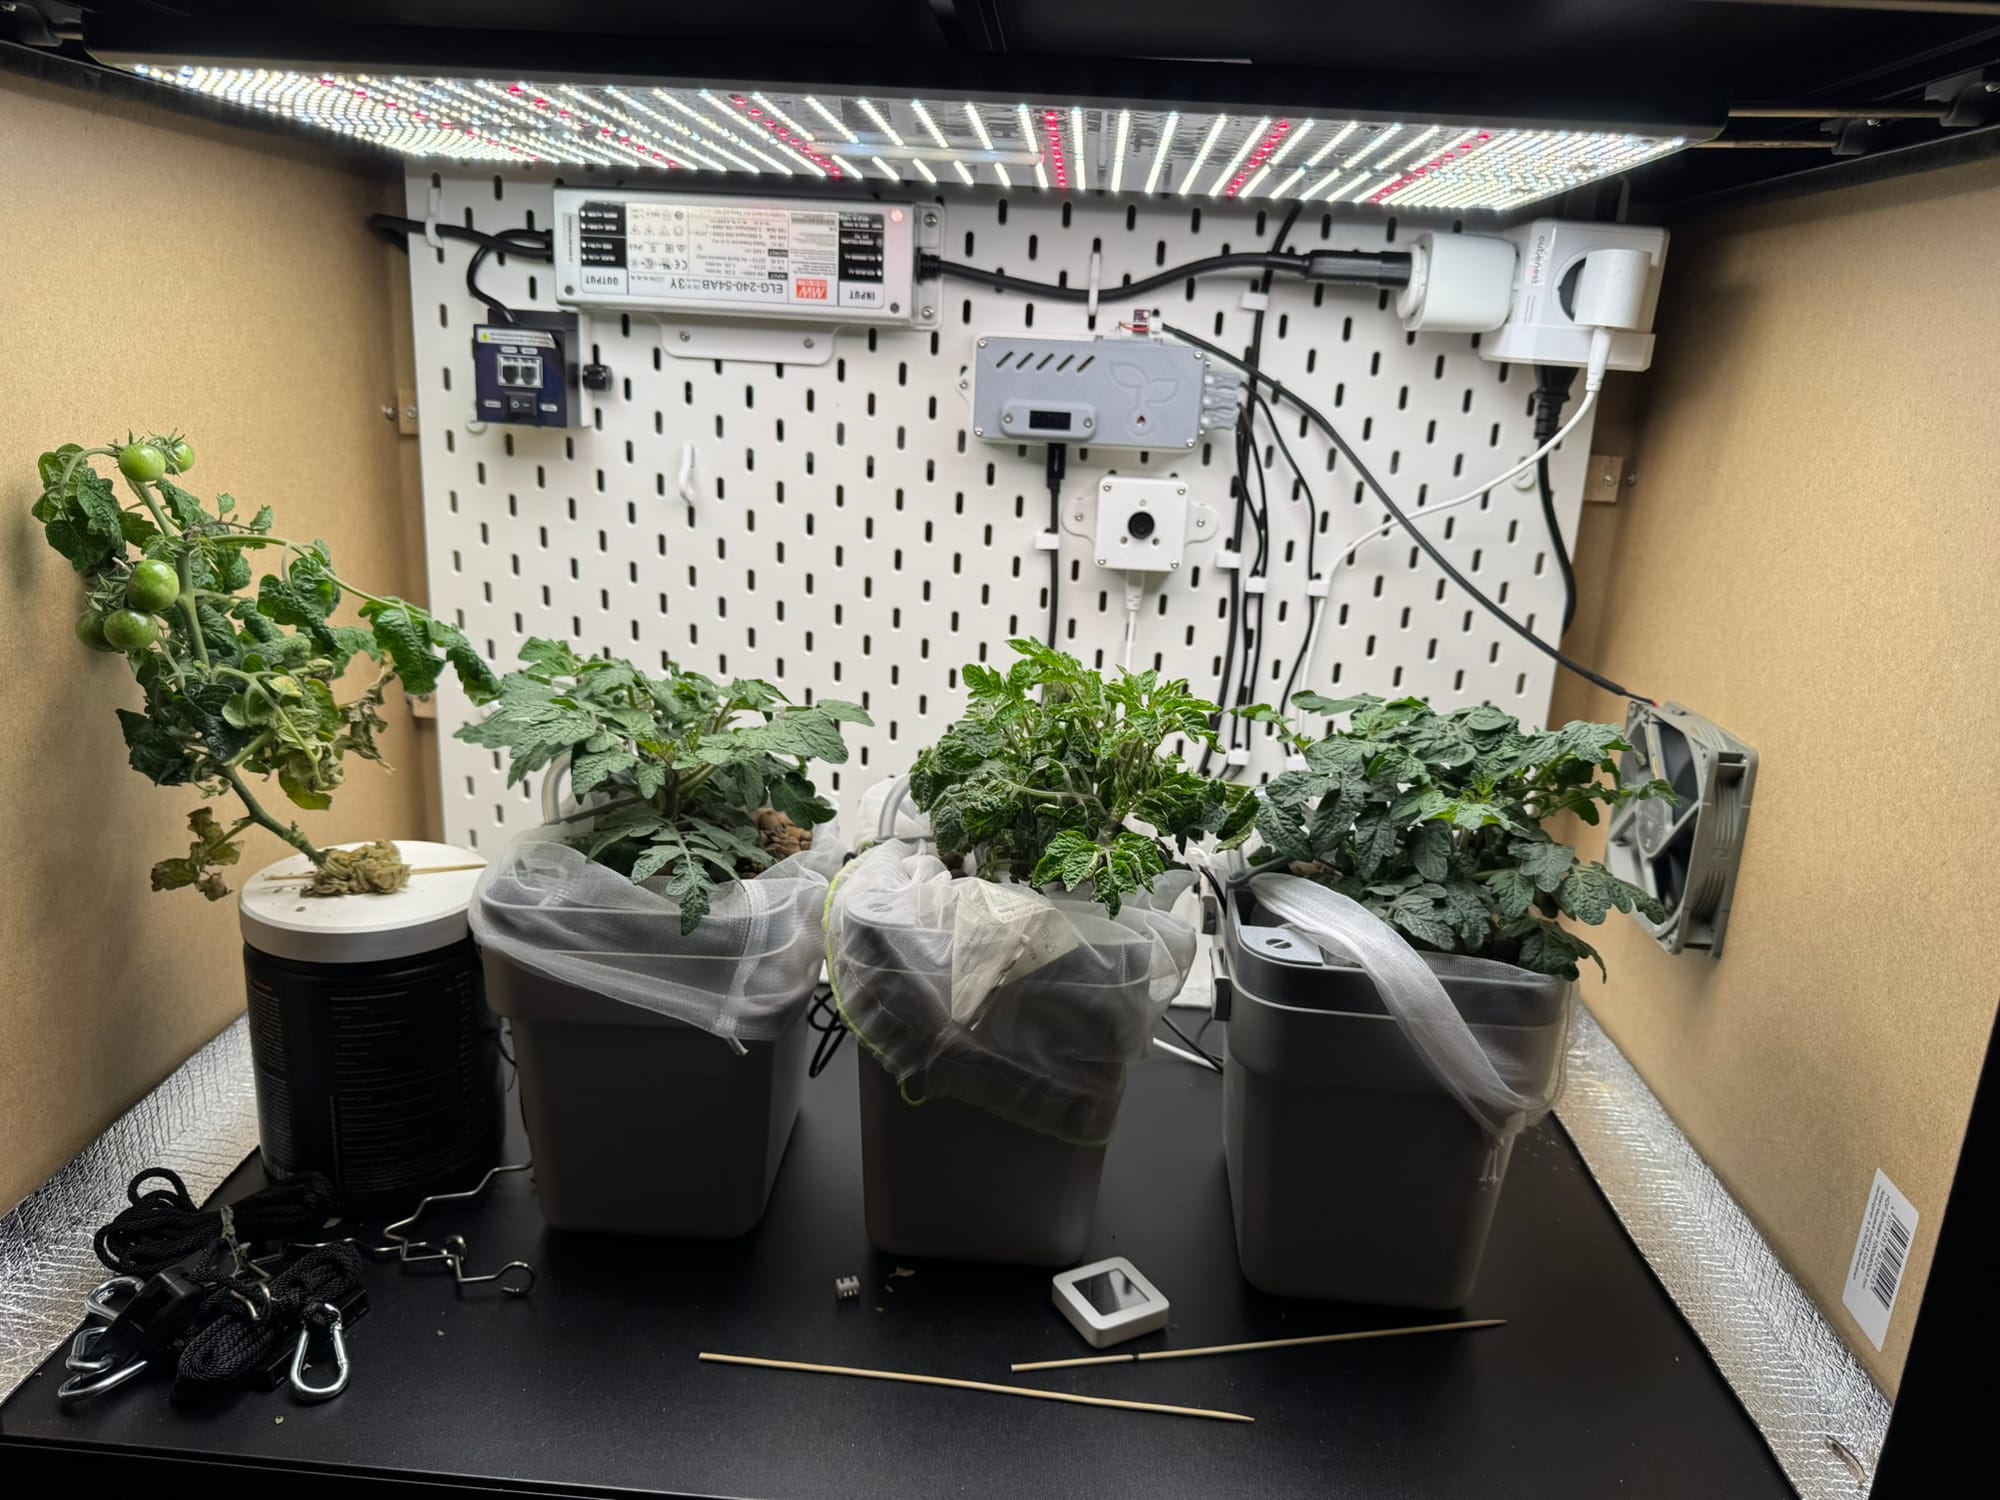
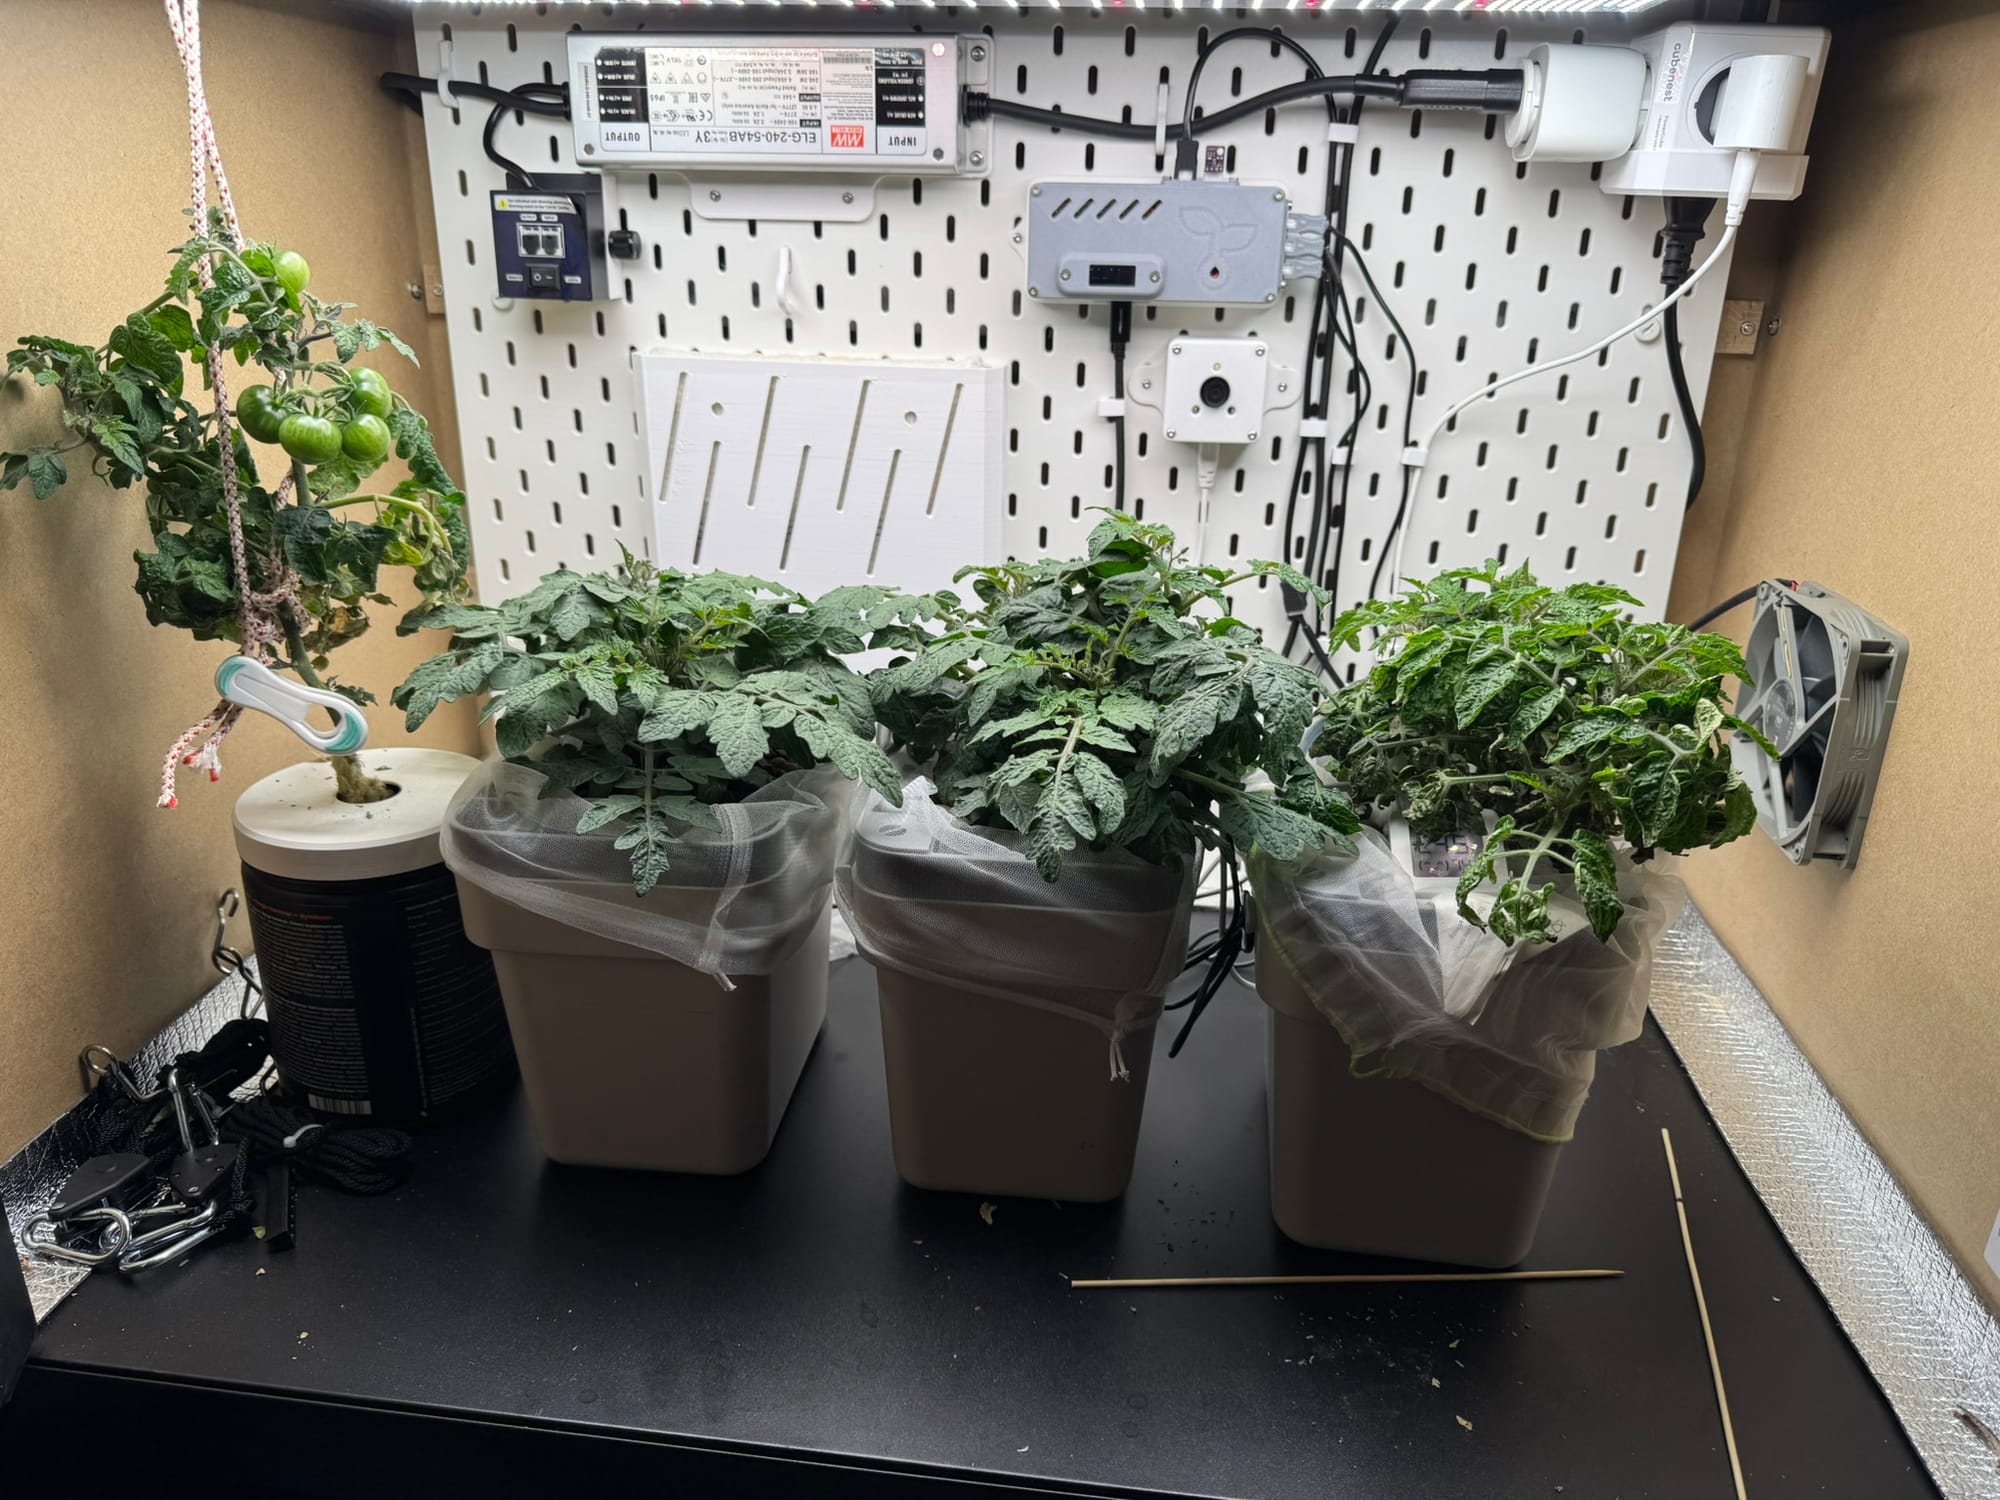
The passive humidifier is mounted to the SKADIS board.
Two weeks later, the tomatoes were thriving and blooming. The humidity was above 80%, but the plants were doing fine. Then came the shocking discovery!
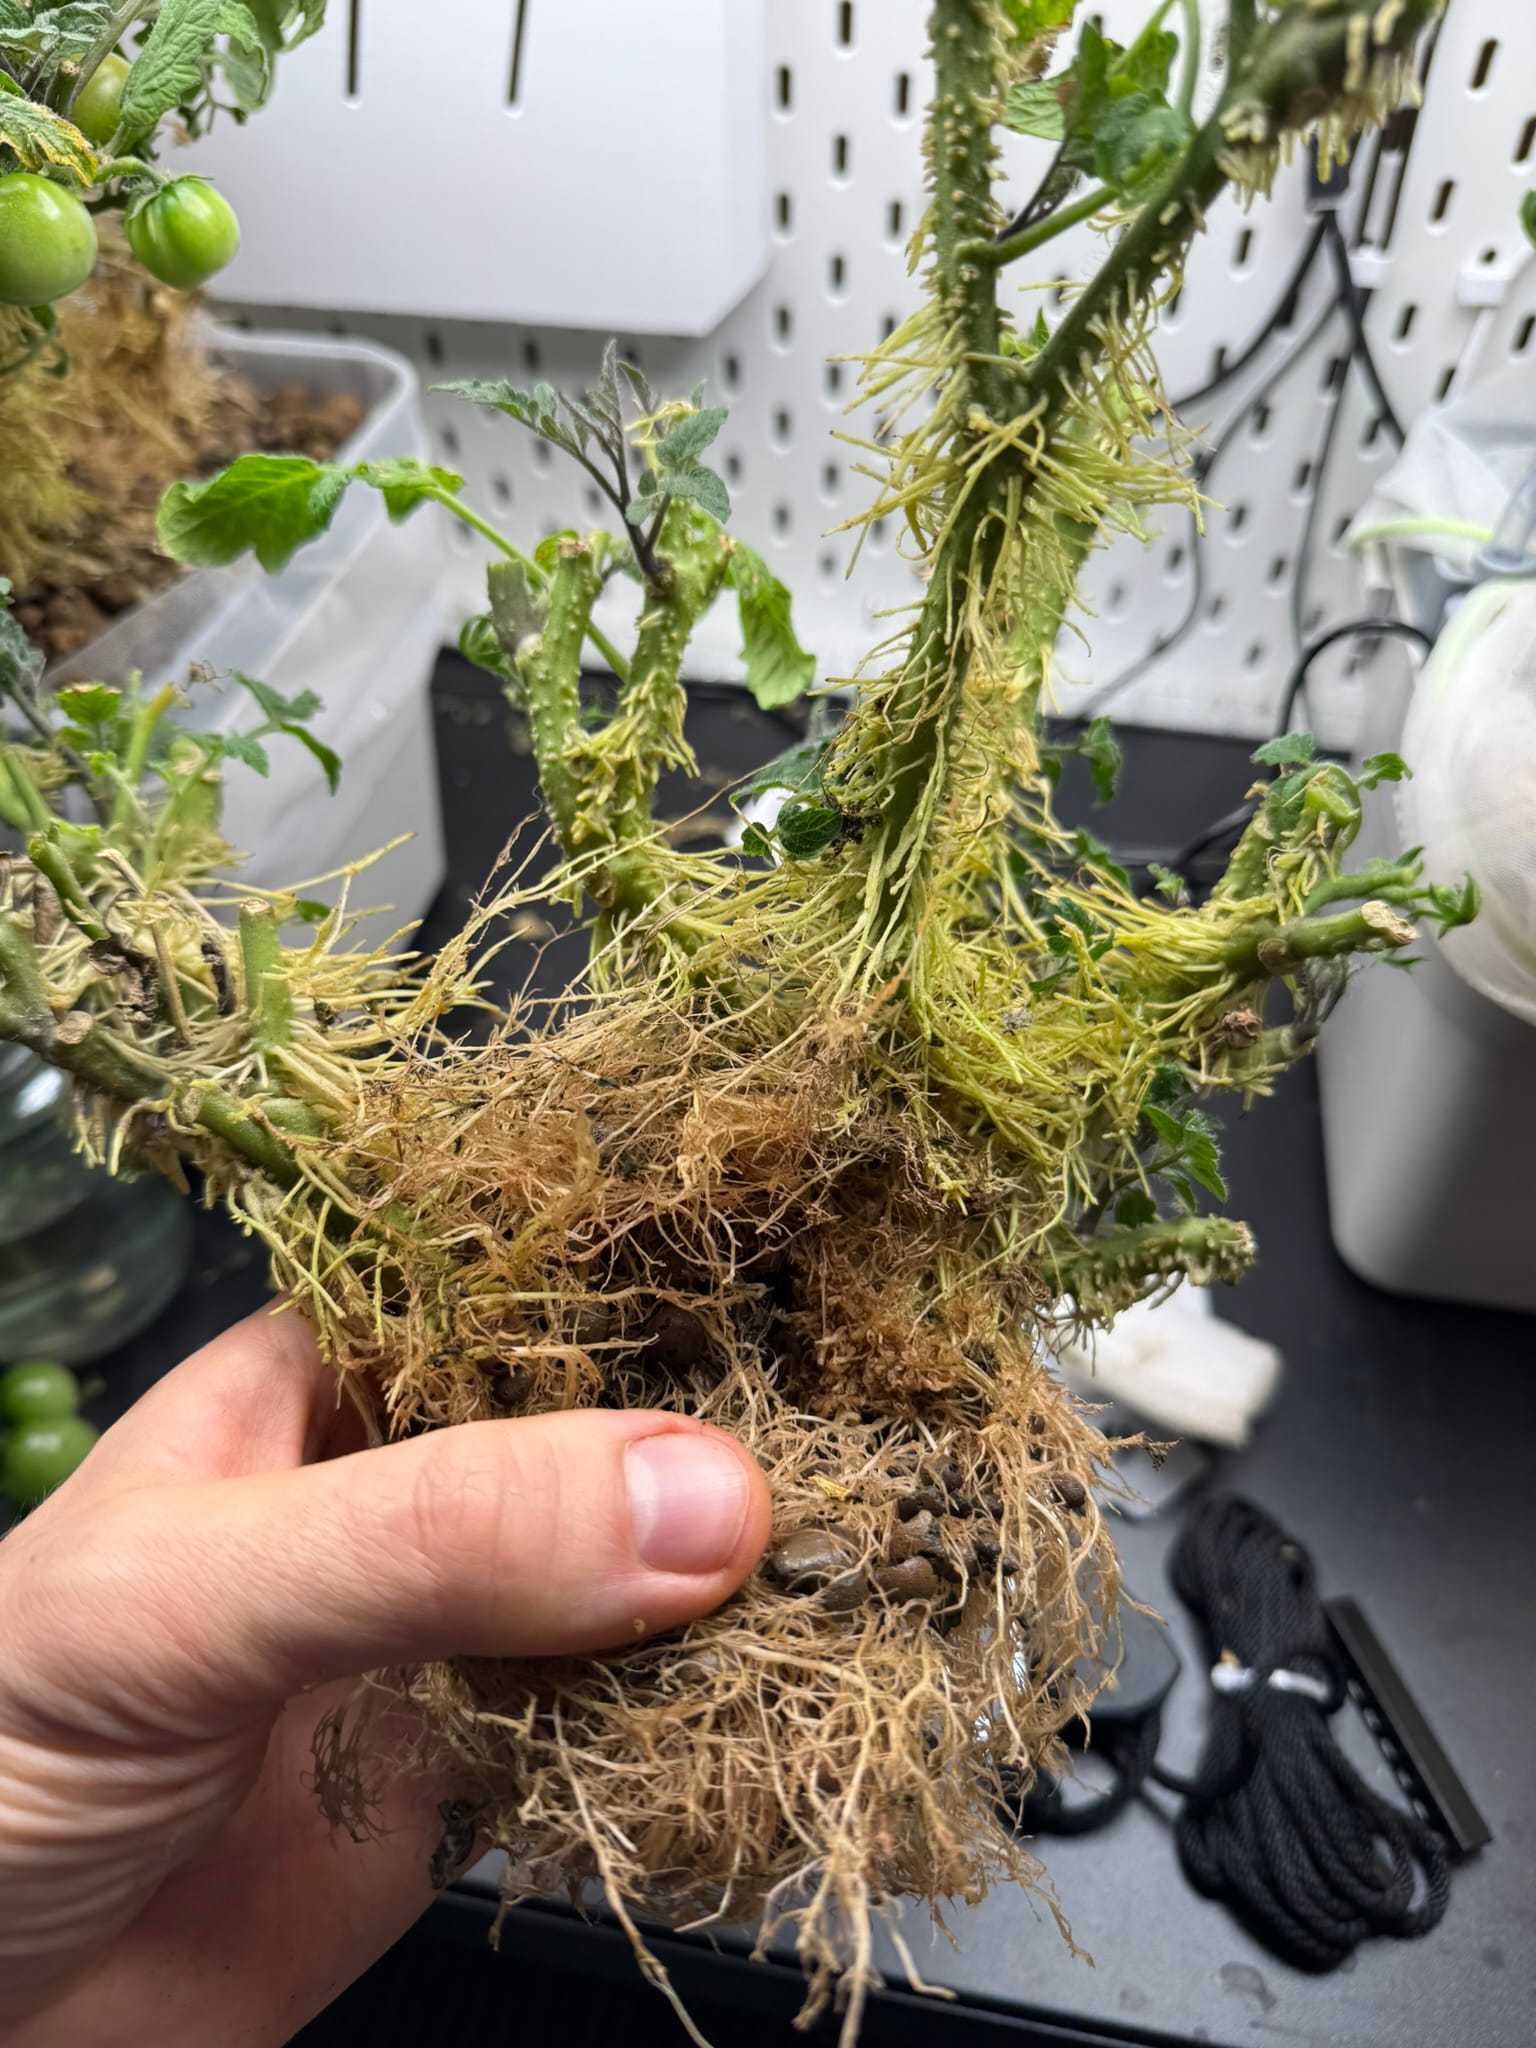
In my Shorts #1 post, I discussed propagating plants and creating a suitable environment for activating the rooting hormones. Well, my tomatoes decided to show me how suitable an environment I had made for them and started growing air roots. Every single plant developed fluffy aerial roots along the stem. I had never seen anything like this before!
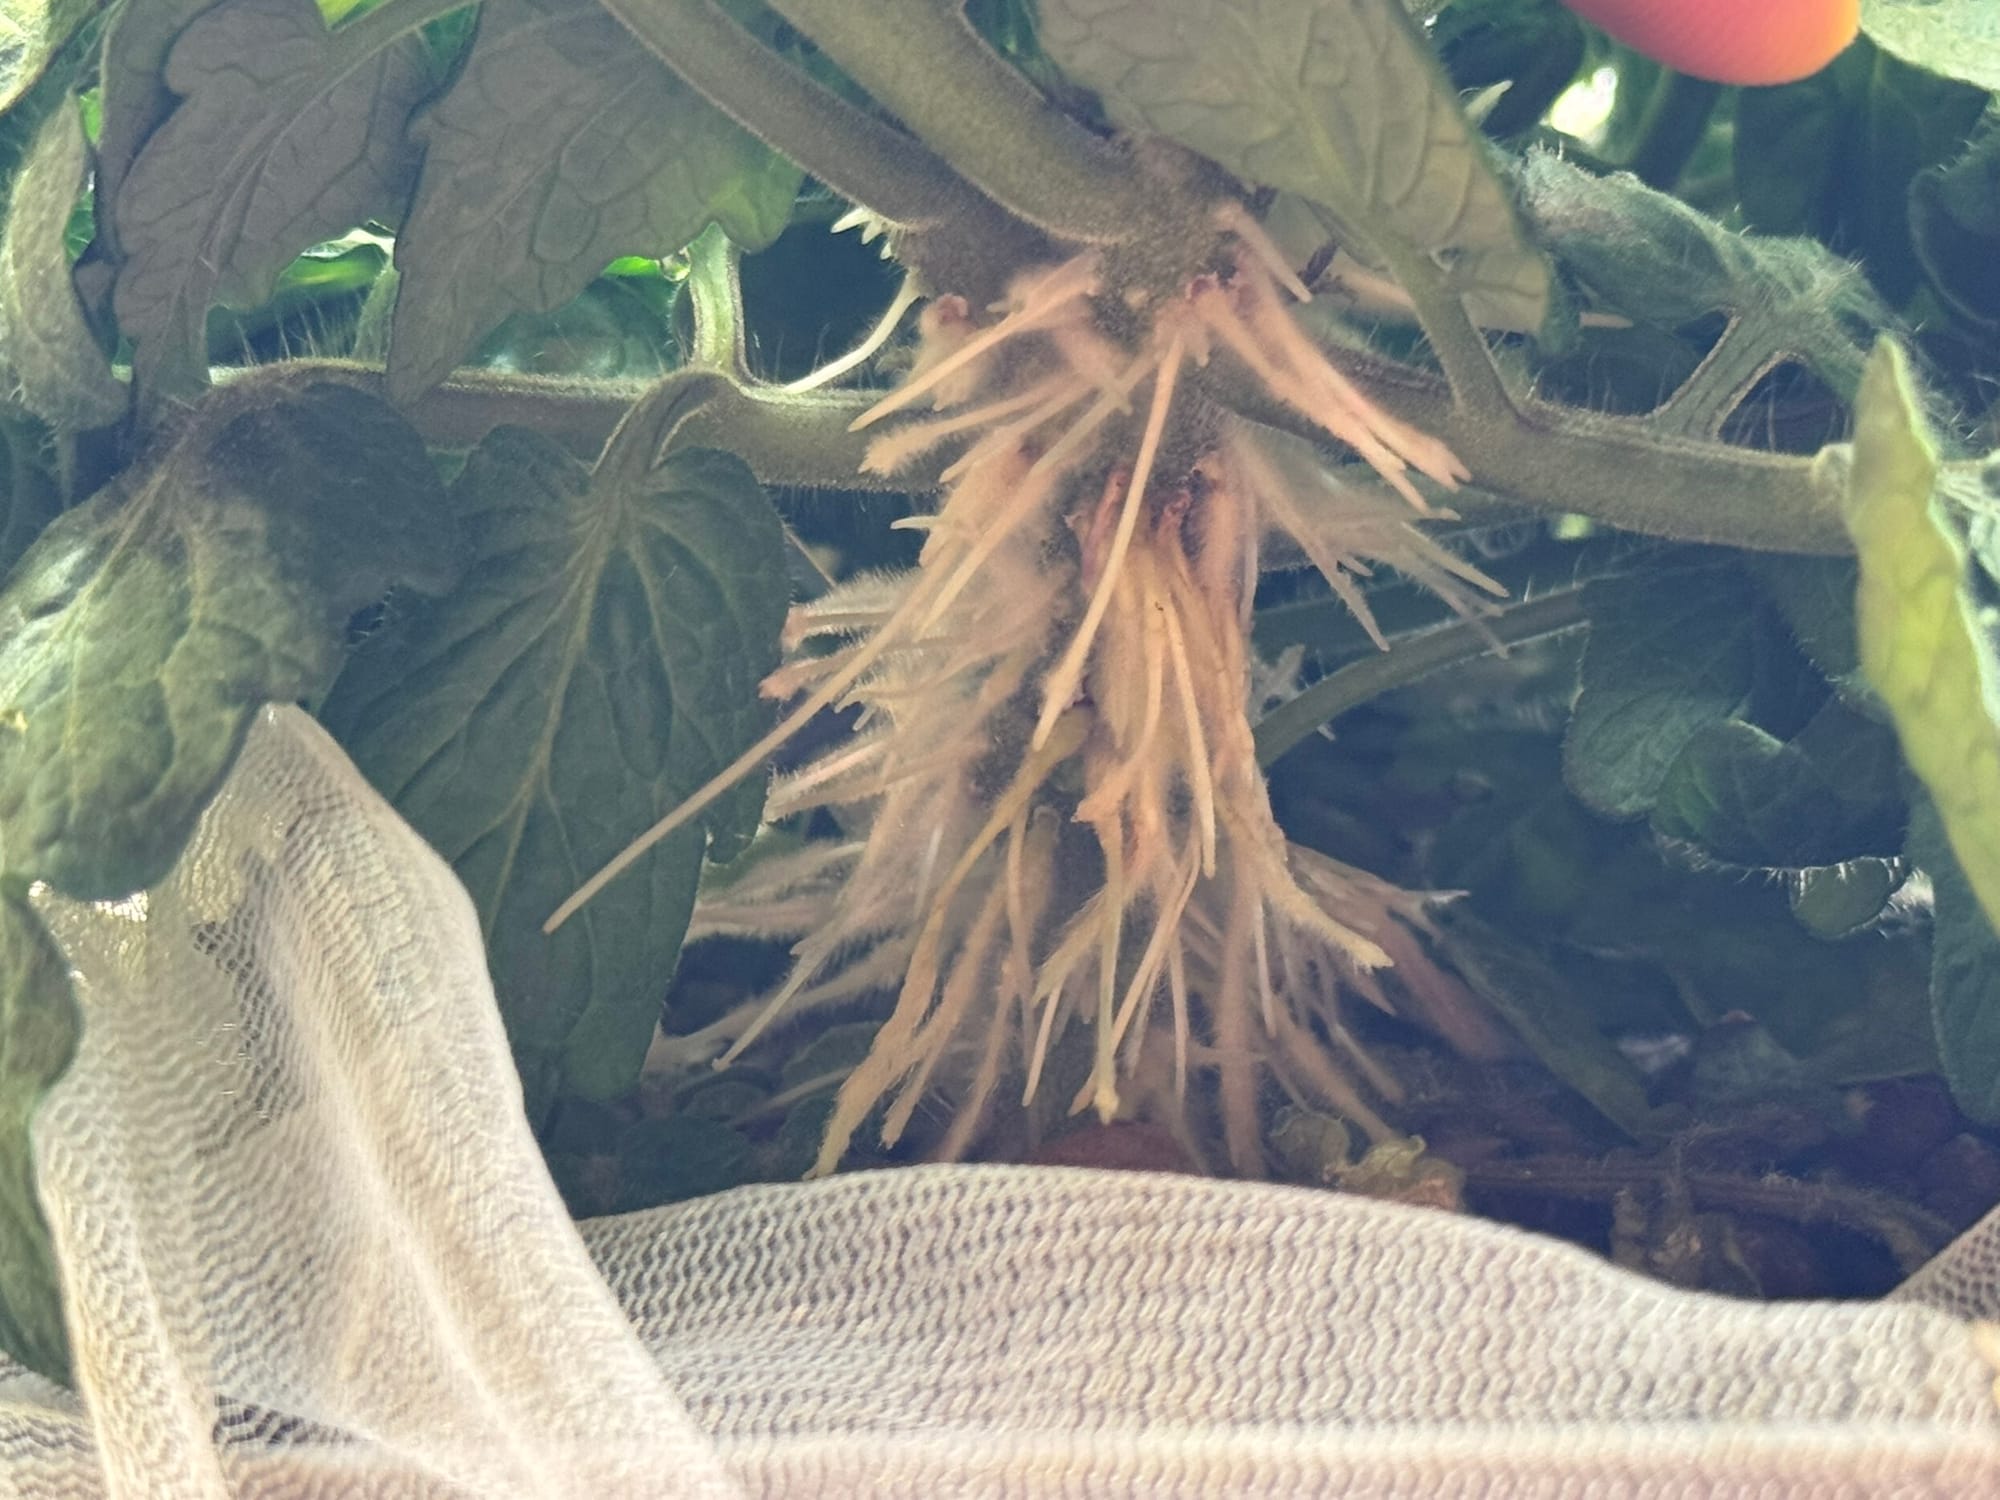
At this point, I was running a 16/8 light cycle with EC 2.4 nutrients. The tomatoes grew like crazy, producing an abundance of flowers.
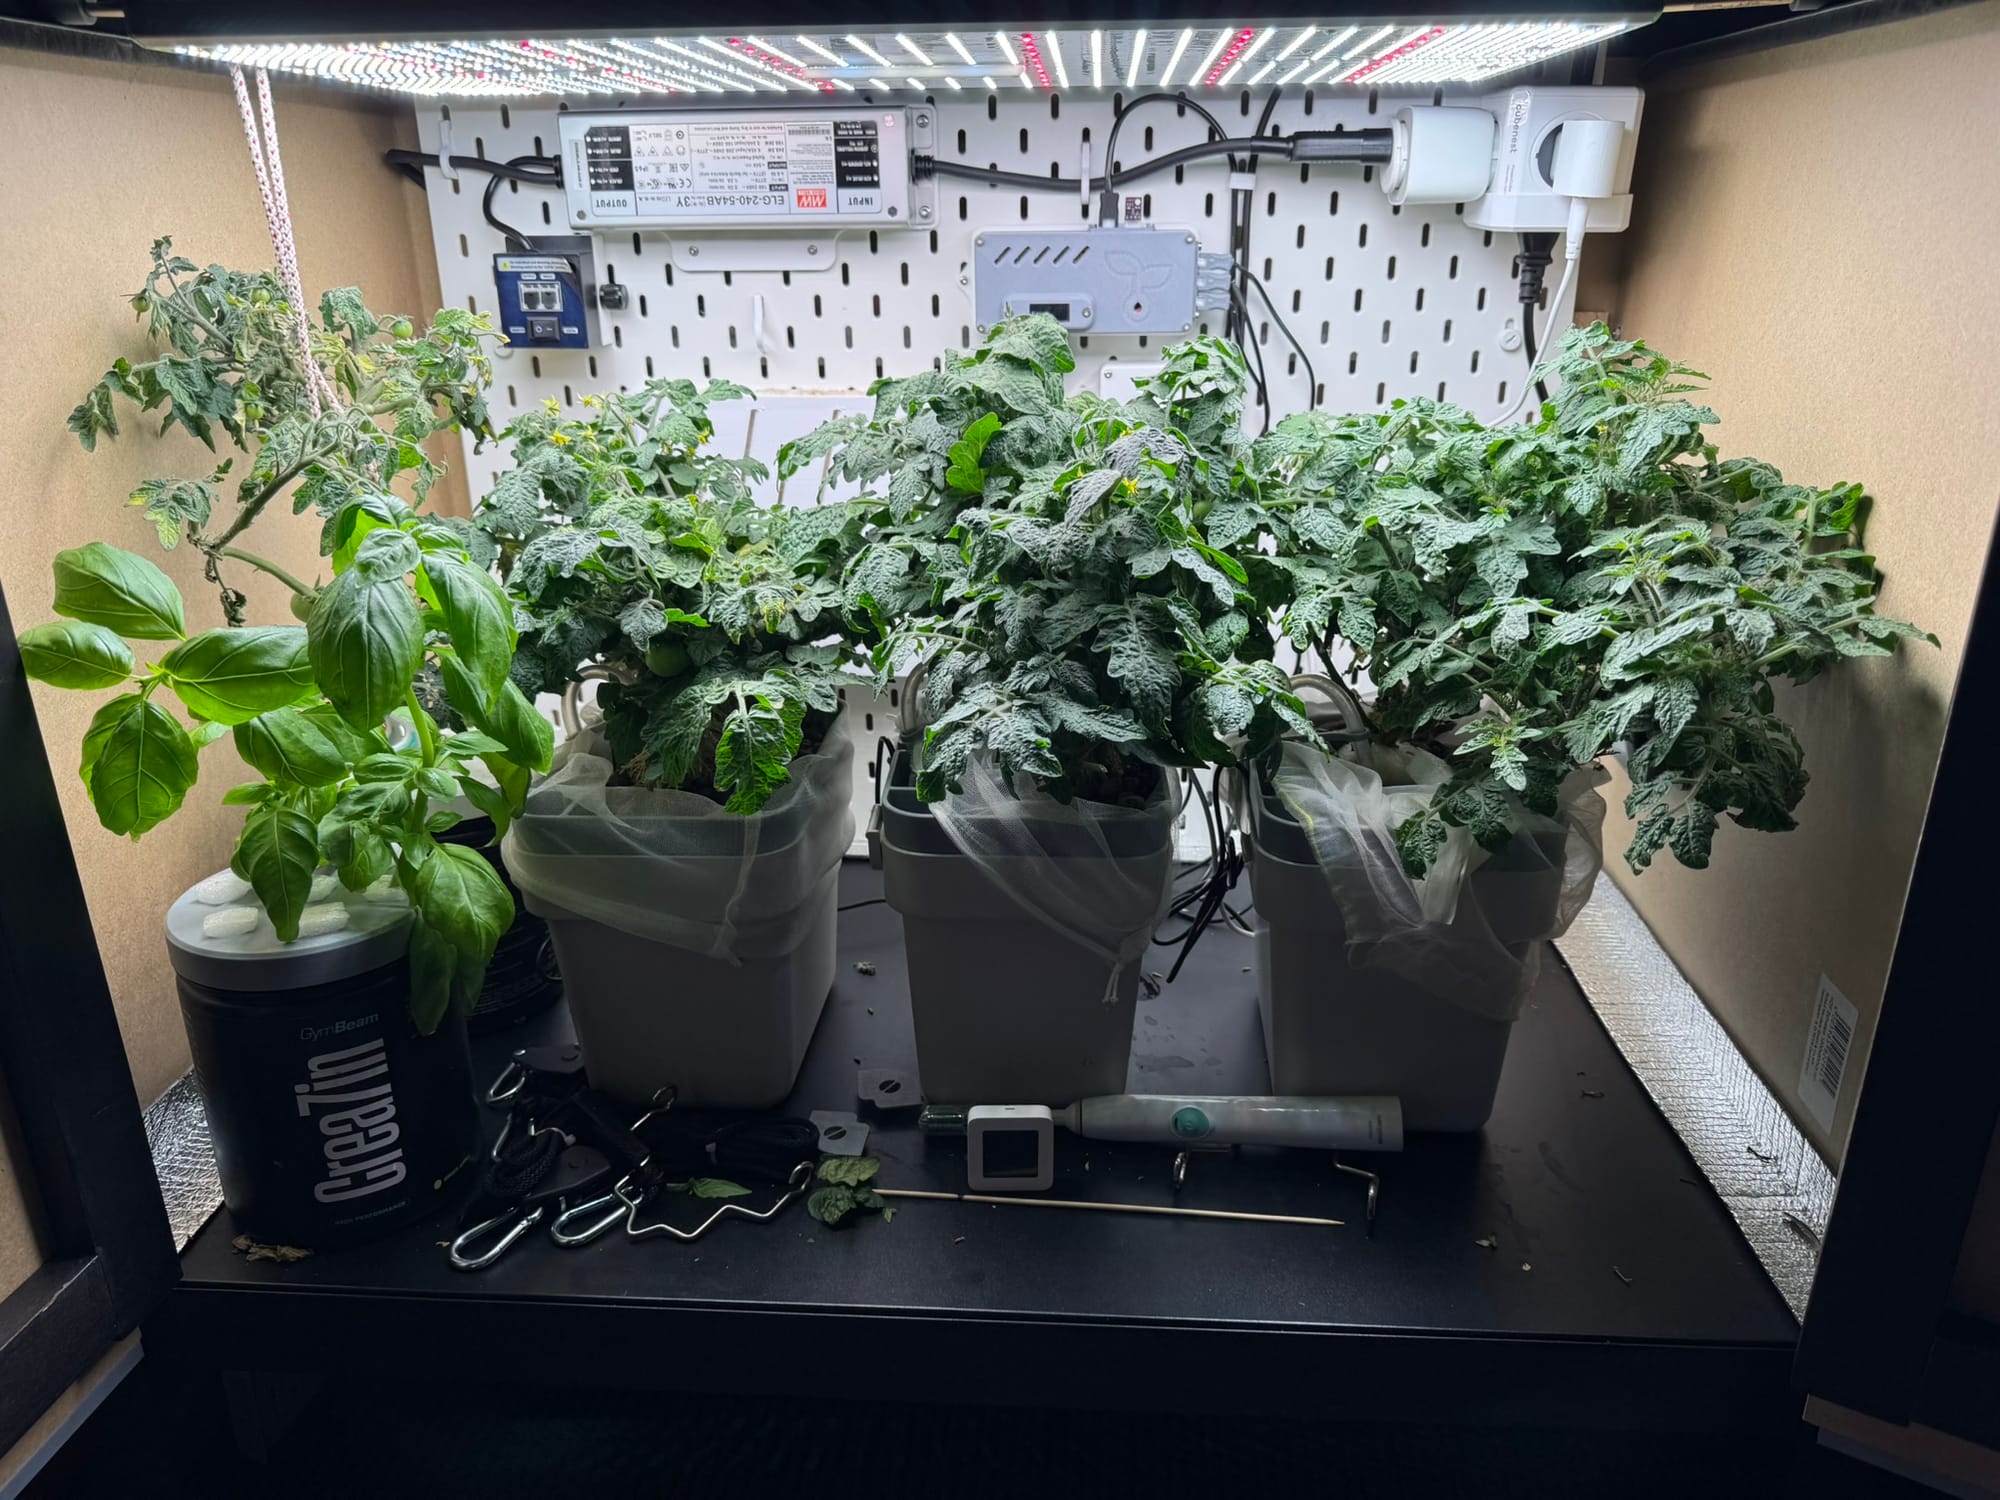
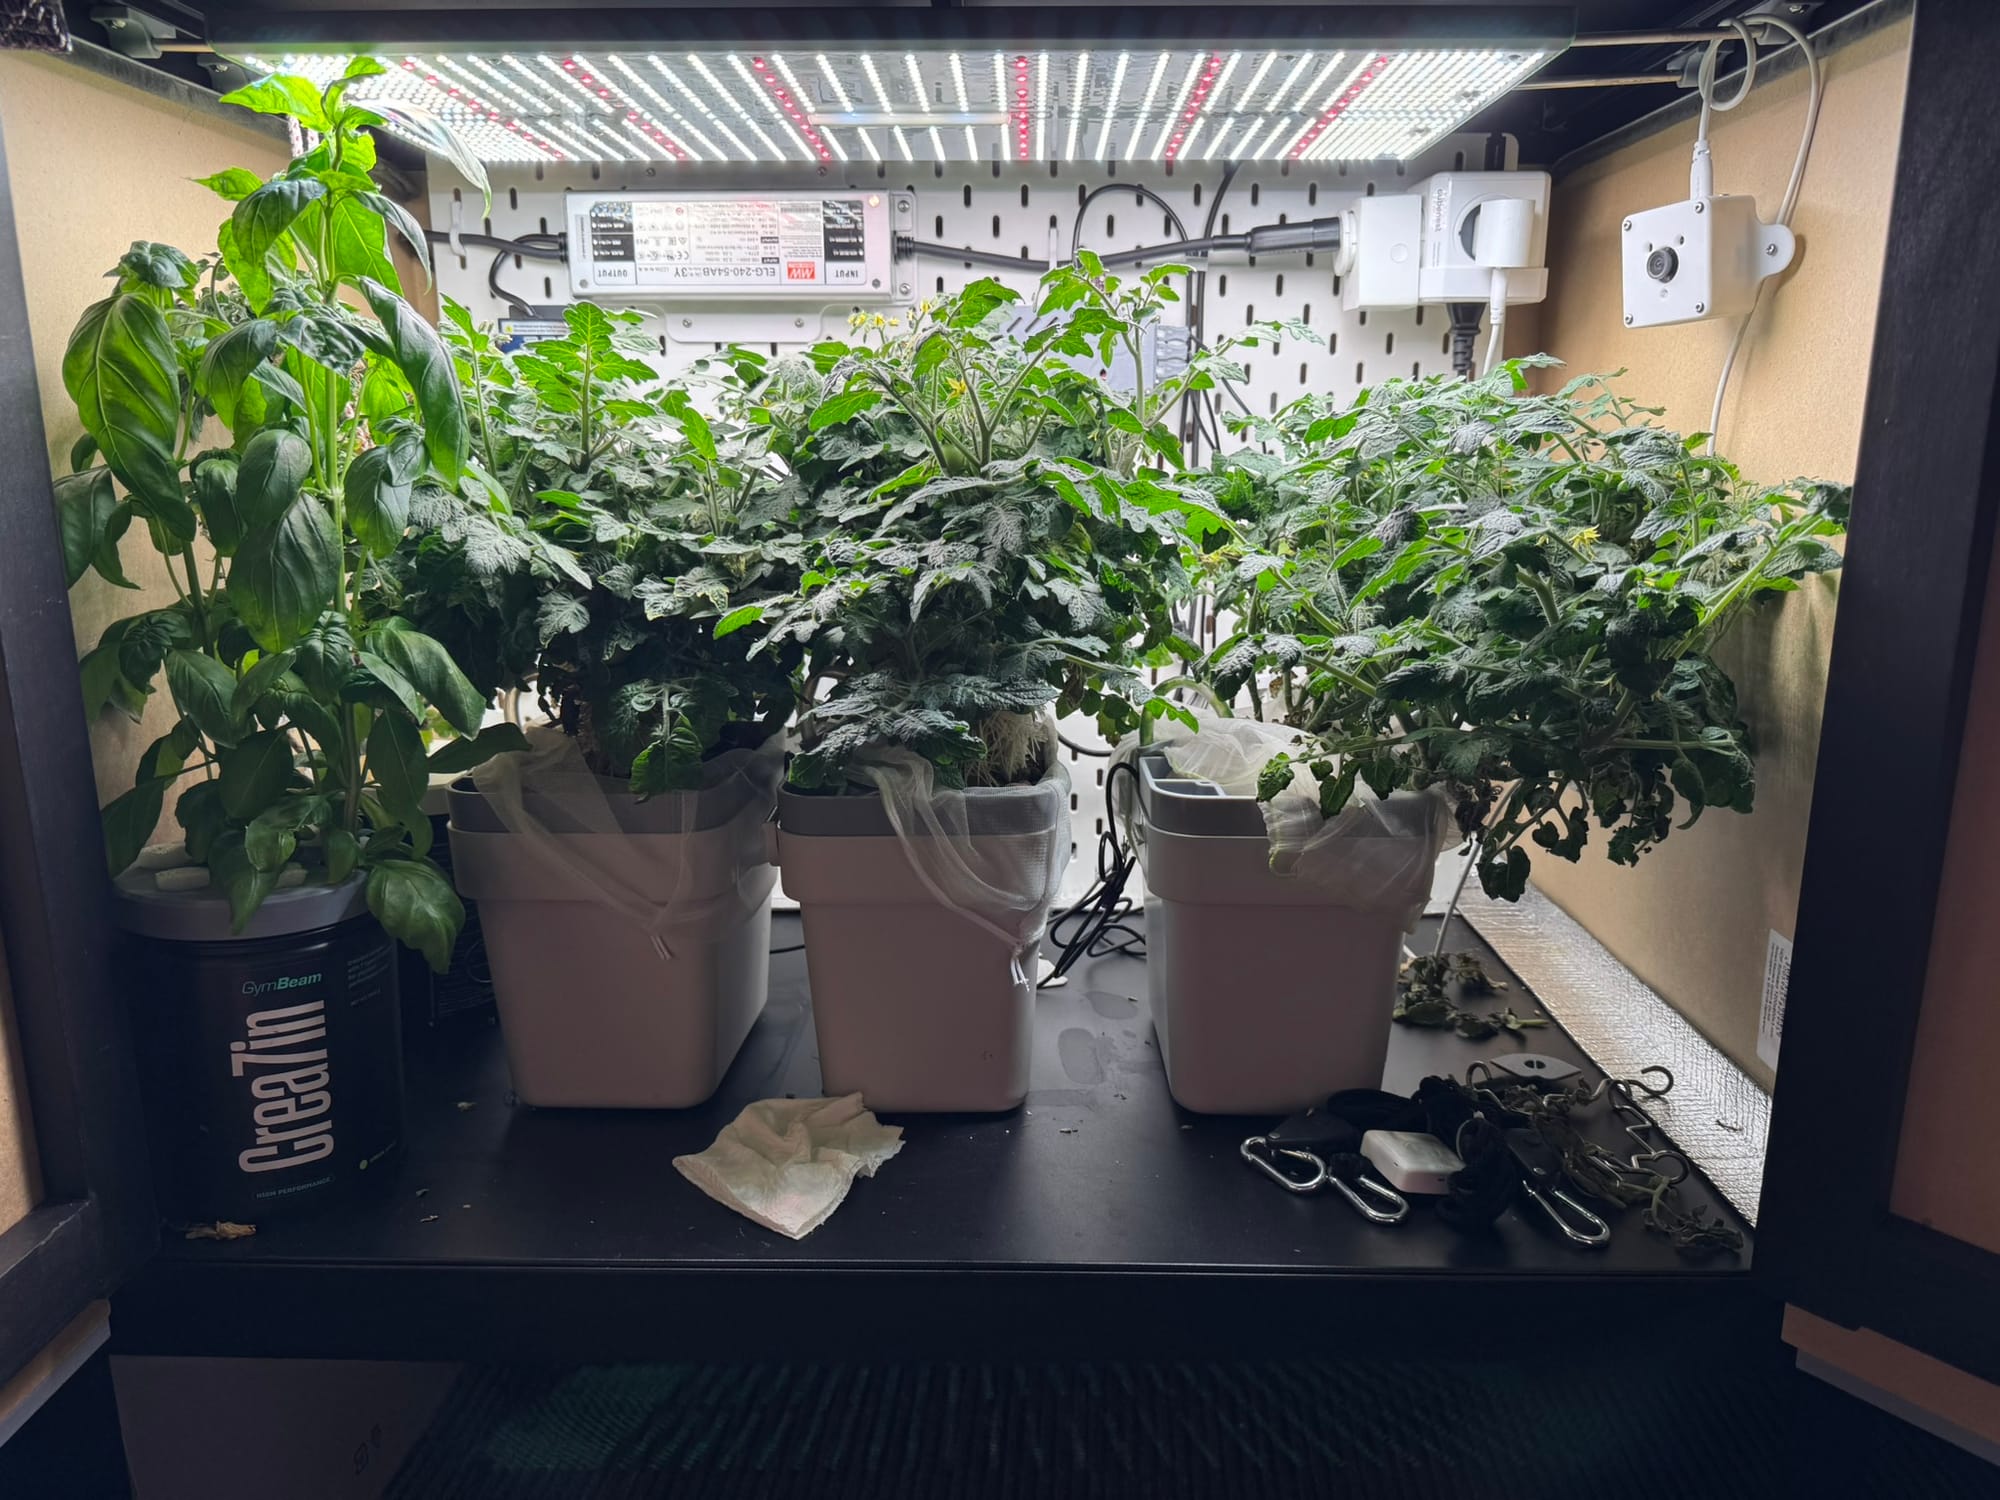
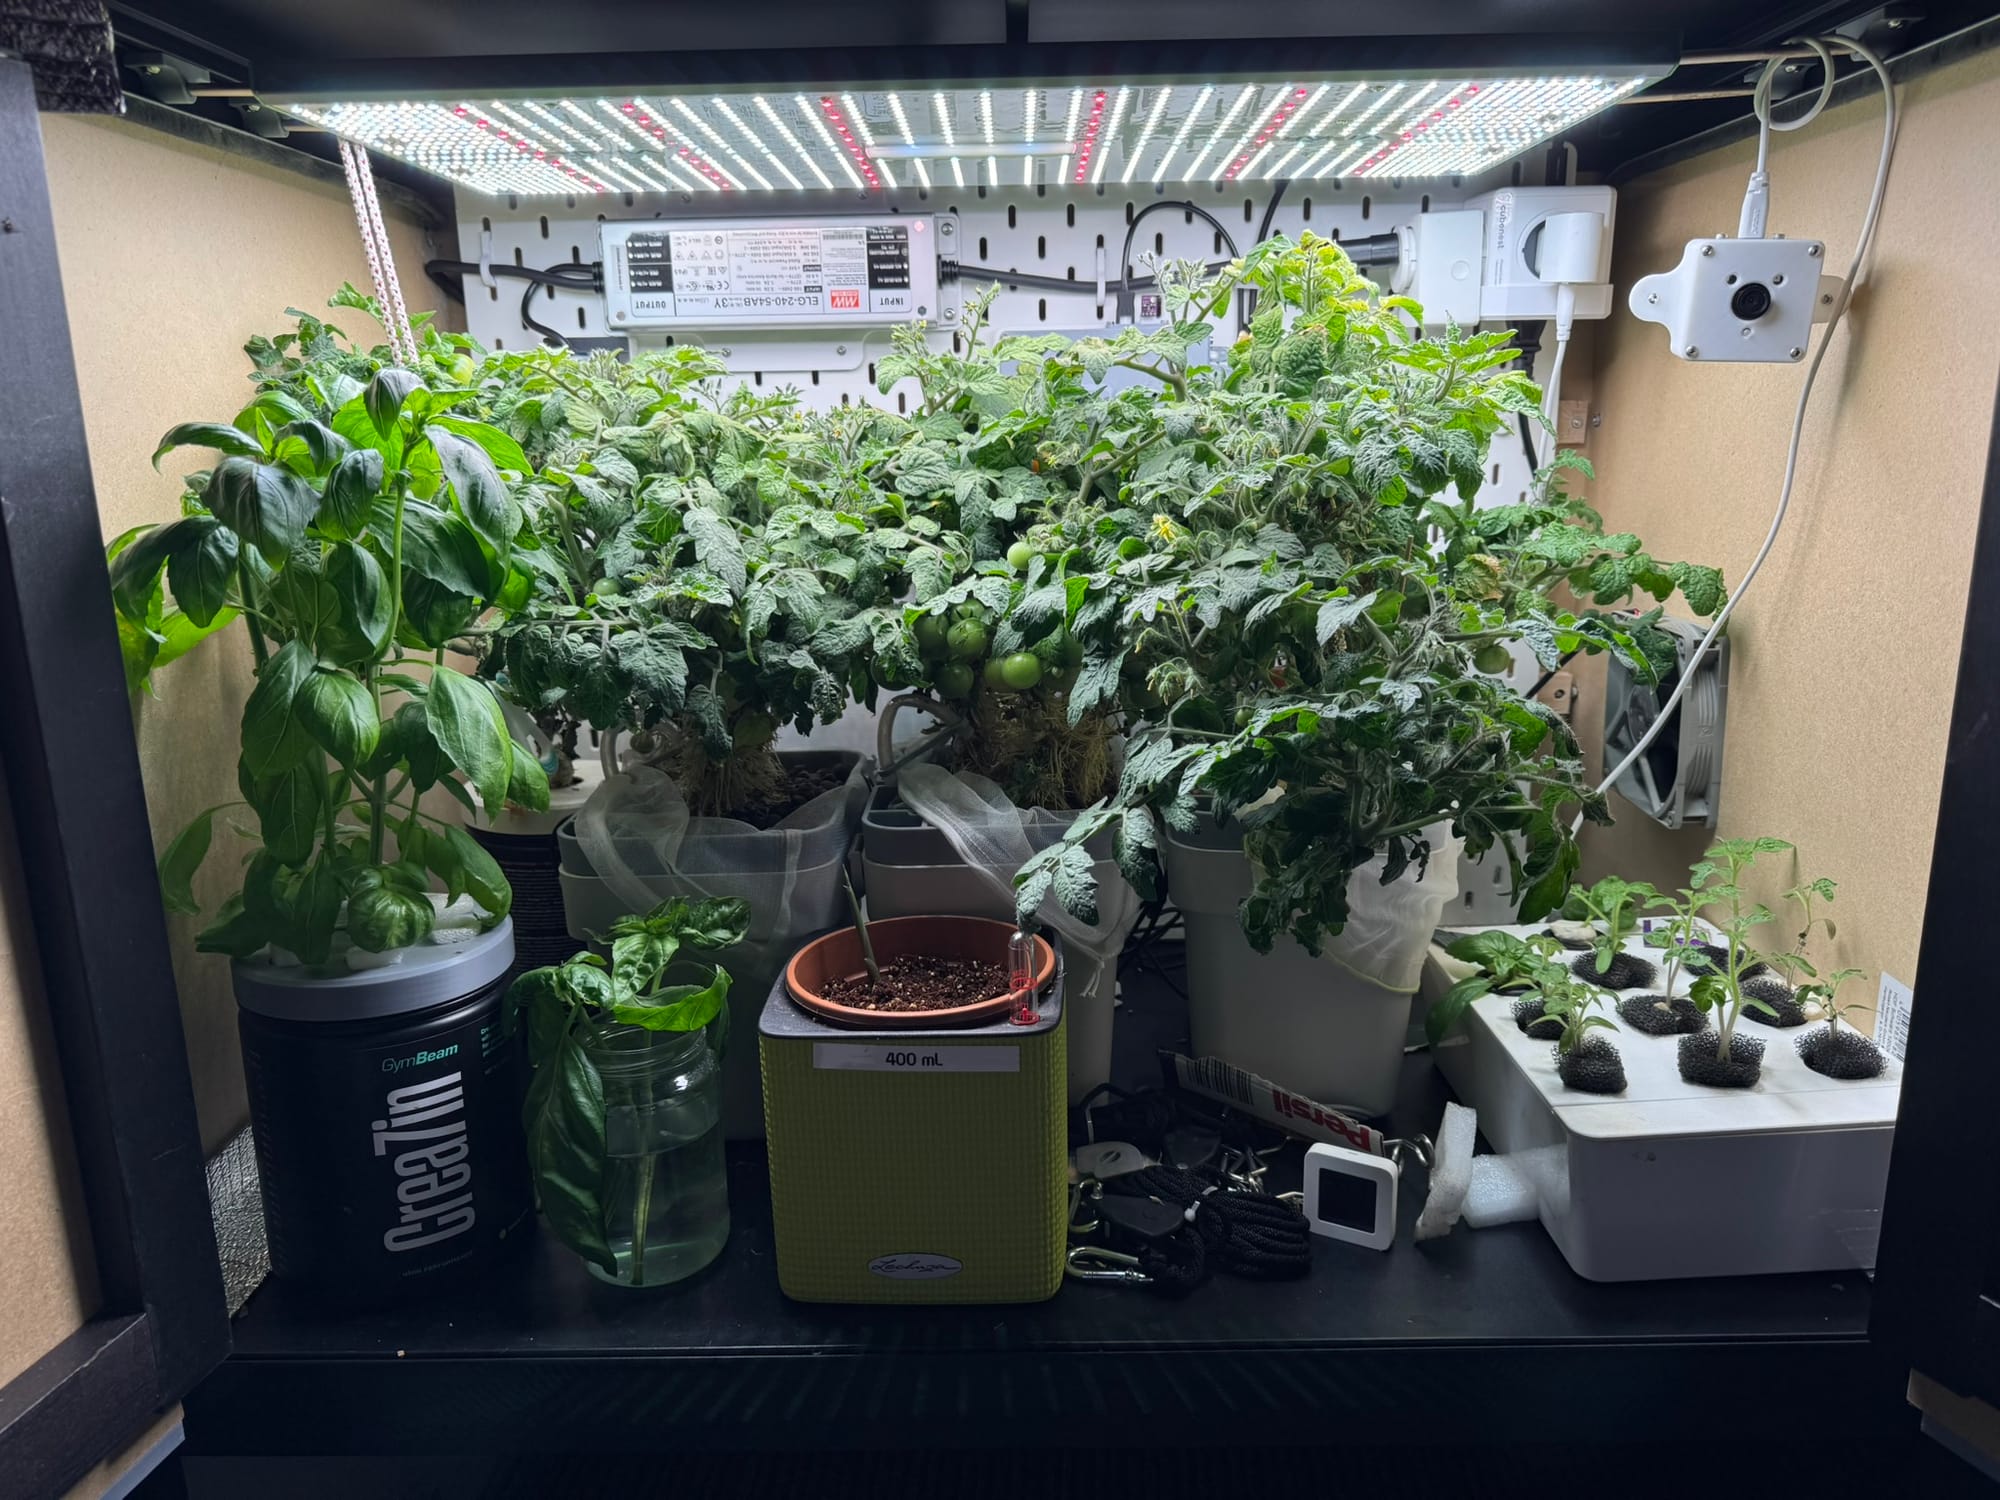
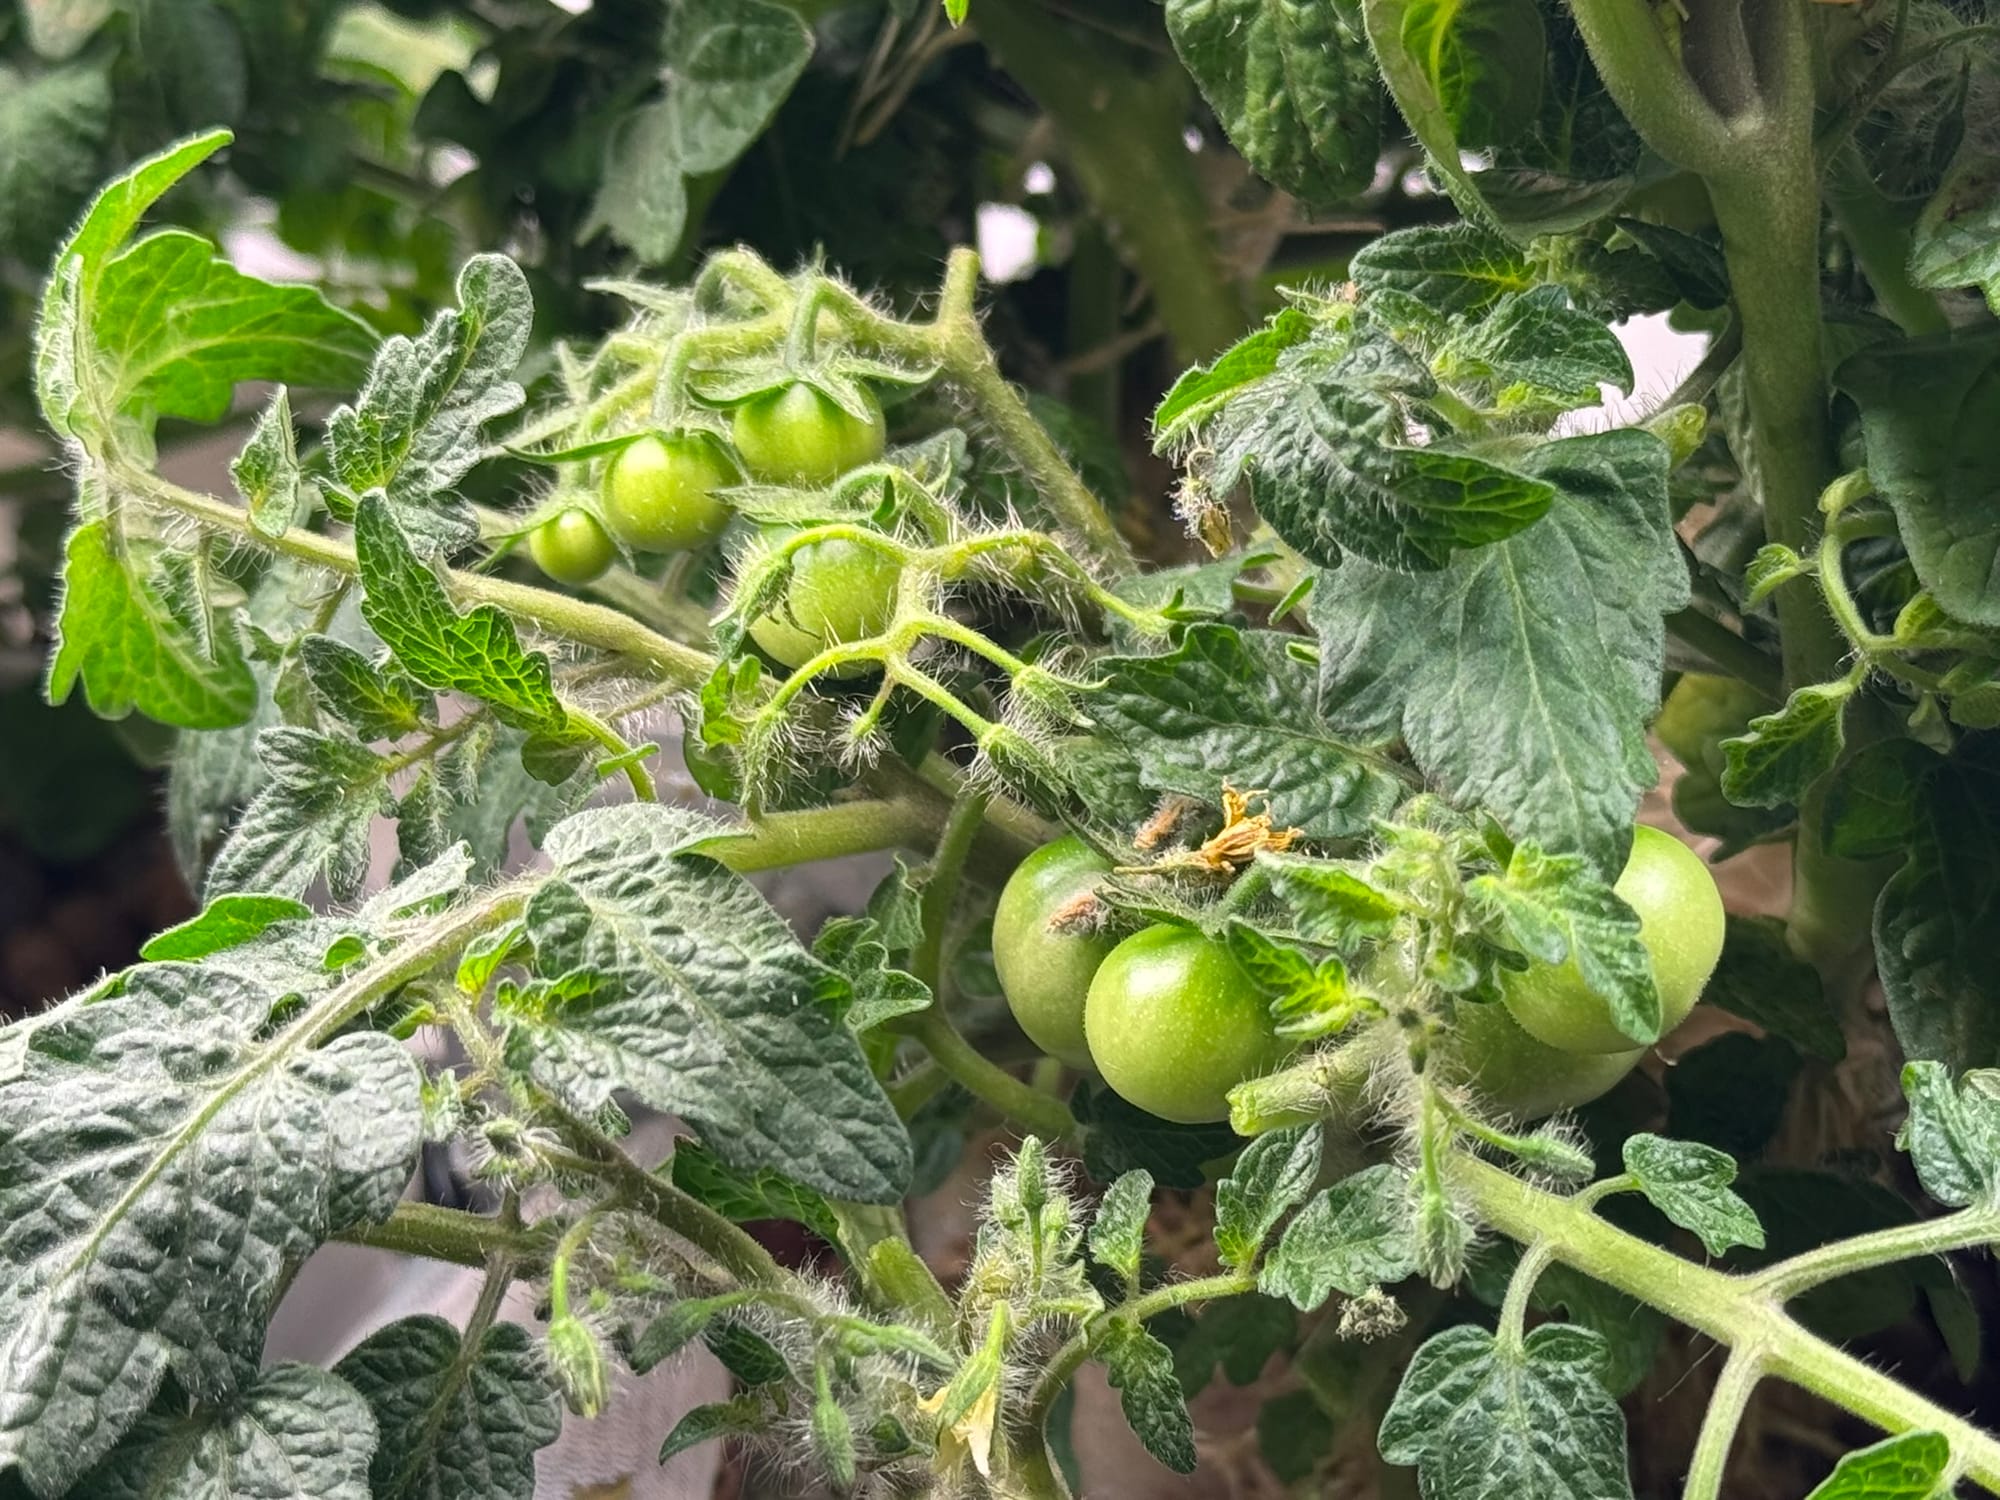
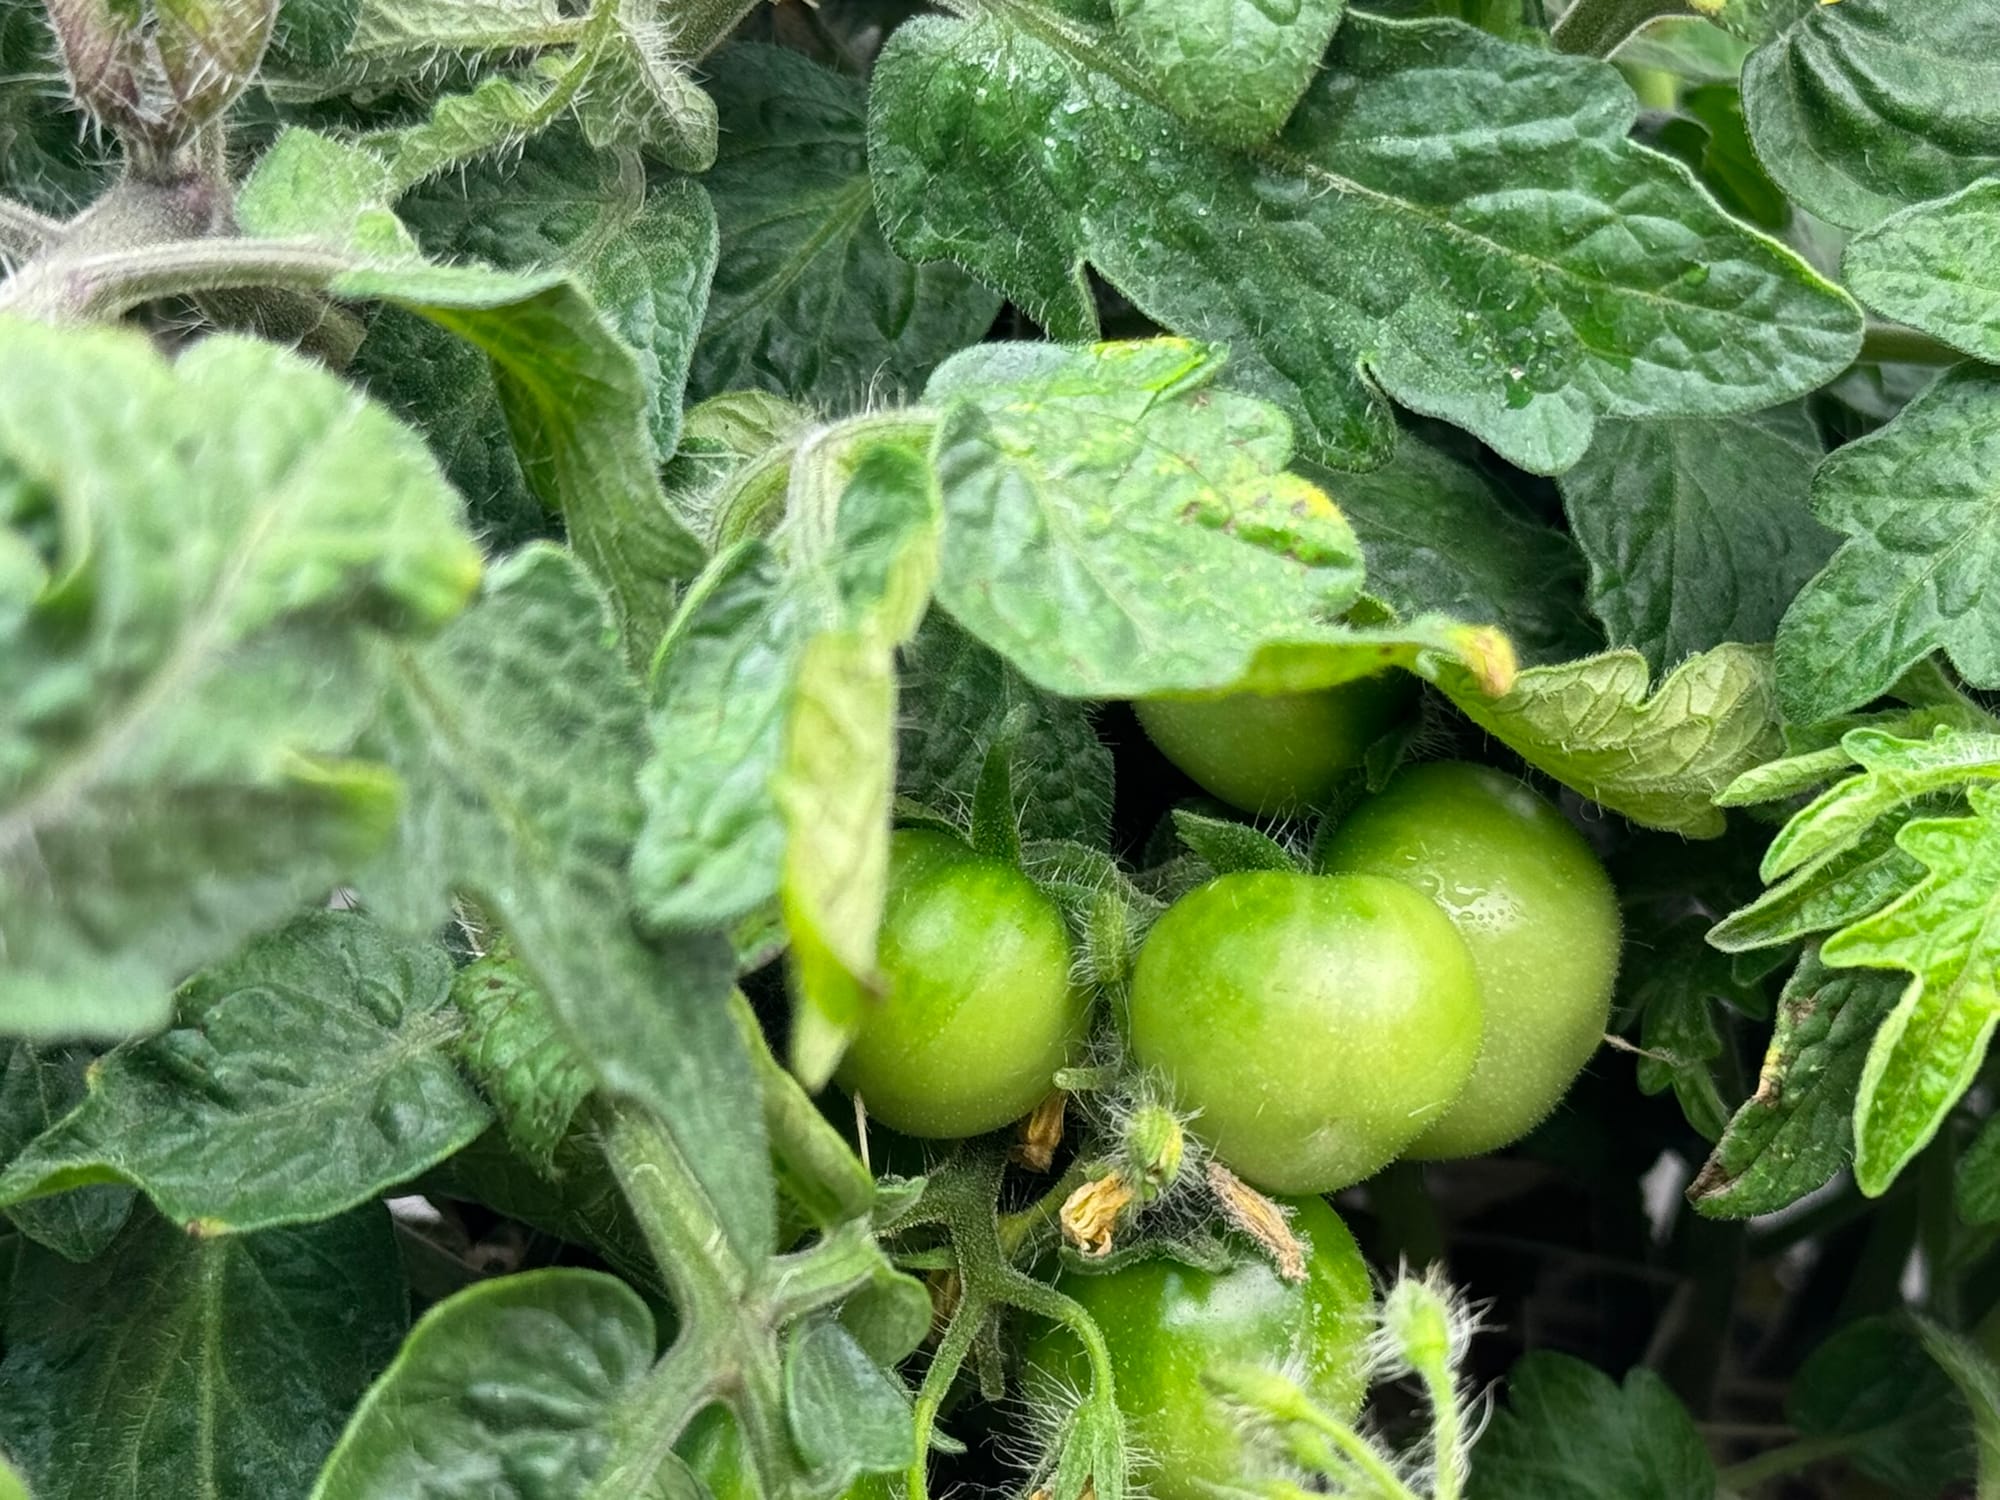
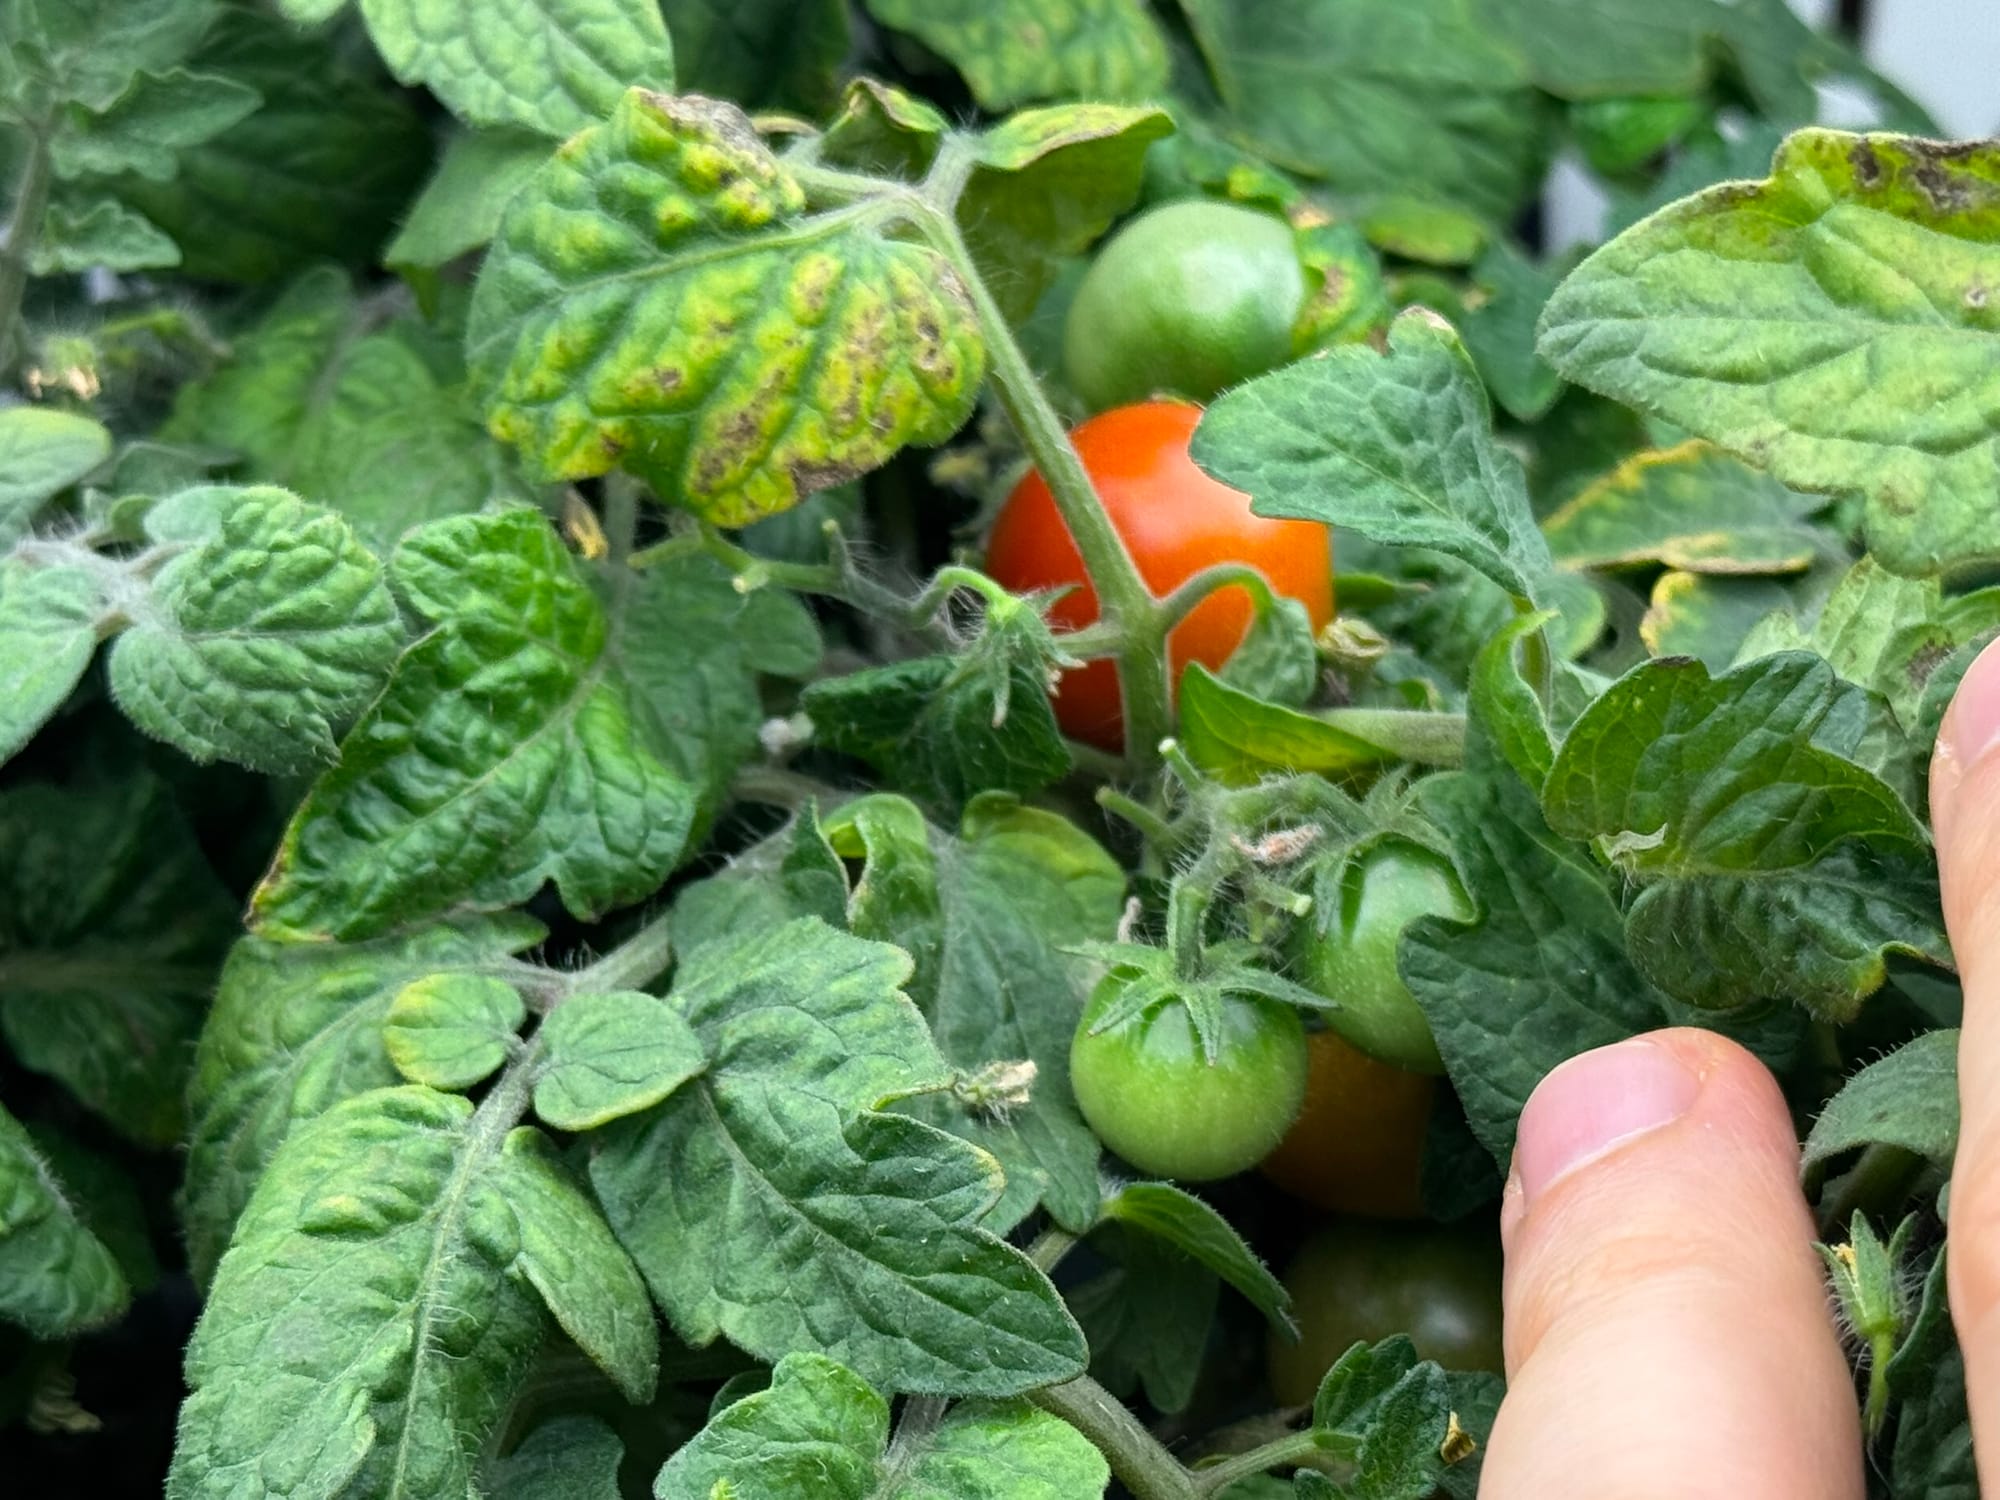

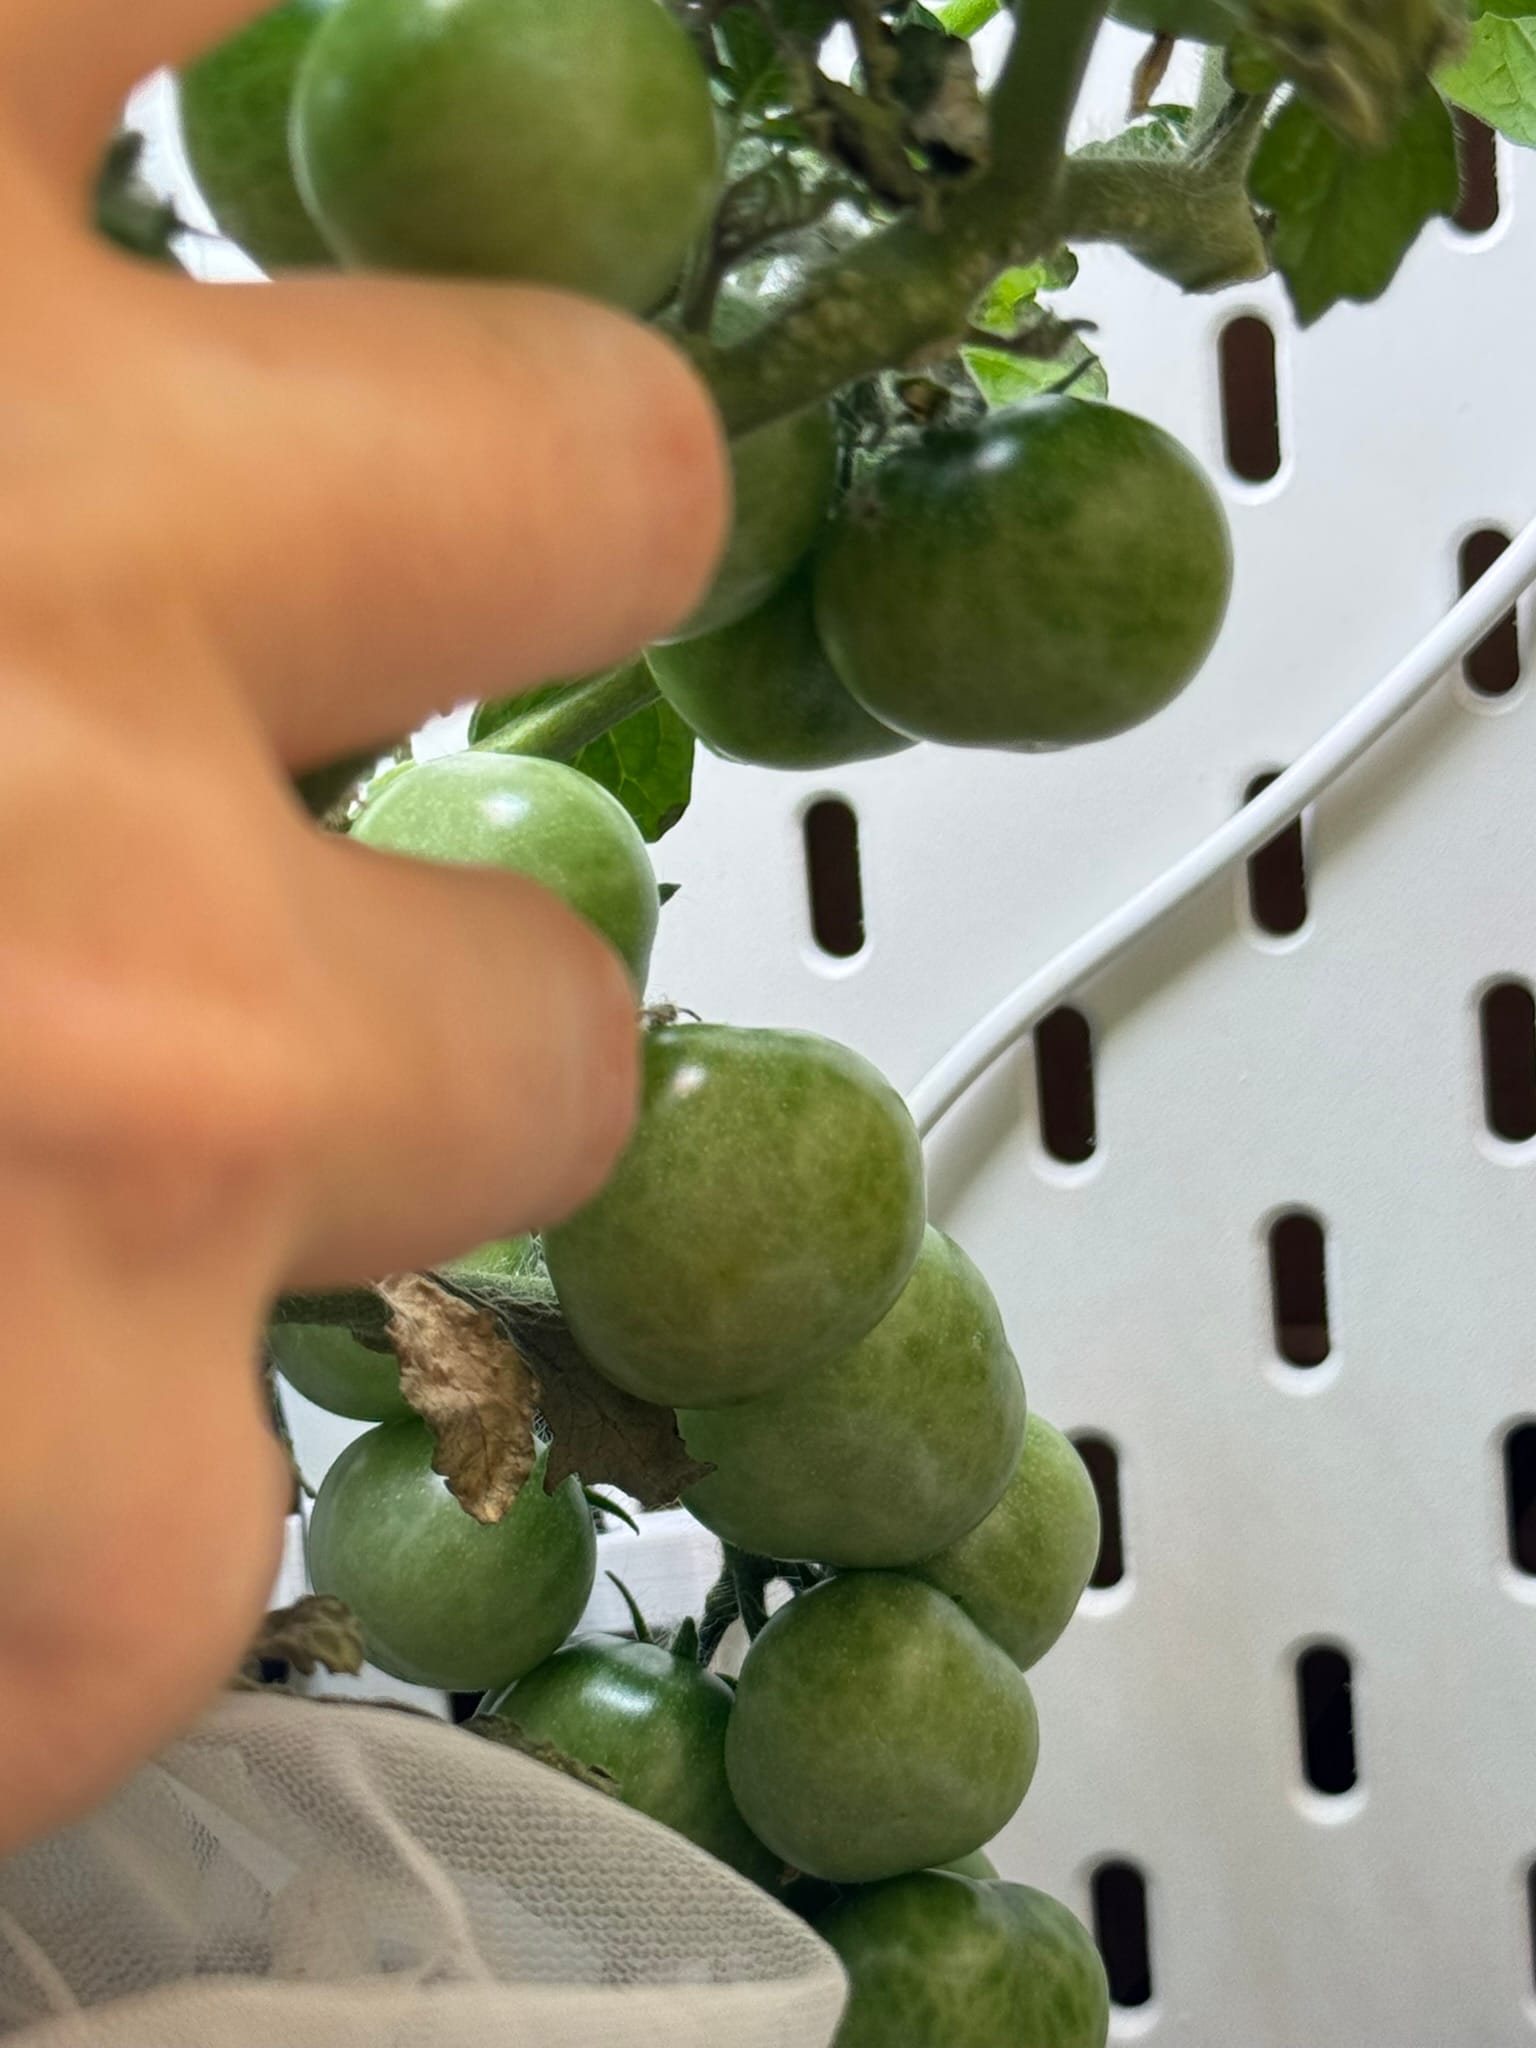
However, the high humidity started affecting the wooden panels. They absorbed moisture, leading to warping. The temperature difference between the metal and wood also caused condensation, creating ideal conditions for water collection at their boundaries. This could have been avoided by using plastic panels instead. Lesson learned for next time.
the harvest
Despite these challenges, the harvest was fantastic—more than double the yield of the HydroLIXHULT from last year! Even after harvesting, some tomatoes were still ripening.
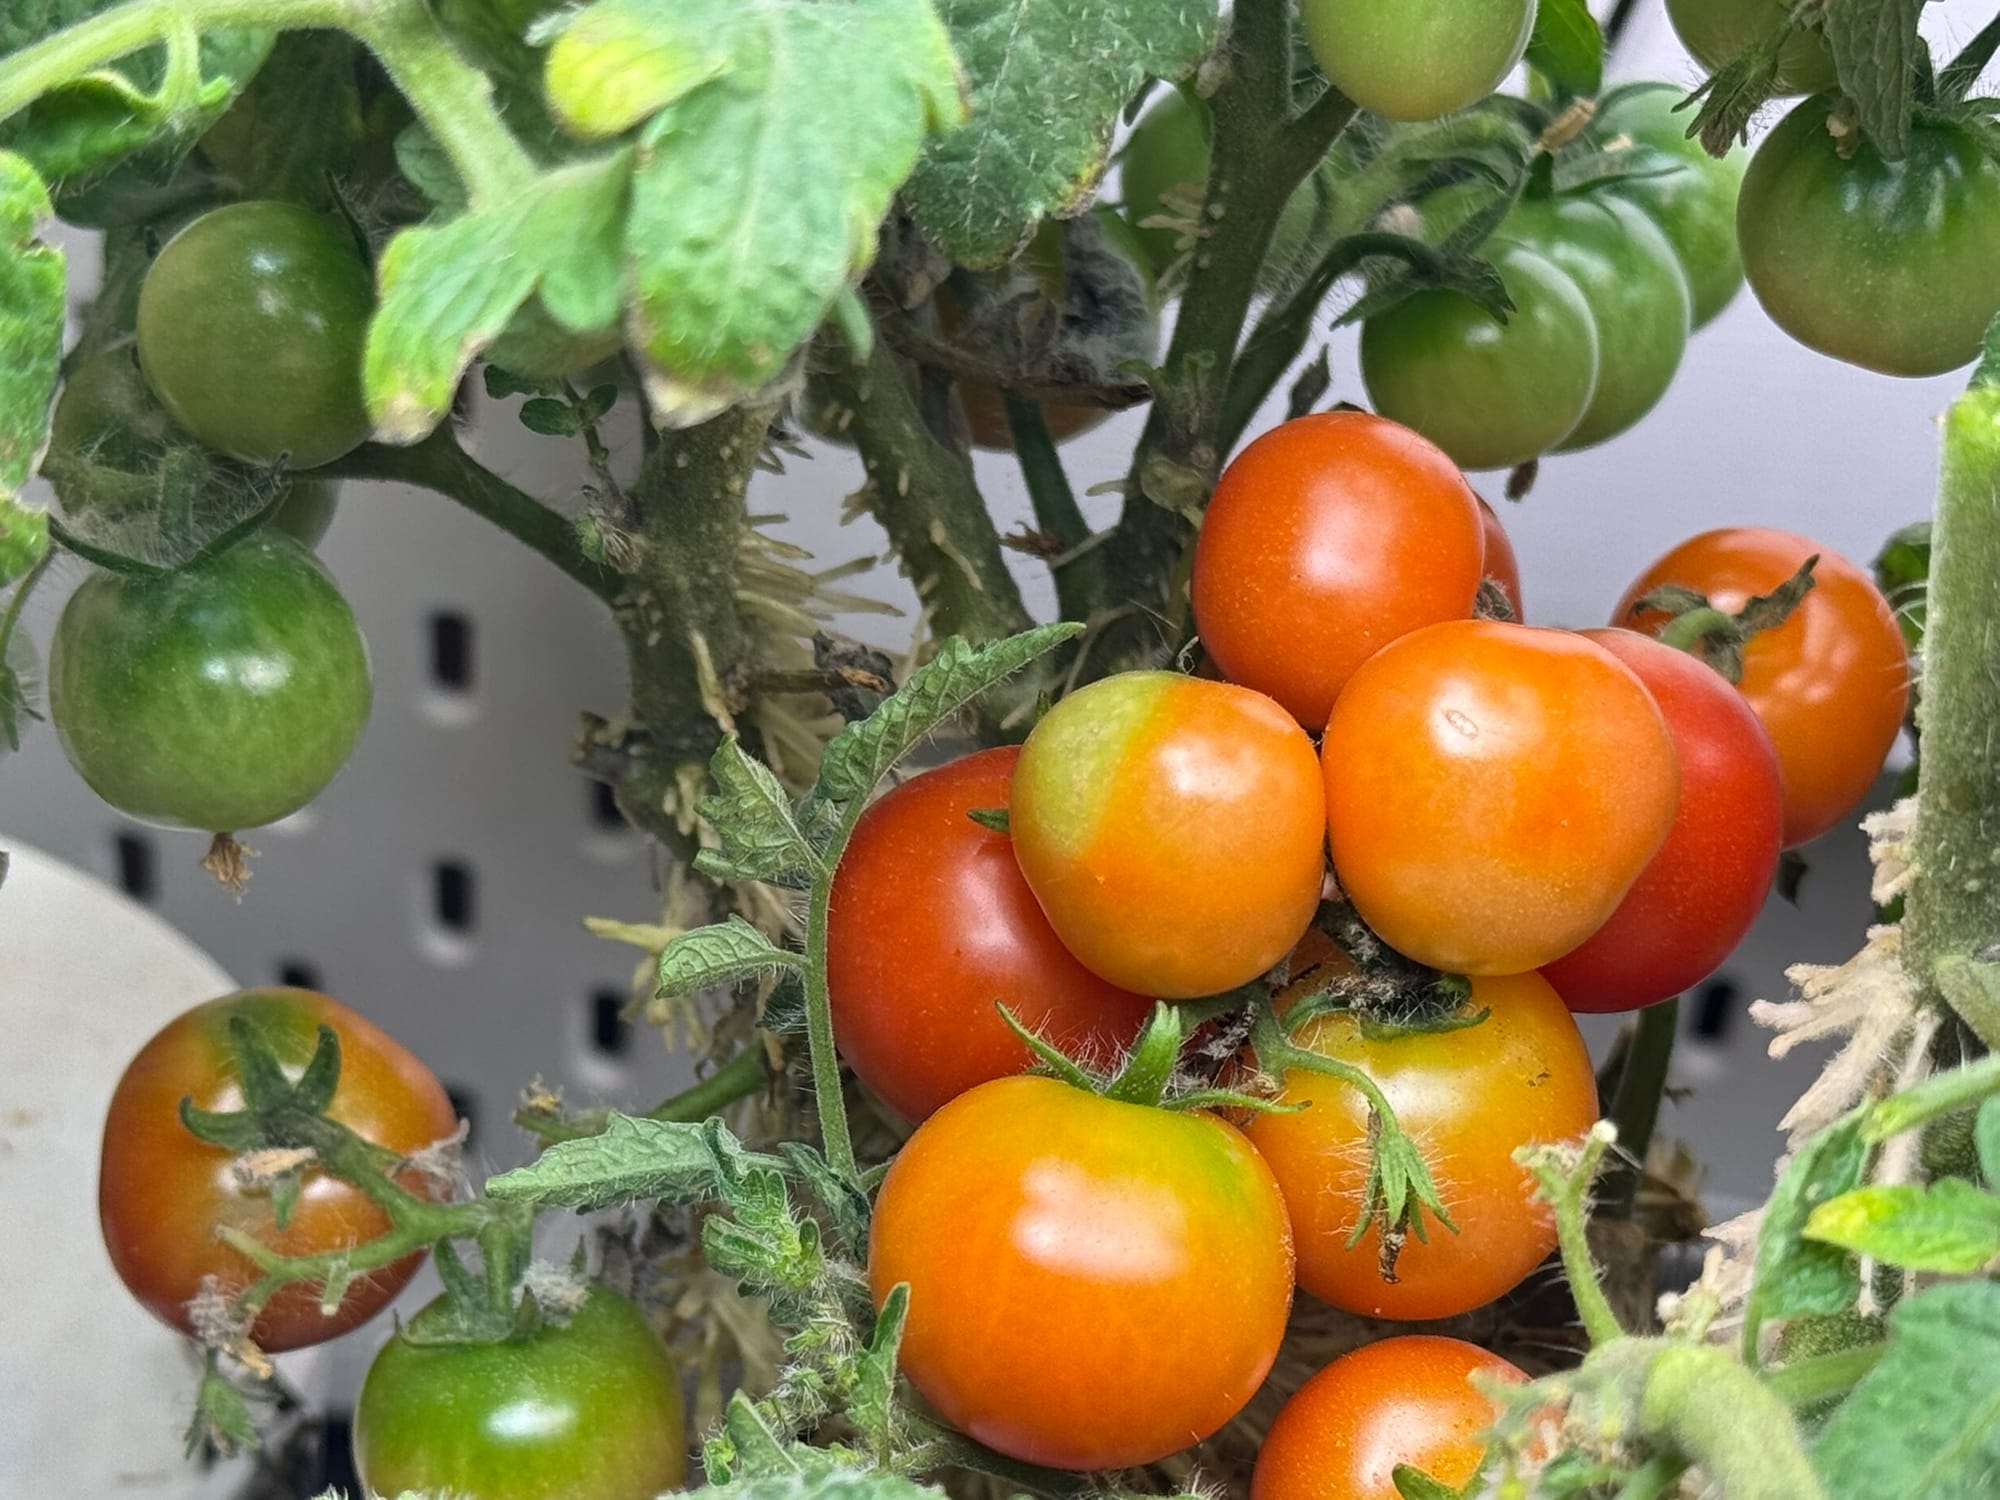
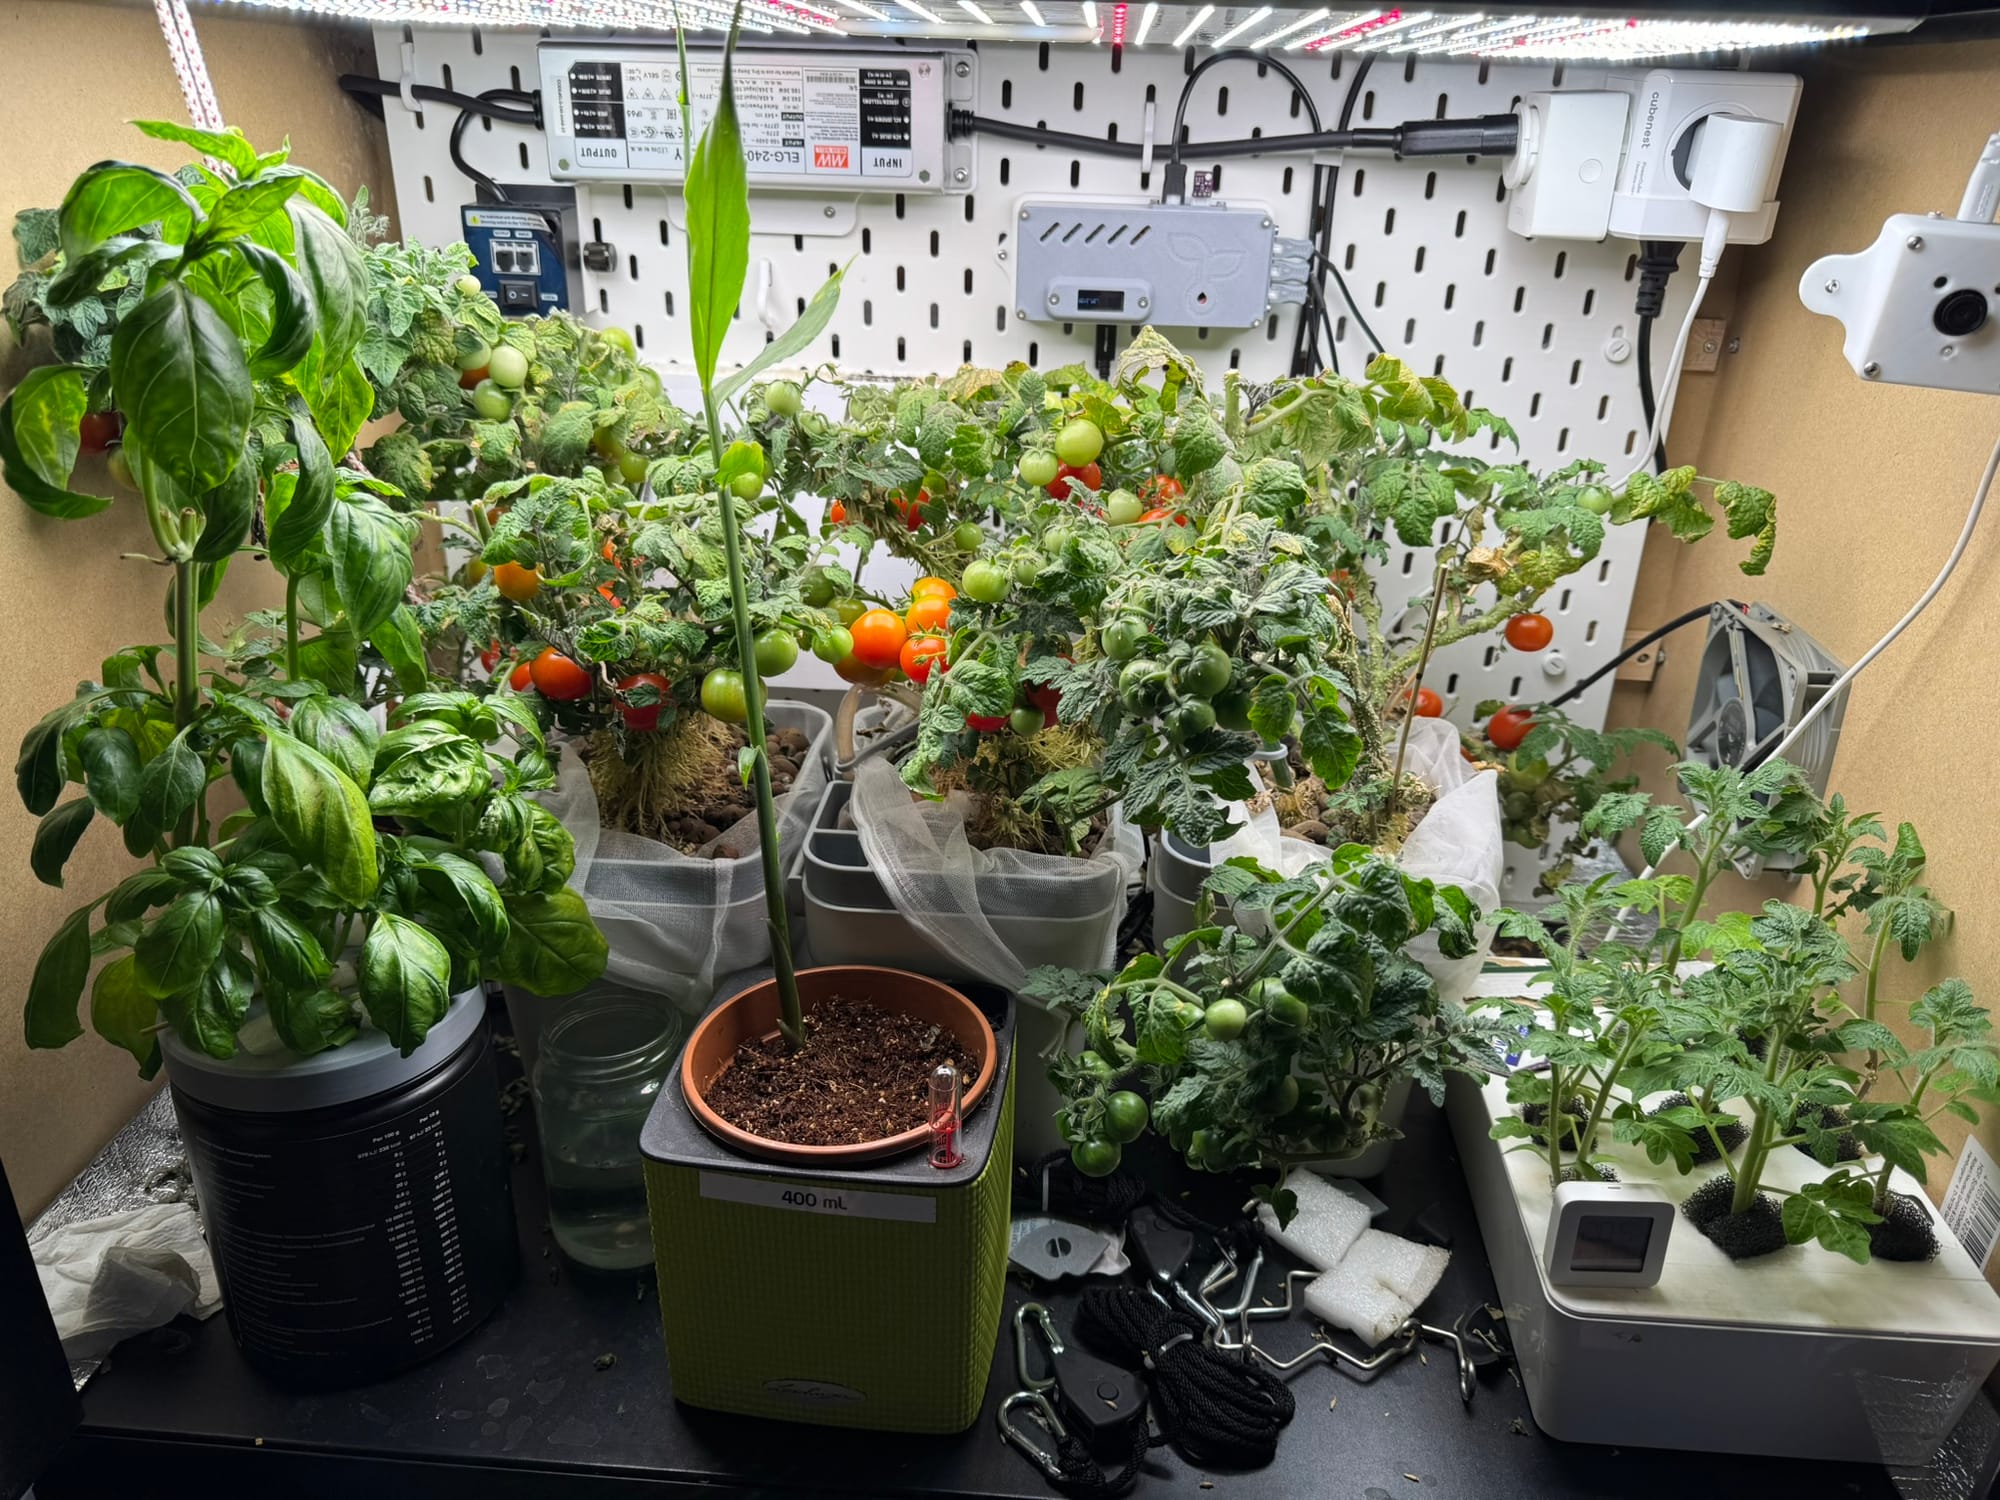
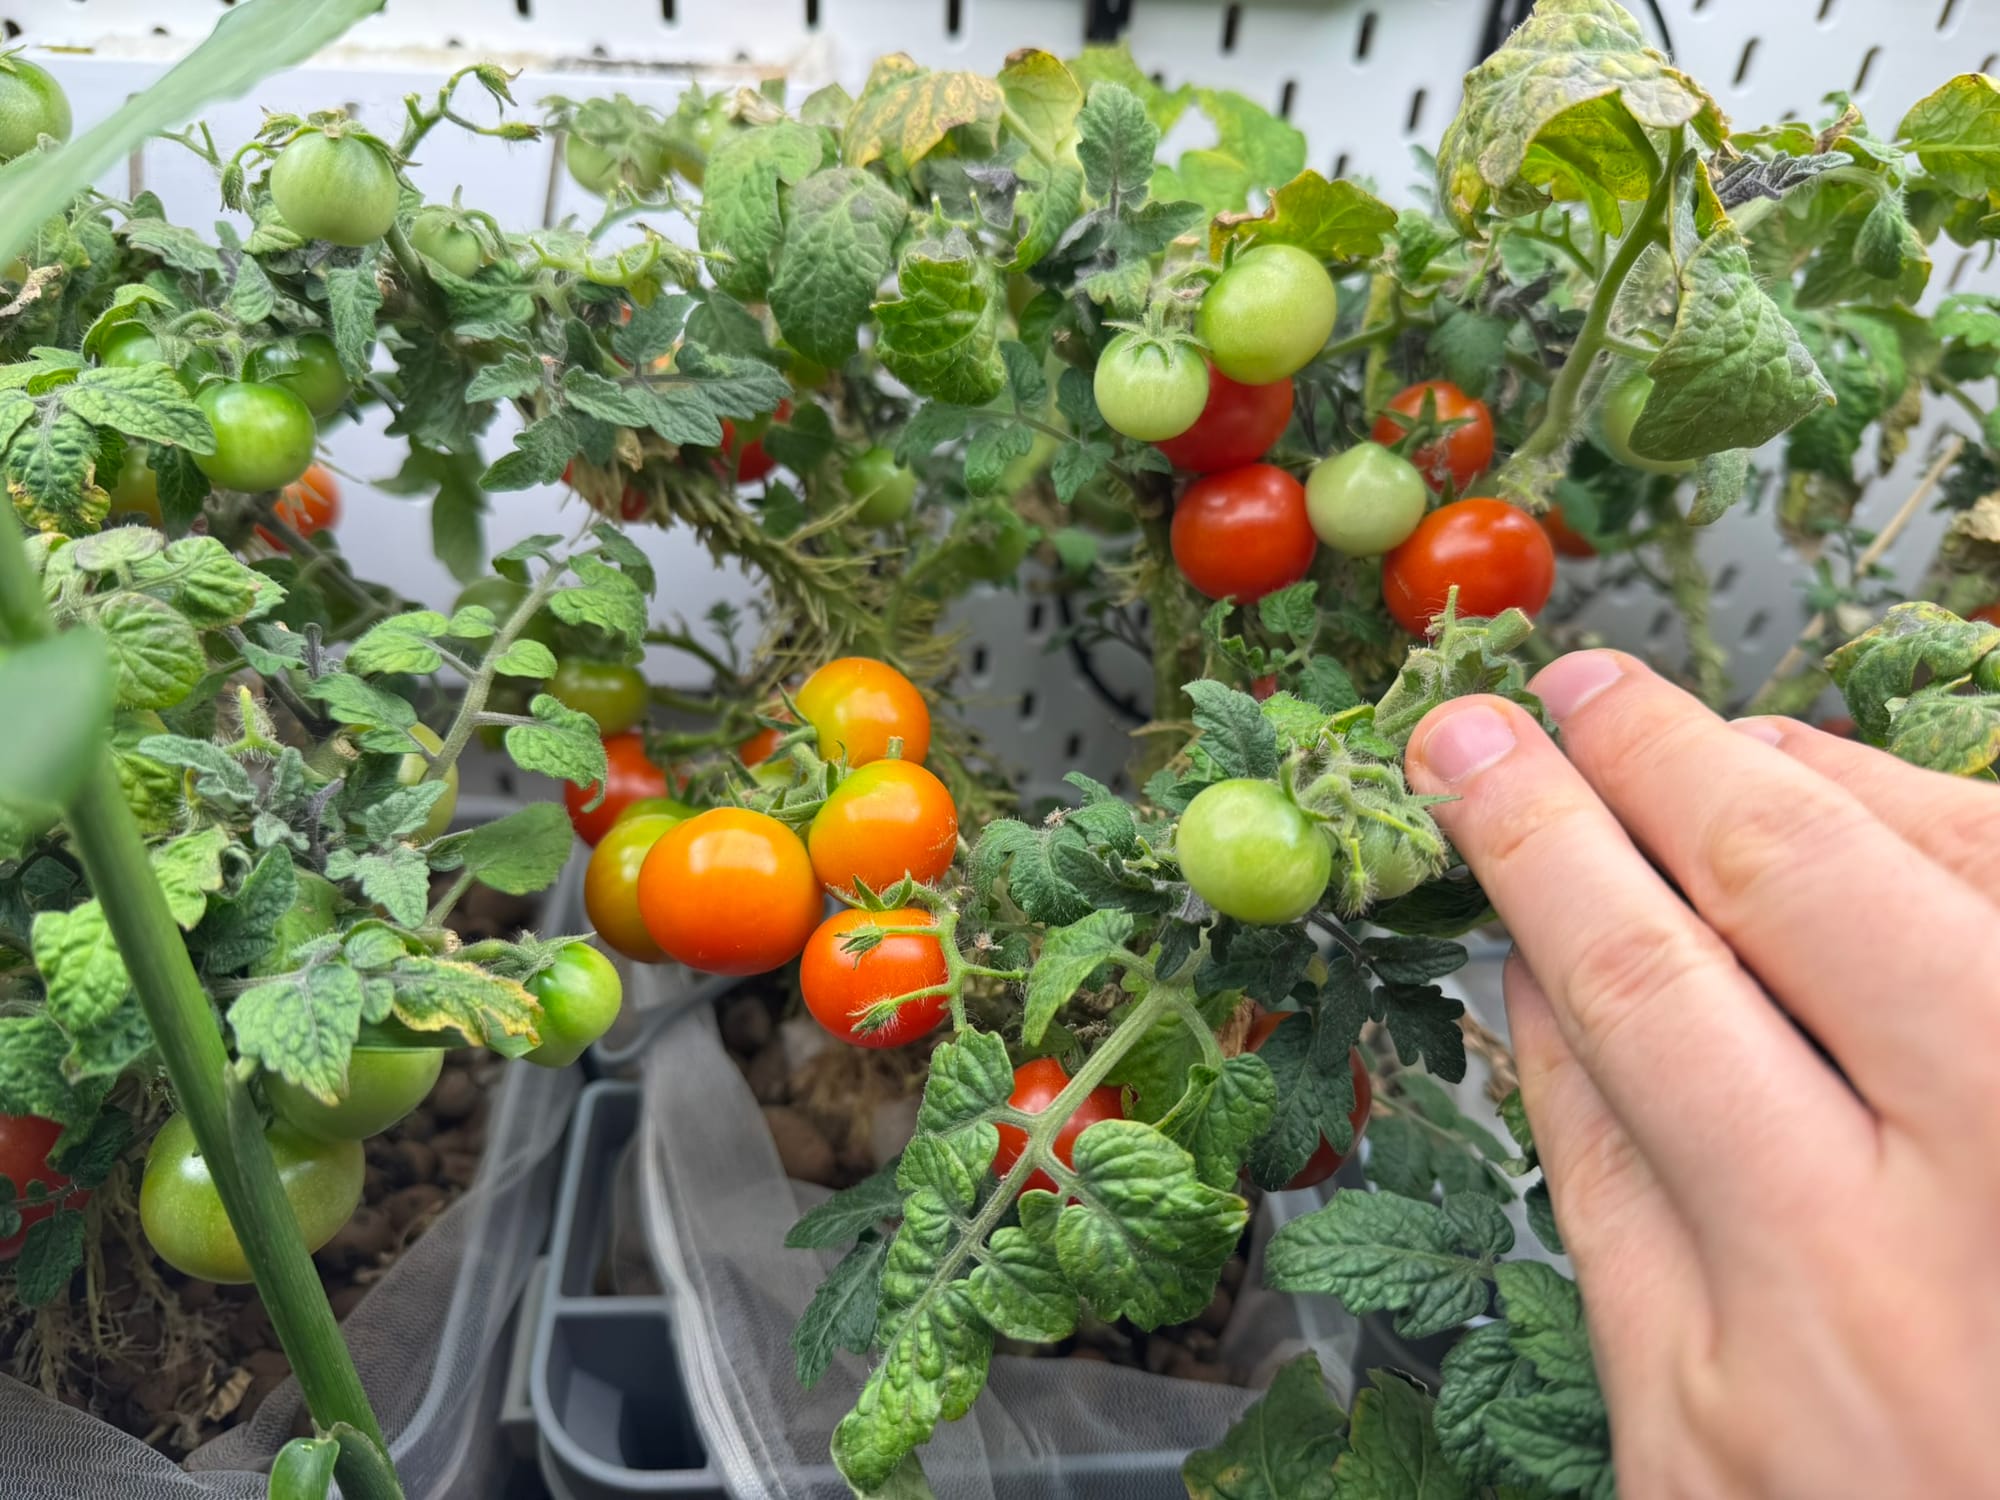
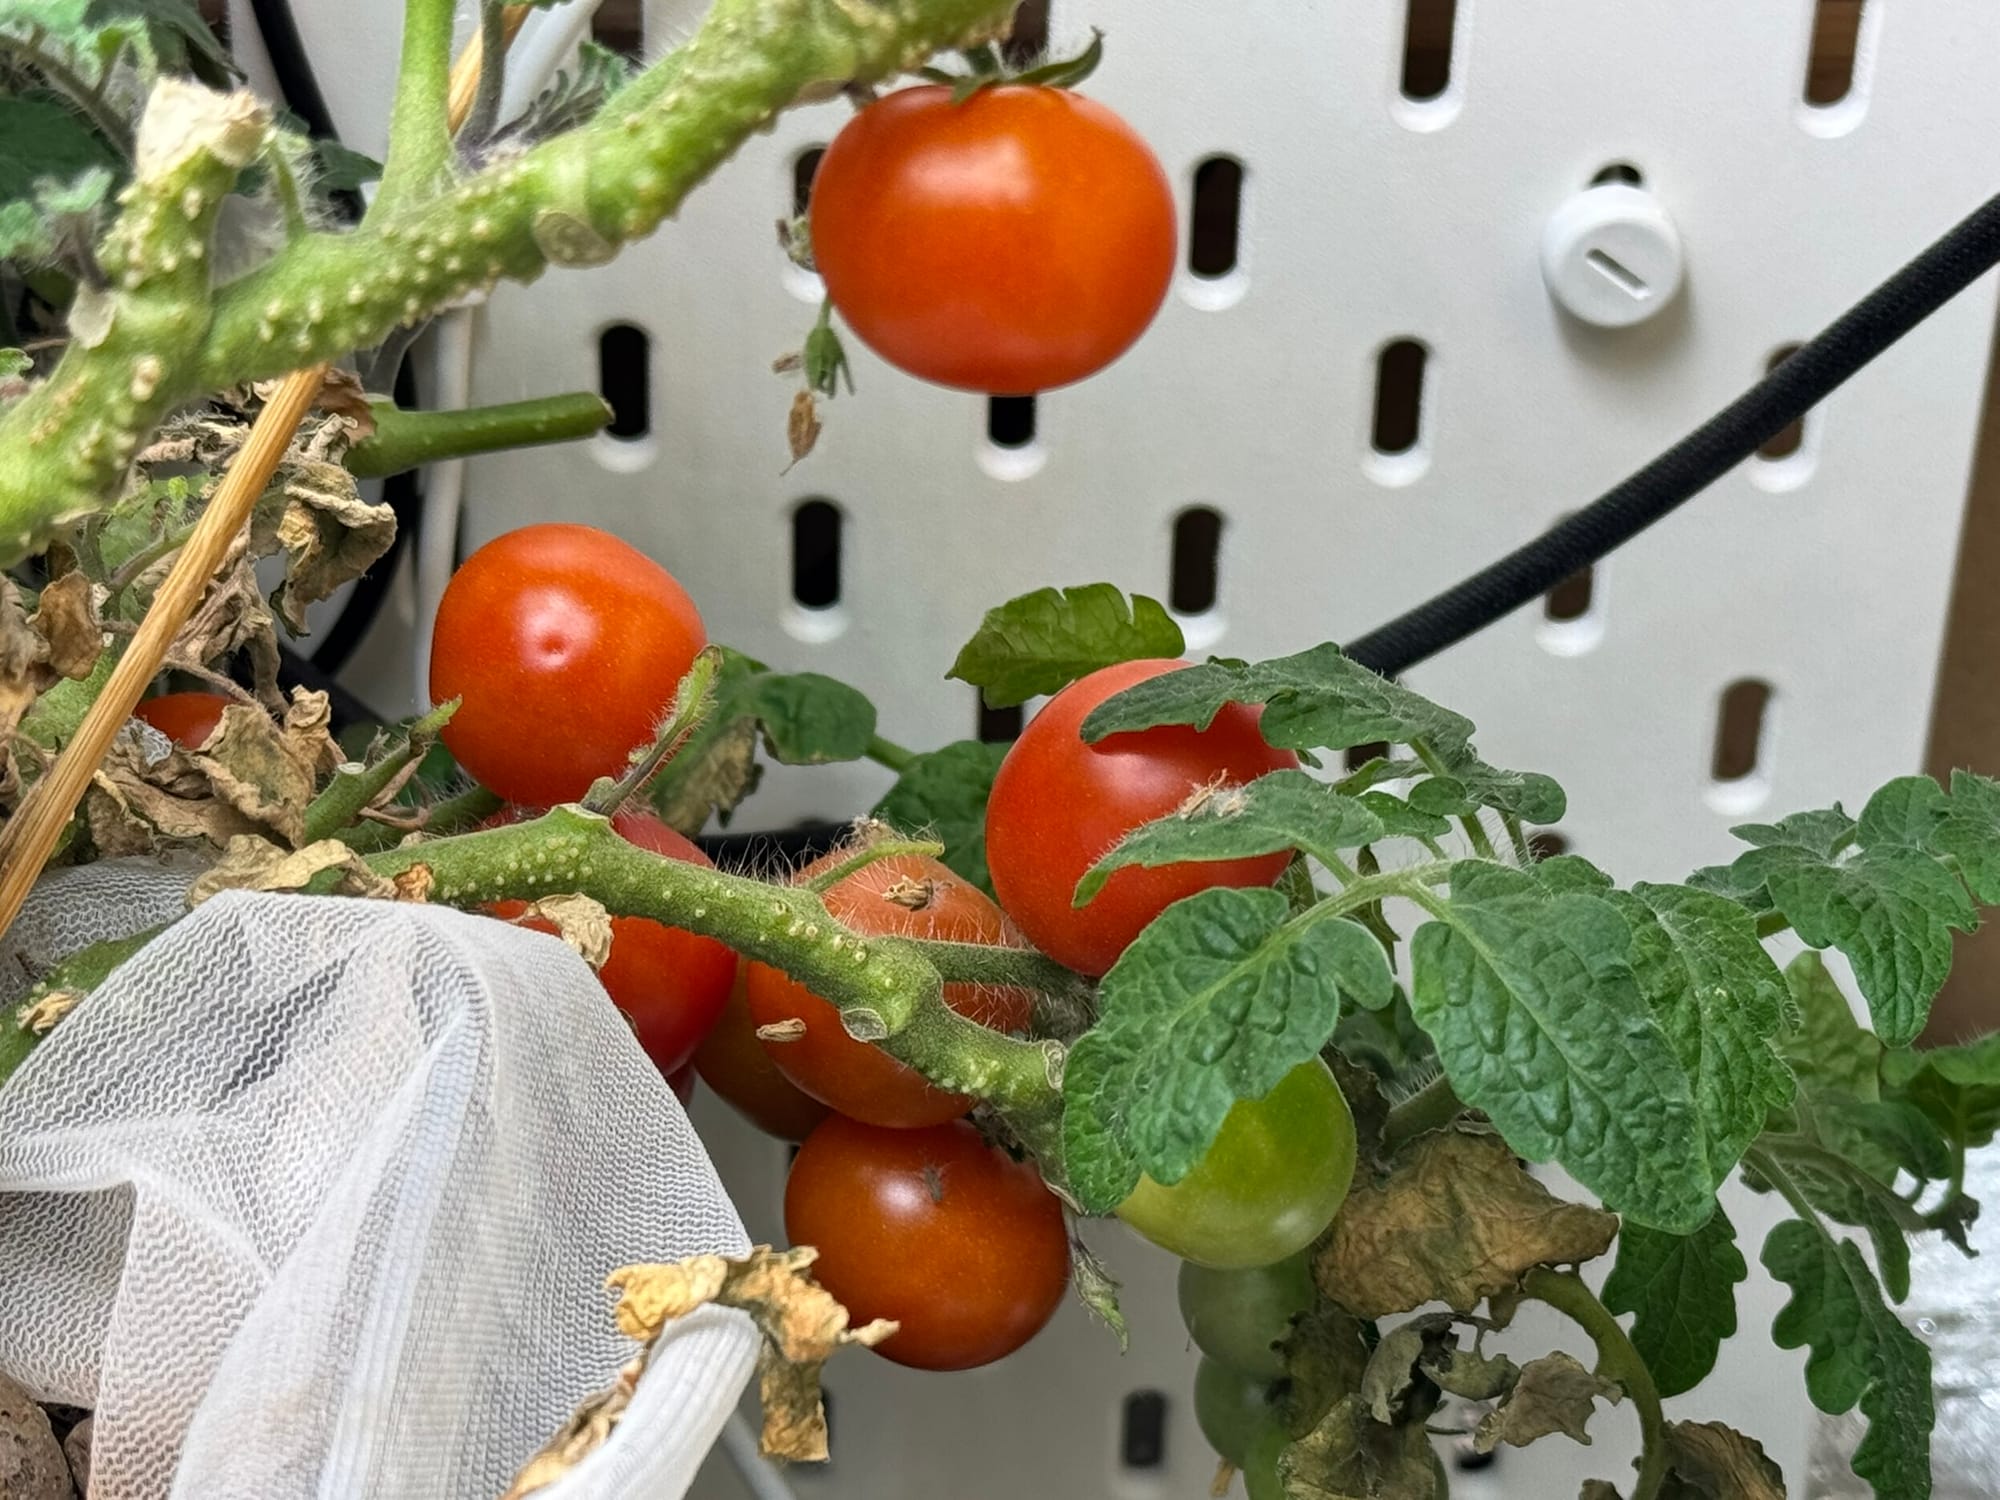
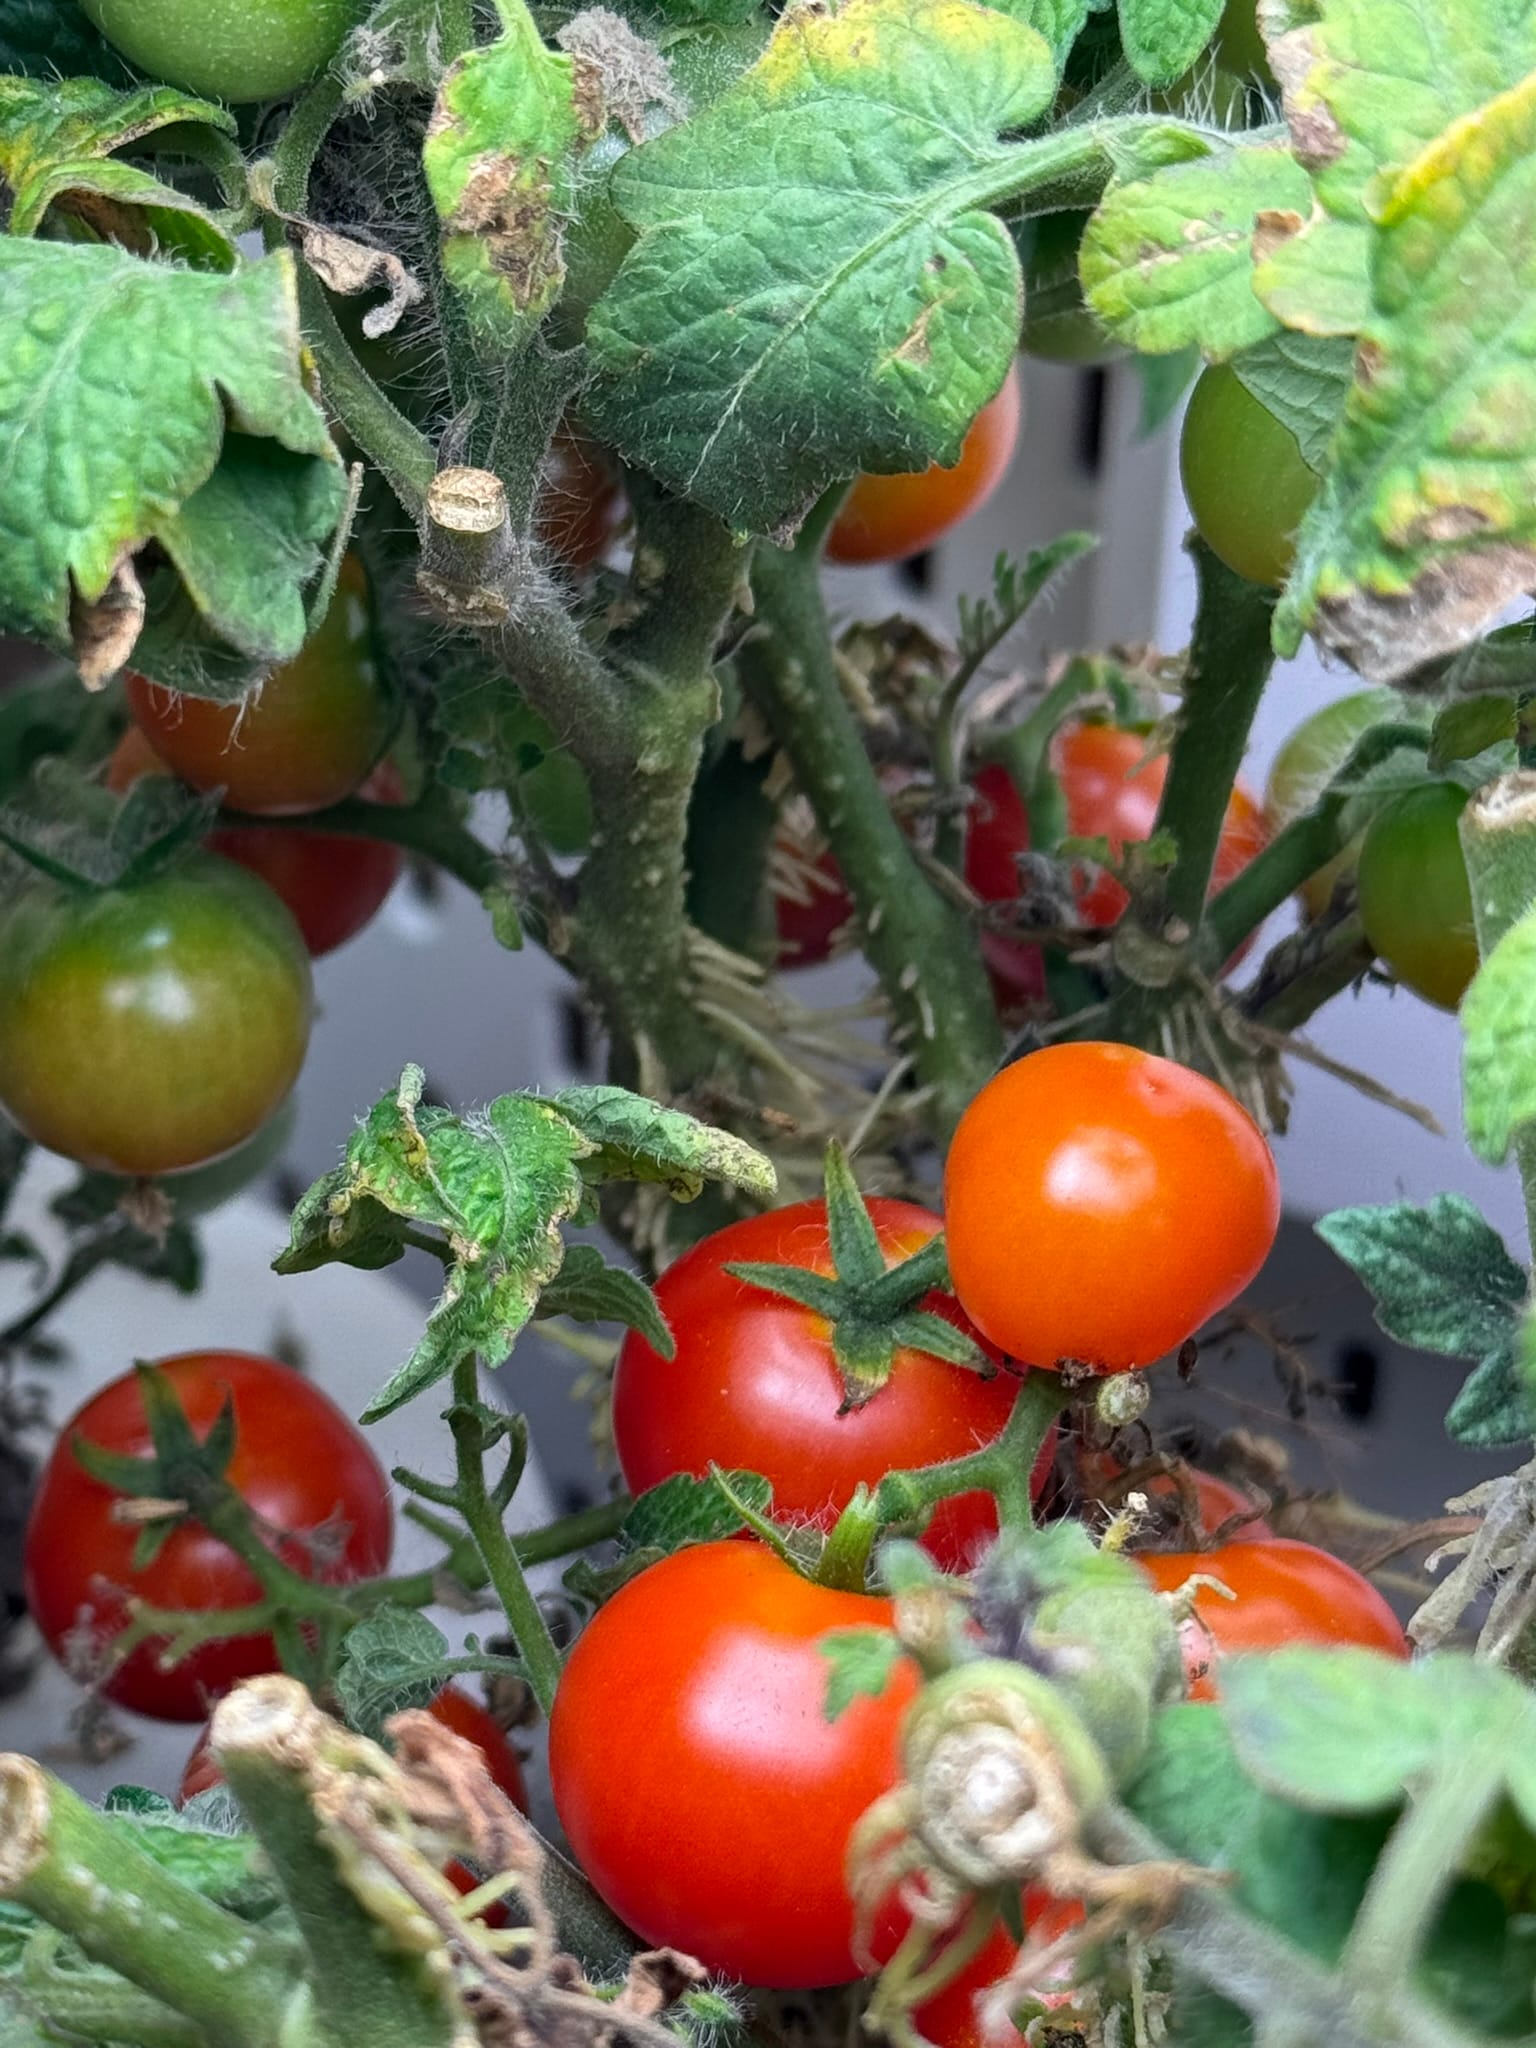
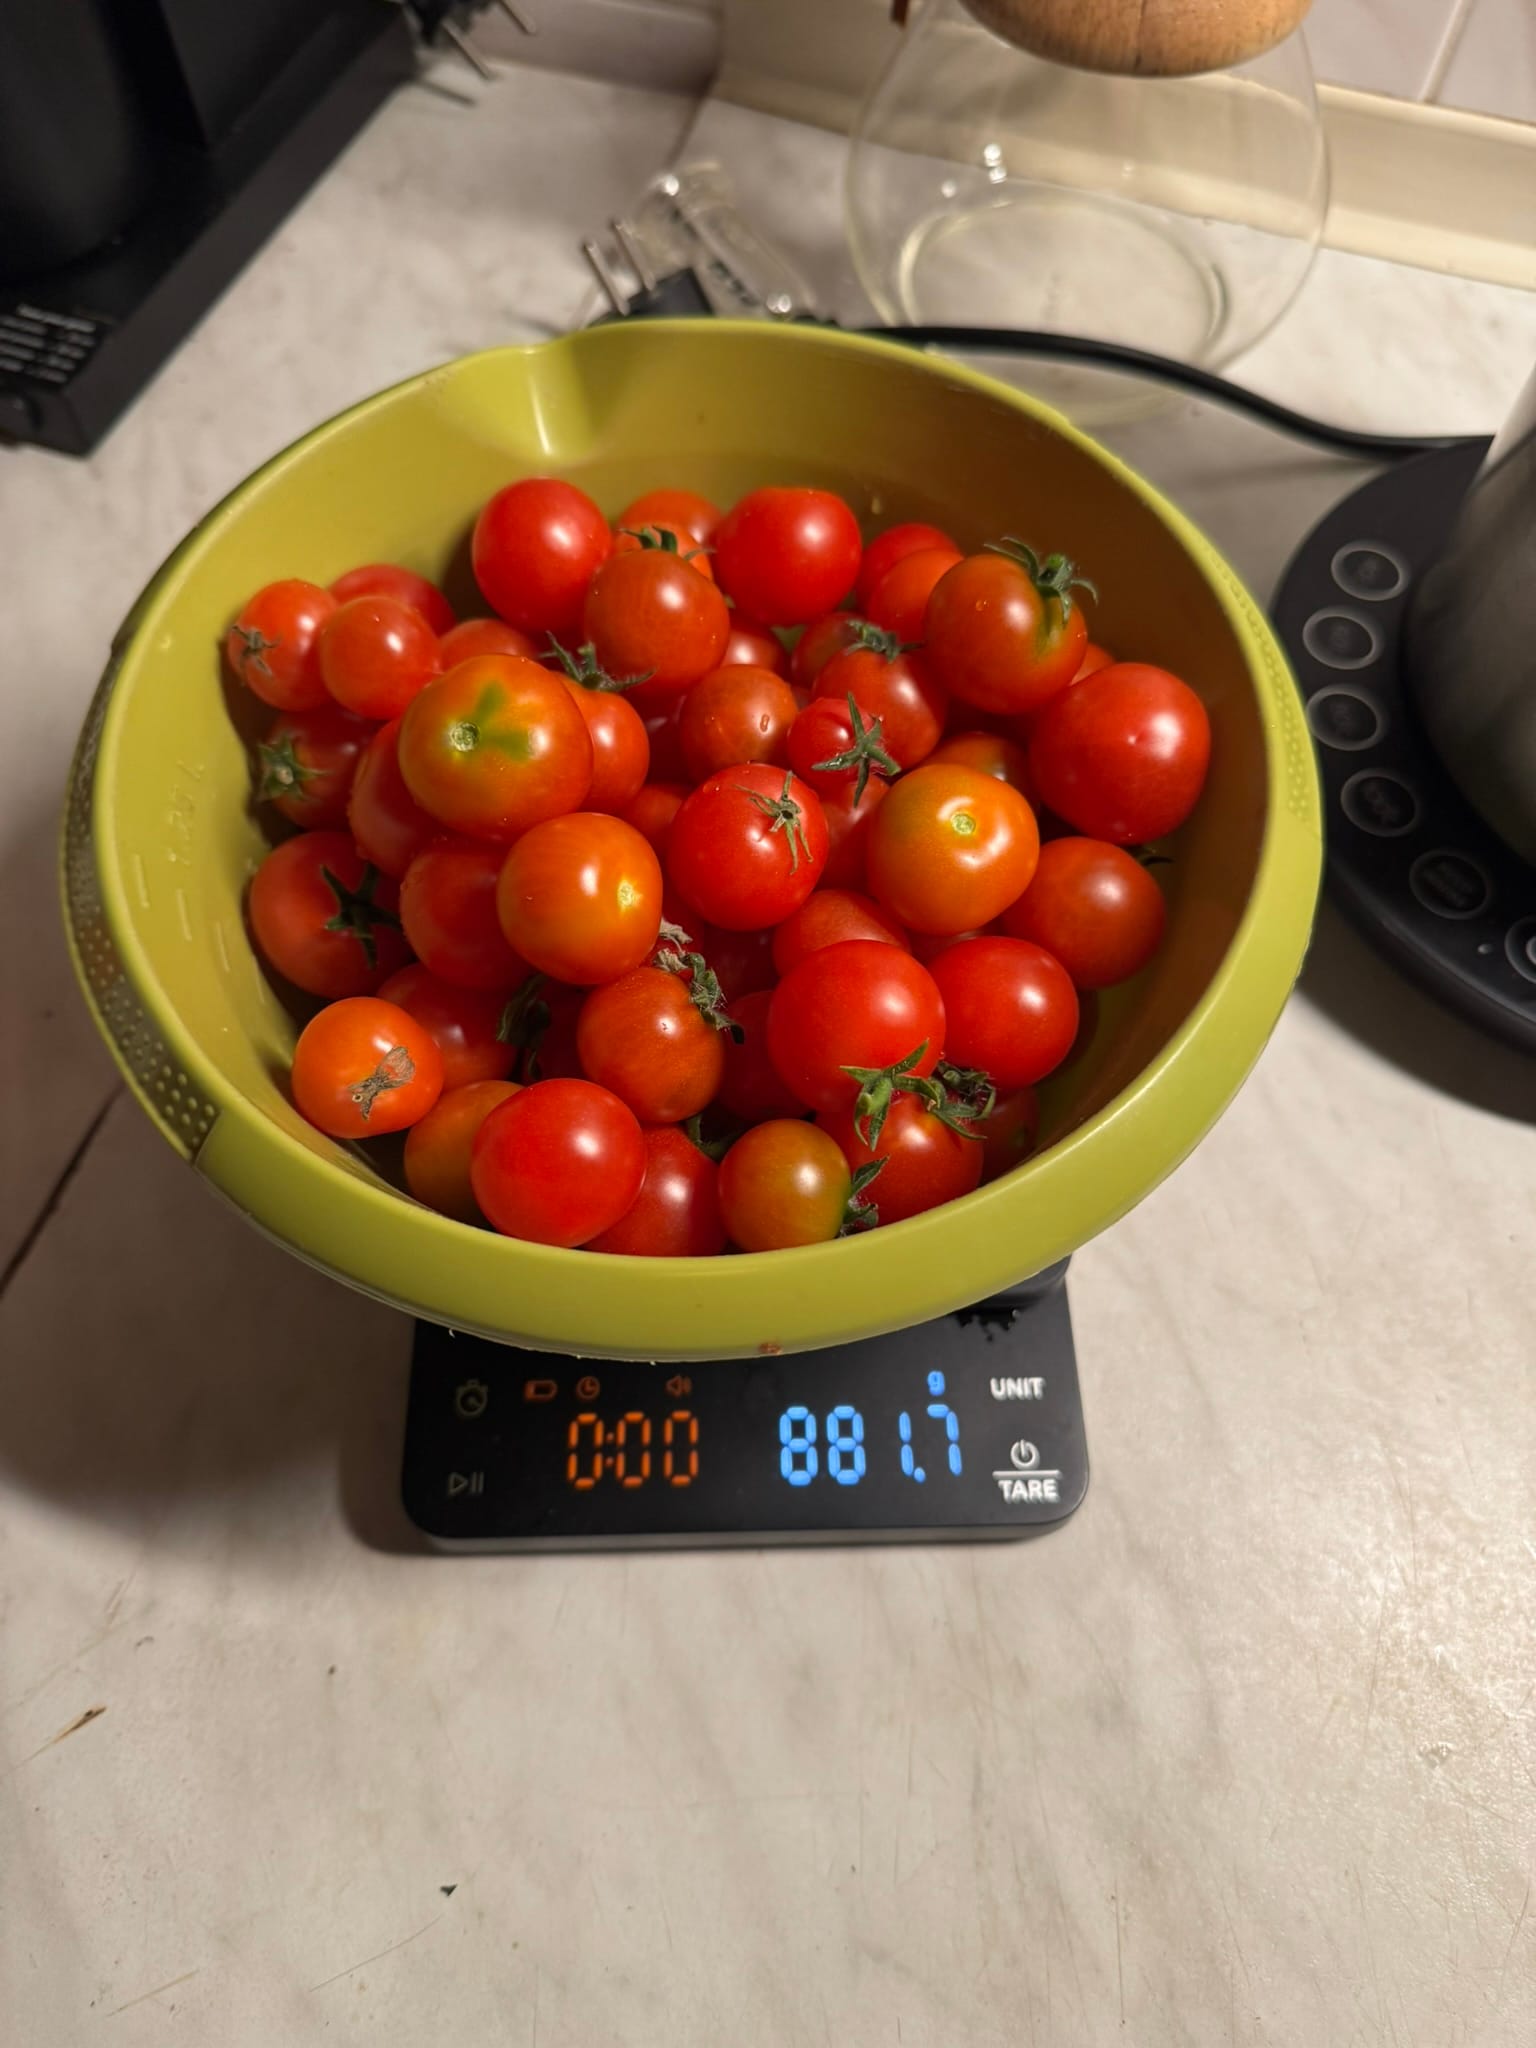
As I removed the plants, I finally had the chance to inspect the wild roots up close. I’m still amazed at how this turned out. I wonder if this trait will carry over to the next generation.
the succession experiment
In the meantime, I started propagating Bogus Fruchta, a new small tomato variety. Unfortunately, these plants hated high humidity. Unlike Micro-Tom, they quickly developed edema, a serious condition caused by poor airflow and excessive moisture. The Noctua REDUX fan was too weak, and I suspect its placement was also wrong.
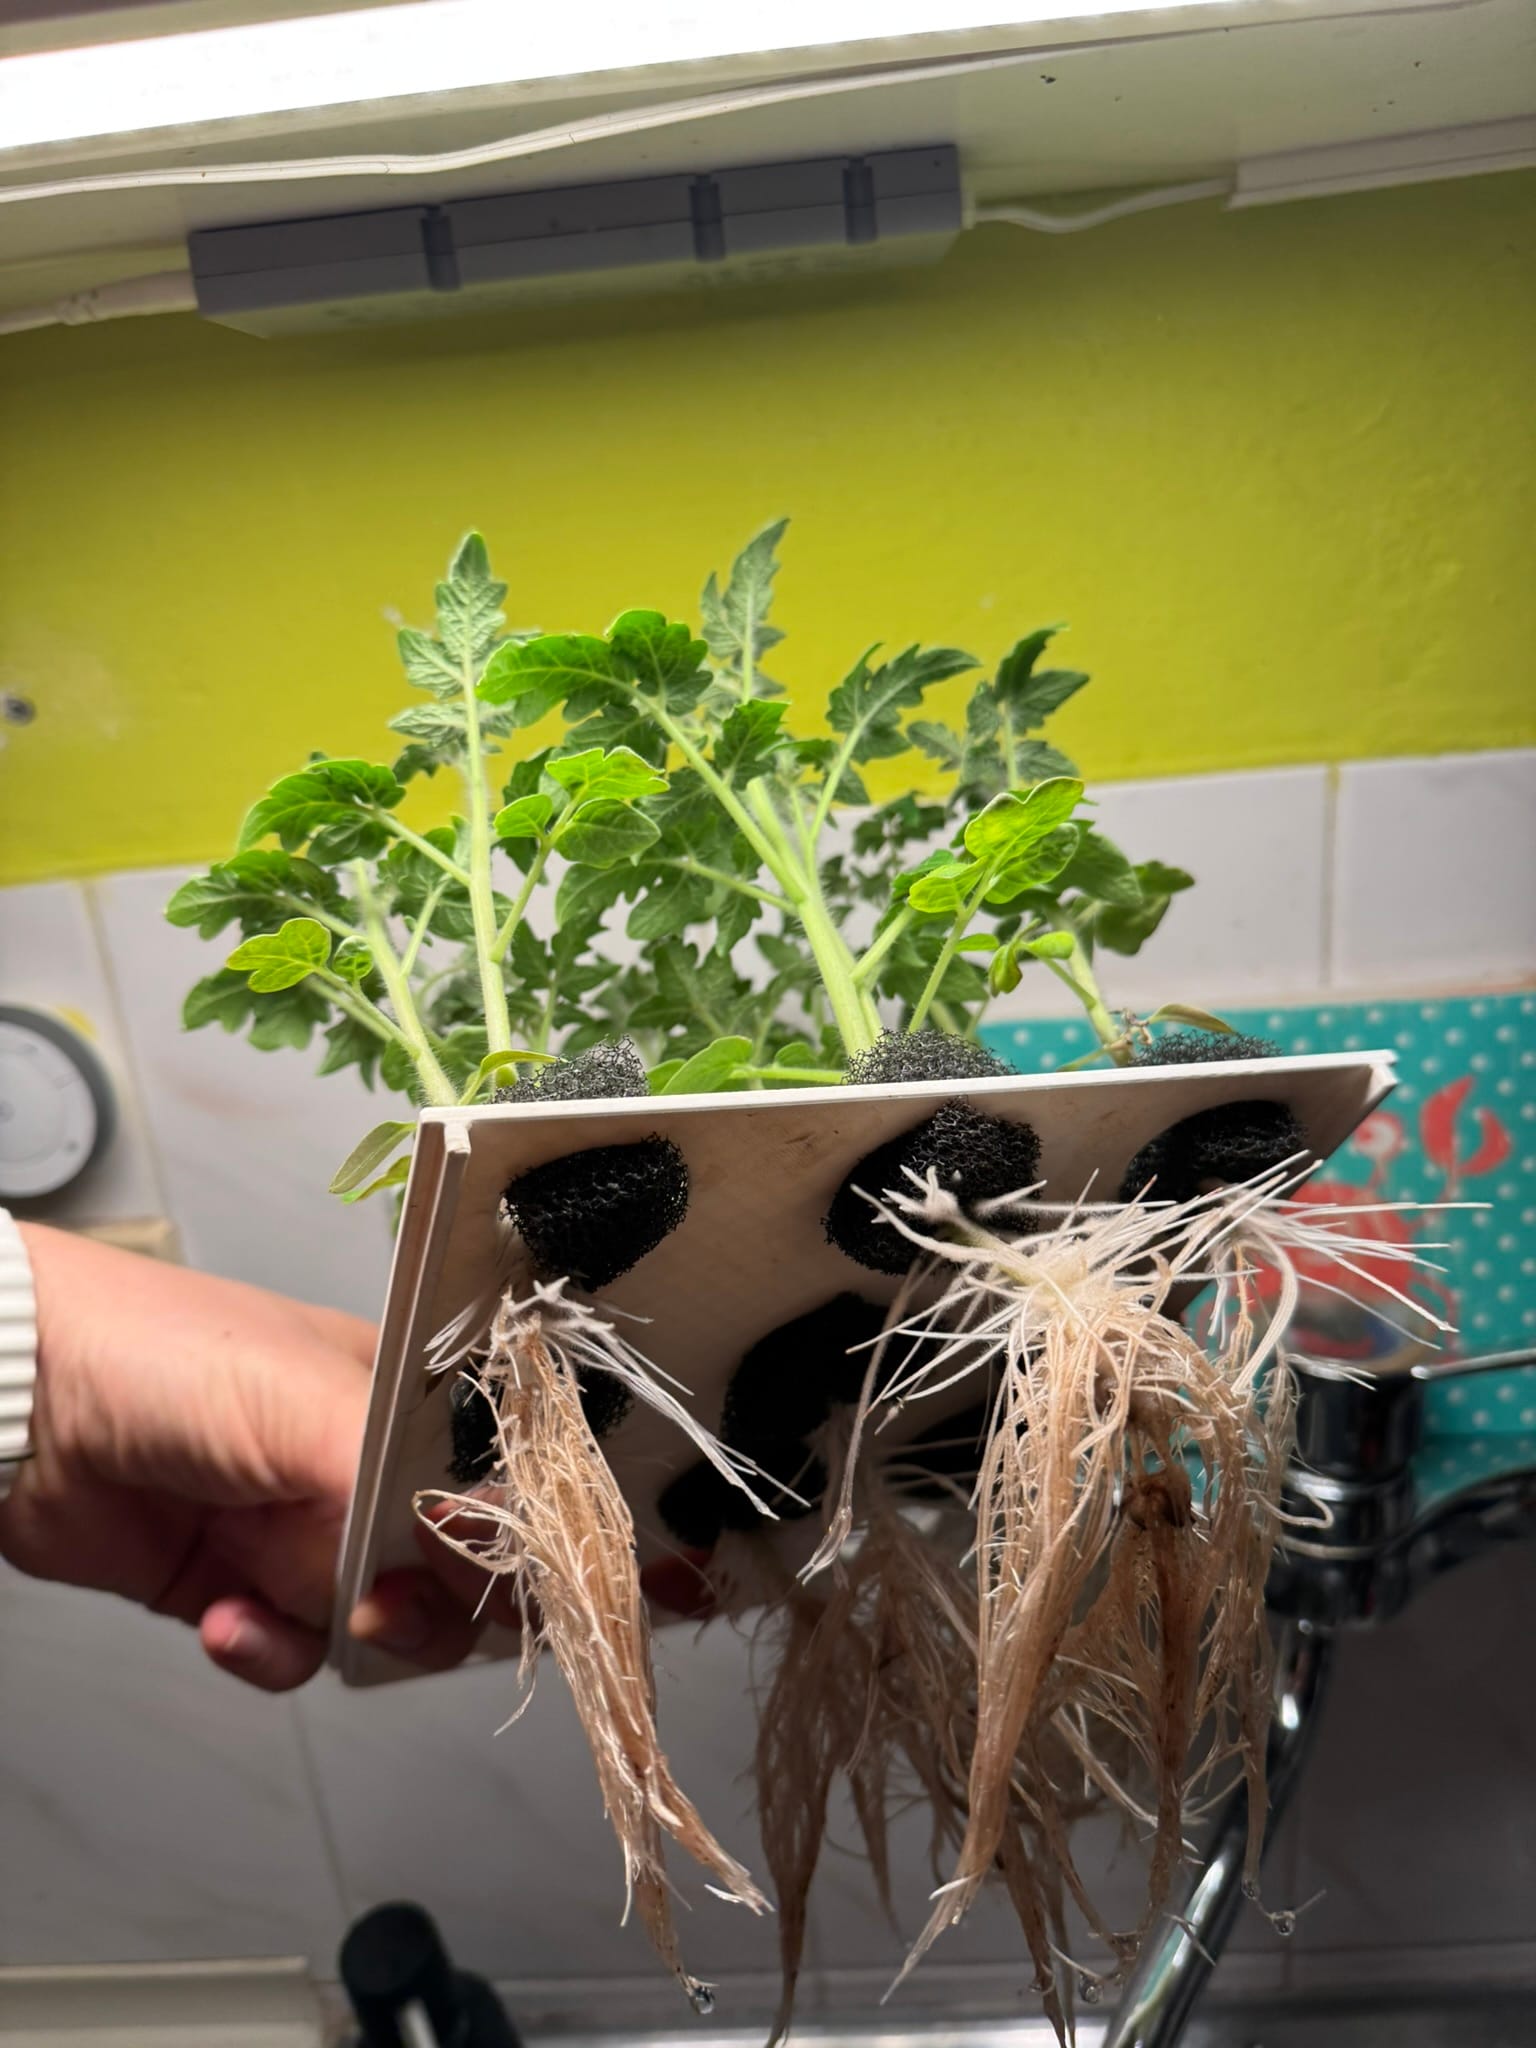
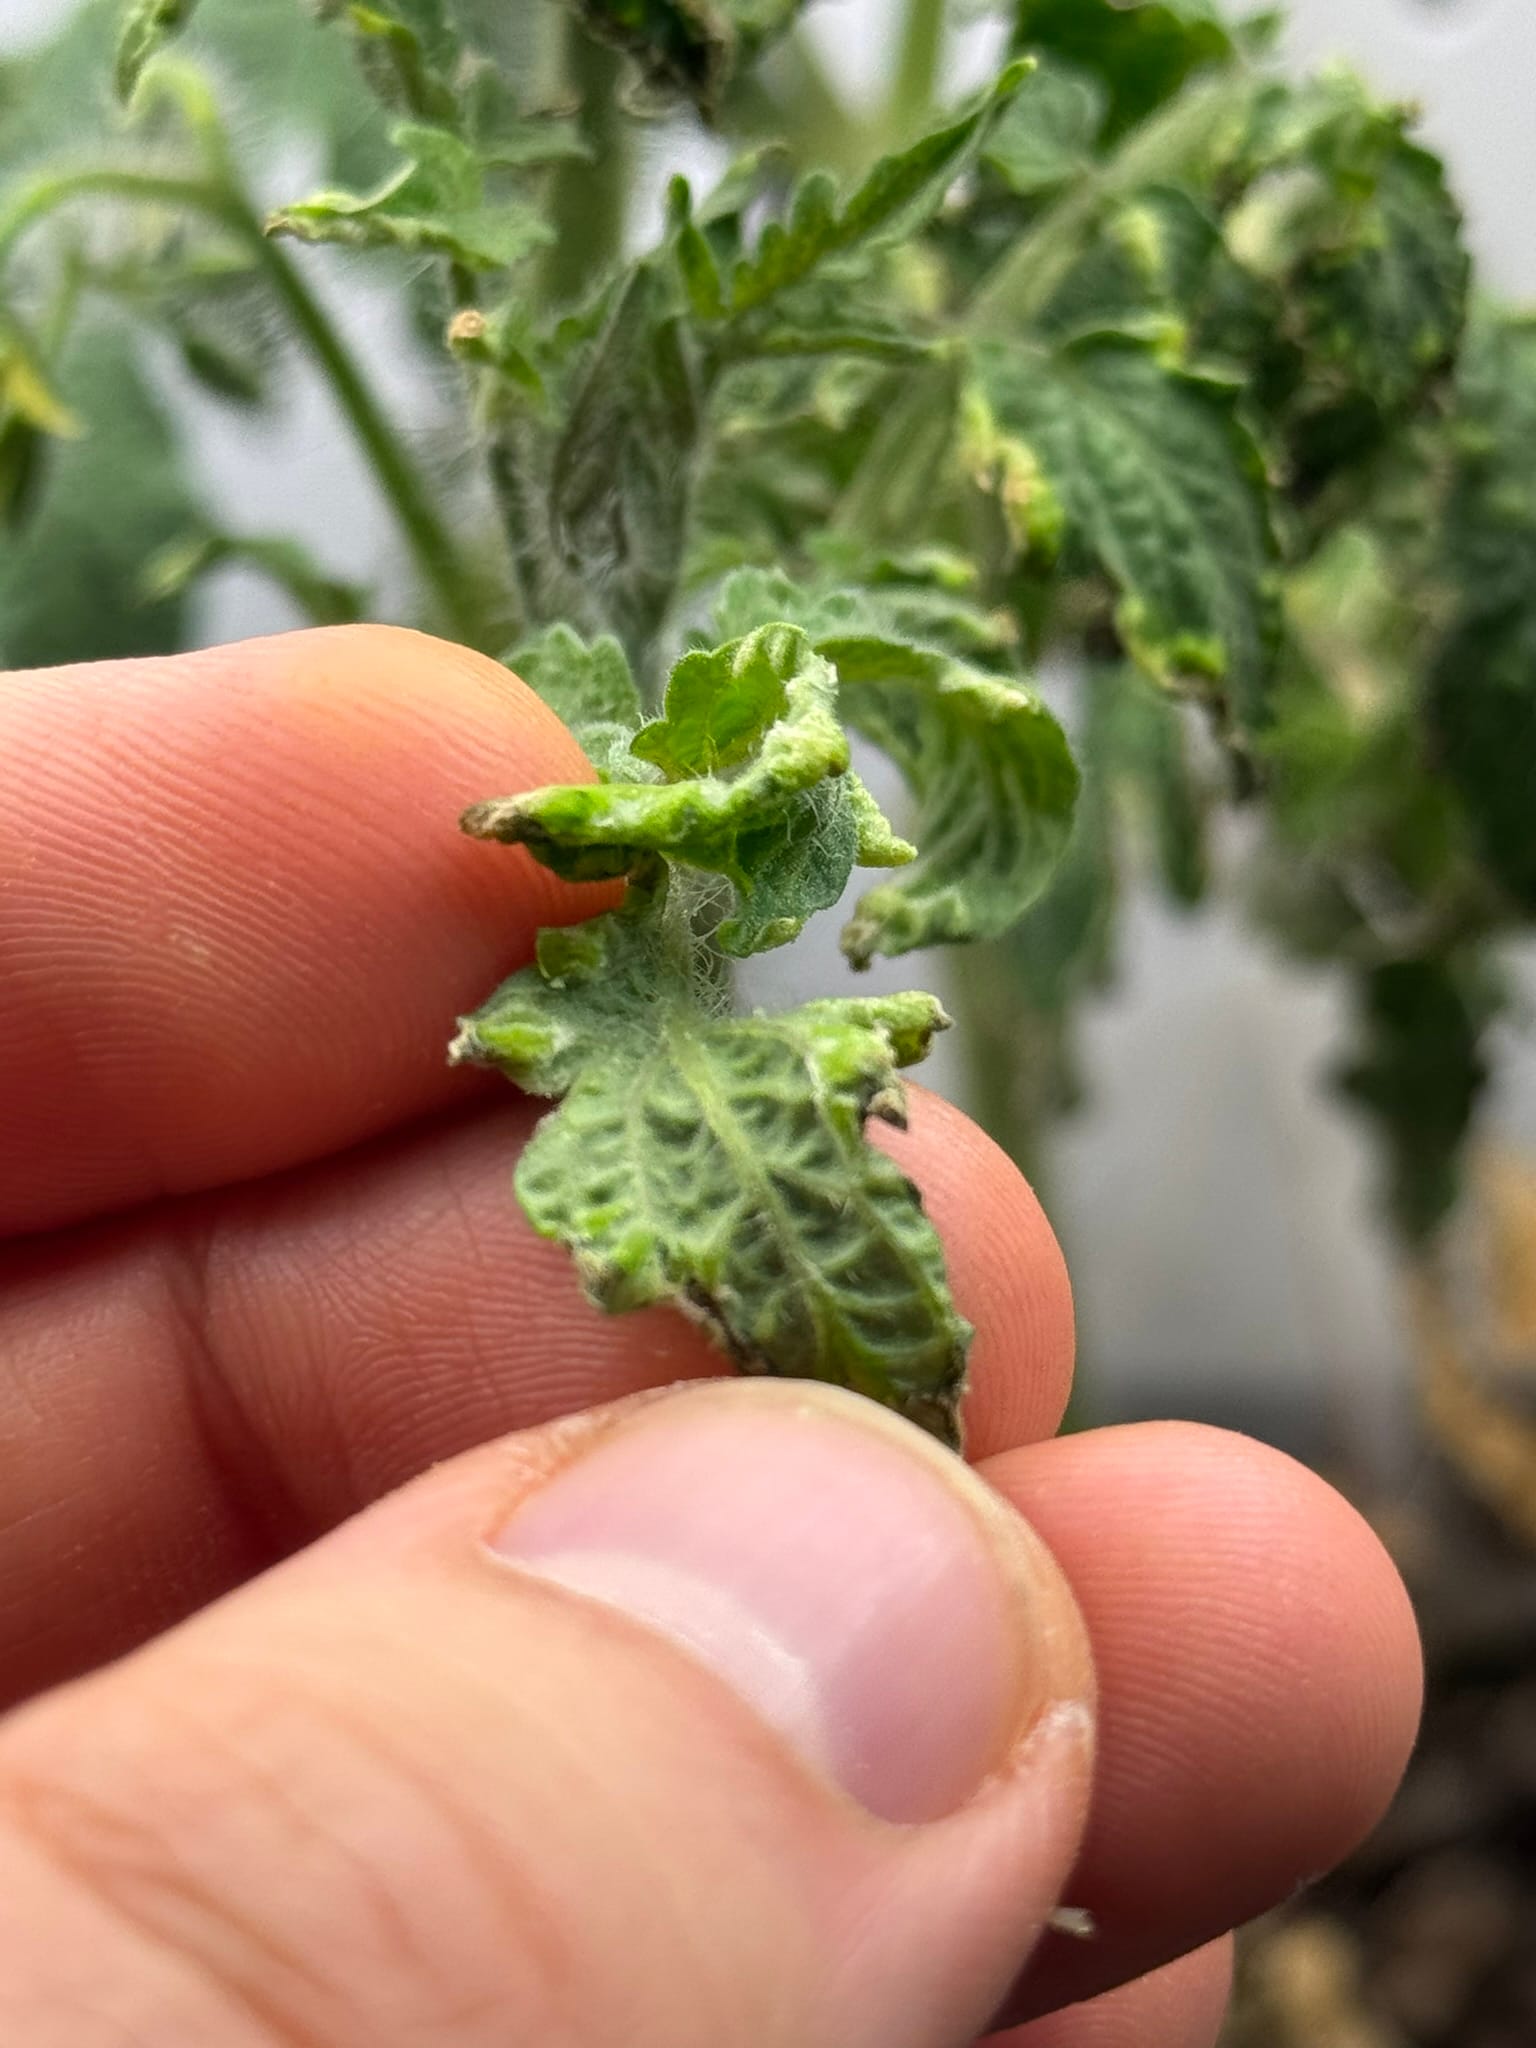
This failure intrigues me, and I’ll explore it further next time, as failure is unacceptable.
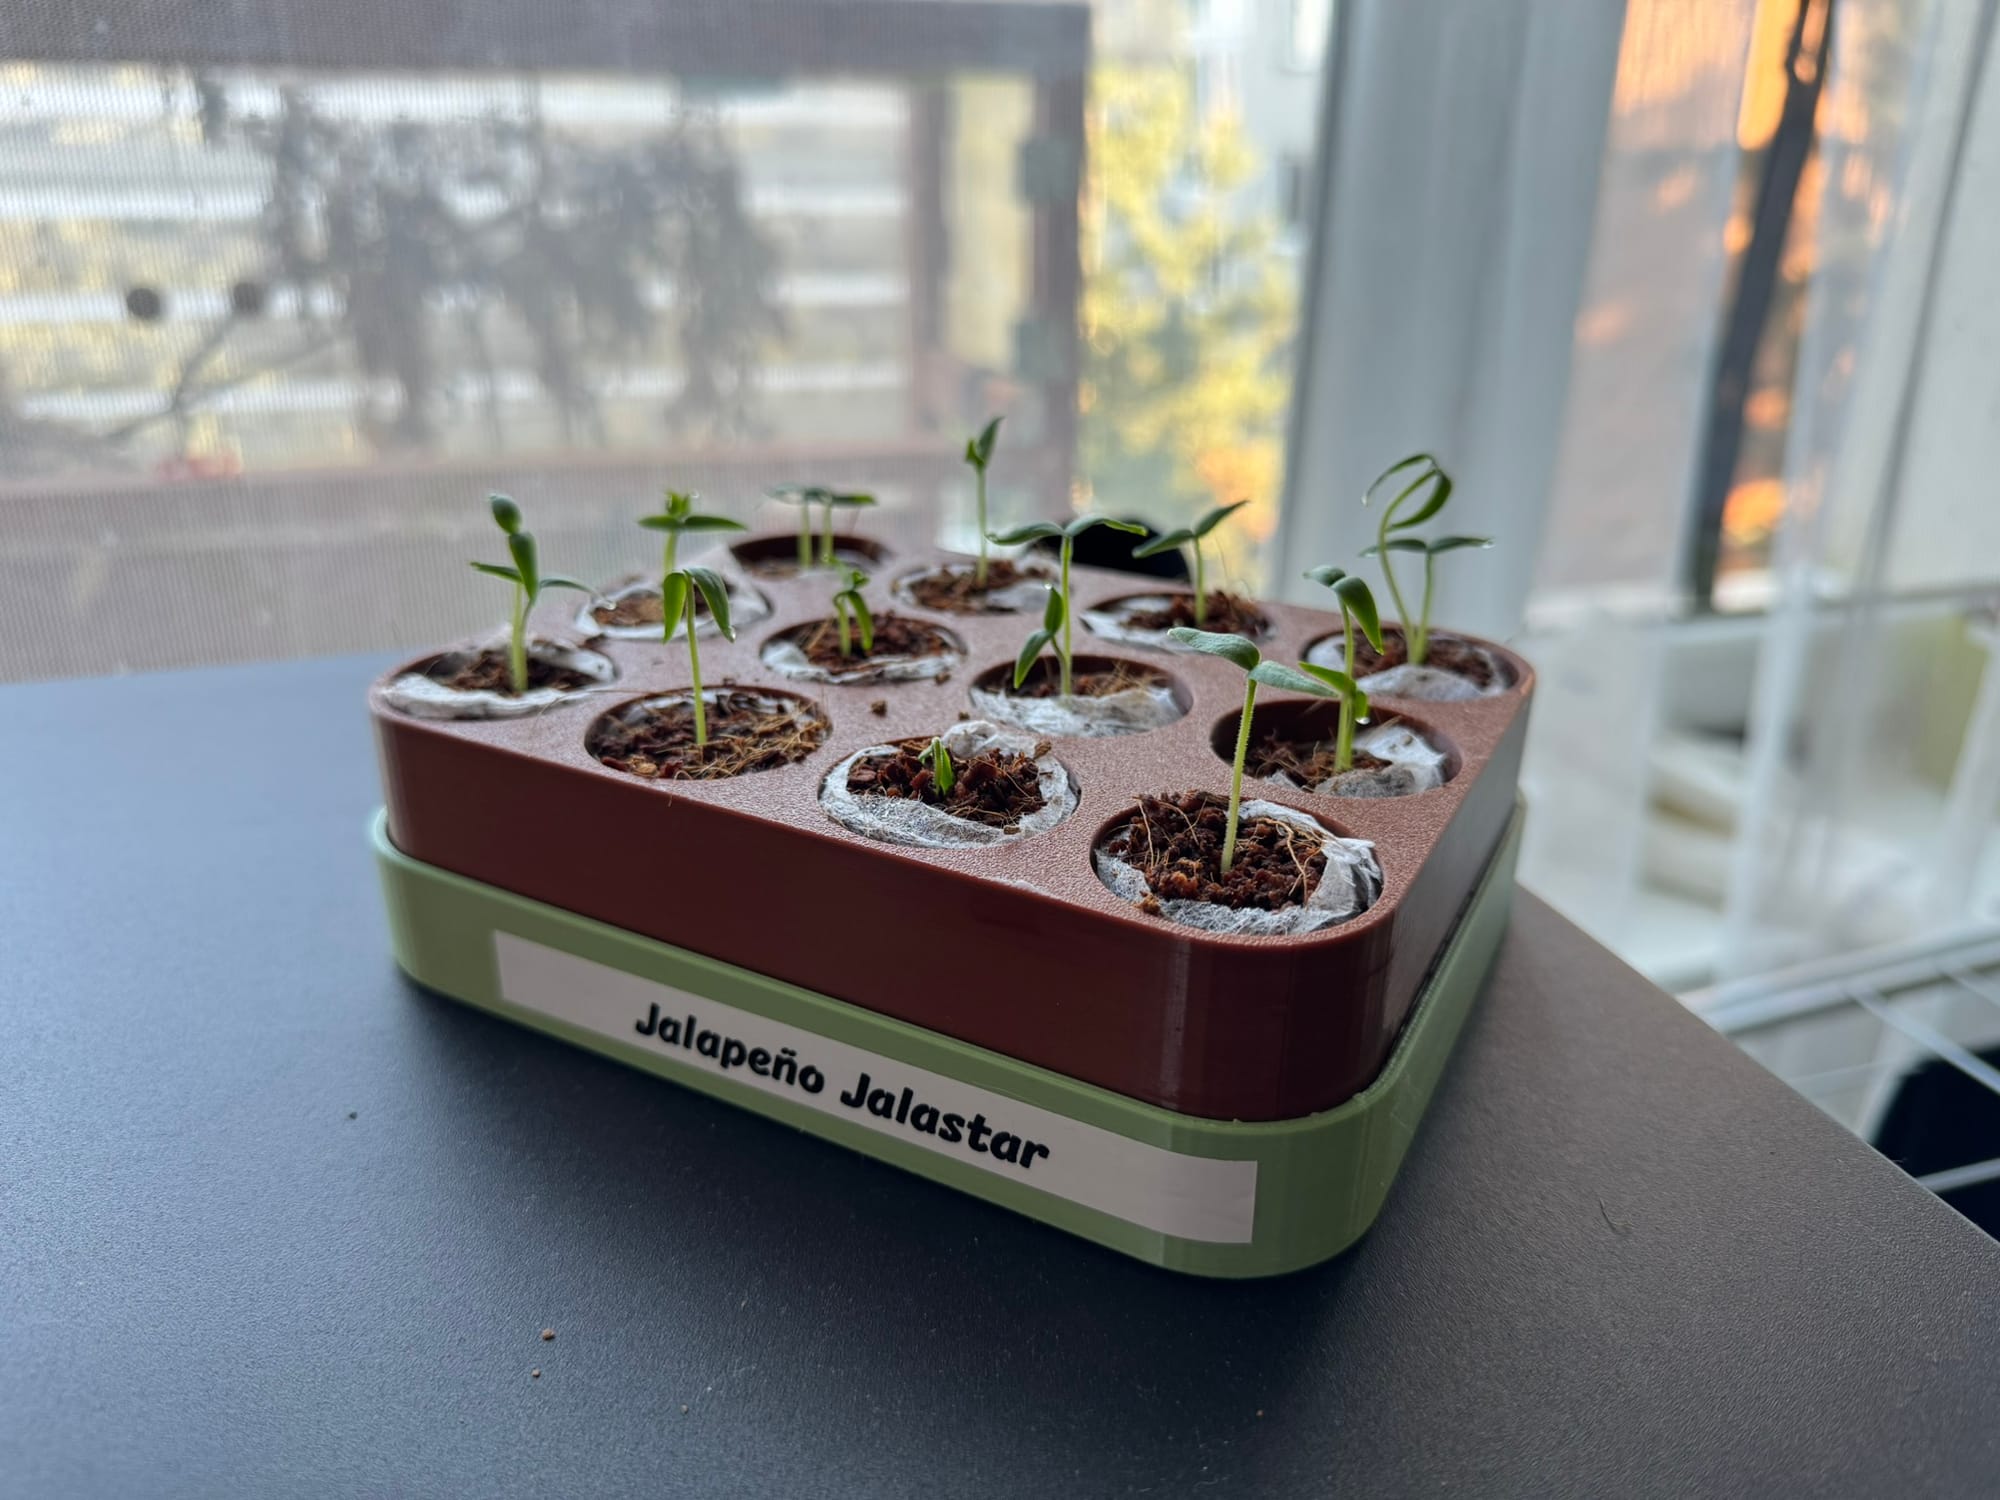
But that’s a story for another winter. For now? It’s time to turn this into a full-fledged propagation station for the primary season. The peppers are already peeking out! 🌱🌶️


Member discussion