Poor man's irrigation #1

Over the past few years, I’ve experimented with and successfully used various irrigation techniques, such as drip irrigation. So why don’t I use drippers anymore?
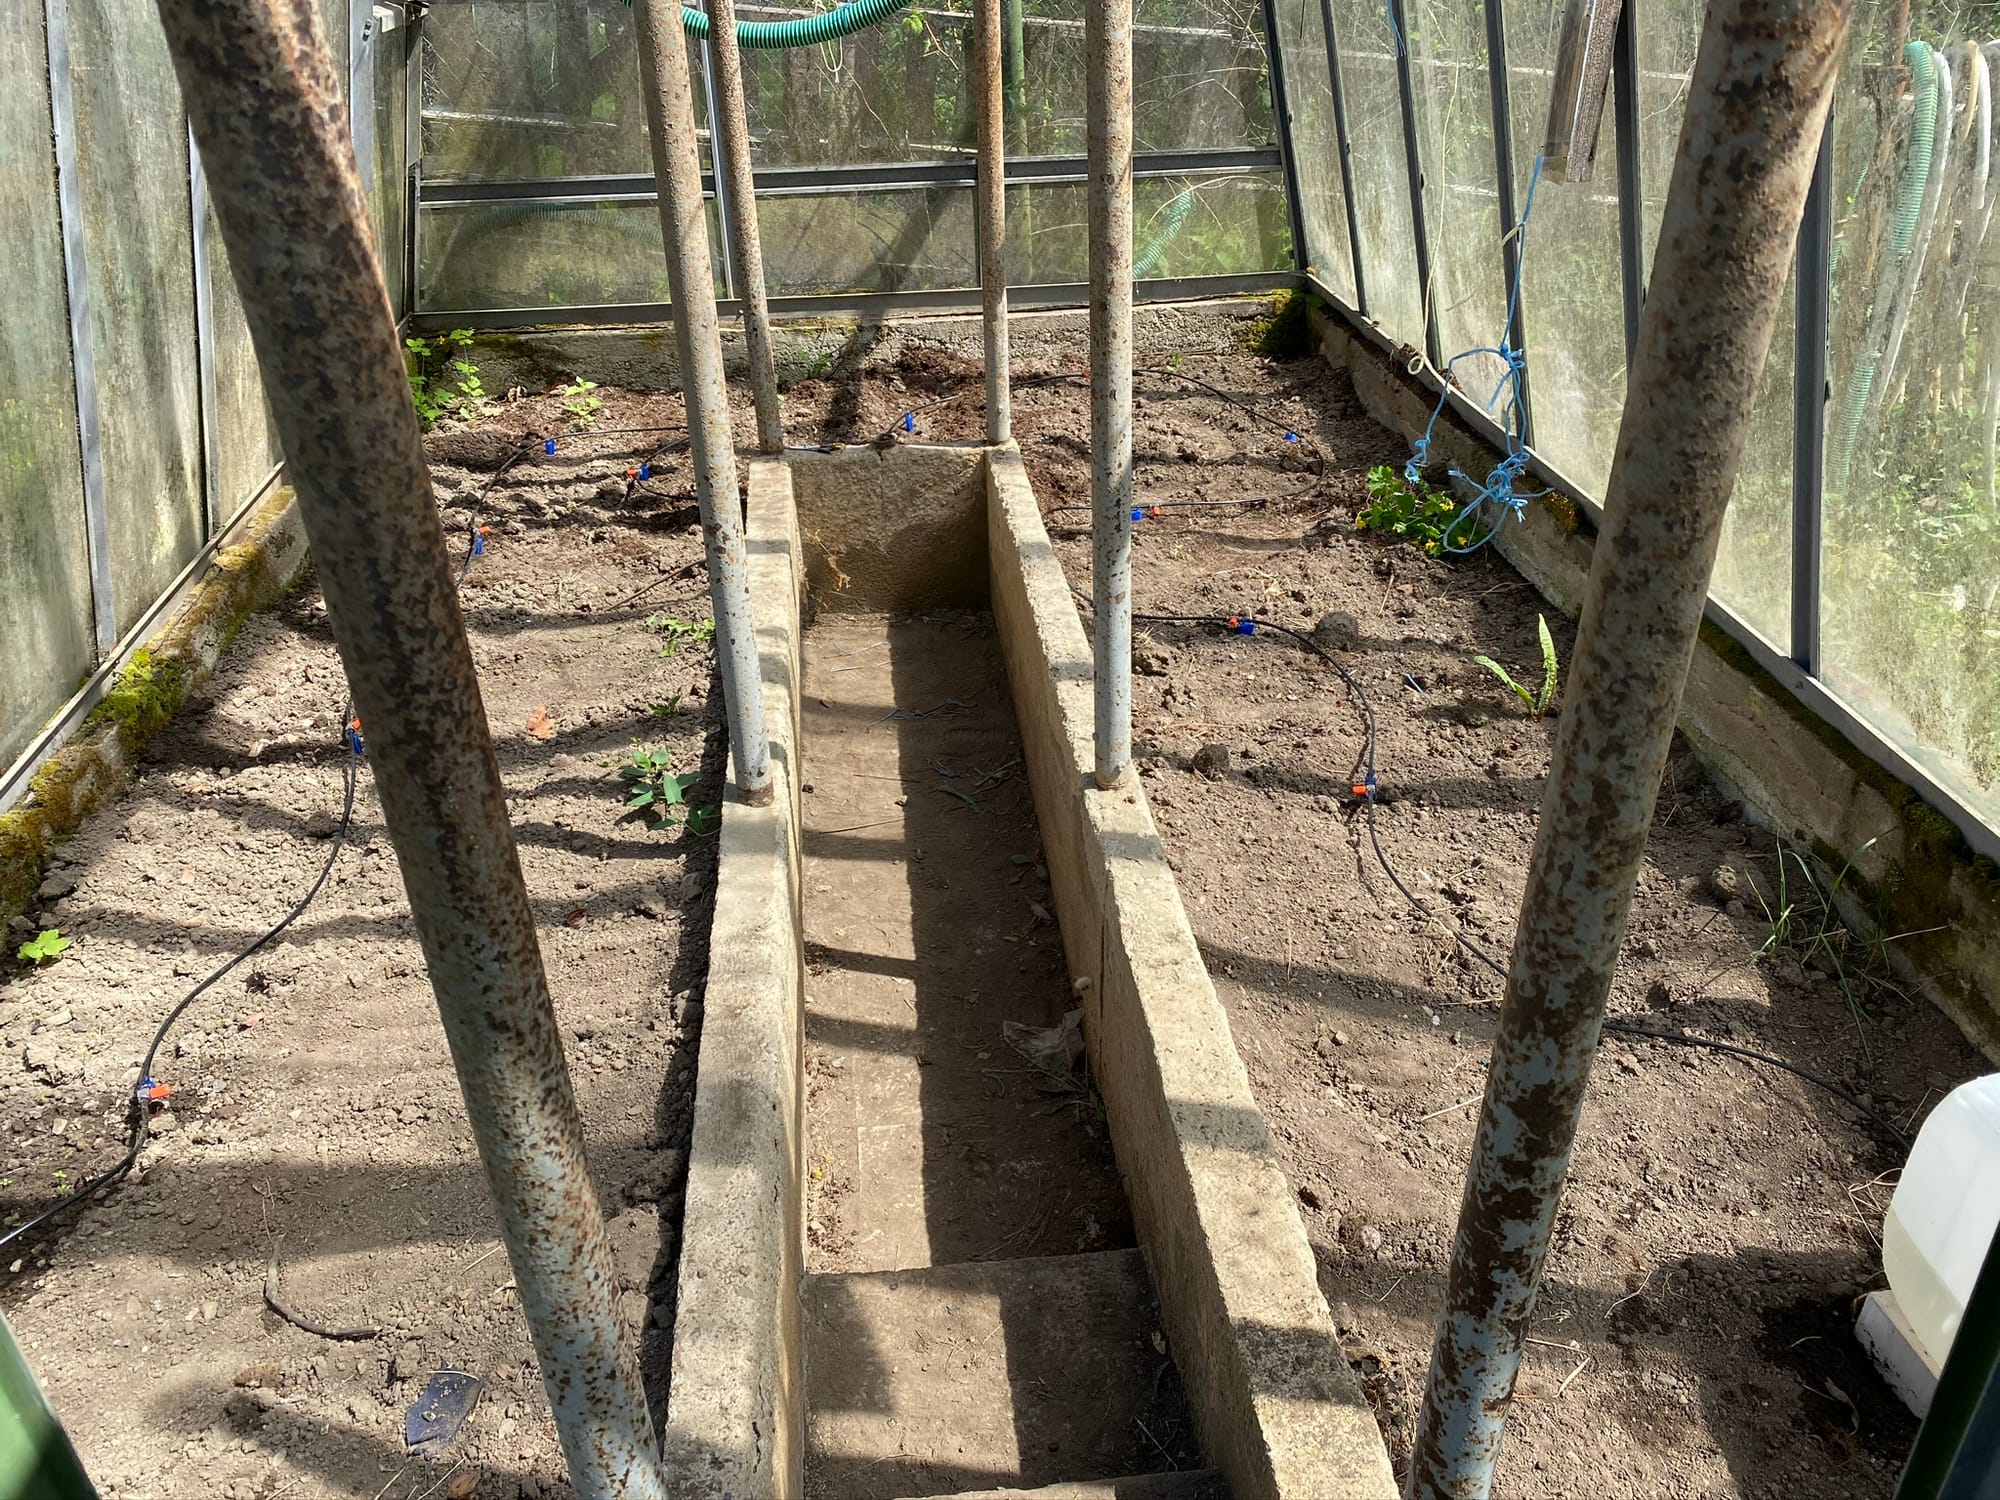
As you might already know, I have a garden with a greenhouse. Regular irrigation of the greenhouse turned out to be crucial, not only for watering the plants inside but also for maintaining elevated humidity. Dry air increases water evaporation from plants and puts them under unnecessary stress. Some plants, like peppers, even need humid air to produce fruit. However, overwatering or excessive moisture encourages diseases and fungi and does not encourage the plant to spread its roots. It’s a fine balance that you have to maintain, but nature is usually generous enough to let you know when you’re messing something up. Some plants, like peppers and tomatoes, even benefit from occasional stress, quickly adapting to new environments. On the other hand, some plants, like cucumbers, will cause absolute mayhem and die at the slightest neglect.
the Situation
For most of my life, I’ve been watering my plants from the top using a watering can and only experimenting with alternatives in the past couple of years, mastering some and abandoning others. I won’t and can’t rate them objectively, but I will share my experience in my specific environment. My garden does have electricity, but its reliability is dubious, and the price is rather excessive. When it comes to automation, gravity is my best friend.
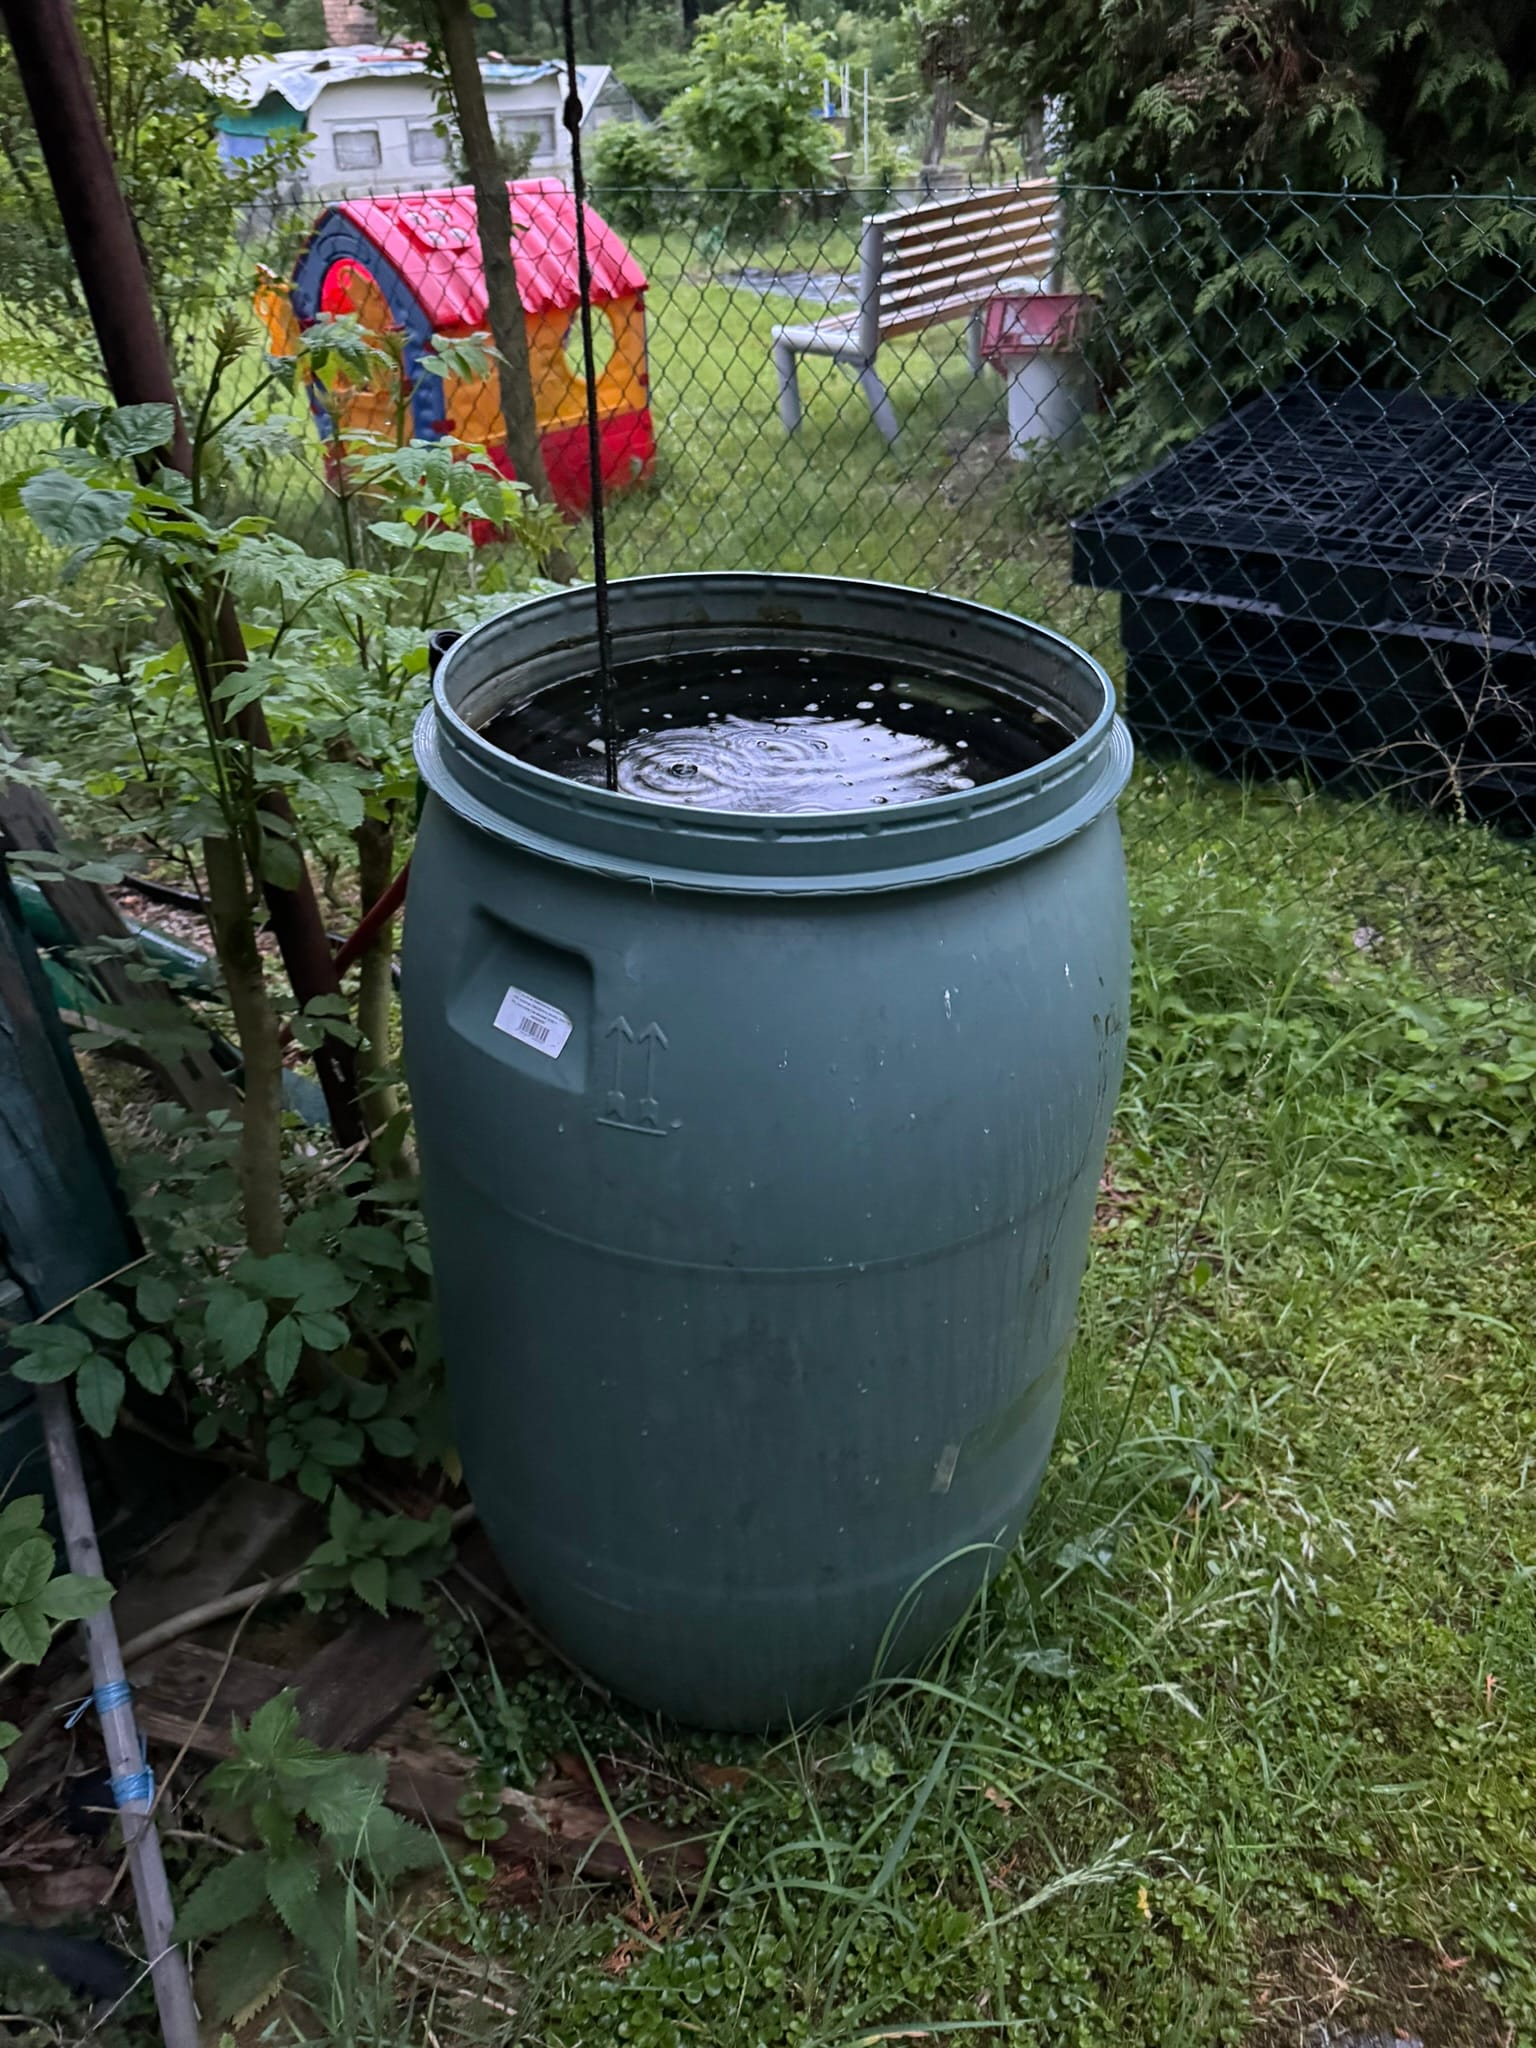
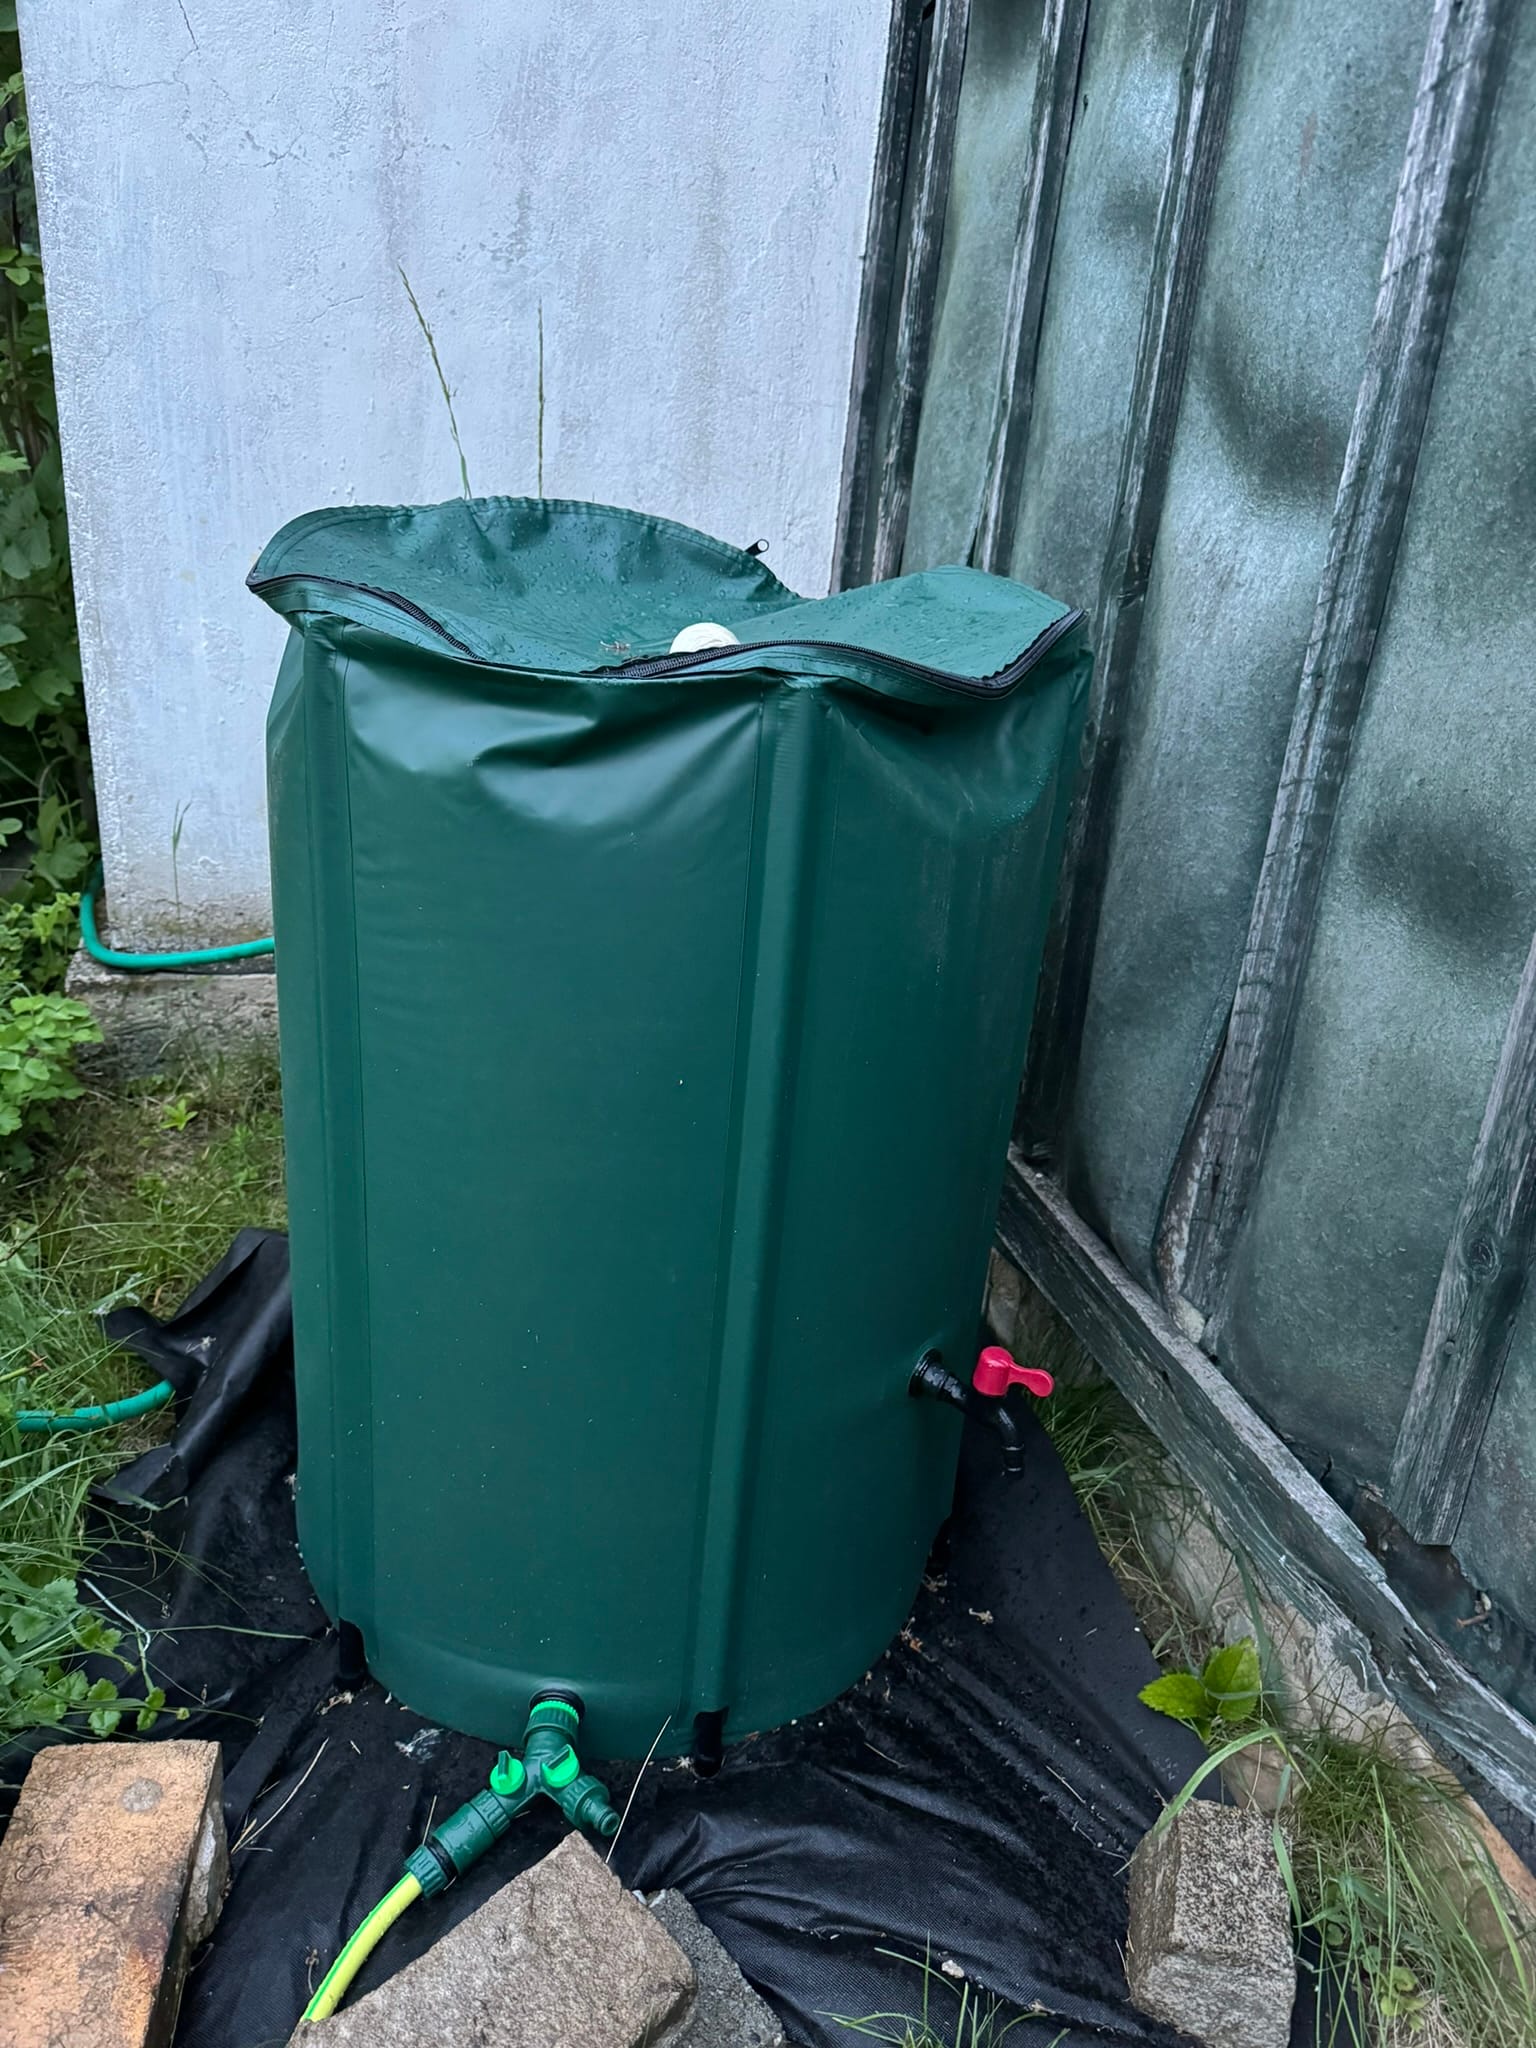
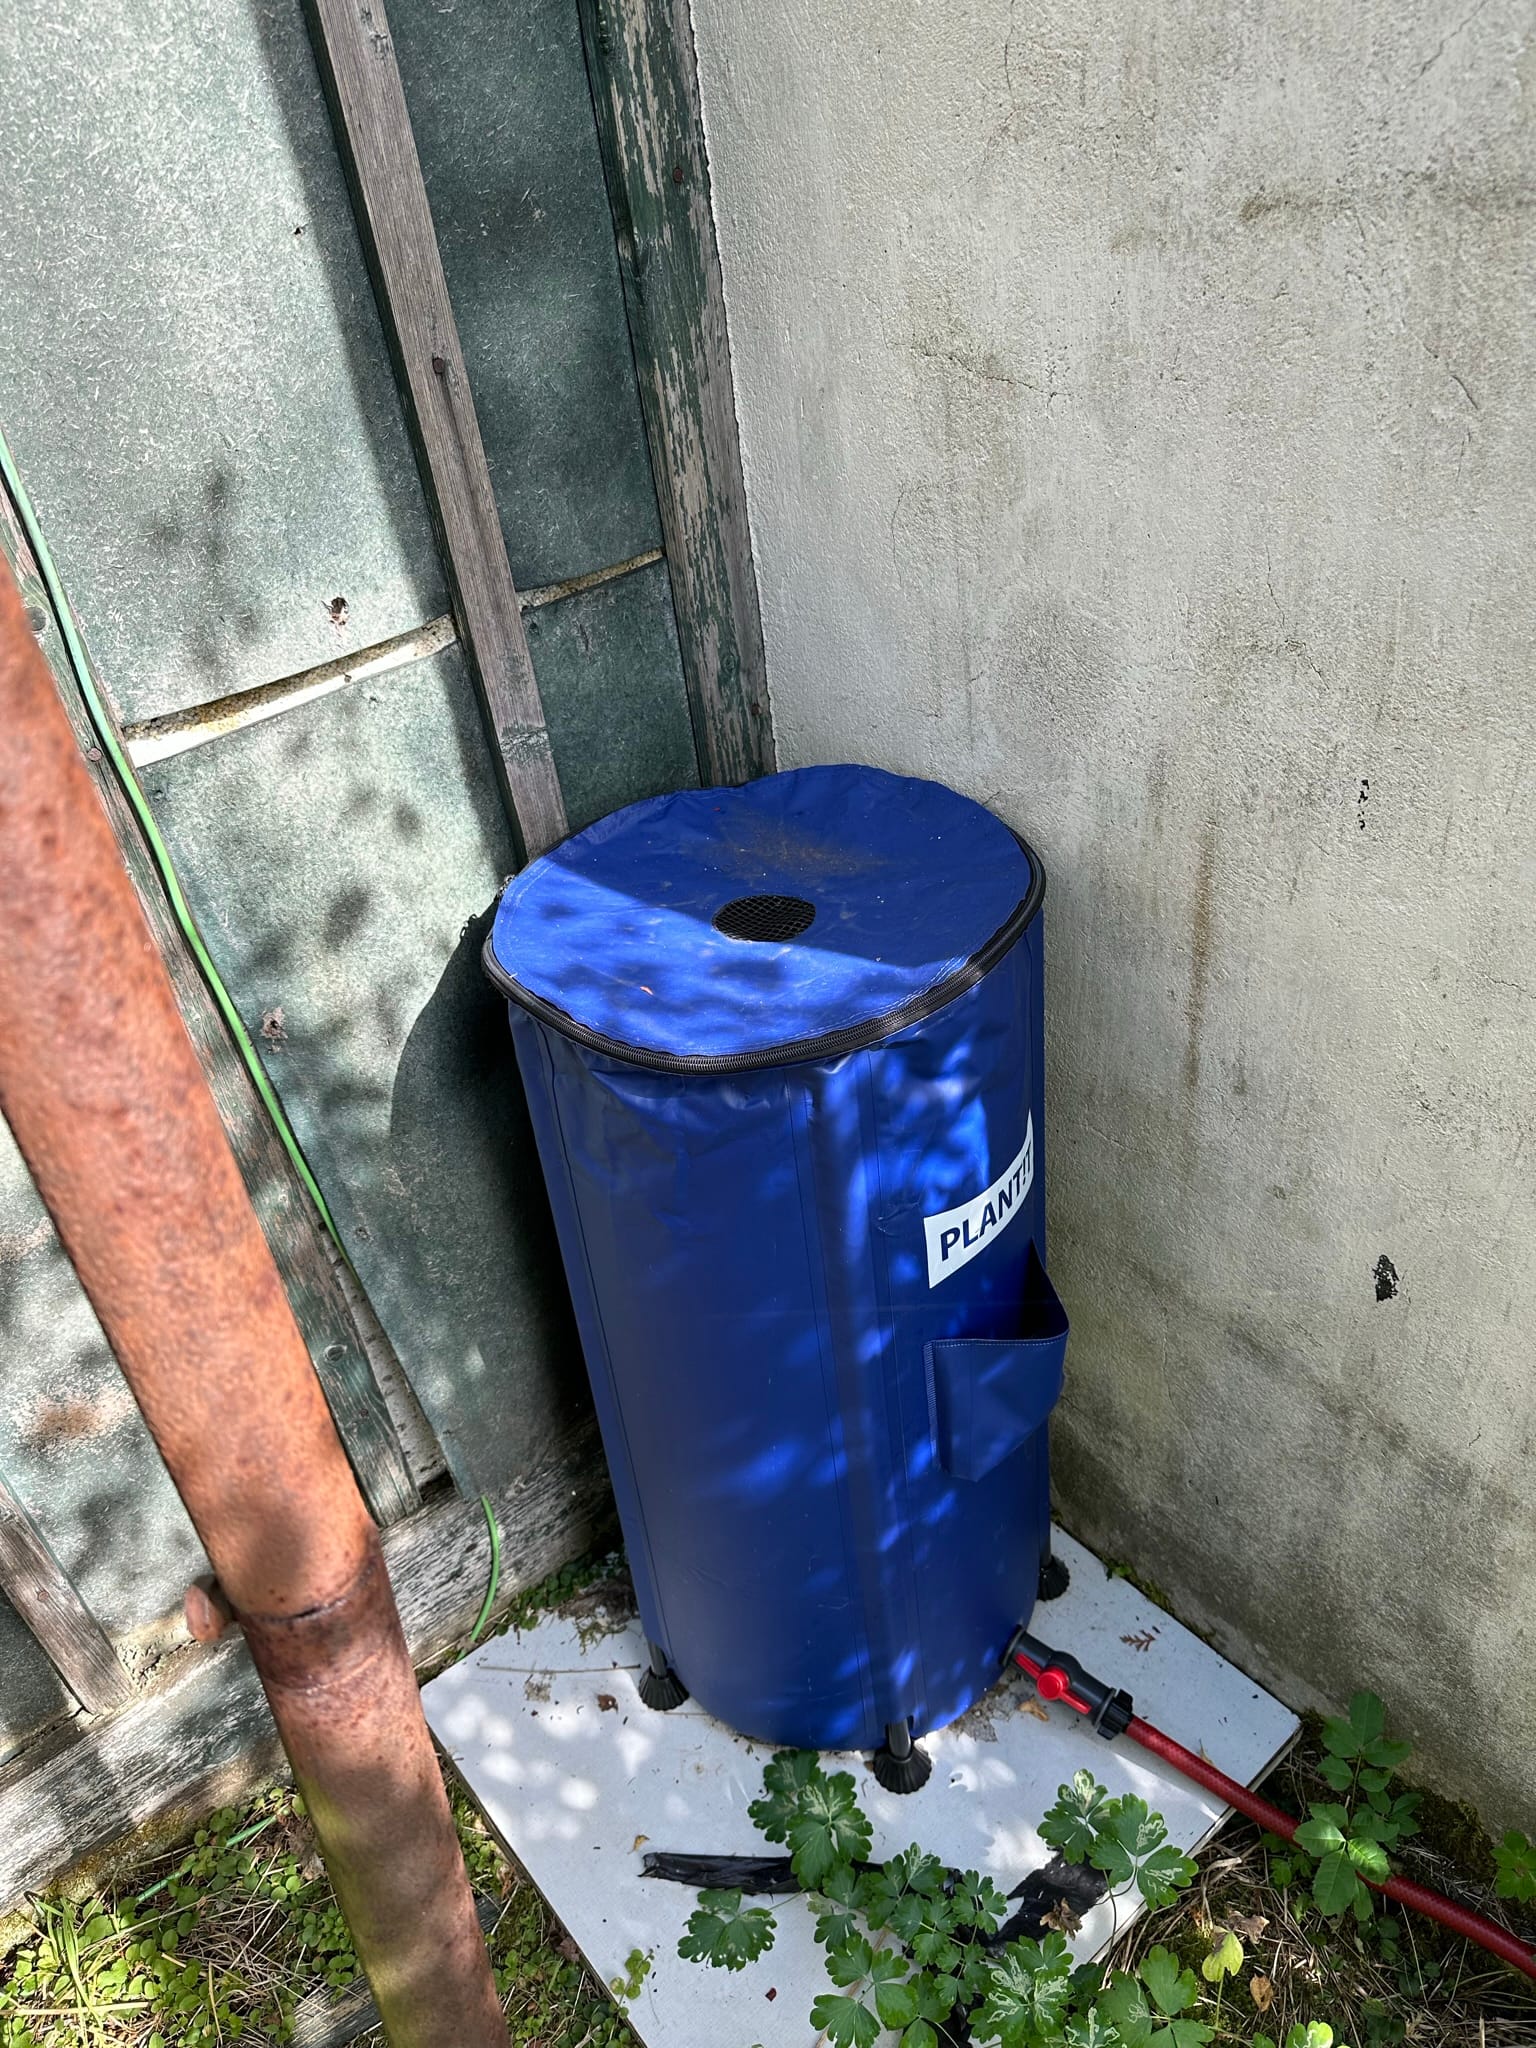
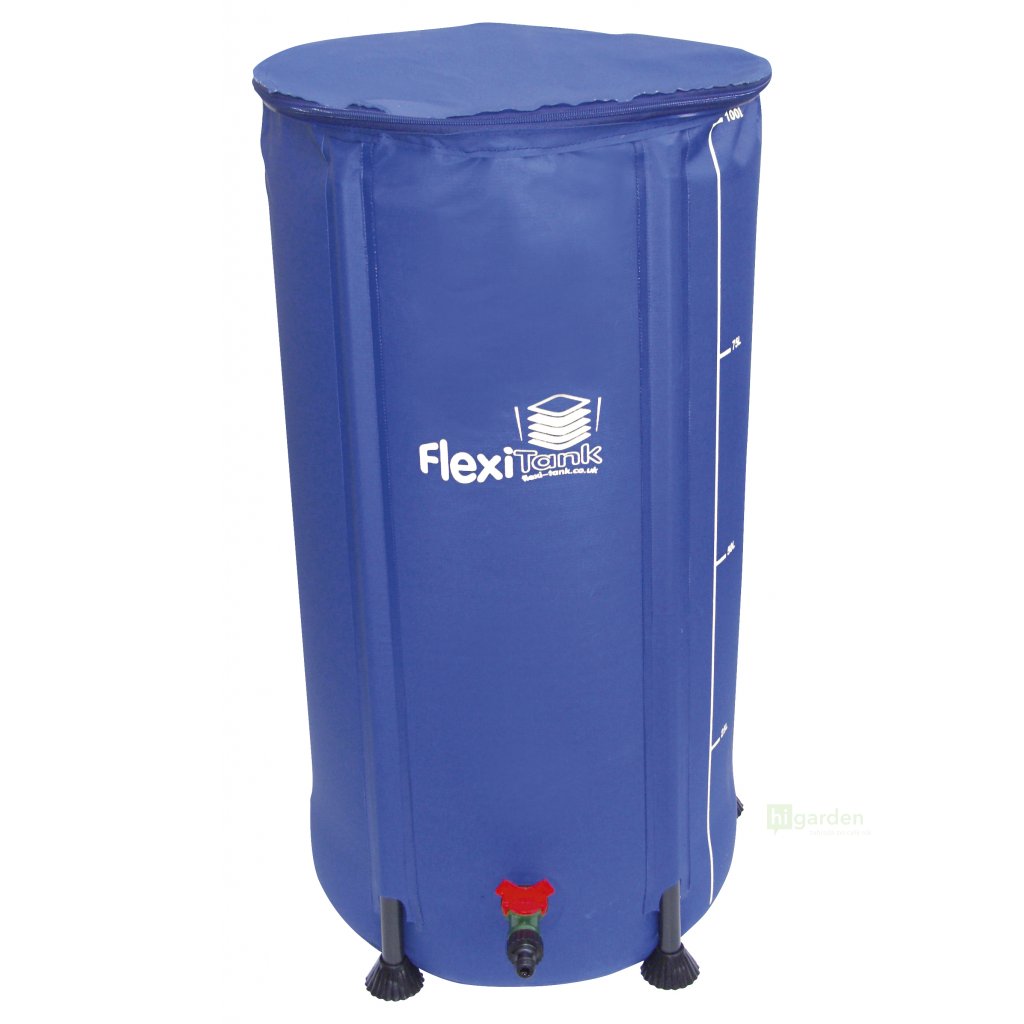
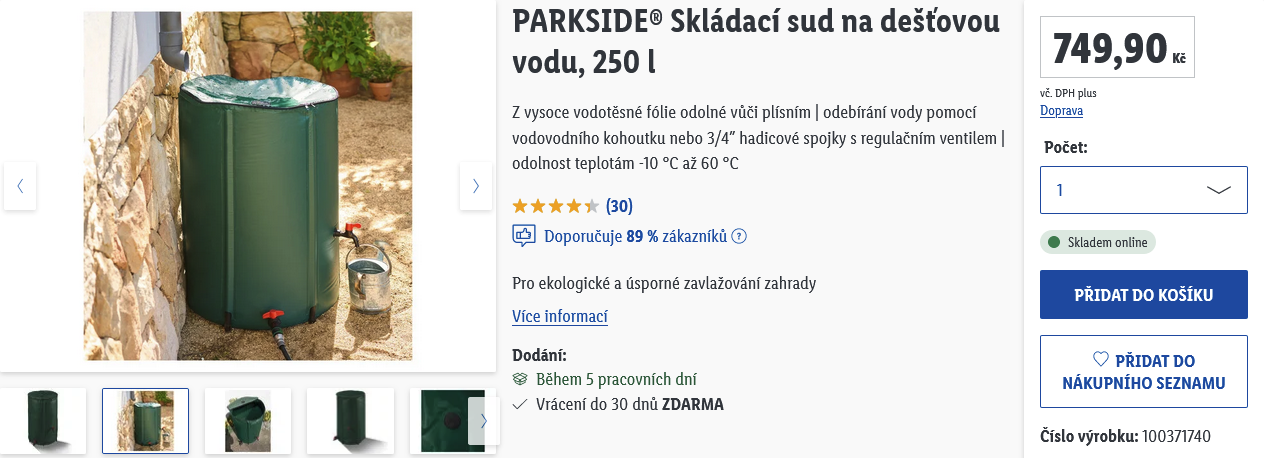
For water storage, I use a combination of hard plastic barrels and flexible tanks, which are more durable and easier to store for the winter compared to the hard-shell ones. The main source of water for these is rain, which I collect from the rooftop of my shed because rainwater is the best water. However, I also have a freshwater source with a high amount of dissolved iron and a stream that flows behind my garden.

the Failing Drippers
All my efforts at automation in the past were focused mostly on my greenhouse. For a while, I was obsessed with drip irrigation and the Gardena drip irrigation system. Don’t judge me; the system and setup are easy, it looks nice, and in theory, it’s the best because you can place a dripper at each plant. My first attempt to build a drip irrigation system was actually kind of pathetic. I placed a plastic bag in a crate, filled that bag with water, and stuck a hose with holes inside. Don’t get me wrong, it worked, but the DIY aspect was comical at best. Looking back at myself, I feel almost sorry for myself.
On the other hand, the setup cost for the Gardena system is quite high considering that my setup is very conservative and small. I was even spared the most expensive components, but it is not cheap fun. The system consists of a 1/2” hard irrigation tube sturdy as hell and smaller 6mm tubes. Through fittings and end-cap drippers, I’ve tried multiple configurations but always ended up with the same issue.
Freshly setup dripper. Works just fine. For now.
As I’ve mentioned, I rely on gravity to propel the water through the tubes, so the pressure inside them is dependent on the hydrostatic pressure, the water head. But that is something that changes quickly and also decreases through the pipe as you are removing water, thereby reducing the pressure. The first issue is predictable and easy to manage, but in combination with the second issue, it’s a nightmare to adjust. I tried to circumvent this by using two water reservoirs as connected containers to make the pressure the same on both ends. It didn’t work well. I tried using a larger container to increase the water head, but that didn’t work either. I often filled the container, adjusted each dripper for the desired flow, only to find out the next day it was dripping too much or too little. To make things worse, algae grew on the tips and blocked the flow.
The failed two barrel solution. In the first picture, I tried to cheat with just the 6mm pipe.
Just to be clear, I know about the solar-powered solutions for these drip irrigation systems. I know about it now. I didn’t back then, and the Gardena Micro-Drip system was always advertised as something hooked up to your regular water outlet. If I were to recommend a drip irrigation system today, I would still recommend Gardena because I think the AquaBloom set is the most friendly and accessible solution for small-scale drip irrigation.
the Wick
I like self-watering pots. I like them very much. They are passive, with no moving parts to fail, and they provide just the right amount of irrigation for the plant. They work by exploiting the capillary action within the medium used. You can use a cotton wick, a piece of cloth, or, and this was a game-changer for me, coco peat. Not only does it serve beautifully as an inert growing medium for hydroponics, but it also transports nutrient-rich water right to the roots. That’s exactly how AutoPots work.
I am sure we are all familiar with these self-watering pots. Great for hydroponics!
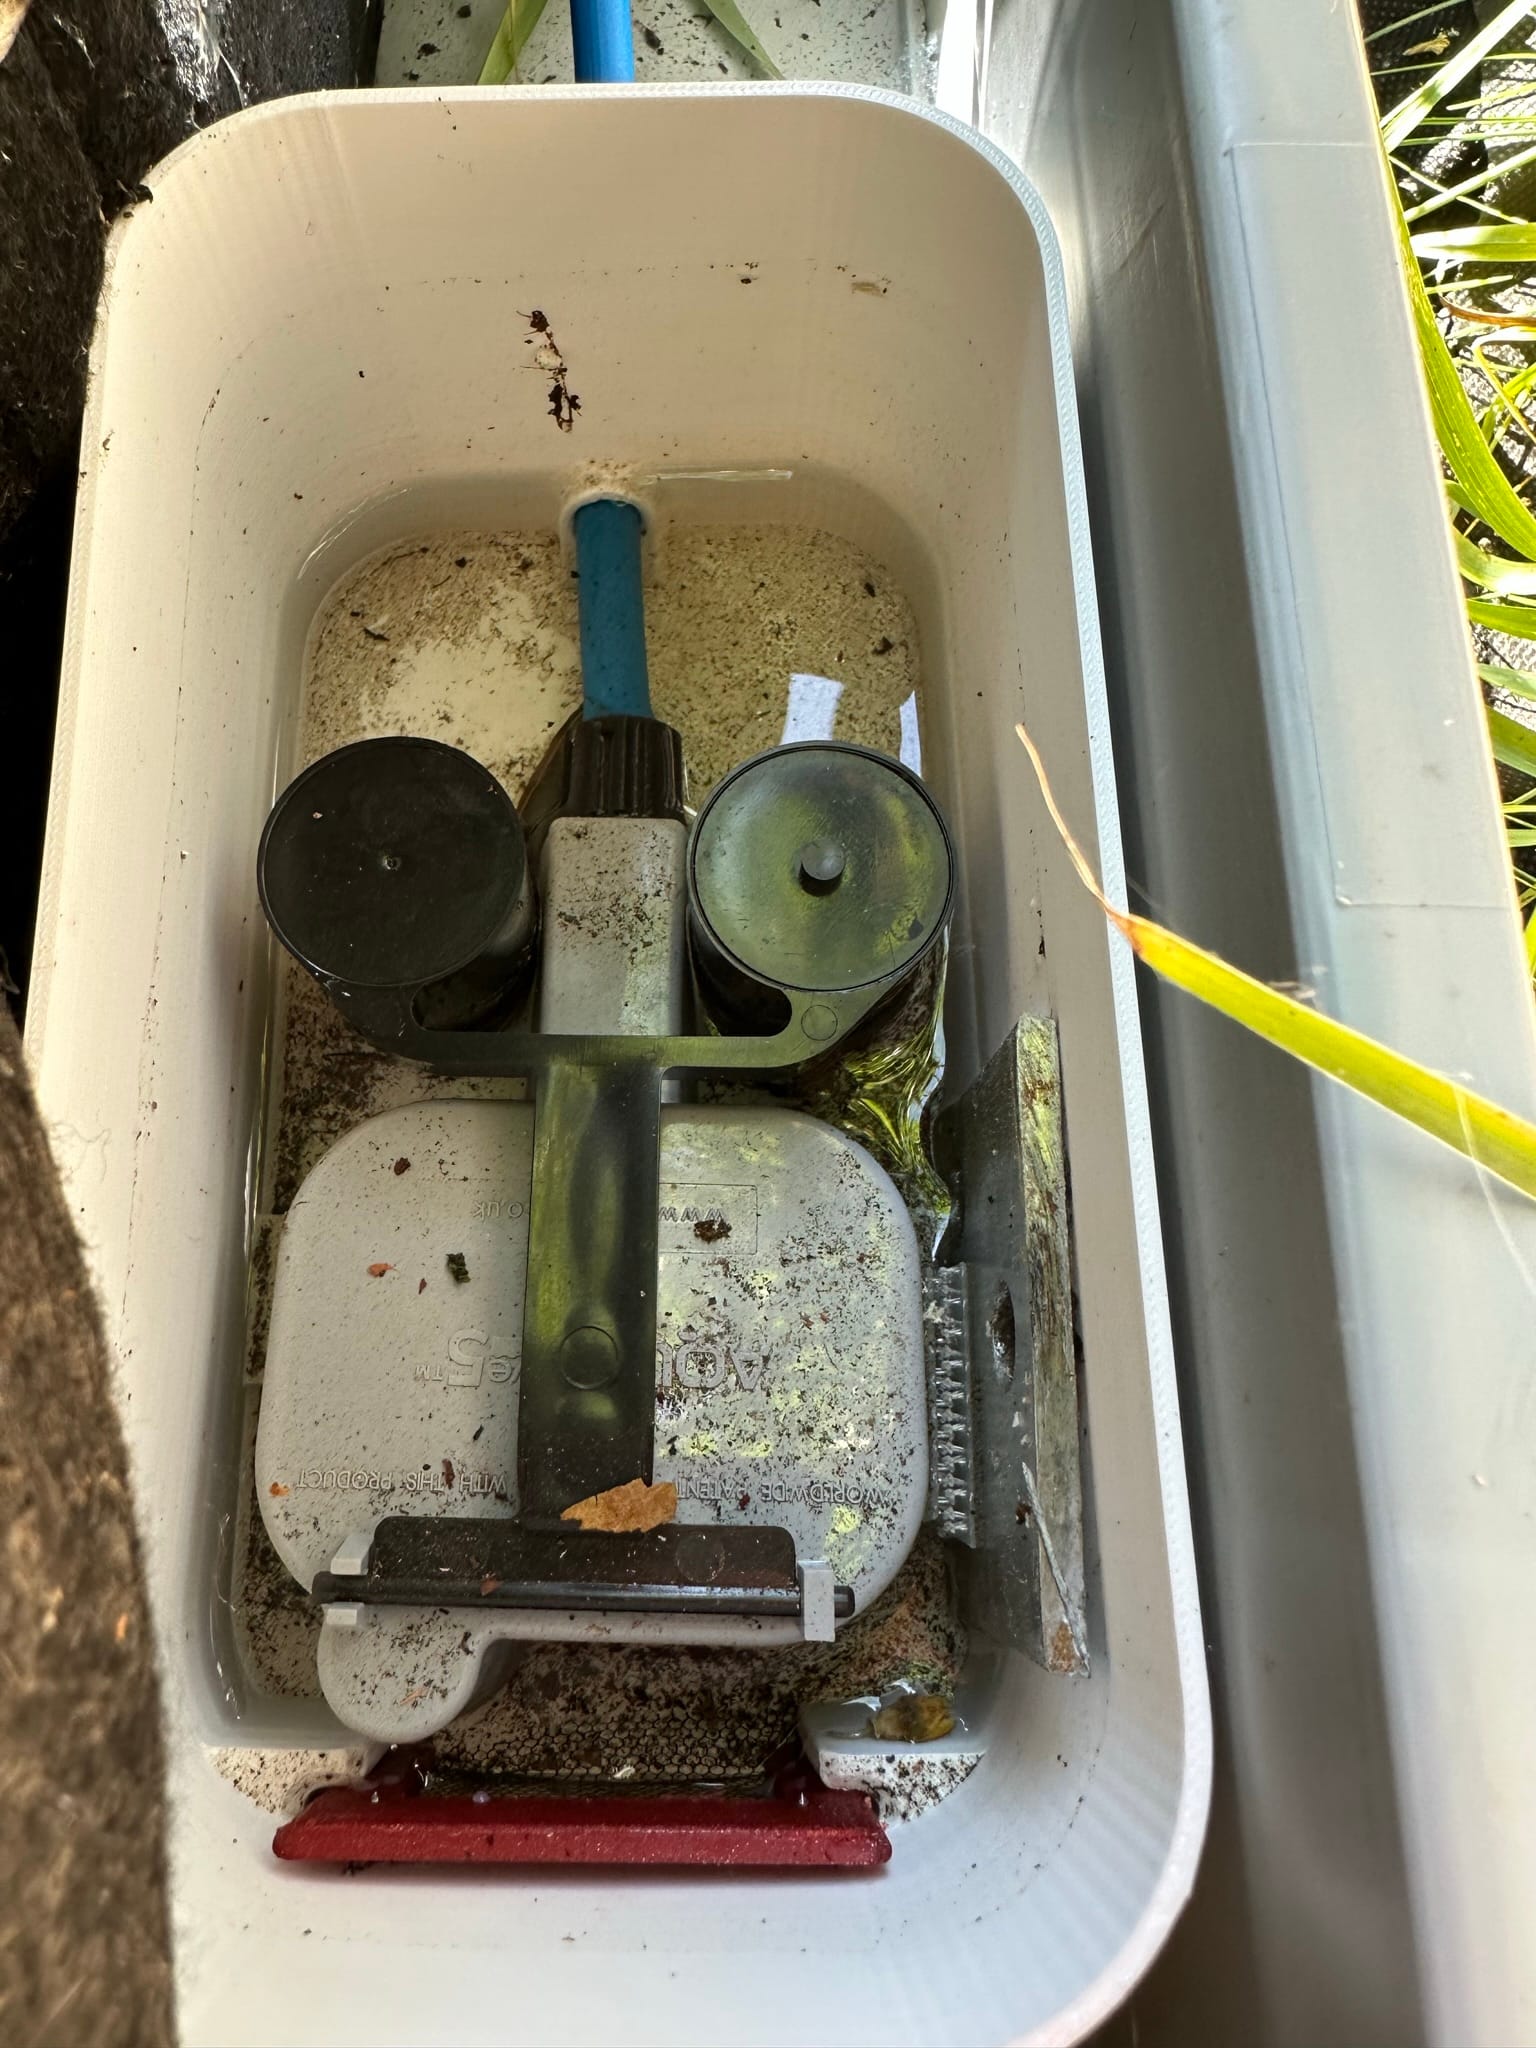
A container with a wicking grow medium, a combination of coco peat and perlite, is placed in a plastic bowl fitted with a float valve. The AutoPot’s valve is special. Regular float valves open whenever the water level decreases below a certain line. The AutoPot float valve creates water cycles and refills only when the bottom bowl is empty, allowing the coco peat to dry up a little bit, which is the beneficial kind of stress that promotes root growth.
You can buy a set of AutoPots and start growing; it’s very convenient. But I’ve learned from my mistakes, and when I discovered this system, I remembered my frustration with the Gardena drip irrigation and chose to build my own proof-of-concept version from stuff I already had. The only thing I had to buy was the float valve.

This year, while browsing the AutoPot catalog, I stumbled upon a different product, the AutoPot AquaBox. It’s a device that uses the well-known wicking action for raised bed irrigation. The idea sounds solid, but looking at the setup, I got skeptical again. Once again, instead of buying, I chose to build a proof of concept from what I had.
 Name *
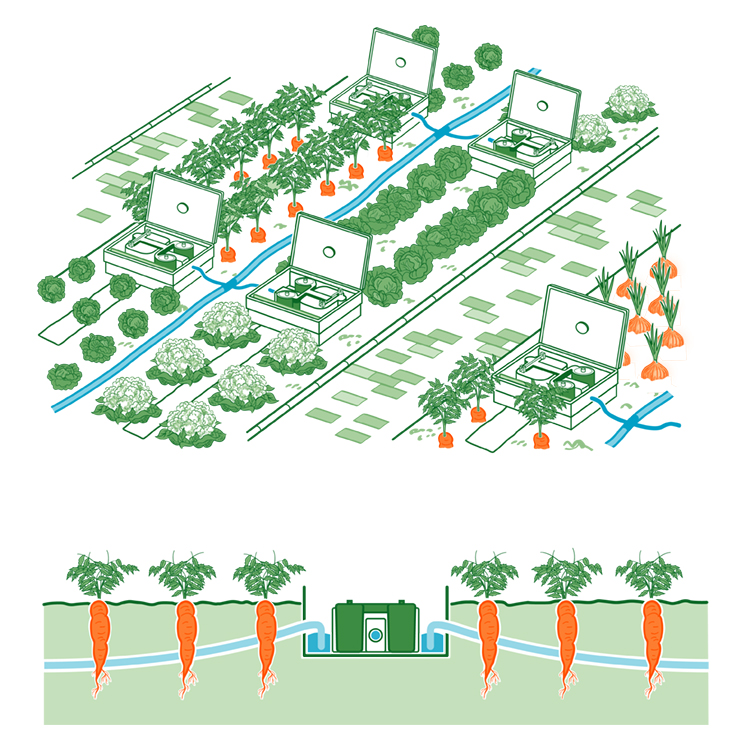
The working principle is very simple: a float valve lets water into a small box, which is wicked outside into the soil by the wick. I have a 50m spool of wicking material commonly used in self-watering pots and a pair of cheap float valves. The only thing I needed was the reservoir box, which I quickly designed and printed out of PETG. The valve has two 3/4” threads, convenient for a quick connect.
The wick is buried 5-10cm underground, sloping down away from the box so not only does the wick help to draw the water out, but also gravity does. Everything is then topped with soil and connected to the water source. I don’t like the variable quality of these float valves I used. I am not sure if it’s the pressure or just a general issue of quality assurance, but those float valves are not the same. One closes early, leaving just enough water in the box, but the other lets a lot of water in, almost spilling over and barely closing shut, still leaking a little bit despite the fact I bought them together back then. I wouldn’t consider it a huge deal breaker, and if I decide to use the system in the future, I will upgrade the valve to a better one.
All this sounds like I am just stealing someone else’s ideas, and it couldn’t be more true. I am not claiming any authorship; I just like to experiment with different ideas and solutions on my own.
the Cone
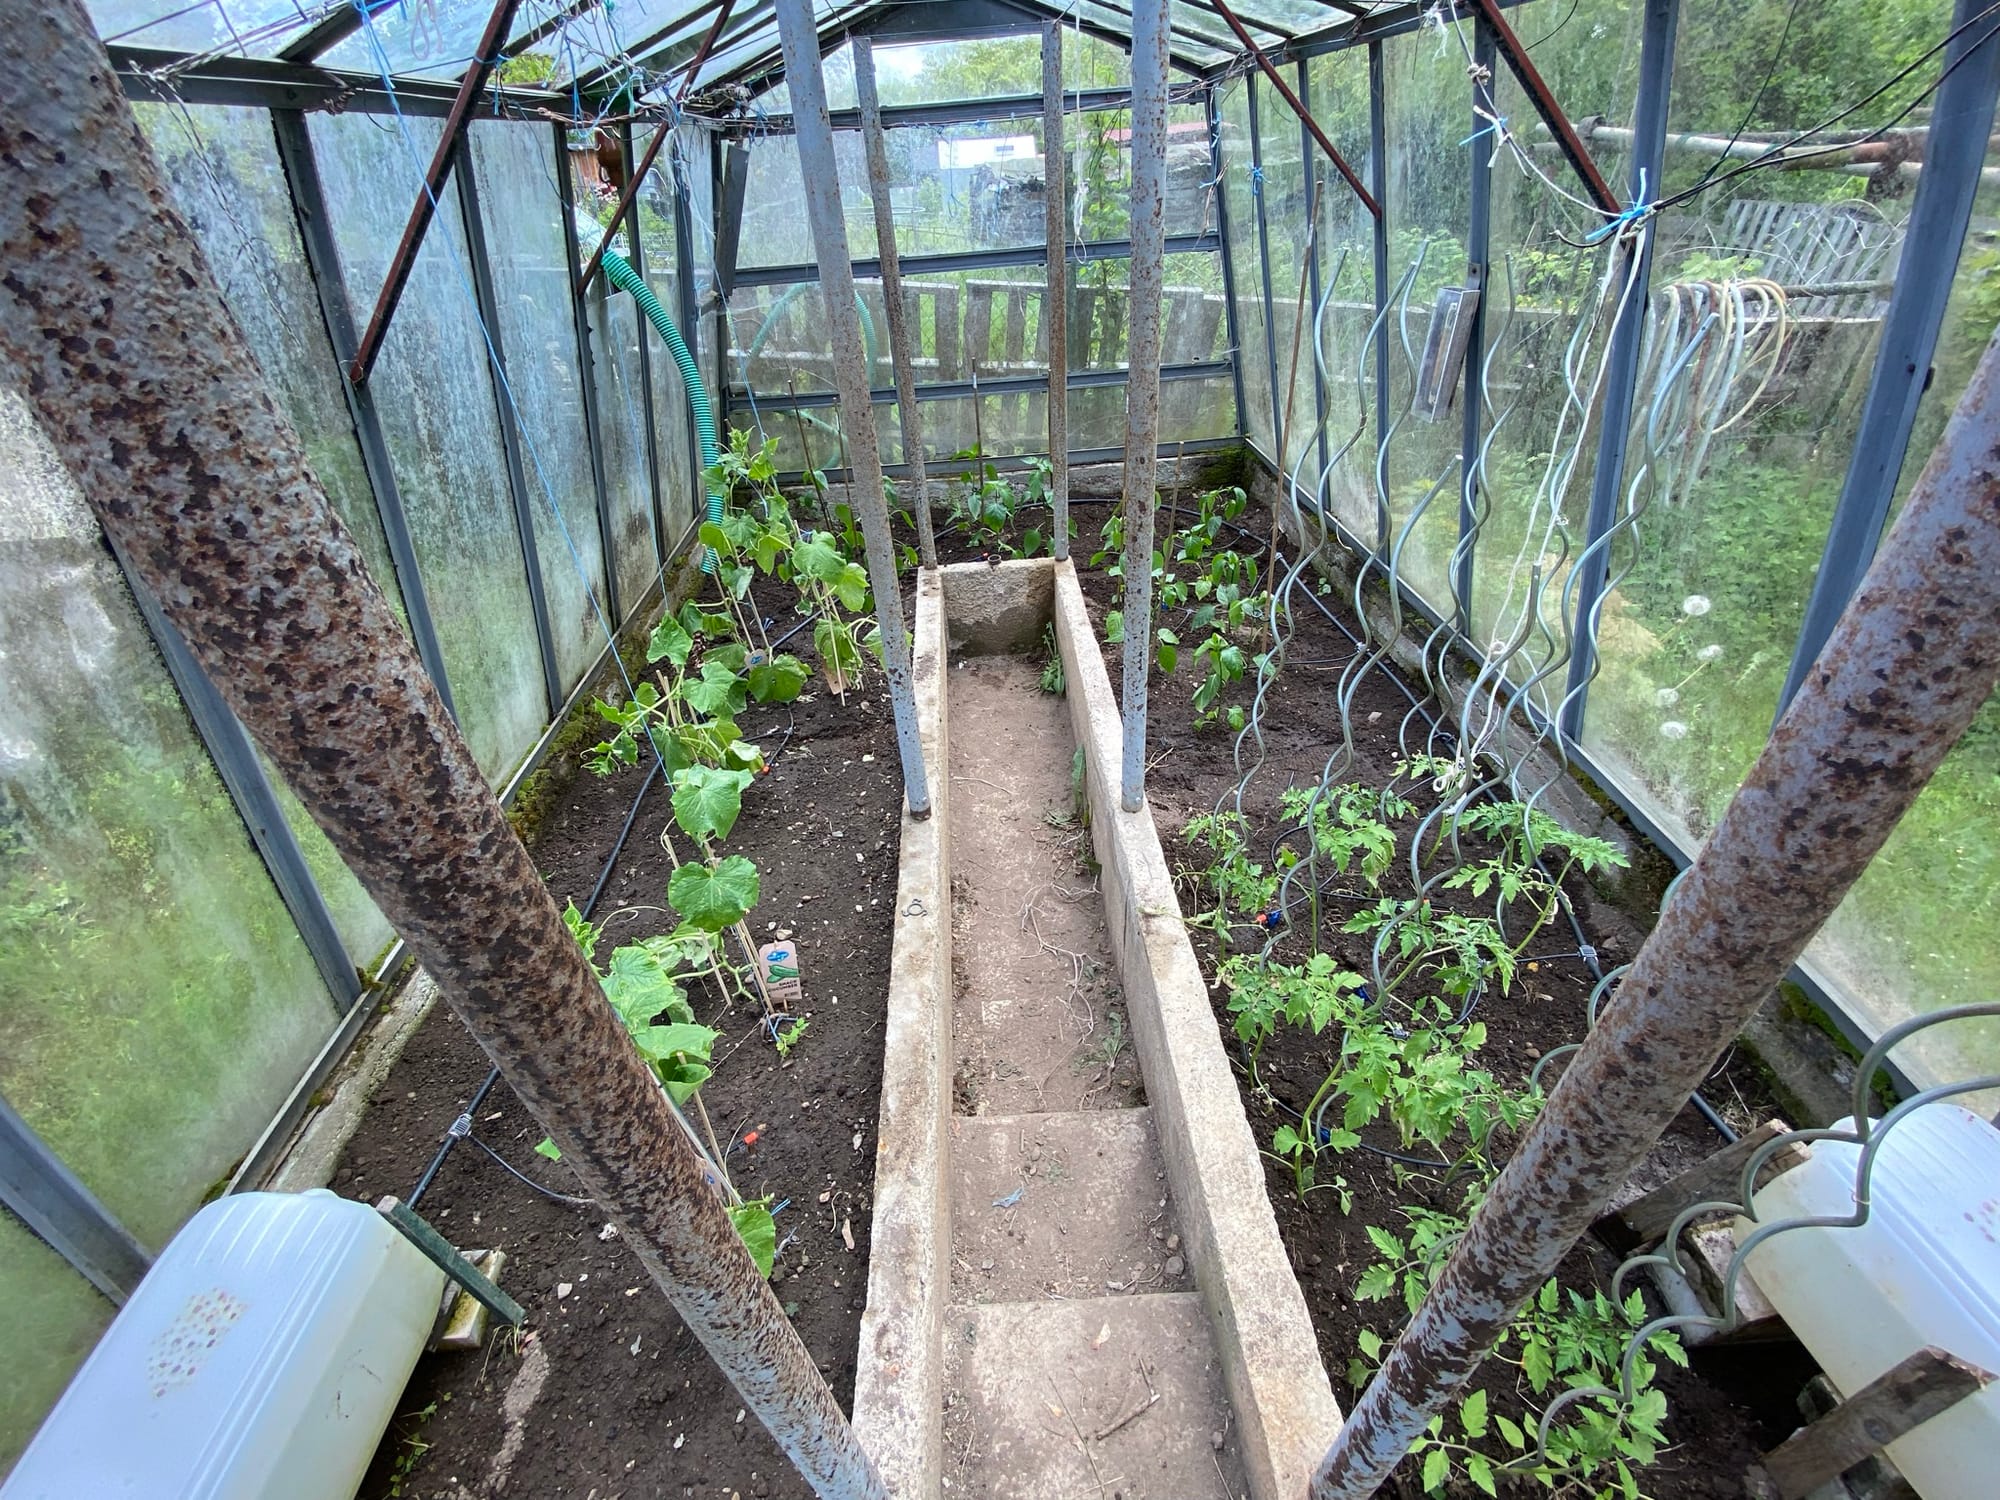
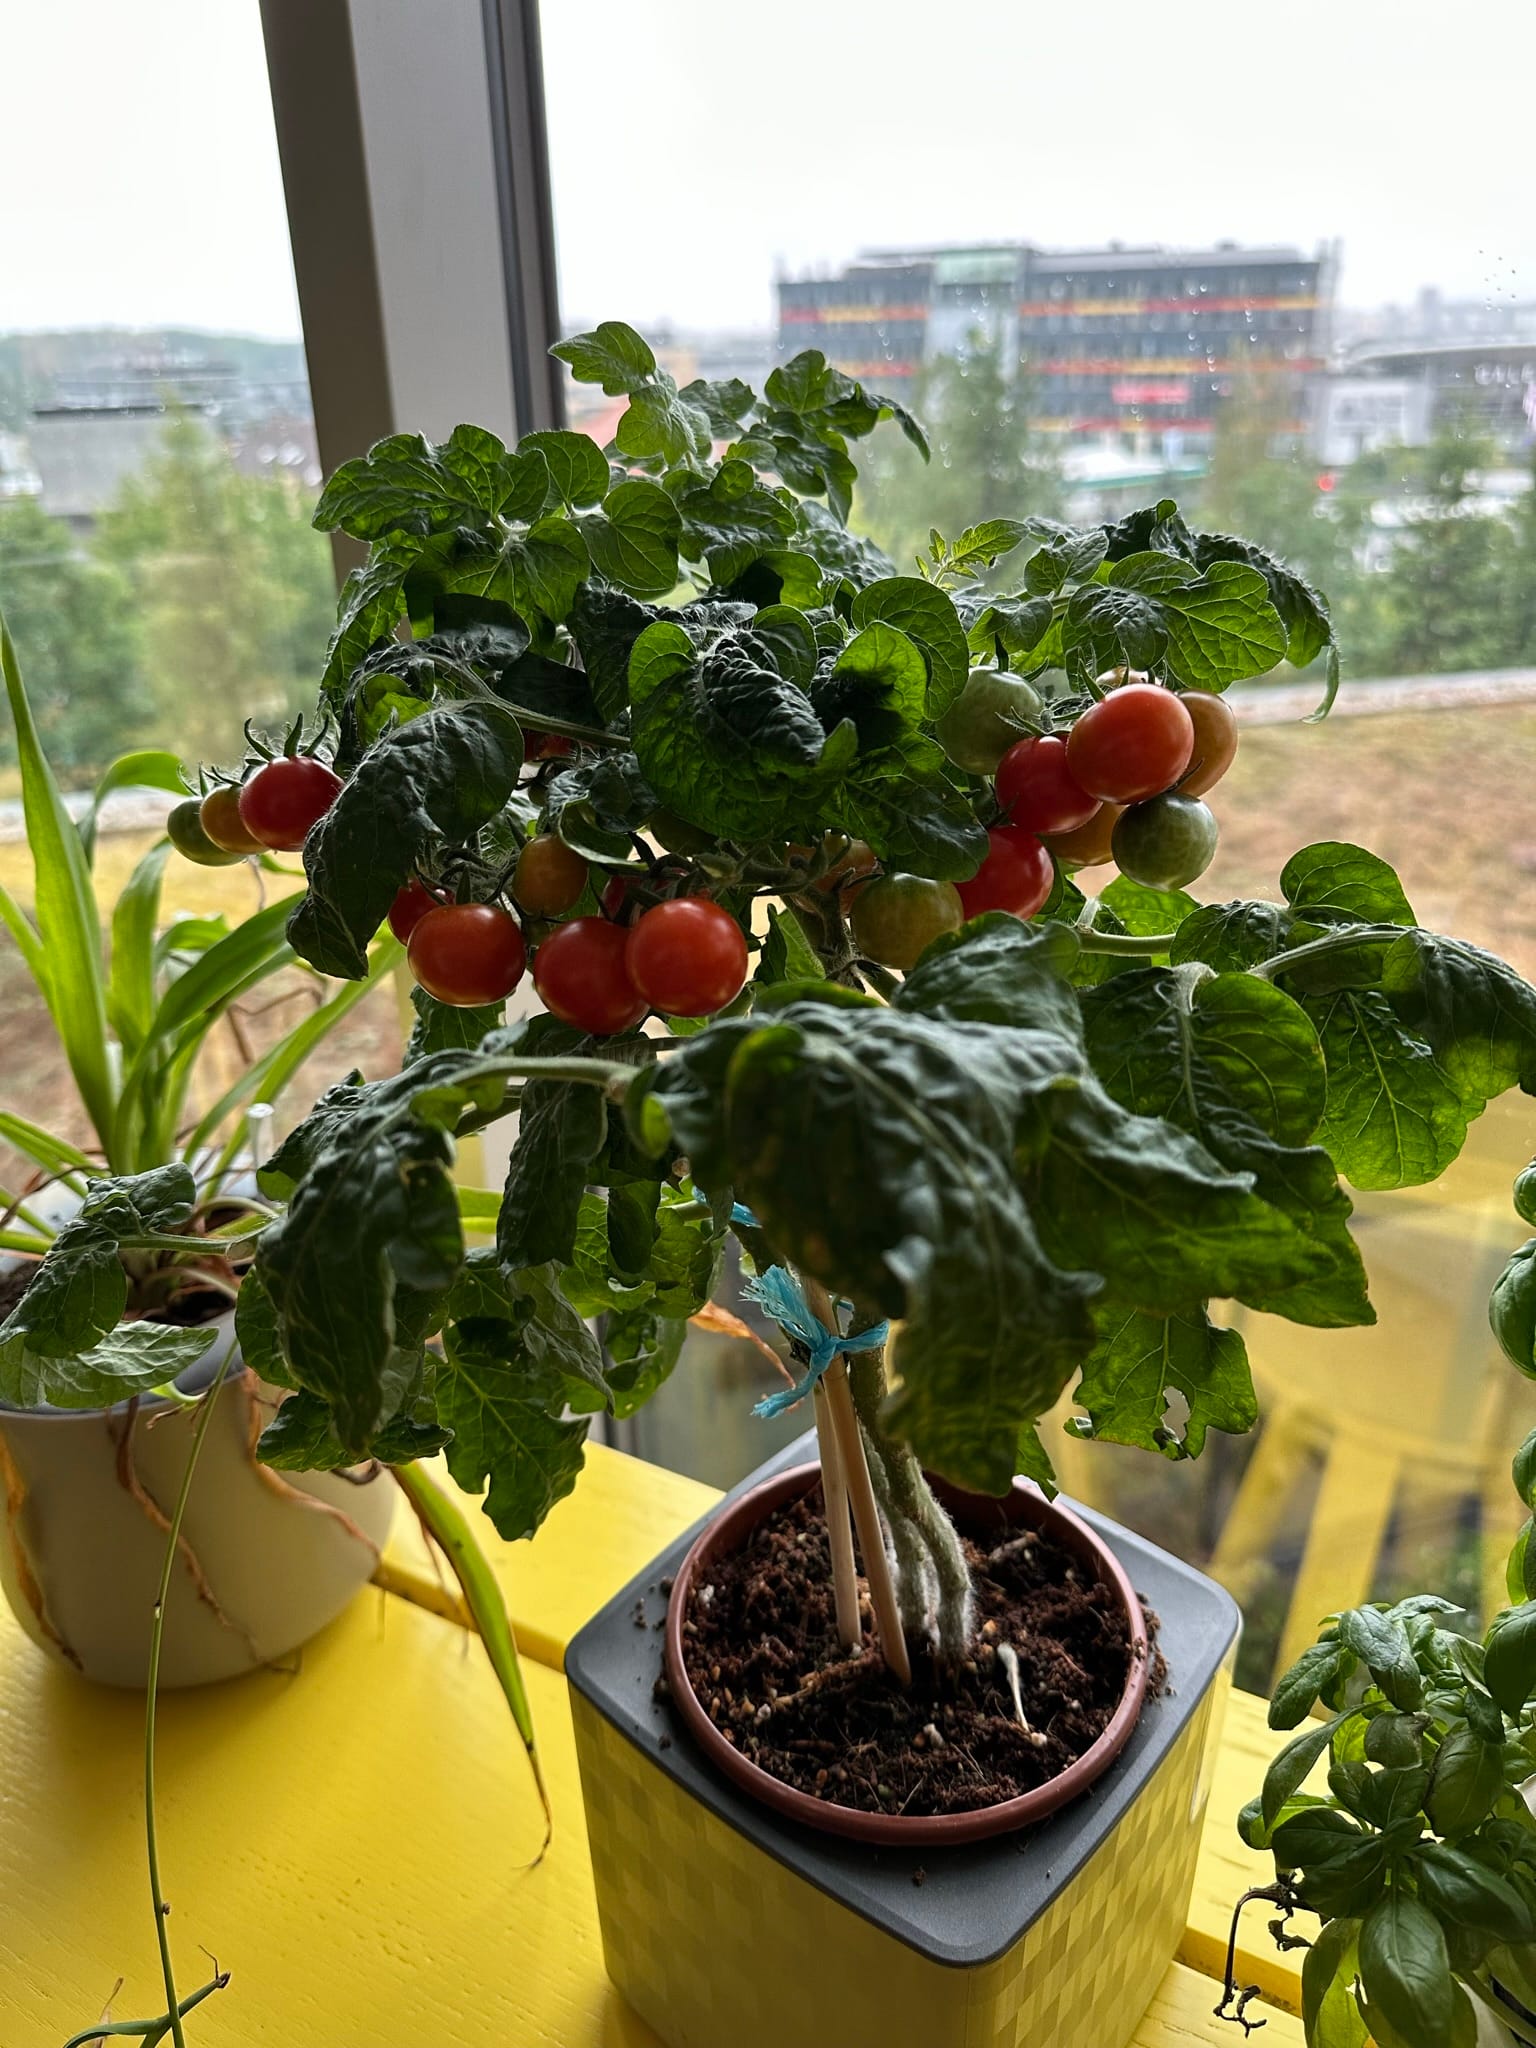
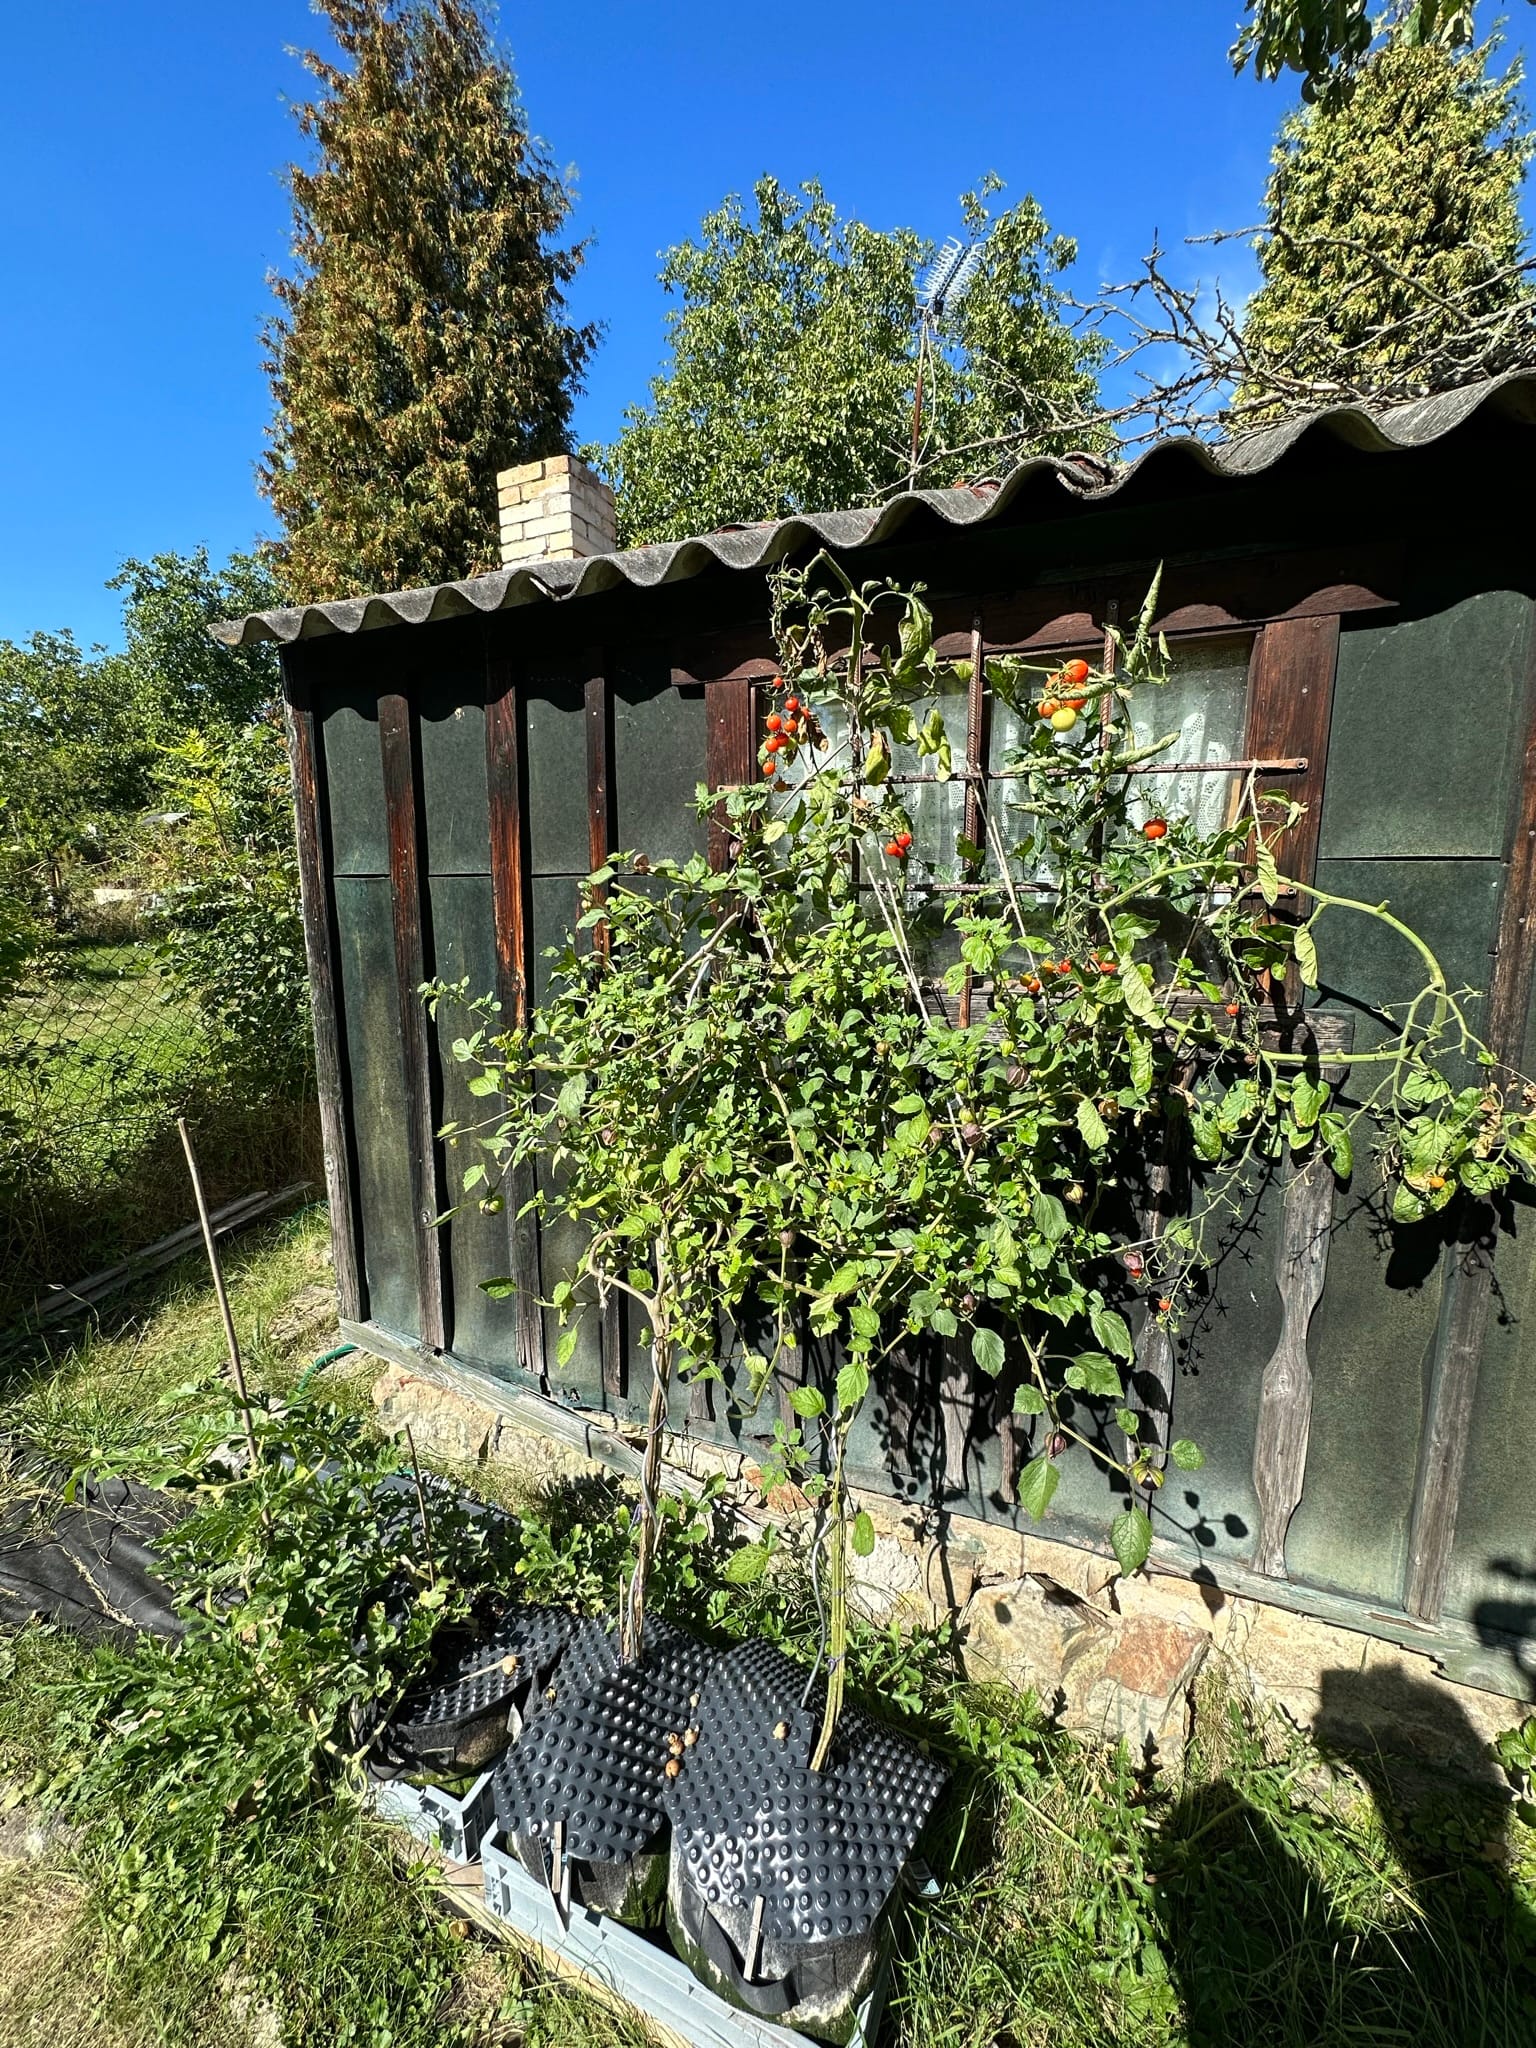
However, something I can claim authorship of is my terracotta cone hack. I grow my tomatoes in fabric bags as they are great for proper drainage and root growth. I used to water them every other day using a watering can. But this year! This year I discovered large watering terracotta cones.

Since ancient times in Mexico and other parts of the world, people have used unglazed terracotta flasks buried deep in the soil for efficient irrigation, calling them “ollas.” The unglazed terracotta is porous and lets water out very slowly. The rate of water release is dependent on the dispersion to the outer media, so the water will not leak but rather evaporate slowly to maintain equal dispersion on both sides of the terracotta wall. This changes when you place and compact soil around the olla. The water will seep slowly into the soil in a neat, evenly moist circle, dosing just the right amount of water to the roots. The roots will even start following the water back to the olla. And what’s best? This happens passively without any energy input.


Some nice and local ollas if you are interested.
All this was happening in the past, but then someone thought, “Hey, I need a vacation, and I don’t want my plants to die,” and invented a smaller version for small pots you usually have on your windowsill with decorative plants. But this time, the terracotta part is used only as a dosing device and the water itself is held in a separate container, like a plastic or glass bottle.
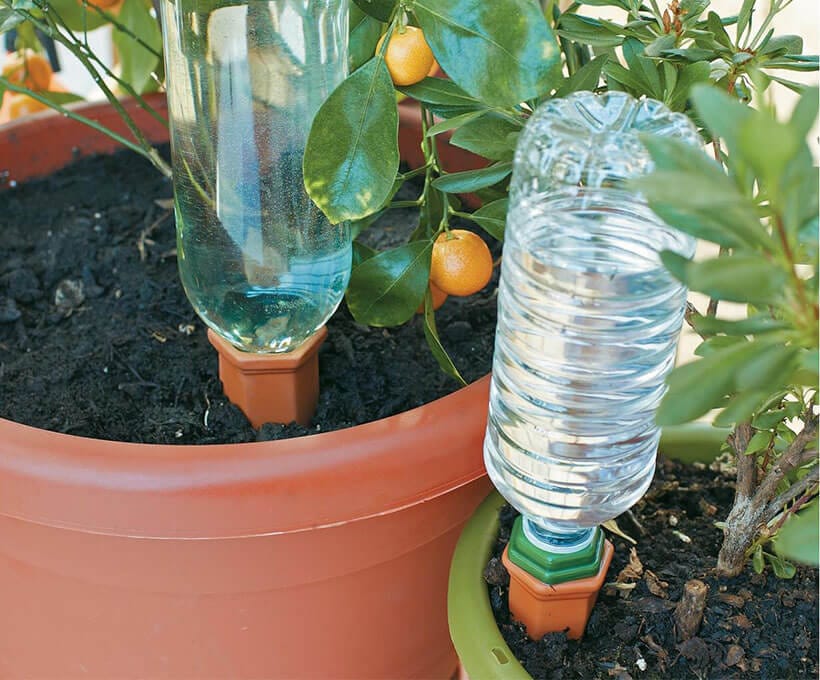
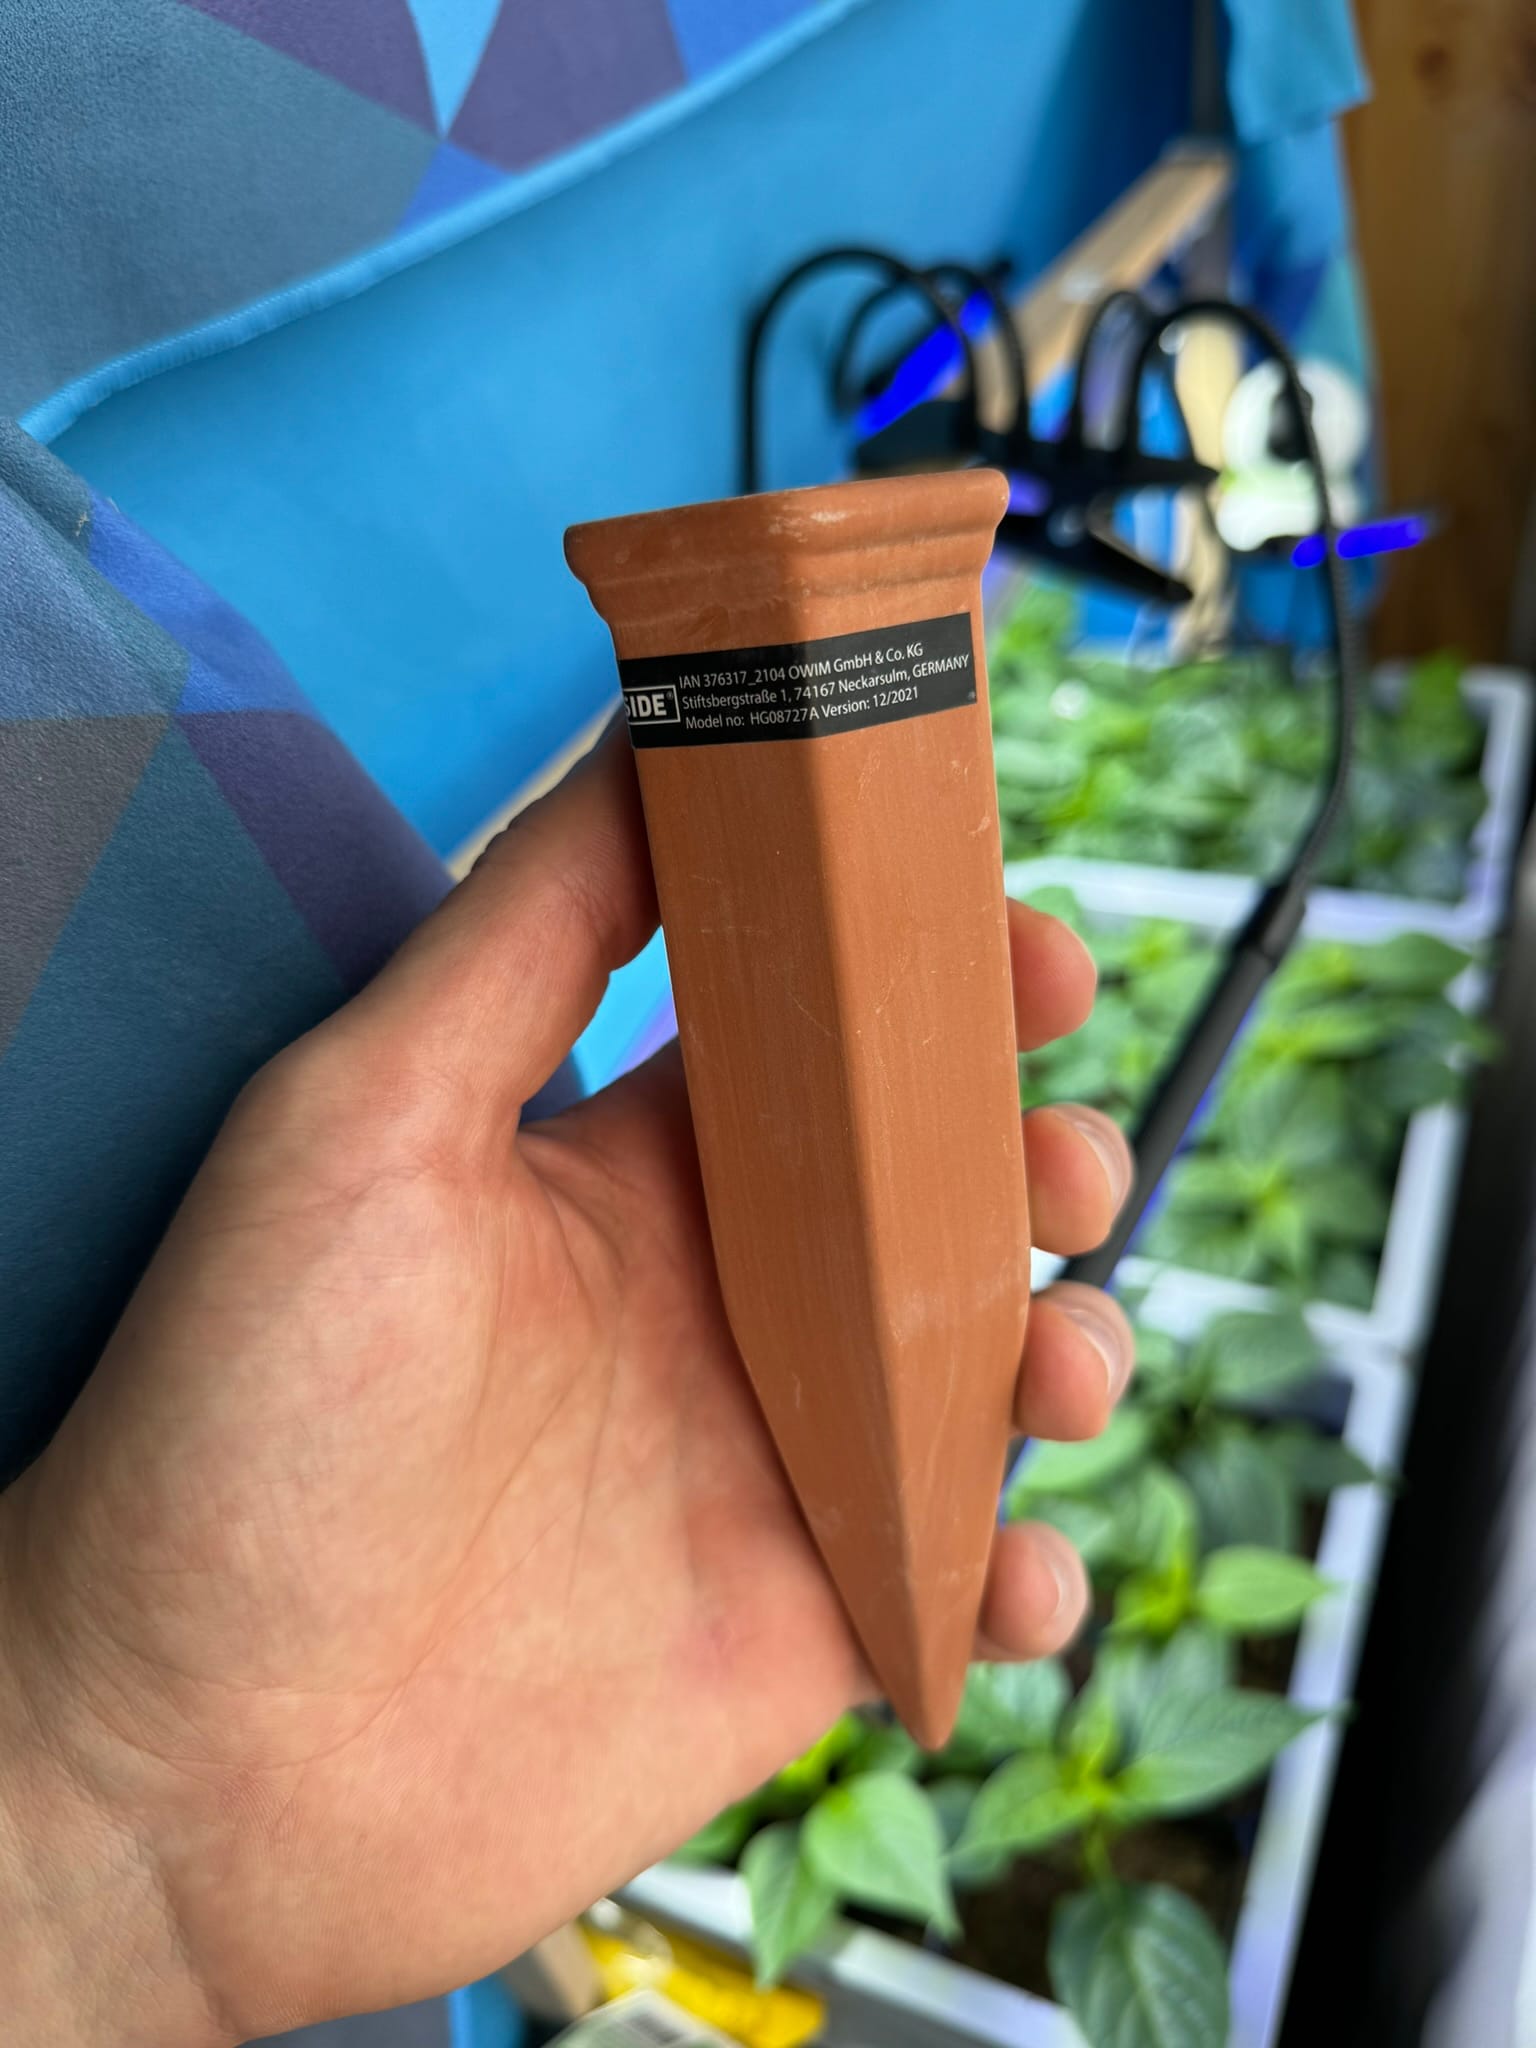
One day, I saw these terracotta watering cones in my favorite grocery store, and my cogs immediately started to spin. The intended use was a large 1-2 L glass or plastic bottle. The cones are not watertight in any way, and only the outer air pressure keeps the water inside while flipped upside down. This works as long as the container above is closed, but it didn’t work in my head with a quick connect and hose attached to the rain barrel.
And just like that, after one evening of Fusion 360 and a few hours of disassembling my printer’s extruder because it got clogged with TPU, the prototype was here!
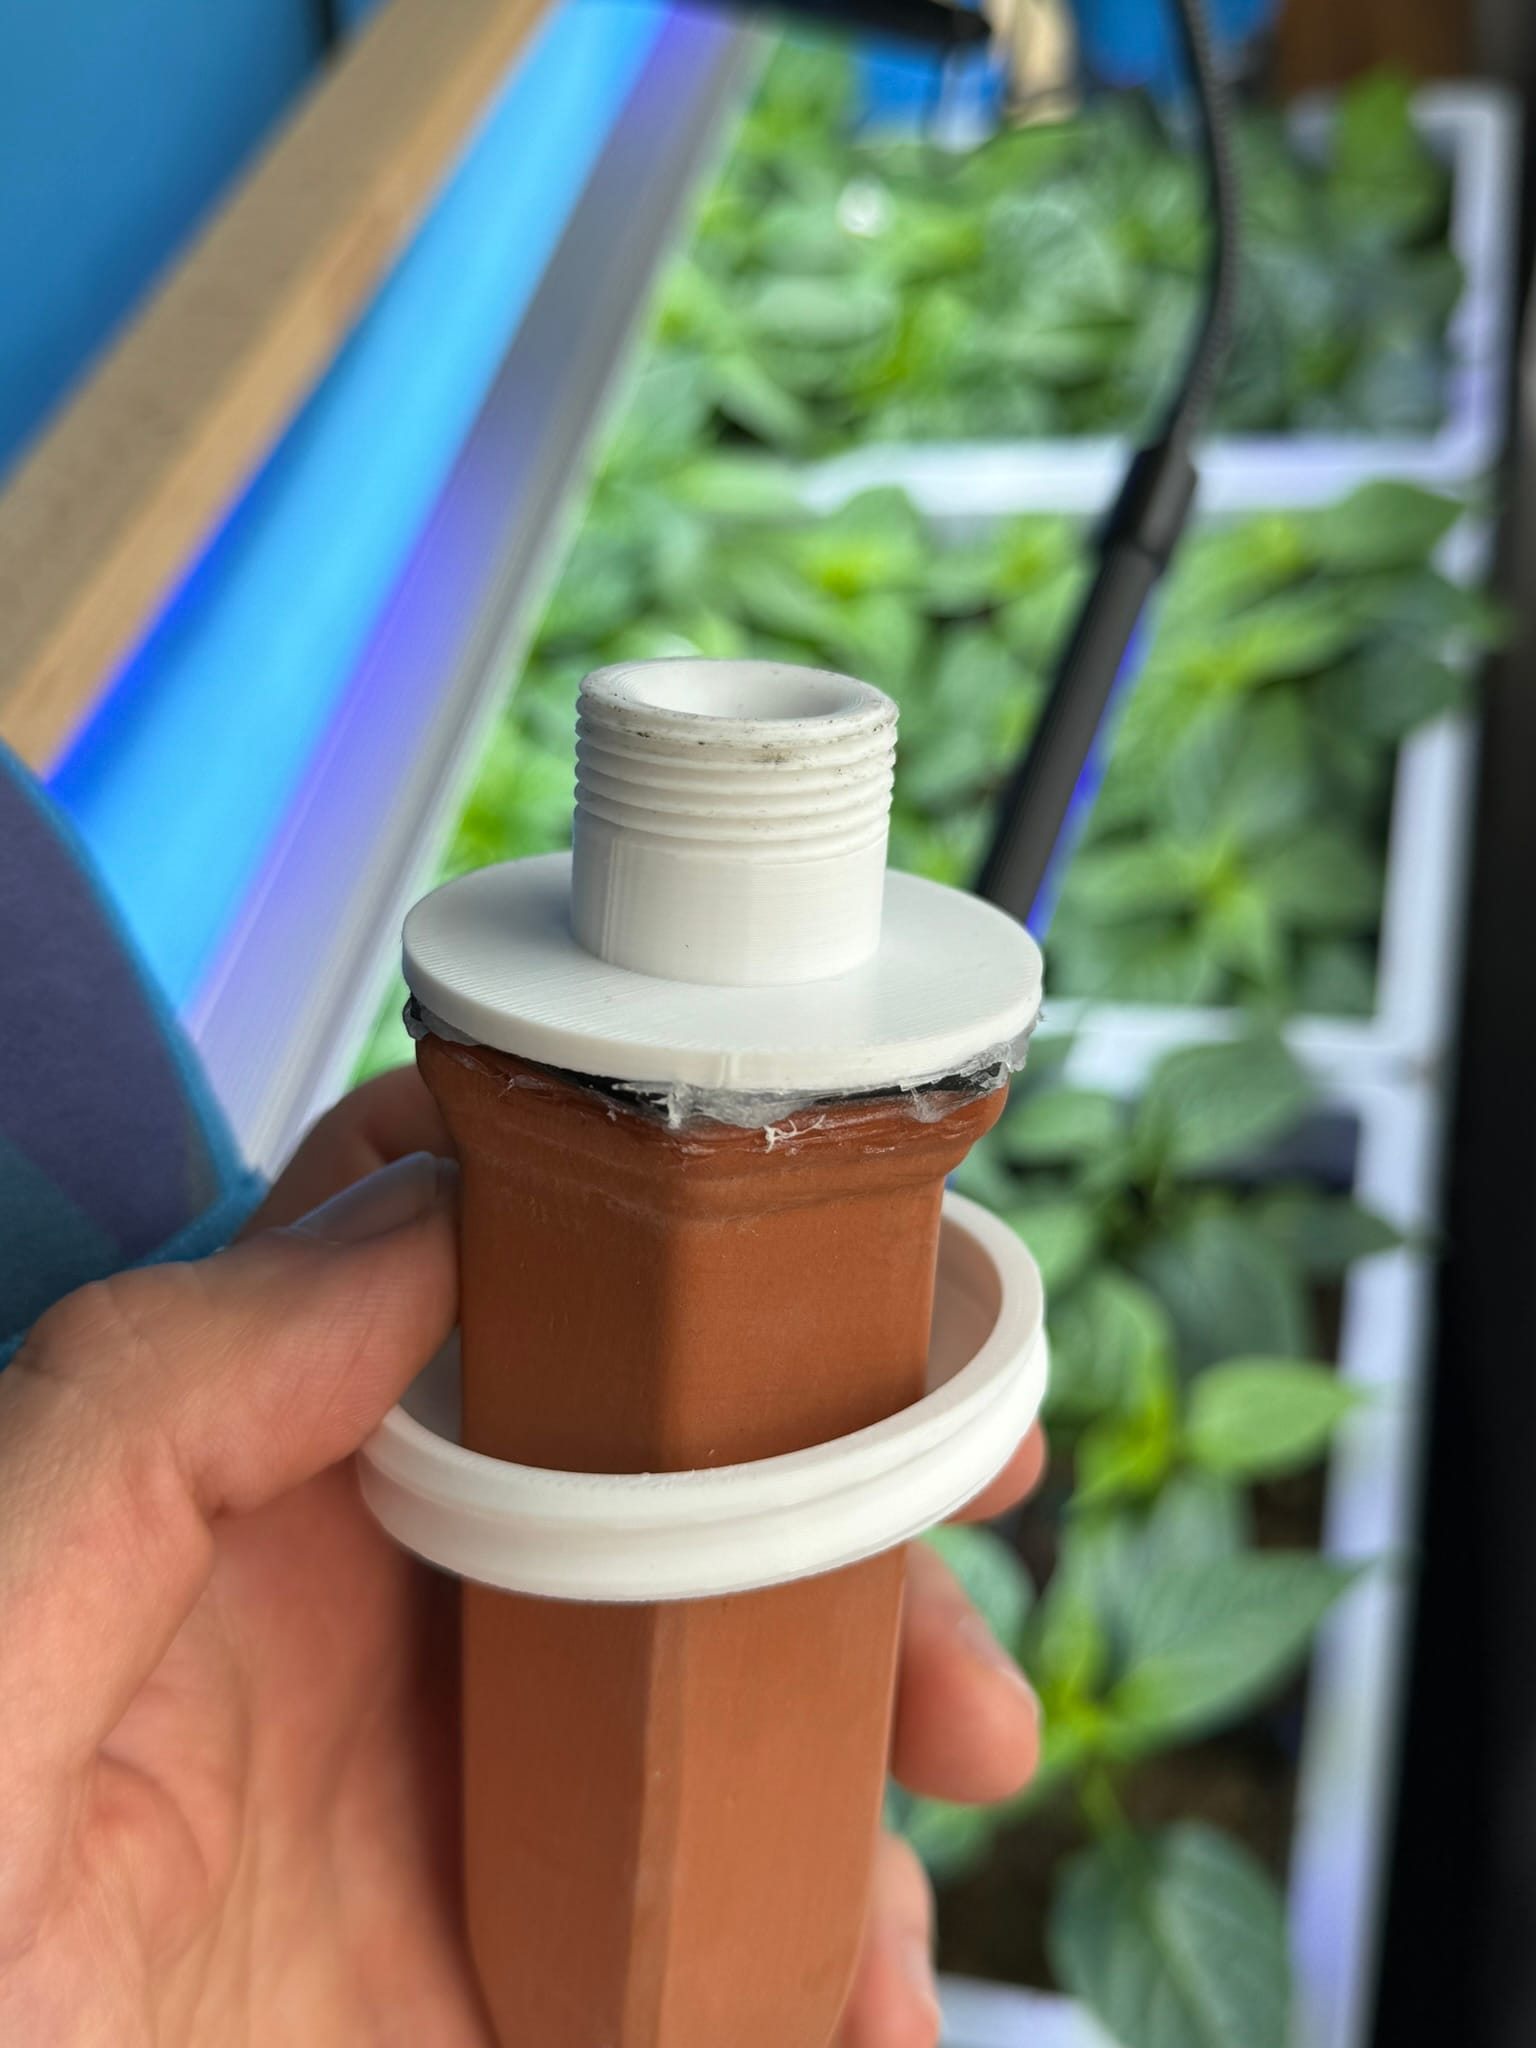
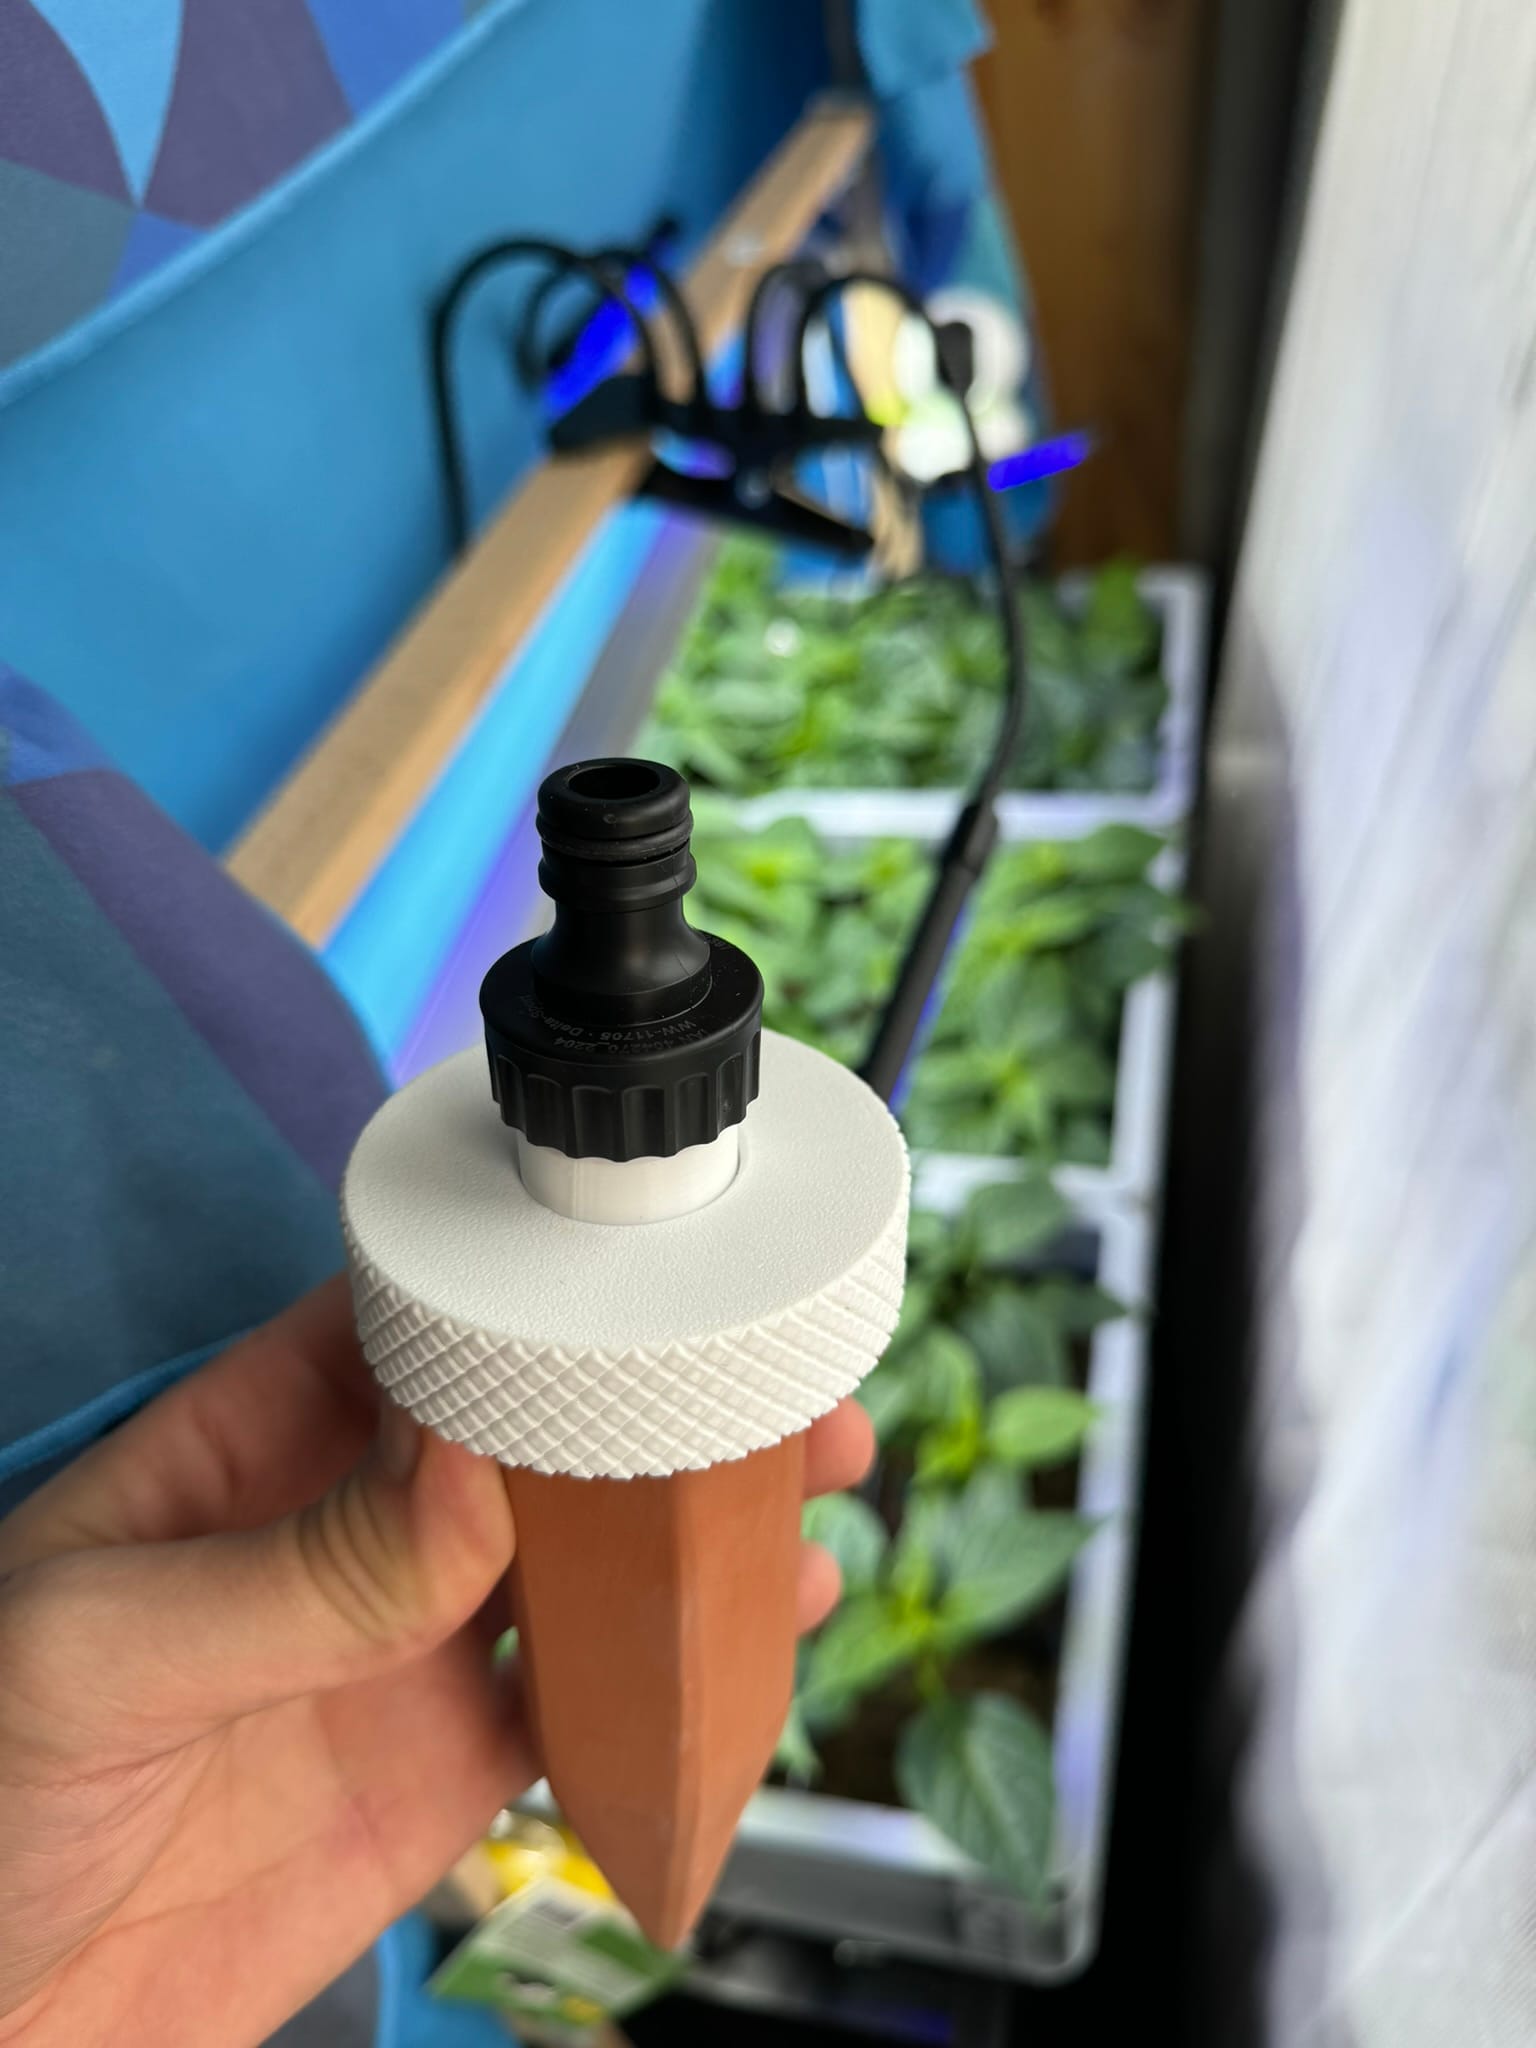
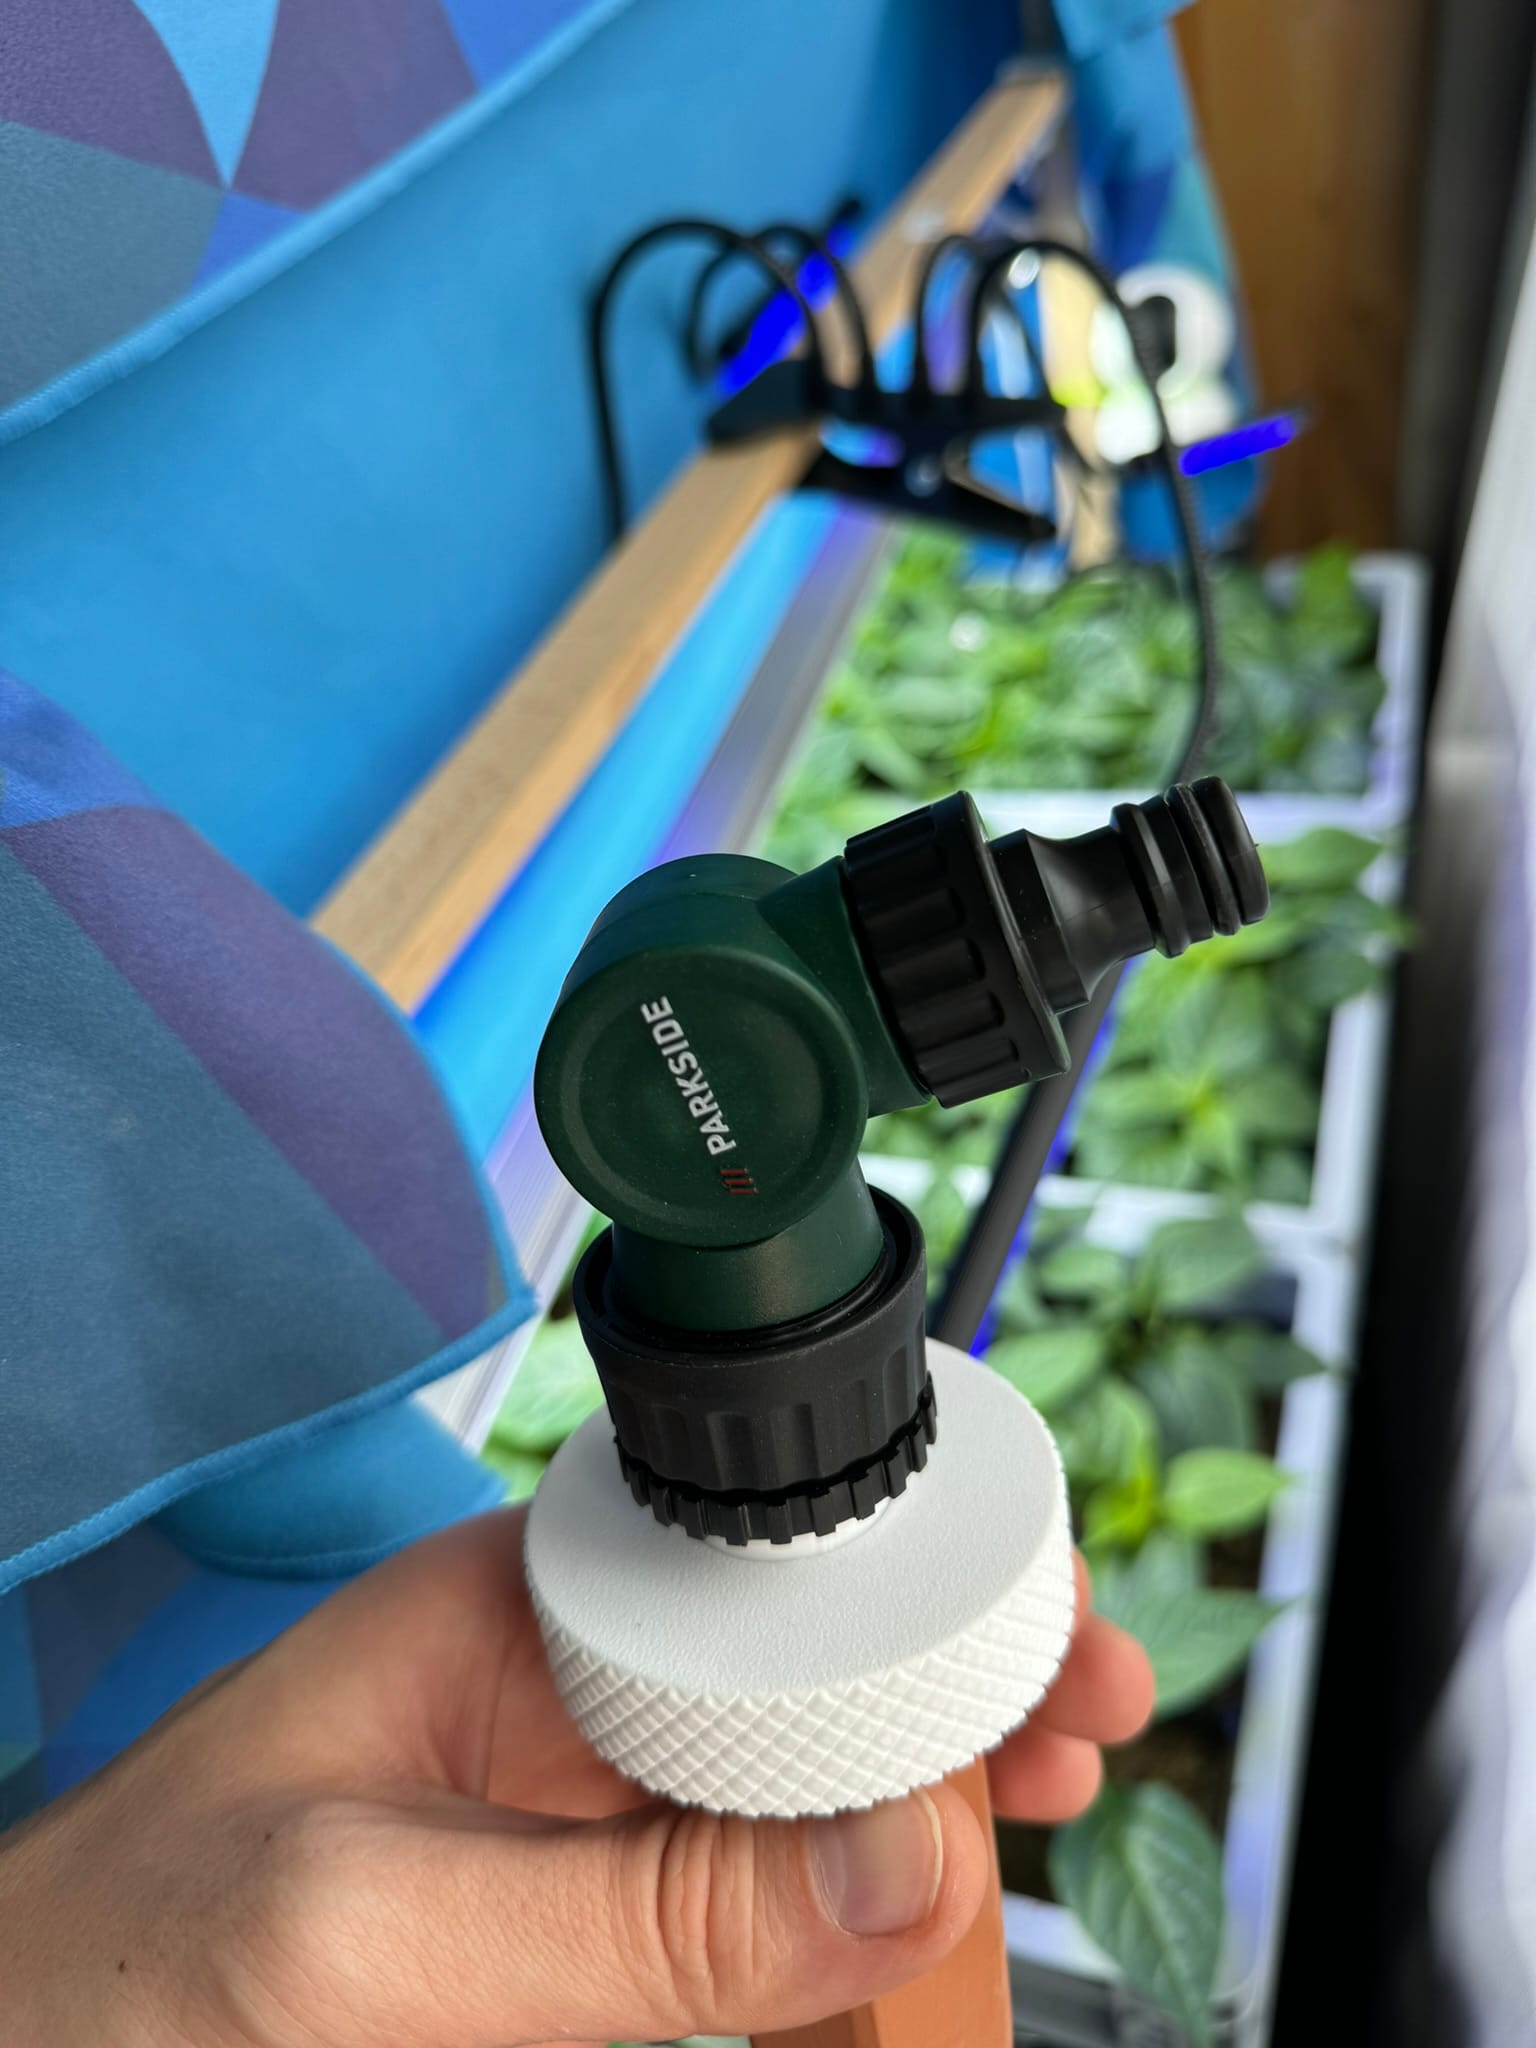

Originally, I was thinking about making the quick connect adapter 3D printed as well. It would save some space, but modeling and printing the 3/4” thread is easier and feels sturdier. The adapter is made from four parts and should be printed from PETG because PLA is too brittle and would deform. The cones slightly vary in inner and outer dimensions, so I made a flexible gasket from TPU to even them out. This gasket does not make the adapter watertight; some silicone is still needed.
the Conclusion
Now you might be able to see why I don’t want to rate the commercially available solutions. My need to understand and tinker with ideas and products often leads to a "drip" outcome and stashing the project into a drawer. But sometimes the effort pays off, and I prefer having fun with my DIY hacks. And having fun is always the goal. Otherwise, what’s the point?
Member discussion